To nail cosplay makeup, you’ve got to understand color theory from the ground up. Match your foundation to your character’s undertone — warm for golden, sun-kissed looks, cool for pale or icy ones. Color correct first so your base stays true. Mix paints deliberately, swatch before applying, and layer complementary colors for depth. Set everything with powder and spray so nothing muddles. Stick around — there’s a whole transformation waiting ahead.
Key Takeaways
- Identify your skin undertones using the wrist vein test to select a foundation that complements your character’s palette seamlessly.
- Use color correctors strategically; green neutralizes redness while peach tones cancel dark areas before applying character base colors.
- Layer colors gradually, using sponges for broad coverage and fine brushes for precise edges to achieve smooth, dimensional blending.
- Match your makeup palette to the character’s official artwork, ensuring consistent colors that reflect their personality and emotional essence.
- Seal each makeup layer with setting spray and finish with powder to lock vibrancy and prevent unwanted shine throughout events.
What Is Color Theory and Why Does It Matter for Cosplay Makeup?
Color theory is the backbone of any great cosplay makeup look, and understanding it means the difference between a vague resemblance to your character and a jaw-dropping transformation.
It’s not just about slapping on paint — it’s about mastering design principles that drive every aesthetic choice you make. Color psychology shapes how your audience *feels* when they see your character come alive.
Through thoughtful makeup application, you’re translating a fictional identity into reality with precision and artistic expression.
Visual harmony ties every element together, ensuring your skin tone, costume, and features read as one cohesive character.
When you approach cosplay through color theory, you’re elevating personal style into genuine character interpretation — turning your face into a canvas that speaks directly to your character’s soul.
Understand Warm vs. Cool Undertones Before You Pick a Base
Before you reach for any foundation, you need to identify whether your skin pulls warm (yellow, peachy, or golden) or cool (pink, red, or bluish) — because picking the wrong undertone throws off your entire base.
Warm bases work beautifully for sun-kissed or earthy characters, while cool bases suit pale, ethereal, or icy ones.
Match your foundation not just to your real skin tone but to the character’s palette, and you’ll build a seamless canvas that makes every layer on top pop.
Identifying Skin Undertones
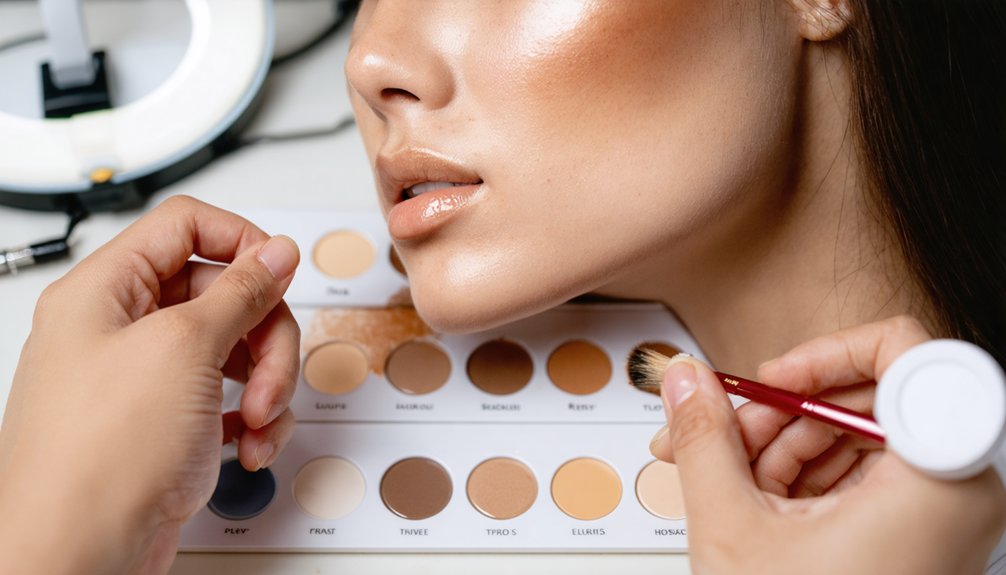
When picking a base for your cosplay makeup, understanding your skin’s undertones can make or break the final look. Skin undertone analysis isn’t just a beauty formality — it’s your foundation for transforming into any character convincingly.
Check your wrist veins: blue or purple signals cool undertones, green suggests warm, and both indicate neutral. This quick test fast-tracks your foundation matching process, helping you select shades that seamlessly blend with your natural skin rather than fighting against it.
Cool undertones pair beautifully with pink-based foundations, while warm undertones thrive with golden or peachy hues. Getting this right means your body paint, contouring, and character details all layer flawlessly — creating that theatrical, polished finish that separates an average cosplay from a jaw-dropping transformation.
Warm Versus Cool Bases
Picking the wrong base color can unravel even the most meticulous cosplay — so understanding warm versus cool undertones isn’t optional, it’s essential. Color temperature determines whether your base selection reads authentic or jarring under stage lights.
Warm undertones pull golden and peachy — cool undertones lean pink and bluish. Nail your undertone identification before committing to any foundation matching process.
For skin compatibility, layer a BB cream first, then adjust your shade using white or deeper matte pigments for precise shade adjustment.
Product layering lets you build toward your character’s exact complexion without fighting your natural tone. Finish types matter too — matte finishes photograph cleaner, eliminating unwanted shine.
Know your undertone, choose intentionally, and your base transforms into a theatrical canvas that honors your character’s visual identity completely.
Matching Foundation To Character
Before blending anything, lock in these four decisions:
- Identify whether your character reads warm, cool, or neutral through their official artwork.
- Select a BB cream base that primes moisture while correcting your natural undertone.
- Adjust depth using white or black paint mixed directly into your foundation shade.
- Layer powder over liquid formulas to lock tone and kill unwanted shine.
Every choice you make here sets the entire face’s color story in motion.
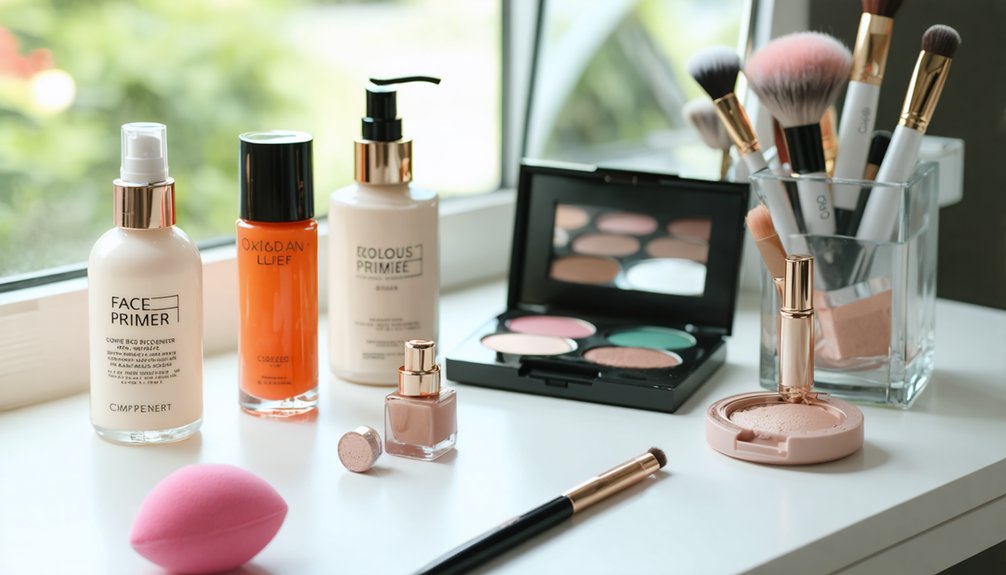
Color Correct Your Skin Tone Before Cosplay Paint Goes On
Getting your skin tone dialed in before any paint touches your face is the secret weapon most cosplayers overlook. Smart color correction techniques transform your canvas completely, giving character paint something consistent to grip.
Start with skin tone analysis — identify undertones that could fight against your chosen character palette. Redness? Cancel it with green corrector. Darkness under eyes? Peach or orange neutralizes it instantly.
Once correctors set, layer BB cream for added moisture, then apply your foundation match. This multi-step foundation locks everything into a neutral, unified base before body paint ever enters the picture.
Think of it as priming a canvas before painting a masterpiece. Every color layered on top performs more accurately, more vibrantly, and blends far more seamlessly — exactly what theatrical character transformation demands.
Match Your Base to Your Cosplay Character’s Skin Tone
Once your corrected base is locked in, it’s time to shift that canvas toward your character’s actual skin tone. Solid skin preparation guarantees every layer reads true under stage or studio lighting.
- Pale characters: Layer lighter foundation types over your base, then dust white matte powder for an ethereal finish.
- Deep-toned characters: Blend darker matte eyeshadow directly into your foundation for seamless depth.
- Midtone adjustments: Mix foundation shades strategically, applying with a damp sponge for buildable, natural coverage.
- Pre-paint moisture: Apply BB cream during skin preparation to prevent paint from cracking or patching across dry areas.
Blend aggressively at every edge. Your character’s tone shouldn’t stop at your jawline — it should consume your entire visible canvas completely.
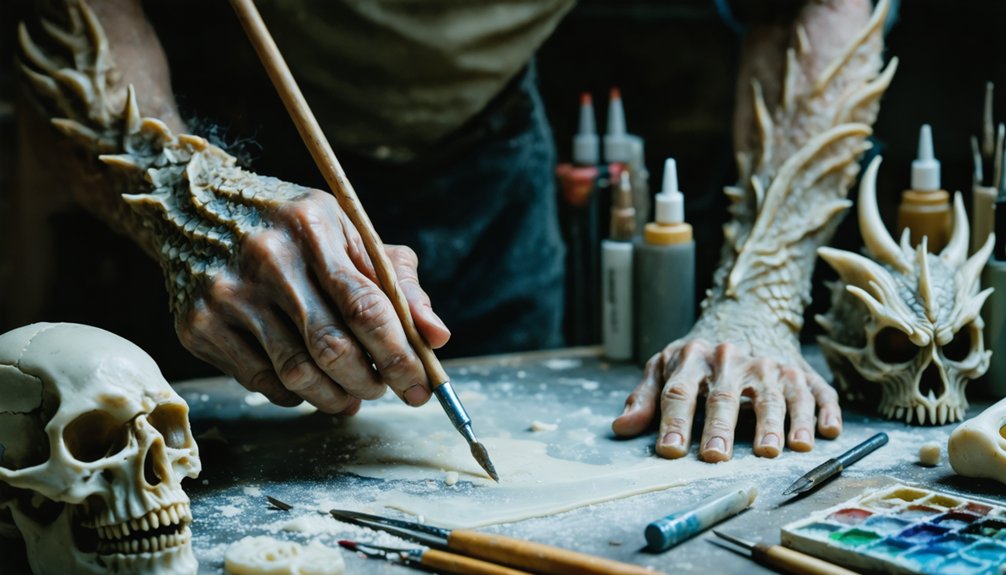
How to Mix Paint Colors for Accurate Cosplay Character Shades?
Starting with your character’s base colors is your foundation for success — you’ll build everything from these essential hues.
Add white to lift a shade lighter or black to push it deeper, giving you precise control over your character’s exact skin tone.
Once you’ve nailed your colors, blend them seamlessly into your skin using a sponge or brush, ensuring no harsh lines break the illusion.
Starting With Base Colors
Mixing the perfect base color is where your cosplay transformation truly begins. Nailing your character’s skin tone demands intentional base color selection and a sharp eye for color harmony.
- Start with BB cream to hydrate skin before applying any foundation, creating a smooth canvas.
- Lighten your base by blending white paint or lighter foundation into your mixture for pale characters.
- Deepen your tone by incorporating black paint or darker matte eyeshadow blended directly with your foundation.
- Activate body paint with water, then layer strategically using a sponge, drying between each coat.
Every deliberate mix moves you closer to embodying your character authentically.
Don’t rush the process — precise base colors set the entire stage for your theatrical transformation.
Lightening And Darkening Shades
Whether you’re painting yourself into a ghostly pale vampire or a sun-kissed warrior, mastering shade adjustment is what separates a convincing cosplay from a flat, unconvincing one.
Your lightening techniques start simply — fold white paint into your base color gradually, testing each mix against your skin before committing. Too much white too fast kills vibrancy, so add it incrementally.
For darkening strategies, introduce black paint in tiny amounts. Black is powerful and unforgiving, so respect it. Blending matte eyeshadow colors directly over your painted base also deepens tones without muddying the original hue.
Always swatch your mixed shades on your arm first. Characters deserve dimensional, living color — not a single flat tone.
Strategic lightening and darkening together build that theatrical, screen-accurate depth your cosplay demands.
Blending For Seamless Tones
Blending is where your cosplay makeup transforms from paint on skin into a living, breathing character. Mastering blending techniques creates seamless shifts that make your character feel authentic and dynamic.
Follow these essential steps for flawless results:
- Layer strategically — Use color layering with thin coats, drying between applications to build depth without muddying texture differences.
- Work gradient effects — Blend lighter tones outward from focal points, creating dimensional shading methods that sculpt your character’s defining features.
- Choose correct blending tools — Sponges diffuse broad areas while fine brushes handle precise tone adjustments along edges.
- Eyeshadow over paint — Dust matte shadows over your base for refined color blending, adding complexity without compromising the underlying foundation.
Commit to patience — seamless blending separates ordinary cosplay from extraordinary character transformation.
Contour Like Your Character Using Color Theory, Not Just Darkness
Animated characters often use warm amber shadows, dusty purples, or even muted greens to define their features. That’s intentional tone variation, not accident. Match your contour hue to the character’s existing color palette rather than defaulting to generic brown.
Use your color theory knowledge here: cooler shadows recede, warmer tones push forward. A villain’s sharp cheekbones might call for a desaturated plum, while a sun-kissed hero needs golden-bronze depth.
Let the character’s visual language dictate your contour choices — that’s what separates a costume from a true transformation.
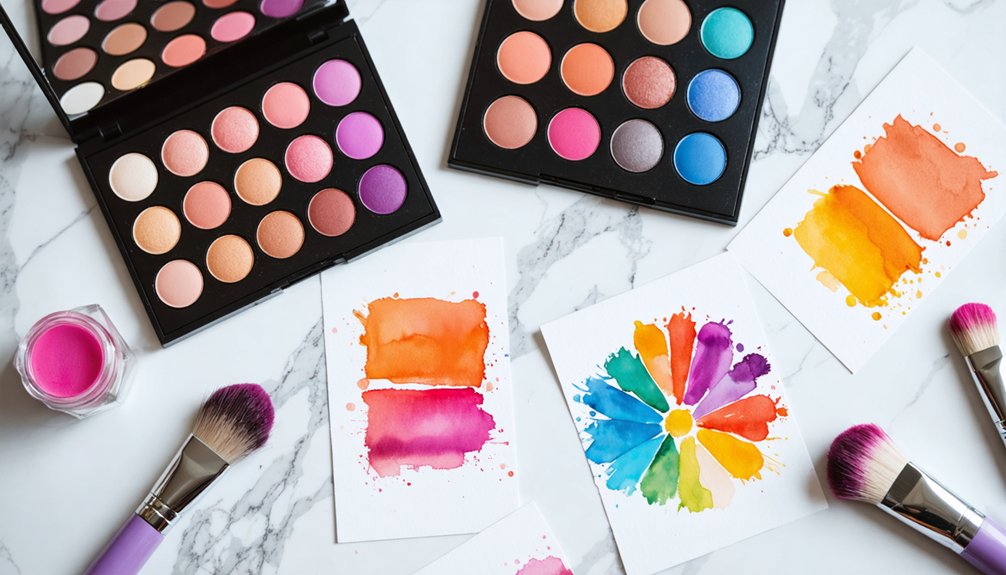
How Complementary Colors Make Cosplay Eye Makeup Pop?
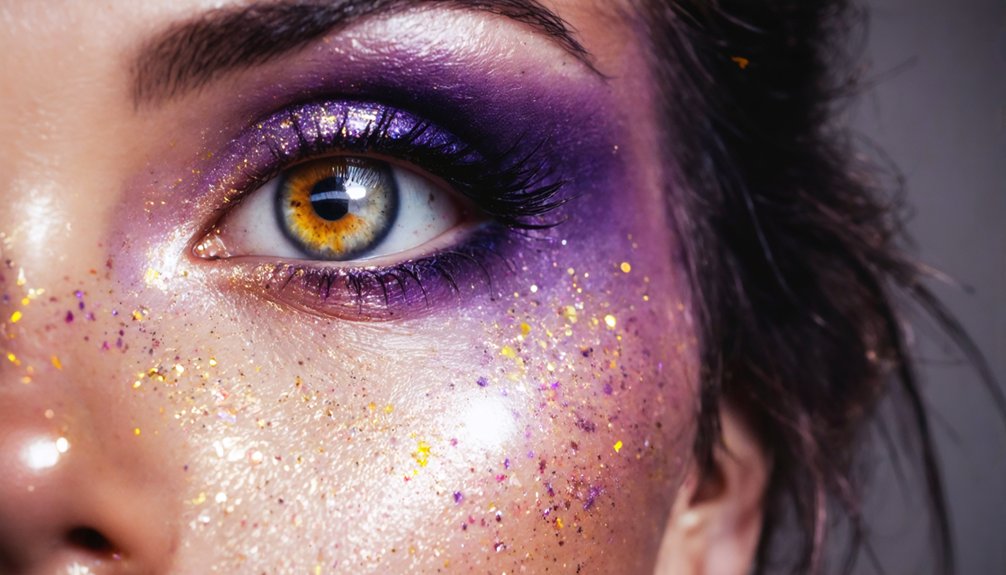
When it comes to making your cosplay eyes truly unforgettable, complementary colors are your secret weapon — pair opposites like purple and yellow or blue and orange to create instant visual tension that pulls focus straight to your gaze.
You’ll want to identify your character’s eye color first, then select the shade sitting directly across from it on the color wheel as your shadow base.
Blend that opposing hue into the crease and outer corners, letting the contrast do the dramatic work your character demands.
Complementary Colors Boost Eyes
Complementary colors sit opposite each other on the color wheel, and that opposition is exactly what makes your cosplay eye makeup electrifying.
Leveraging color contrast transforms ordinary looks into character-accurate showstoppers that command attention.
Boost eye brightness with these four strategic pairings:
- Blue eyes — Apply burnt orange or copper shadow to intensify icy, supernatural characters.
- Green eyes — Use deep red-violet tones to make elven or nature-based characters feel alive.
- Purple eyes — Layer yellow-gold accents to amplify mystical or otherworldly energy.
- Brown eyes — Pack cobalt or teal onto the lid to electrify warrior and action-hero looks.
Match your eyeshadow selections to your character’s eye color, then let complementary opposition do the dramatic work for you.
Selecting Opposite Color Pairs
Want violet eyes that look supernatural? Sweep a warm amber or burnt orange shadow on the outer corners — that color harmony creates a vibration your camera will obsess over.
Rocking a fire-wielding character with amber irises? Deep cobalt liner along the waterline transforms the entire look.
You’re not just matching your character; you’re engineering a reaction.
Test each pair against your specific base tones first, because skin undertones shift how complementary relationships actually read under convention lighting.
Blending For Eye Impact
Blending is where complementary colors stop being theory and start becoming sorcery. Your character’s eye color becomes magnetic when you master strategic layering. Here’s how to make those eyes command attention:
- Shadow Placement: Apply complementary shades to the outer corners, deepening character dynamics and intensifying depth perception.
- Color Gradients: Blend opposing hues toward the center, creating seamless gradients that amplify your eye shape dramatically.
- Highlight Strategies: Press a contrasting highlight shade onto the inner corner, matching your character’s signature eye color for precision accuracy.
- Blending Techniques: Use circular buffing motions to eliminate harsh lines, letting colors speak theatrically rather than clash aggressively.
You’re not just applying makeup — you’re sculpting emotion directly onto your face, transforming ordinary eyes into unforgettable character portals.
Adjust Color Saturation for Animated vs. Realistic Characters
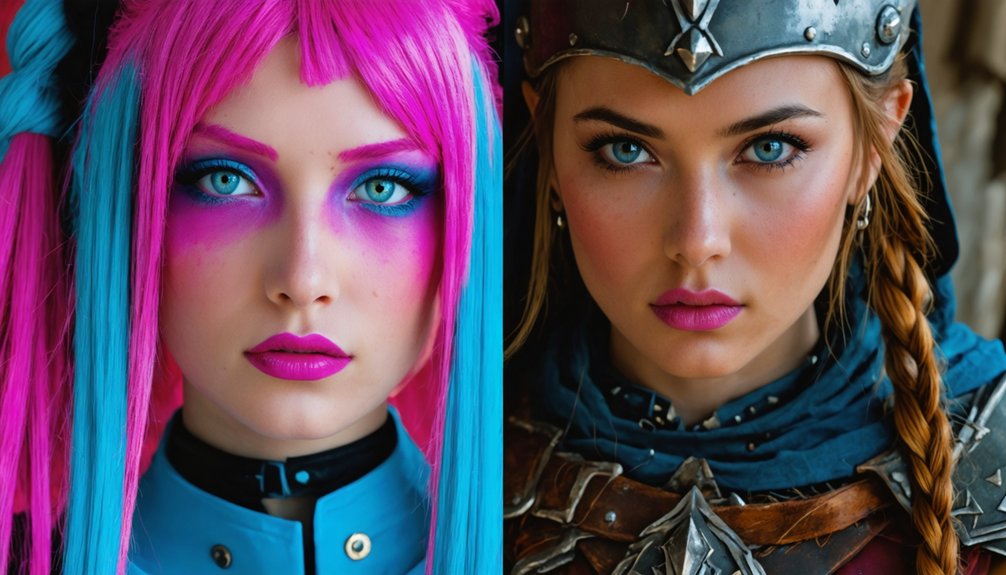
When cosplaying an animated character, you’ll want to crank the color saturation way up — bold, electric hues capture that larger-than-life energy that flat, muted tones simply can’t deliver.
Saturation adjustments are your secret weapon for animated characters, so lean into vivid pigments, intensified eyeshadow, and punchy lip colors that mirror the vibrancy of illustrated designs.
Realistic characters demand the opposite approach. Saturation adjustments for realistic characters mean dialing everything back — think earthy, desaturated tones that mimic natural skin depth and subtle shadow.
Swap neon pigments for blended neutrals, and prioritize dimension over drama.
The key distinction is intention. Animated worlds celebrate excess; realistic portrayals honor subtlety.
Master both ends of the saturation spectrum, and you’ll transform any character’s essence into wearable, stage-ready art.
Seal and Layer Cosplay Makeup Colors Without Muddying Your Look
Nailing your saturation game means nothing if your colors bleed, shift, or turn into a muddy swamp halfway through the convention floor — that’s where sealing and layering become your best stage allies.
Smart layering techniques preserve color saturation while maintaining character consistency from base selection through final touches.
- Activate paint properly — paint activation prevents patchy texture variation that corrupts undertone matching.
- Seal between layers — locking each coat protects blending strategies and stops colors from merging unintentionally.
- Build eye detail last — adding eye detail after sealing keeps precision crisp against bold base colors.
- Layer light-to-dark — this sequencing maintains vibrancy without muddying your carefully mixed tones.
Your character deserves colors that stay as committed as your cosplay dedication.
Common Color Mixing Mistakes in Cosplay Character Makeup

Even the most committed cosplayers can tank a flawless look by rushing the color mixing stage — and the mistakes are almost always the same.
You’re muddying your color palette by layering complementary colors without neutralizing first. You’re skipping matte shadows, introducing unwanted shine that kills character consistency. You’re adding black directly to darken shades instead of using deeper hues within the same tonal family, which destroys your artistic interpretation entirely.
Layering complementary colors without neutralizing first will muddy your palette and destroy your character’s entire color story.
You’re also neglecting sealant between layers, gutting your makeup longevity mid-convention.
The fix? Mix deliberately. Test every blend on your wrist before committing to your face. Build tone gradually — white lightens, deeper shades darken, and blending eyeshadow over your base refines everything.
Slow down, and your character’s colors will speak for themselves.
Frequently Asked Questions
Can Color Theory Help With Cosplaying Characters From Different Ethnicities?
Color theory’s your ultimate tool for ethnic representation! You can master color blending by layering darker matte eyeshadows with foundation, adjusting undertones, and mixing paints to authentically honor diverse characters you’re bringing dramatically to life!
How Do I Fix Color Mistakes After Sealing My Cosplay Makeup?
Your sealed makeup’s a fortress, but you can conquer color mistakes! Layer makeup removal on problem areas, then apply color correction shades directly over the seal. You’ll blend seamlessly, saving your character’s look instantly!
Are There Specific Color Theory Apps Recommended for Cosplay Makeup Planning?
You’ll love using Adobe Color and Canva for cosplay color palette planning! These apps supercharge your hue selection, letting you match your character’s theatrical tones with innovative precision before you ever touch a brush!
How Does Lighting at Conventions Affect Cosplay Makeup Color Choices?
Over 70% of cosplayers underestimate convention lighting’s impact! You’ll need bolder, saturated colors to boost makeup visibility under harsh fluorescent lights—they’ll wash you out, so amplify your contours, deepen your shadows, and intensify your character’s palette dramatically!
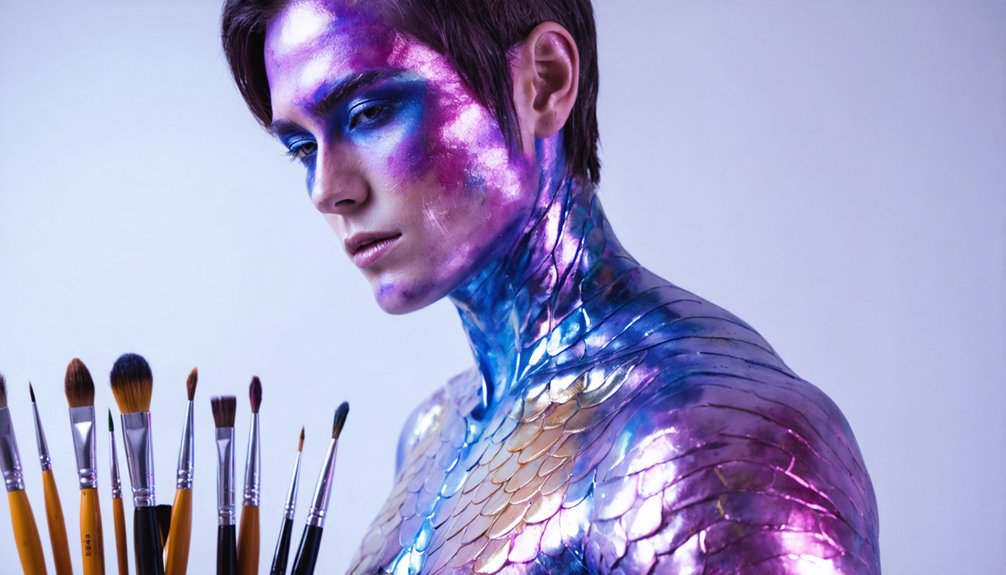
Can Color Theory Principles Apply to Cosplay Body Paint for Non-Human Characters?
Yes, color theory absolutely transforms non-human palettes! You’ll mix, layer, and blend paints to capture character harmonies perfectly. Activate vibrant hues, balance shading with highlights, and you’ll bring extraordinary, otherworldly creatures dramatically to life!
References
- https://www.youtube.com/watch?v=z9tkupcTfFc
- https://cosplaysass.wordpress.com/2018/12/27/cosplay-101-beginners-guide-to-body-painting/
- https://www.youtube.com/watch?v=rQCDJqARgKI