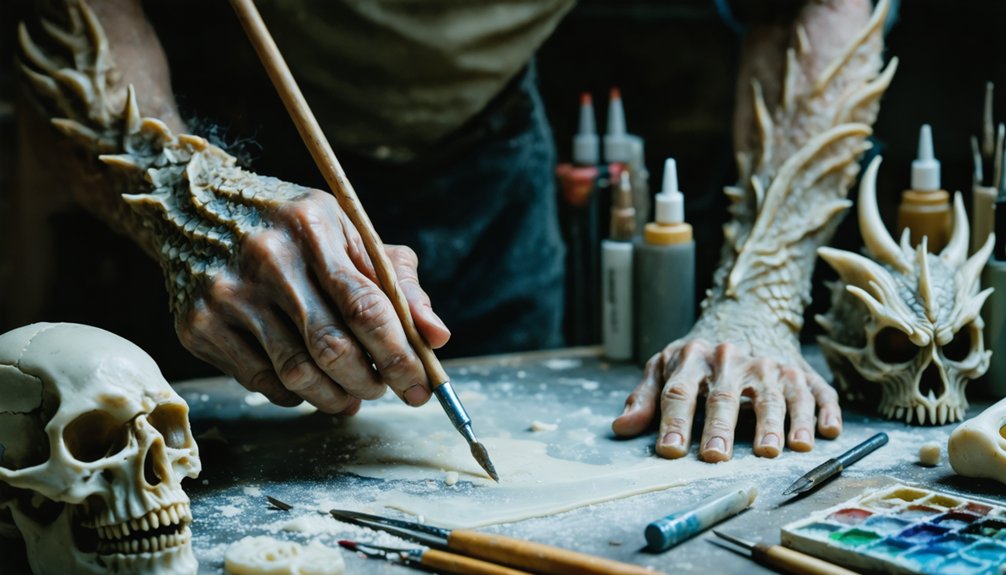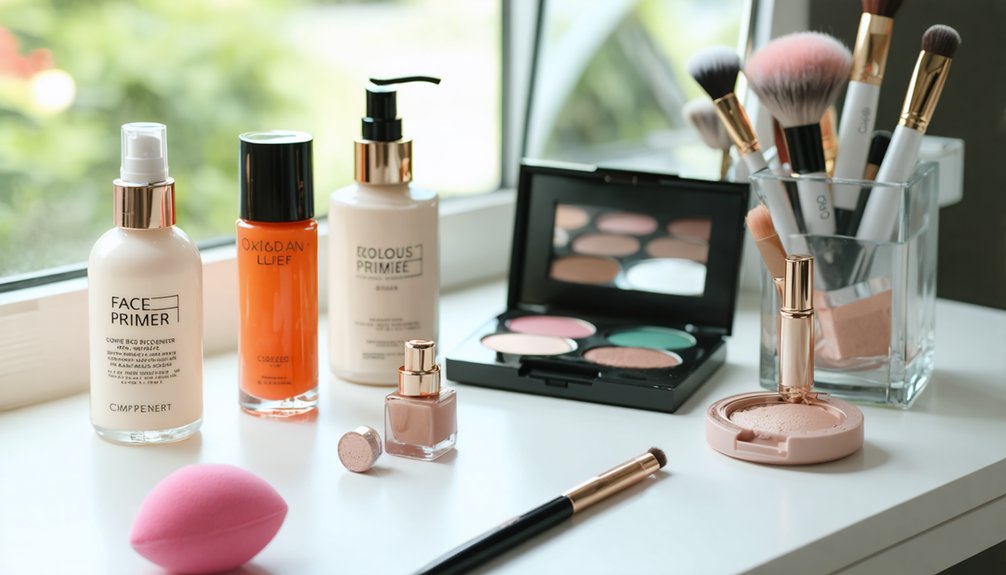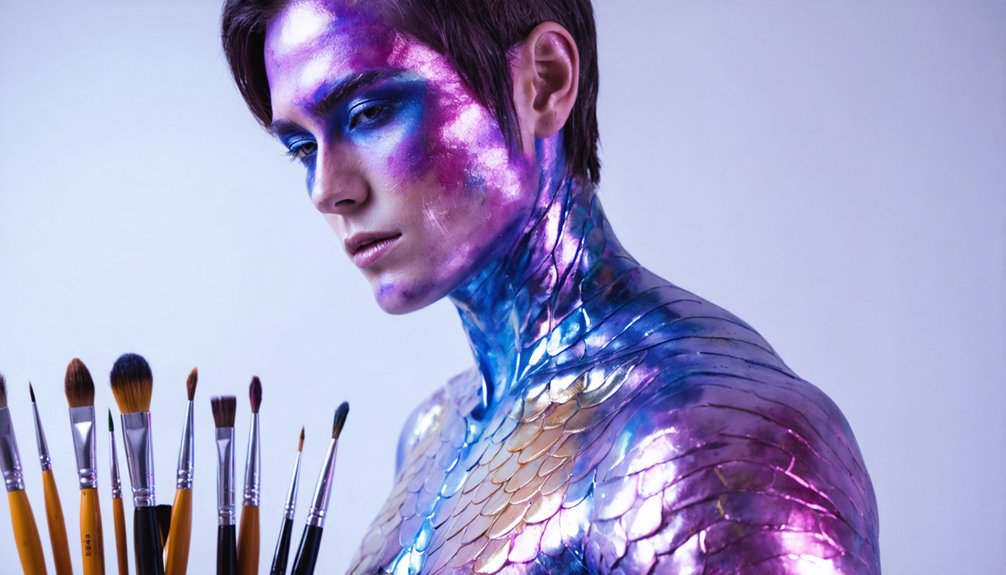
To nail cosplay makeup, you’ll start with a primed, full-coverage base, then contour to match your character’s proportions. Reshape your brows, build eye depth with layered shadow and liner, and use white waterline liner to enlarge your eyes. Add false lashes, precisely traced lips, and character-specific accents like glitter or rhinestones. Seal every layer with setting spray for all-day wear. Each technique builds on the last, and there’s much more to uncover ahead.
Key Takeaways
- Start with a clean, moisturized, primed base and full-coverage foundation blended onto the neck for a seamless, even canvas.
- Sculpt and contour with shades 2–3 tones darker, adding highlighter on key facial points to match character proportions.
- Reshape brows using concealer or glue sticks, then rebuild their shape with an angled brush for character accuracy.
- Use bold eyeliner extensions, layered eyeshadow, and styled false lashes to replicate anime or stylized eye geometry.
- Seal every finished layer with setting spray and reapply mid-day to prevent cracking, melting, and patchiness.
Build Your Cosplay Makeup Base Before Color Goes On
Before any color touches your face, you’ve got to build a proper base that keeps everything in place. Start with a thorough cleanse, moisturizer, and primer to smooth skin texture and create an even canvas for color theory to work accurately across your look.
Choose a full-coverage foundation that matches your character’s intended skin tone, blending it beyond your jawline onto your neck and ears to eliminate visible borders. Understanding color theory here matters — your base affects every shadow, contour, and highlight layered above it.
Set everything with translucent powder to control shine and extend wear through long convention hours. Test your complete base beforehand to gauge application time and catch any texture inconsistencies before the event demands a flawless result.
Shape Your Face to Match the Character’s Proportions
Once your base is locked in, you can start sculpting your face to reflect the character’s specific proportions. Grab a contour powder two to three shades darker than your foundation and map it along your cheekbones, jawline, and nose to reshape facial symmetry toward the character’s silhouette.
Apply highlighter to the nose bridge, cheekbone peaks, and brow bones to push dimension forward and counteract flat skin texture under convention lighting. Work in thin, buildable layers rather than heavy single passes, sweeping each product outward until harsh edges disappear completely.
Prioritize brow structure above everything else, since eyebrow position controls how closely your overall face mirrors the character. Use light and shadow strategically to match stylized proportions rather than defaulting to your natural facial contours.
Make Your Eyes Bigger With Anime Cosplay Makeup Tricks
Eye size is where anime cosplay makeup separates itself most dramatically from everyday techniques, and it’s the detail that will define your character’s expression in every photo. Start by tightlining your lower waterline with white or skin-tone liner to visually expand the eye’s dimensions.
Apply lighter shadow across the lid and build a darker shade into the crease to create structural depth through contouring techniques that mirror your character’s stylized proportions. Use bold, directional eyeliner extensions to replicate anime-specific eye geometry precisely.
Select eyelash styles that amplify the outer corners or add uniform volume, matching your reference image closely. Layer shadow, liner, and lashes incrementally, letting each element dry before advancing. Small brushes give you the precision these exaggerated shapes demand, keeping every line intentional and camera-ready.
Reshape Your Brows and Add Precision Detail Work
Brow shape carries enormous influence over how closely your finished look matches a character’s expression, so reshaping them is often the most transformative step in the entire process. Use concealer or glue stick to block your natural brows, then rebuild the shape higher, thinner, or thicker depending on the character’s design.
Reshaping your brows is often the single most transformative step in any cosplay makeup look.
Brow shaping directly controls perceived emotion, so reference your source material closely before drawing anything in.
For detail precision, switch to an angled brush and brown or black eyeliner to construct sharp, controlled strokes. Brush setting powder through finished brows to soften edges without losing structure.
Add character-specific accents like freckles, scars, or painted marks using small, fine-tipped brushes. Work slowly, build in thin layers, and check your progress against the reference image frequently.
Apply False Lashes and Lip Color to Match Your Character
False lashes transform the eye’s silhouette instantly, so test several styles against your character reference to match the lash length, curl, and density to the eye shape they’re meant to recreate.
Strip lashes with a tapered or winged edge work well for anime-influenced characters, while wispier styles suit softer, more naturalistic designs.
For lip color, trace the shape directly from your reference image, adjusting the line slightly outside or inside your natural lip border to mirror the character’s proportions, then fill it in with a shade matched to their palette.
Choosing Character-Matched Lashes
When it comes to cosplay accuracy, lashes and lip color carry more visual weight than most people expect. Choosing the right false lashes transforms your eye shape to match a character’s stylized geometry.
Study your character’s reference art closely — wide, dramatic eyes need voluminous, fanned styles, while sharper looks call for elongated, tapered cuts.
Consider lash extension application along the outer corners to replicate anime-style eye elongation precisely. For rounder character eyes, prioritize center-heavy lash clusters.
Eyelash curling before application helps false lashes blend seamlessly with your natural ones, preventing a disconnected, layered appearance.
Test different lash styles during practice sessions to identify the silhouette that photographs correctly under convention lighting. The right lash selection instantly elevates character resemblance from recognizable to convincingly transformative.
Lip Color Application Tips
Lip color completes the character illusion by anchoring the face to the reference art’s exact palette and shape. Match your base shade precisely to the character’s lip color, then use a lip liner slightly darker to define the edges and establish lip symmetry before filling in the center.
For stylized or anime-inspired looks, redraw the lip shape entirely using concealer to neutralize your natural line, then rebuild the form in the character’s exact silhouette.
Color blending matters when the design features gradient lips — apply a deeper tone at the corners and a lighter shade at the center, diffusing the boundary with a brush. Finish with gloss, matte sealant, or shimmer depending on the character’s aesthetic, then lock everything with setting spray.
Add Cosplay Makeup Accents With Glitter, Face Paint, and Rhinestones
When adding glitter, press loose or chunky glitter directly onto a tacky adhesive base rather than blending it, so the particles stay clustered and catch light with maximum intensity.
For face paint, work in thin, fully dried layers to build opaque coverage without cracking. Use a damp sponge for flat fills and a fine brush for sharp character-specific linework.
Place rhinestones with tweezers and a dot of lash glue at structural points—outer corners, brow arches, or cheekbones—where they’ll read clearly in photos and reinforce your character’s silhouette.
Glitter Application Techniques
Glitter, rhinestones, and face paint can transform a basic cosplay look into something that reads as fully realized under harsh convention lighting and camera flash. Strategic glitter placement elevates dimension and draws attention to key focal points. Use sparkle blending techniques to feather glitter outward from eyelids or cheekbones, avoiding harsh edges.
- Apply cosmetic-grade glitter over adhesive gel, never loose onto bare skin, for safety and precise control.
- Layer fine glitter first, then chunky pieces on top to build dimensional texture without muddiness.
- Use a damp flat brush for targeted glitter placement on small areas like inner corners or brow arches.
- Seal edges with setting spray to prevent migration throughout long convention hours.
Face Paint Layering Tips
Face paint adds structure and color intensity that glitter alone can’t deliver, making layering technique the difference between a polished character recreation and a muddied mess. Start with your lightest shade and build toward darker tones using thin, deliberate coats. Let each layer dry completely before adding the next — rushing this step causes colors to lift and blend unintentionally.
Color layering works best when you apply midtones first, then shadows, then accents. Use a damp sponge for broad coverage and a fine brush for edge definition. Face paint blending requires feathered gradations at every border, especially where paint meets foundation. Hard edges catch convention lighting harshly and photograph poorly.
Seal finished layers with setting spray to lock color and prevent cracking during extended wear.
Rhinestone Placement Strategies
Rhinestones elevate a cosplay look from polished to striking, but only when you place them with intention rather than instinct. Strategic rhinestone placement transforms details into focal points that read clearly in photos and under convention lighting.
Follow these techniques for precise crystal symmetry and maximum visual impact:
- Map your design first — sketch placement on a face chart before touching adhesive to skin.
- Use tweezers, never fingers — oils disrupt adhesive bond and shift positioning.
- Anchor focal points first — place corner or center stones before filling surrounding areas.
- Mirror both sides precisely — photograph your face symmetry mid-application to catch imbalances early.
Press each stone firmly for several seconds, then apply setting spray around edges to secure placement through long convention wear.
Set and Seal Cosplay Makeup So It Lasts All Day
Setting your makeup correctly is what separates a flawless look at noon from a patchy, melted one by mid-afternoon. Before sealing, address any color correction needs—neutralizing redness or discoloration ensures your base reads cleanly under convention lighting.
Skin texture also matters here; patchy or dry areas absorb powder unevenly, so smooth your base thoroughly before locking it in.
Press translucent setting powder into oily zones using a damp beauty sponge rather than sweeping it on, which disrupts your work. Follow with a long-wear setting spray held 8–10 inches from your face, applying in an X-then-T motion.
For face paint or layered effects, let each layer dry completely before sealing. Reapply setting spray mid-day to revive and rebind everything without disturbing the detail work beneath.
Frequently Asked Questions
Can I Wear Cosplay Makeup if I Have Sensitive or Acne-Prone Skin?
Yes, you can! Prioritize thorough skincare routines before application, select hypoallergenic products to minimize irritation, patch-test every formula in advance, and always double-cleanse afterward to protect your acne-prone skin from potential breakouts.
How Do I Match My Makeup to My Cosplay Character’s Skin Tone?
master skin tone blending by sampling your character’s exact hue against your neck. Use color matching techniques—mix foundations, extend onto ears, and blend borders seamlessly for a flawless, undetectable character skin illusion.
Should I Hire a Professional Makeup Artist for Complex Cosplay Looks?
You should hire a professional for highly complex looks requiring advanced techniques. They’ll maximize makeup longevity, seamlessly integrate costume accessories, and execute precise, visually striking effects that elevate your cosplay beyond what self-application typically achieves at this level.
How Early Should I Start Practicing My Cosplay Makeup Beforehand?
Start your practice routines at least four to six weeks before the event. Timing considerations matter because you’ll refine techniques, test products under lighting, and clock your full application time accurately.
Can Cosplay Makeup Damage My Skin if Worn Repeatedly Over Time?
Over 60% of cosplayers report skin issues from skipping aftercare. Yes, repeated wear can damage your skin, but you’ll stay protected by prioritizing thorough makeup removal and consistent skin hydration after every convention session.
References
- https://www.youtube.com/watch?v=YgZ7Q_rqUis
- https://www.youtube.com/watch?v=1vS4CZA0sTE
- https://behindjinfinity.wordpress.com/2016/11/22/cosplay-makeup-basics/
- https://andsewingishalfthebattle.com/basic-makeup-for-cosplay-faq/
- https://norchronicles.com.au/mastering-cosplay-makeup-techniques/
- https://www.instructables.com/Character-Costume-Makeup-Things-To-Consider-Tips-Y/
- https://www.geekextreme.com/how-to-do-cosplay-makeup/
- https://www.stylesweekly.com/apply-costume-makeup/
- https://www.youtube.com/watch?v=rQCDJqARgKI
- https://rogersenpai.com/cosplay-makeup-tips/