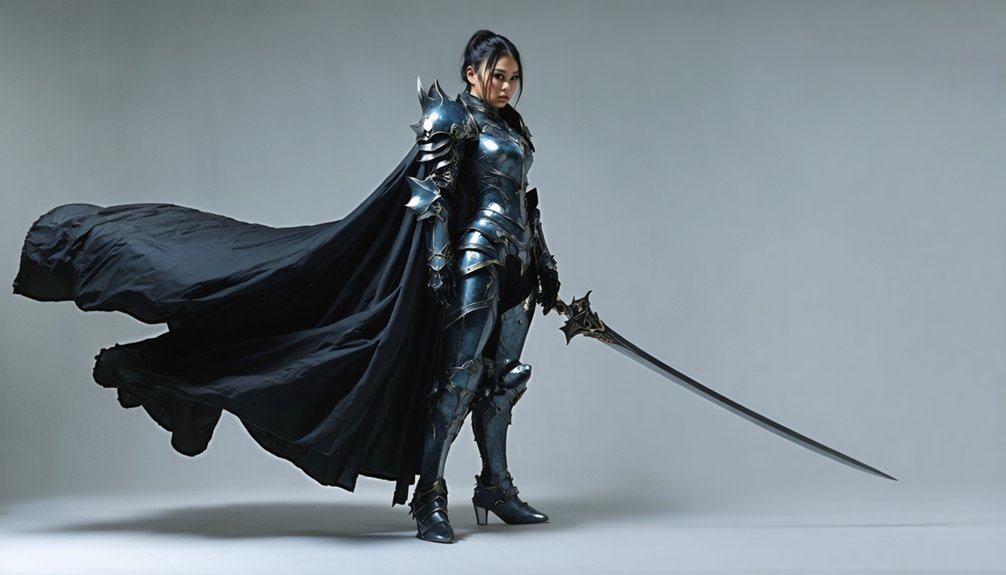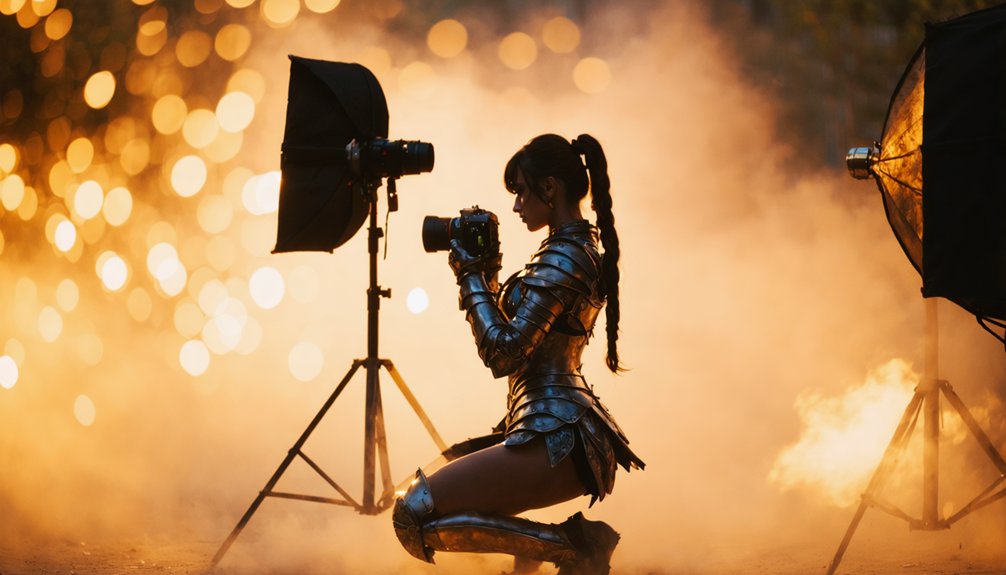
Shooting cosplay in low light demands you master your camera settings before the convention floor goes dark. Set your aperture to f/1.8–f/2.8, keep ISO between 800–1600, and maintain at least 1/100s shutter speed to freeze movement without blur. Carry portable LED panels or speedlights so you’re never dependent on harsh venue lighting. Scout backgrounds early and expose for your subject, letting distractions fall into shadow. There’s far more technique waiting to sharpen your nighttime shots.
Key Takeaways
- Shoot at wide apertures (f/1.8–f/2.8) to maximize light intake and create background-separating bokeh without raising ISO excessively.
- Keep ISO between 800–1600 for dim environments, reserving ISO 3200+ only for fast-moving subjects requiring emergency exposure adjustments.
- Use shutter speeds of at least 1/100s for static poses, increasing to 1/250s or faster for dynamic movement.
- Carry portable LED panels or speedlights to precisely control lighting, reducing noise and sculpting costume details effectively.
- Scout locations beforehand, identifying clean negative space, unlit walls, and controlled light sources to eliminate distracting backgrounds.
What Makes Low Light the Hardest Condition for Cosplay Photography
When the sun goes down, your camera struggles to gather enough light to produce a clean, sharp image — and that’s where cosplay photography gets genuinely demanding.
Low light forces painful trade-offs: you’ll push ISO until digital noise eats fine costume details, or you’ll slow your shutter until motion blur ghosts every pose. Wide apertures help, but they shrink your depth of field dangerously thin.
Push ISO too high and noise devours your costume details. Slow your shutter and motion blur wins.
Without proper lighting accessories, ambient sources cast unflattering color casts that clash with your cosplayer’s palette. Worse, dark environments amplify background distractions — neon signs, scattered crowds, and poorly lit structures compete aggressively for the viewer’s attention.
Every technical weakness you’d overlook in daylight becomes a visible flaw at night, demanding sharper instincts and smarter gear choices from you.
Choose the Right Aperture for Low Light Cosplay Shots
Aperture is your first and most powerful weapon against darkness, so you’ll want to open it up wide the moment natural light starts failing. Dial your aperture control to f/1.8 or f/2.8 to flood your sensor with available light without pushing ISO into noisy territory.
Here’s the bonus: a wide aperture compresses your depth of field dramatically, isolating your cosplayer from chaotic convention backgrounds with stunning precision. That shallow depth of field transforms distracting crowds and cluttered vendor stalls into smooth, creamy blur that makes your subject pop with cinematic intensity.
If your costume features intricate full-body details, step back slightly and tighten to f/4 to retain sharpness across more of the outfit while still maintaining strong background separation. Balance is everything.
How High Should You Push ISO in Low Light?
Once your aperture is maxed out and light’s still falling short, ISO becomes your next lever to pull. Smart equipment choices and solid lighting techniques keep noise manageable while preserving costume detail.
Push ISO strategically using these guidelines:
- ISO 800–1600: Safe starting range for most modern sensors in dim convention halls
- ISO 3200: Acceptable for fast-moving subjects when motion blur is a bigger threat than grain
- ISO 6400+: Reserve this for absolute emergencies — noise reduction in editing becomes essential
- Test your specific camera body: Every sensor handles high ISO differently; know your gear’s ceiling
- Combine with external lighting: A portable LED panel dramatically reduces how high you’ll need to push ISO
Balance aggression with precision — noise destroys costume texture fast.
Which Shutter Speed Prevents Blur in Low Light?
When shooting cosplay at night, you’ll want to keep your shutter speed at 1/100 s as your baseline minimum to avoid camera shake and subject blur.
Let your cosplayer’s movement dictate how far you push beyond that—use 1/250 s when they’re shifting poses frequently.
Jump to 1/1000 s or faster when they’re swinging props or striking dynamic action shots.
Matching your shutter speed to the intensity of movement is what separates sharp, punchy frames from frustrating motion blur.
Minimum Safe Shutter Speed
Keeping your shots sharp in low-light cosplay settings demands a solid understanding of minimum safe shutter speeds. Pair these benchmarks with smart lighting equipment and dynamic posing techniques to maximize results:
- 1/50 s — ideal for stationary subjects under controlled illumination
- 1/100 s — your baseline for active convention floors with unpredictable movement
- 1/250 s — use this when your cosplayer shifts positions or walks between poses
- 1/1000 s — locks down fast gestures, weapon swings, or dramatic action sequences
- Below 1/50 s — avoid this range unless your subject is completely still and you’re on a tripod
You’ll eliminate motion blur by respecting these thresholds and adjusting ISO or aperture to compensate for lost exposure at faster speeds.
Movement Dictates Shutter Choice
Because every cosplayer moves differently, your shutter speed can’t stay fixed throughout a nighttime shoot. Match your setting to the action: shoot relaxed, stationary poses at around 1/50s, bump to 1/100s when your subject shifts weight or adjusts props, and push toward 1/250s the moment they start walking between locations.
For explosive sword swings or dynamic jumps, lock in 1/1000s or faster.
Lighting adjustments work hand-in-hand with these decisions — faster shutters let in less light, so compensate by widening your aperture or carefully raising ISO. Meanwhile, smart background selection keeps chaotic convention floors from competing with your subject during those longer-exposure static shots.
Read each moment, anticipate the next movement, and dial your shutter responsively. That precision separates sharp, cinematic cosplay images from blurry disappointments.
Faster Speeds Freeze Action
Freezing motion at night demands deliberate shutter choices, and 1/1000s is your go-to the moment a cosplayer launches into a sword swing, leaps off a platform, or snaps into an explosive pose. Pair aggressive shutter speeds with smart lighting techniques—portable strobes or off-camera flash instantly compensate for lost exposure.
Strong posing strategies also maximize results:
- 1/250s handles steady walking or slow prop movements
- 1/500s controls moderate gestures and cape flourishes
- 1/1000s freezes sharp weapon strikes or jumps
- 1/2000s captures ultra-fast spins or prop throws
- Burst mode combined with high shutter speed locks unpredictable dynamic moments
Boost ISO strategically to recover brightness without sacrificing sharpness. Speed and light working together produce technically precise, visually electrifying nighttime shots.
Bring Your Own Light When the Venue Goes Dark
When the venue’s ambient lighting fails you, portable external light becomes your most powerful tool for nighttime cosplay photography. Carry a compact LED panel or speedlight to take full creative lighting control regardless of the venue’s setup.
Position your light source at deliberate angles — side lighting sculpts armor and textures dramatically, while front lighting softens facial features for character accuracy.
Don’t just point and shoot; think strategically about background selection simultaneously. A well-placed light isolates your subject while naturally darkening distracting backgrounds, giving you cleaner, more intentional compositions.
Pair your portable light with a low f-stop to maintain subject separation without sacrificing detail.
You’re fundamentally building a portable studio anywhere, transforming an unpredictable dark venue into a fully controlled creative environment that elevates every shot.
How to Find Clean Backgrounds in Dark Shooting Environments
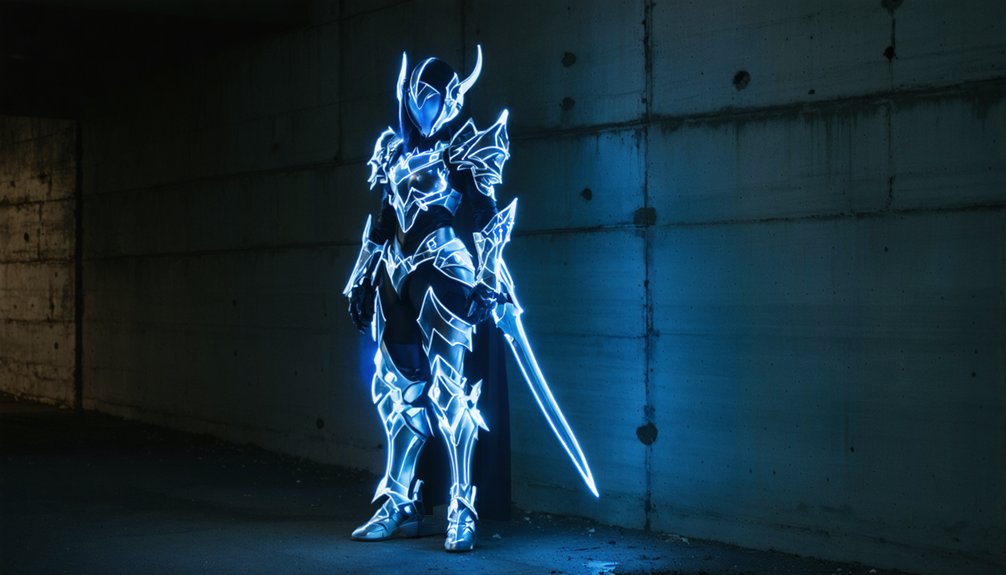
Before you shoot a single frame, scout the dark location for patches of negative space, uncluttered walls, or deep shadows that naturally frame your subject without visual noise.
You can use your portable light source strategically to illuminate the cosplayer while intentionally keeping the background underexposed, effectively erasing distracting elements like crowds, signage, or equipment.
Once you’ve identified clean zones, position your subject to block or minimize any remaining background chaos, and let the controlled light do the heavy lifting of isolating the character.
Scouting Dark Location Backgrounds
Scouting your shooting location ahead of time transforms chaotic nighttime sessions into clean, focused images. Prioritizing location accessibility lets you move equipment efficiently while avoiding ambient noise sources that distract your subject’s performance.
Use these field-tested scouting strategies:
- Map exit routes from crowded areas so you can reposition quickly without interrupting your flow
- Identify controlled light sources like streetlamps or neon signage that anchor your composition
- Flag distracting backgrounds — dumpsters, signage, and foot traffic kill an otherwise strong shot
- Choose darker zones with open shadow areas that naturally isolate your cosplayer
- Test multiple angles at ground level and elevated positions before your cosplayer arrives
Arriving early gives you a decisive technical edge, letting you lock in your frames before the environment gets unpredictable.
Using Light To Isolate
This is where smart lighting techniques separate good photographers from great ones. Use a narrow light angle to sculpt your subject without spilling illumination onto surrounding clutter. A gridded speedlight or focused LED panel keeps that light disciplined and precise. You’re fundamentally painting your subject onto a dark canvas.
Expose for the cosplayer, not the scene, and let everything behind them surrender to shadow. That’s deliberate isolation — no Photoshop required.
Avoiding Distracting Background Elements
Even in near-total darkness, a cluttered background will kill an otherwise perfect shot — so you need to actively hunt for clean negative space before you ever raise the camera. Background clutter and element distraction are amplified at night when harsh artificial lights expose every messy detail behind your subject.
Scout these five fixes fast:
- Step sideways to swap a chaotic crowd for an unlit wall
- Drop lower to push distracting stands or signage below frame
- Use a longer focal length to compress and blur background clutter naturally
- Position your cosplayer against darkness itself — unlit zones become instant clean slates
- Check your live view before shooting to catch element distraction early
Clean backgrounds transform nighttime cosplay shots from snapshots into cinematic frames.
How to Direct Poses and Expressions in Low Light Settings
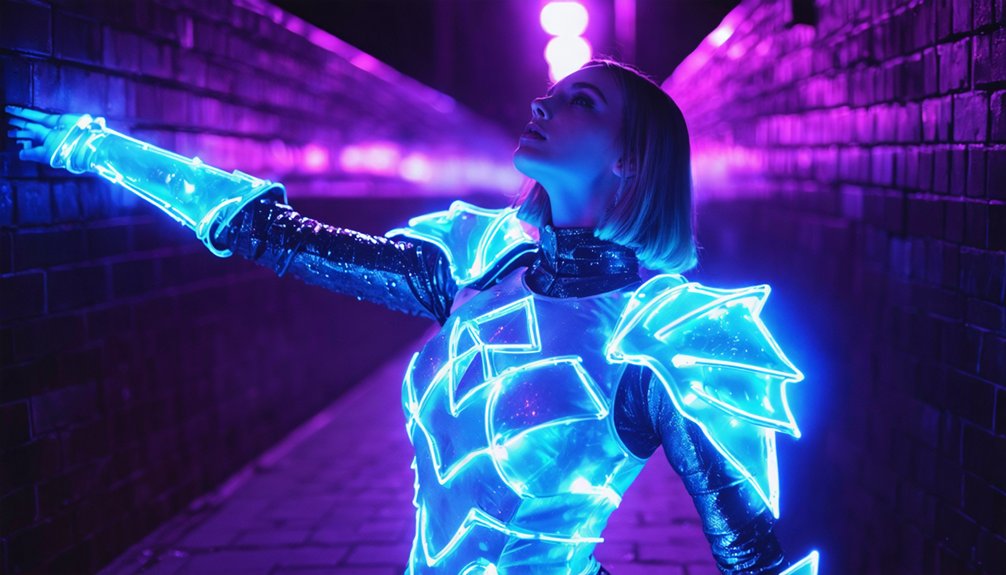
Directing poses and expressions in low light settings demands quick, clear communication before you lose the shot. Study your character’s signature gestures beforehand so you’re not wasting golden seconds mid-session. Use pose variation strategically — shift from a powerful stance to a subtle profile to keep energy dynamic and your gallery diverse.
In dimmer environments, tension creeps into a cosplayer’s face fast, so expression coaching becomes essential. Guide them with calm, specific cues like “soften your jaw” or “channel the character’s intensity” rather than vague directions.
Use a small flashlight or your phone screen to demonstrate poses without fully disrupting the ambient mood. Keep your feedback loop tight — shoot, review quickly, adjust, and reshoot. Precision here separates technically sharp images from truly immersive ones.
Use Twilight Windows to Get Natural Low Light Without Flash
Shooting during twilight gives you a narrow but powerful window where the sky acts as a massive, diffused light source that flatters cosplay without the harshness of flash. Tap into twilight magic by timing your session precisely when ambient and artificial light balance perfectly, revealing stunning natural lighting with zero flash artifacts.
Twilight transforms the sky into nature’s softbox — a fleeting, luminous window that flatters every cosplay detail effortlessly.
Maximize this window with these focused techniques:
- Arrive early — scout your location before golden hour fades
- Set aperture wide (f/1.8–f/2.8) to absorb every photon available
- Keep shutter at 1/100s minimum to eliminate camera shake
- Position your subject facing open sky for even, flattering illumination
- Shoot in RAW to preserve maximum tonal data for post-processing
That 20-minute window moves fast — work efficiently and capture boldly.
How to Edit Low Light Cosplay Photos Without Destroying Detail
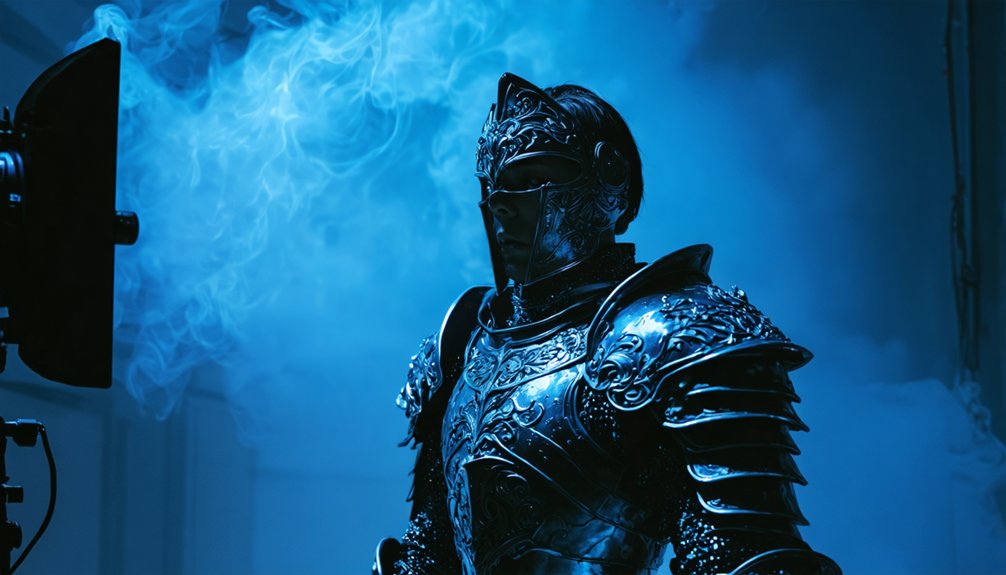
Once you’ve captured those twilight shots, editing becomes your final battlefield — where raw potential either transforms into a polished masterpiece or crumbles into noise. Start by correcting exposure and contrast precisely, pulling back highlights without crushing your shadows.
You’ll want to preserve every thread of the costume’s texture, so apply sharpening conservatively — aggressive sharpening amplifies digital noise ruthlessly.
For color grading, match the mood your lighting techniques already established during the shoot. Reinforce those cool blues or warm ambers without oversaturating, keeping the cosplay’s original color palette intact.
Boost vibrancy slightly rather than raw saturation to maintain chromatic balance.
Reduce noise selectively using luminance sliders, protecting edge detail on props and fabric.
Finally, crop intentionally — eliminate distracting background elements and redirect the viewer’s eye straight to your character.
How to Stay Safe and Respectful When Shooting at Night
Before you raise your camera at a nighttime shoot, always ask the cosplayer’s permission — it builds trust, opens up better collaboration, and keeps the session professional.
You’ll also want to scout your location carefully, identifying well-lit zones that minimize accidental contact with bystanders, equipment, or set pieces.
Choosing a controlled, safe environment lets you focus on capturing dynamic shots instead of managing chaotic, unpredictable surroundings.
Ask Permission First
Nighttime cosplay photography is thrilling, but it comes with a real responsibility: always ask permission before you raise your camera. Permission etiquette isn’t optional—it’s the foundation of every great collaborative shot.
Maintaining respectful distance also protects delicate costume pieces and builds instant trust.
Follow these key practices:
- Ask clearly and calmly before shooting—a quick, direct question sets a positive tone
- Respect a “no” immediately and move on without pressure
- Keep your distance to avoid damaging fragile props or accessories
- Communicate your vision briefly so the cosplayer understands your creative intent
- Choose low-traffic zones to minimize accidental contact with bystanders or equipment
These habits transform your nighttime sessions from rushed encounters into powerful, consent-driven creative collaborations.
Choose Safe Locations
Choosing your shooting location carefully can make or break a nighttime cosplay session. Scout your spot before the shoot — identify well-lit zones, stable ground, and clear pathways that keep both you and your subject safe. Location safety isn’t optional; it’s foundational to capturing clean, professional shots without interruptions.
Look for areas where you can apply creative lighting techniques without competing against chaotic crowds, harsh venue lights, or cluttered backgrounds. Open plazas, architectural corridors, and controlled outdoor spaces give you room to position portable lights strategically and maintain proper distance from your cosplayer’s delicate accessories.
Avoid tight, high-traffic zones where accidental collisions can damage costumes or equipment. When you control your environment, you unlock sharper focus on the cosplay itself — exactly where attention belongs.
Frequently Asked Questions
Can I Use a Tripod for Nighttime Cosplay Photography at Conventions?
Yes, you can absolutely use a tripod for tripod stability in low-light shots! However, conventions get crowded, so master handheld techniques with wide apertures and boosted ISO to stay agile and capture stunning nighttime cosplay dynamically!
What Camera Modes Work Best for Beginners Shooting Cosplay at Night?
Aperture Priority mode absolutely transforms your night shots! You’ll nail focusing techniques instantly — set a wide aperture, let the camera handle exposure, then fine-tune your camera settings by adjusting ISO until your cosplay subject glows perfectly.
Does Lens Stabilization Help Enough to Avoid Buying Extra Lighting Gear?
Lens stabilization and sensor stabilization boost image sharpness, but they won’t save you in truly dark venues! You’ll still need portable lighting gear to properly illuminate your cosplay subject and reveal stunning, noise-free nighttime shots.
How Do Colored Venue Lights Affect Cosplay Costume Colors in Photos?
Ironically, those dazzling venue lights you love destroy your costume’s true colors! Colored light temperature shifts hues dramatically, making reds purple or greens muddy. Seek light diffusion sources and correct white balance so you’re capturing your cosplay’s authentic palette accurately.
Should I Shoot RAW or JPEG for Low Light Cosplay Photography Sessions?
It’s your ultimate edge for post-processing techniques, letting you recover shadows and fix color casts from venue lights. Pair it with camera settings optimization—wide aperture, elevated ISO—and you’ll master every low-light cosplay shot.
References
- https://www.dzoom.org.es/fotografia-cosplay-retrato/
- https://www.canon.es/get-inspired/tips-and-techniques/low-light-photography/
- https://www.youtube.com/watch?v=FXz2iyU9ogA
- https://tribu.es/blog/consejos-para-fotografiar-tus-cosplays-y-conseguir-las-mejores-imagenes
- https://www.youtube.com/watch?v=VdLlsy6vNmY
- https://www.lacasadeel.net/2024/06/4-consejos-sesion-cosplay.html