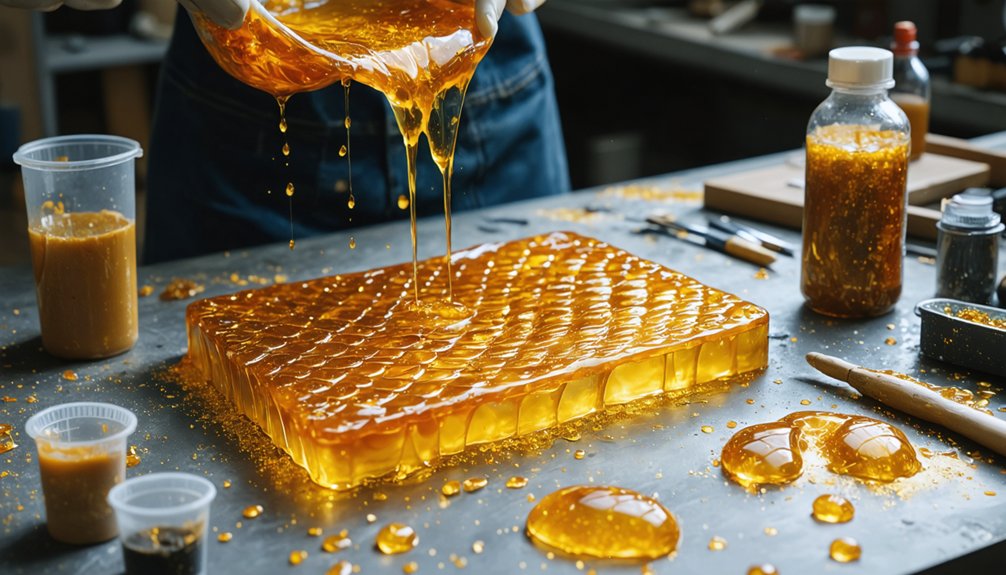
For cosplay resin casting, you’ll get the best results by using flexible silicone molds, measuring components at a precise 1:1 ratio, and mixing slowly to avoid trapping air. Pour into the mold’s lowest point, use a toothpick to dislodge stubborn bubbles, and seal everything inside a pressure pot at 40–60 PSI. Proper sanding, priming, and sealing complete the finish. Every technique here connects to a deeper process worth mastering.
Key Takeaways
- Use silicone molds for fine detail capture, applying mold release agents like petroleum jelly to ensure clean, easy demolding.
- Measure resin components precisely at the manufacturer’s ratio, mixing slowly with controlled folds to minimize trapped air bubbles.
- Pour resin into the mold’s lowest point in stages, using a toothpick and gentle tapping to dislodge trapped bubbles.
- Seal filled molds in a pressure pot at 40–60 PSI for approximately 10 minutes to collapse microscopic air pockets.
- Sand through progressive grits (220 to 1000), prime, paint with acrylics, and seal with thin topcoat layers for durability.
Which Mold Material Works Best for Cosplay Resin Casting?
When it comes to cosplay resin casting, silicone molds are your strongest option because they capture fine surface detail accurately and release cured resin cleanly without tearing or distortion. Silicone mold flexibility lets you peel away complex geometries that rigid mold materials simply can’t accommodate.
Silicone molds capture fine detail and release cured resin cleanly, making them the top choice for cosplay casting.
For smaller props and accessories, two-part silicone putty delivers reliable mold material durability without demanding advanced equipment. Before pouring, apply petroleum jelly or a dedicated mold release agent to prevent adhesion between components.
Your mold walls must stay structurally sound under the weight of liquid silicone or resin, so reinforce them when necessary. Work on a level surface throughout the process to eliminate warping during cure.
Choosing the right silicone system upfront directly controls your casting quality downstream.
How to Mix Two-Part Resin Without Ruining Your Cast
Before you pour a single drop, you’ll need to measure your two-part resin precisely according to the manufacturer’s specified ratio, commonly 1:1 by volume, because even slight miscalculations cause incomplete curing and soft, tacky spots.
Once measured, scrape the sides and bottom of your mixing cup continuously as you combine the components, ensuring no unmixed resin hides along the edges to create weak zones in your finished cast.
Mix slowly and deliberately so you’re folding the parts together rather than whipping them, since aggressive stirring pulls air into the mixture and seeds the bubbles that pressure casting must later fight to suppress.
Measuring Ratios Correctly
Getting the ratio wrong is one of the fastest ways to ruin a cast before the resin even touches the mold. Most two-part systems specify a 1:1 ratio by volume, but you should always verify this on the manufacturer’s label since formulas vary. Use calibrated measuring cups rather than estimating, and treat precision here the same way you’d approach color matching pigments for a seamless finish.
Even a slight imbalance leaves soft, tacky spots that no amount of cure time fixes. Before pouring, confirm your mold cleaning is complete, because contaminants compound the problem. Scrape the sides and bottom of your mixing cup thoroughly to eliminate unmixed pockets.
Every second of careful measuring protects your mold investment and keeps your final cast structurally sound.
Thorough Mixing Techniques
Once you’ve locked in the correct ratio, how you mix becomes the next critical variable standing between a clean cast and a ruined one. Scrape the sides and bottom of your mixing cup deliberately — unmixed pockets create soft spots that compromise structural integrity and distort color matching across your finished piece.
Mix slowly, using controlled folds rather than aggressive stirring, which traps air and seeds bubble defects throughout the cast. Thorough incorporation matters more than speed. When components blend completely, the resin progresses into a uniform, consistent mixture that cures predictably.
Before pouring, inspect your mold cleaning process too — residue or debris inside the cavity introduces contamination that disrupts curing chemistry. A clean mold paired with a properly mixed batch dramatically increases your chances of pulling a flawless, detail-perfect cast.
Minimizing Air Entrainment
Even your perfectly measured ratio won’t save a cast riddled with bubbles from aggressive mixing. Stir slowly and deliberately, folding the two components together rather than whipping them. Fast rotational mixing introduces thousands of micro-bubbles that survive into the cure cycle, compromising surface texture and creating pits that no amount of finishing recovers cleanly.
Use a flat-edged stir stick and scrape the cup’s sides and bottom consistently. Keep your strokes low and controlled. Once mixed, let the cup sit for thirty seconds so larger bubbles rise and pop before you pour.
Apply mold release properly beforehand, because a well-prepped mold combined with bubble-conscious mixing gives you the cleanest possible cast surface. These two practices work together, not independently.
Pour Resin Into Your Mold the Right Way
When you pour resin into your mold, always start at the lowest point of the cavity so the liquid flows upward and pushes trapped air out ahead of it rather than sealing it beneath the cast surface.
Work gradually, filling the mold in slow stages instead of dumping the full volume at once, which gives you better control over how resin moves through recesses and undercuts.
For stubborn air pockets clinging to fine details, run a toothpick through the affected area or give the mold a few firm taps against your work surface to coax bubbles upward before they cure in place.
Start From The Bottom
Pouring resin into your mold might seem straightforward, but where you start matters more than you’d think. Always begin at the lowest point of the mold cavity. This technique pushes air upward naturally, preventing trapped bubbles from corrupting your surface detail before you’ve even considered color matching your final piece.
Think of it like filling a container strategically rather than flooding it randomly. Pour in a slow, controlled stream, letting resin creep along the mold walls and displace air as it rises.
Mold cleaning before this step is non-negotiable — debris, dust, or residue creates adhesion points where air clings stubbornly.
Partially fill first, pause, then continue adding resin as it settles into recessed features. Gradual filling gives you precision control over complex geometries without overflow.
Managing Trapped Air
Trapped air is your biggest enemy once resin hits the mold, so you’ll need a short-handled toothpick or pointed tool ready before you pour a single drop. Every undercut and recessed feature inside the mold cavity becomes a potential air bubble trap the moment resin flows in.
Work your toothpick methodically through tight corners, dragging each stubborn bubble upward toward the open surface. Follow that with gentle tapping against the mold’s exterior walls — vibration dislodges air pockets that tools can’t physically reach.
A slow, controlled breath blown directly across the exposed resin surface breaks surface tension on any remaining bubbles. Execute these steps quickly because your working window is narrow, often just three to seven minutes depending on your resin system.
Why Bubbles Ruin Resin Casts and How to Stop Them
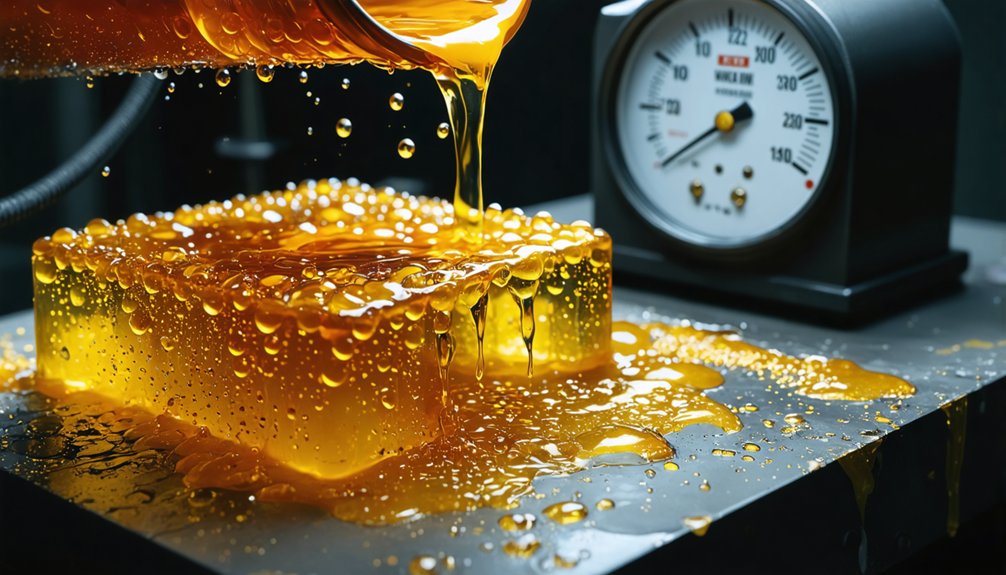
Air bubbles are the most persistent enemy of a clean resin cast, creating pits, voids, and rough surfaces that can ruin hours of careful mold work. Bubble formation happens at every stage—during mixing, pouring, and even mold contact—so you’ll need a multi-point strategy to protect your surface finish.
Mix your resin slowly, scraping sides and bottom thoroughly to integrate both components without entraining air.
Pour from the mold’s lowest point, letting resin rise gradually and push bubbles upward.
Use a toothpick to dislodge air trapped in recessed detail.
Then seal your mold inside a pressure pot and pressurize with an air compressor. That sustained pressure compresses remaining bubbles to invisibility throughout the cure cycle, delivering a clean, professional cast.
How to Use a Pressure Pot for Cleaner Resin Details
Once you’ve poured your resin and sealed the mold, a pressure pot becomes your most powerful tool for eliminating the bubbles that mixing and pouring technique alone can’t catch. Connect your air compressor, seal the lid, and pressurize the chamber—typically between 40 and 60 PSI depending on your resin system.
That compressed atmosphere forces microscopic air pockets to collapse before the resin gels, preserving sharp mold detail and protecting resin color uniformity across the entire cast. Keep the piece pressurized for roughly 10 minutes or through full cure.
When working with high mold flexibility, confirm the silicone walls won’t distort under pressure before sealing. After depressurizing, demold carefully and inspect for voids—a clean pull means your pressure cycle worked exactly as intended.
How Long to Leave Resin in the Pressure Pot Before Demolding
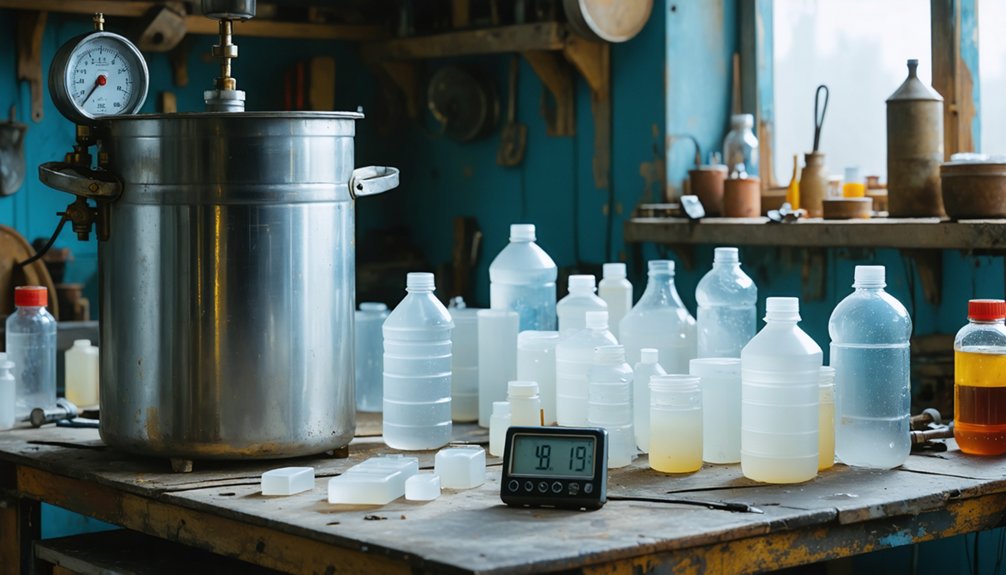
Cure time inside the pressure pot depends on your specific resin system, so manufacturer instructions remain your controlling reference rather than a fixed universal timer. Many fast-cast resins reach a demouldable state within 10 minutes under pressure, but denser pours or heavily pigmented resin color formulations often need extended cycles because colorants can subtly alter cure kinetics.
Don’t rush it. Premature demolding deforms fine details and tears delicate mold surfaces, wasting your mold release investment entirely. Once you crack the pot, test rigidity by pressing a fingernail gently against a sprue or overflow tab rather than the finished surface. If it dents, reseal and wait.
Patience here directly translates into sharper edges, cleaner geometry, and consistently professional cosplay components worth the effort you’ve invested.
How to Sand and Trim Resin Parts After Demolding
With your part successfully demolded and fully rigid, the next task is cleaning up the raw cast into something display-worthy. Start by trimming flash and seam lines using flush cutters or a craft knife, working carefully along parting edges to avoid gouging detail work.
Surface preparation follows a deliberate grit progression — begin around 220-grit to knock down high spots, then step through 400, 800, and 1000-grit for increasingly refined results. Wet sanding reduces dust and prevents resin heat buildup that can cause micro-warping.
For translucent or gem-style pieces, polishing techniques matter enormously. Finish with 2000-grit, then apply a plastic polishing compound to restore optical clarity.
Drill mounting points before painting, since post-paint drilling risks chipping your carefully built surface.
How to Paint and Seal Resin Cosplay Props for Durability
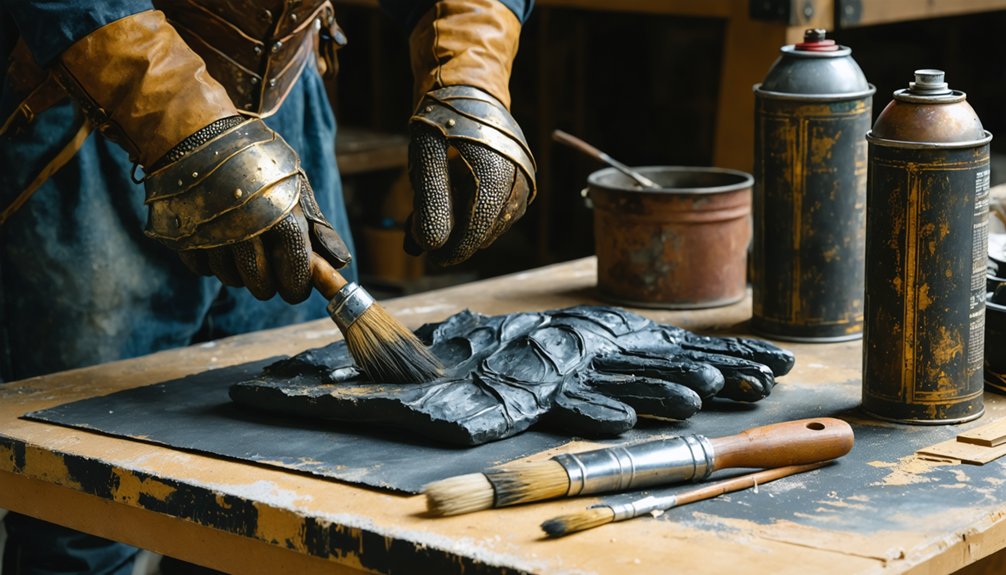
After sanding your resin piece to a clean, smooth finish, priming becomes your first critical step before any paint touches the surface — resin’s low porosity means paint adhesion fails without it. Apply a thin, even coat of spray primer and let it cure fully before color matching your base layers.
Use acrylic paints for flexibility and layering control, building up tones gradually rather than flooding the surface. For texture application, stippling sponges or dry-brushing techniques add dimensional realism to props like weathered armor or gemstones.
Once your paint layers are complete, seal everything with a durable topcoat — matte, satin, or gloss — matched to the prop’s aesthetic. Multiple thin sealing coats outperform a single heavy layer, preventing cracking and locking your finish against handling wear.
Frequently Asked Questions
Can Resin Casting Be Done Safely Indoors Without Special Ventilation Equipment?
You shouldn’t cast resin indoors without addressing ventilation needs—fumes are chemically aggressive. Prioritize indoor safety by opening windows, using fans, and wearing a respirator to actively protect your lungs during every pour.
What Is the Estimated Cost of Starting a Basic Resin Casting Setup?
You’ll spend roughly $50–$150 starting your resin mixing and mold preparation journey. That covers two-part resin, silicone mold materials, mixing cups, and basic tools—you’re equipping yourself to innovate detailed, professional-grade cosplay components affordably.
How Do You Store Unused Mixed Resin Without It Curing Prematurely?
You can’t pause mixed resin — once combined, curing prevention isn’t possible. Instead, master resin storage *before* mixing: measure only what you’ll use, keeping unmixed components sealed, cool, and dry to maximize shelf life.
Can Resin Props Withstand Outdoor Convention Heat Without Warping?
Your resin props’ heat resistance varies by formula—most standard casting resins soften around 120°F. To boost resin durability, you’ll want UV-stable, heat-resistant resins specifically engineered for outdoor environments, preventing convention heat from warping your meticulously crafted cosplay details.
Which Resin Brands Are Most Beginner-Friendly for First-Time Cosplay Casters?
Surprise—brands won’t save you; technique will! You’ll want EasyCast or Alumilite for beginner-friendly resin compatibility and forgiving curing time. Always check manufacturer ratios first—they’re your actual cheat code.
References
- https://www.dovahdesign.com/my-favorite-cosplay-mold-making-materials/
- https://andsewingishalfthebattle.com/intro-to-basic-resin-casting/
- https://www.reddit.com/r/cosplayprops/comments/1qj4jnr/resin_mold_and_casting_help/
- https://www.youtube.com/watch?v=WGGabML_NvY
- https://www.youtube.com/watch?v=upPZgvNNK-A
- https://www.youtube.com/watch?v=SZDTm9UnulU
- https://www.youtube.com/watch?v=1vrLXTzS9lo
- https://www.instructables.com/Resin-Casting-Tutorial-Moldmaking/
- https://www.smooth-on.com/howto/cosplay/