You’ll want to start with 6-8mm EVA foam for lightweight builds or Worbla for heat-moldable precision. Transfer patterns using wax paper templates with registration points, then cut with sharp blades at 90° for flat seams. Heat-form foam’s interior with a heat gun on low for 30 seconds, bond sections with contact cement, and reinforce stress points with epoxy fiberglass layers. Sand with 120-grit, apply filler primer, then finish with automotive primer before painting. The techniques below break down each step’s critical details.
Key Takeaways
- Choose materials like EVA foam for lightweight builds, fiberglass for durability, or Worbla for heat-moldable precision
- Create accurate patterns by measuring head circumference and using registration points for precise template transfer
- Cut foam at 90 degrees for flat seams or 45 degrees for peaked ridges using sharp blades
- Bond sections with contact cement and reinforce structure with fiberglass layers or metal bars for stability
- Sand with 120-grit, apply filler primer, then finish with automotive primer before painting and visor installation
Selecting the Right Materials for Your Helmet Build
When you’re planning a cosplay helmet build, your material choice will determine both your construction method and final result. EVA foam (6-8mm) offers lightweight versatility—you’ll shape it with heat guns and bond pieces using contact cement.
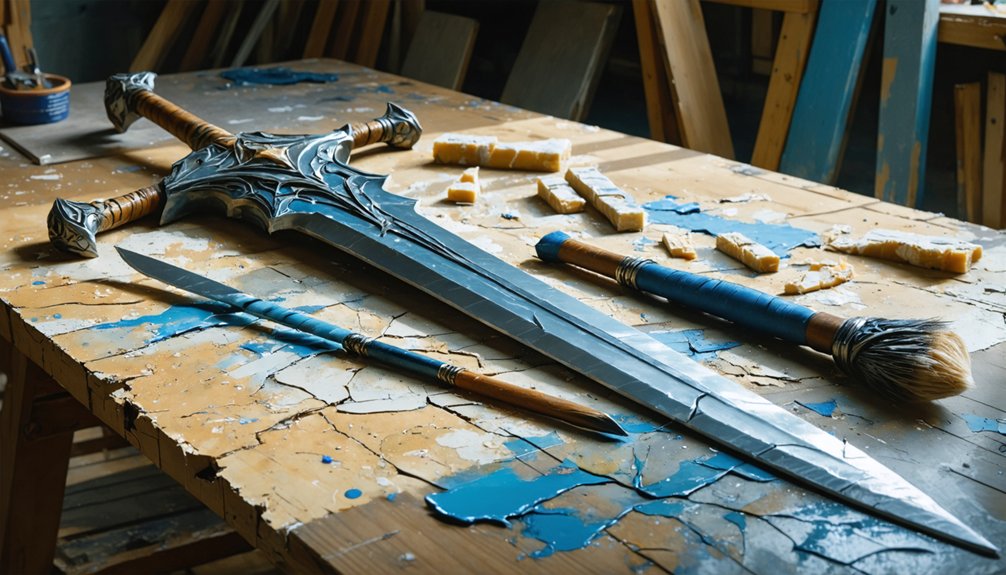
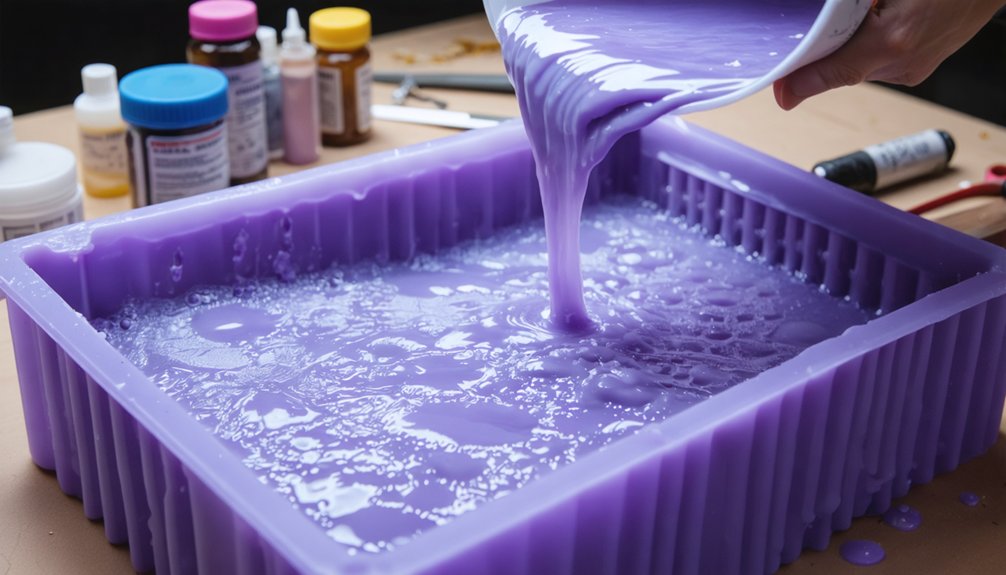
For structural reinforcement, fiberglass with resin creates rock-hard shells through interior layering techniques, though you’ll need proper ventilation and safety considerations due to toxic fumes. Thermoplastics like Worbla provide heat-moldable precision at higher costs, while foam board delivers economical bulk for horns and extensions. Spray foam expands to fill complex volumes quickly.
Your finishing arsenal should include Bondo or Fast Mache for smoothing, Weldwood cement for sealing, and quality primers. Strategic material combinations—foam cores with fiberglass reinforcement—maximize strength while controlling weight and budget.
Creating and Transferring Patterns From Templates
Before you cut a single piece of material, you’ll need accurate patterns transferred onto your chosen substrate—this step determines whether your helmet components align properly or create frustrating gaps during assembly.
Start with pattern customization by measuring your head circumference and calculating the scaling ratio against the original design specifications. The wax paper method excels for template modification: reverse your digital pattern, print onto wax paper, and transfer ink directly onto EVA foam through firm rubbing pressure.
For physical tracing, secure templates with push pins and mark registration points using a pattern notcher. Transfer all detail lines, connection points, and hole locations using permanent marker. Mark internal cuts with dotted indicators, and use pin-poke marking for precise hole placement, ensuring dimensional accuracy throughout your build.
Cutting, Shaping, and Heat-Forming Foam Components
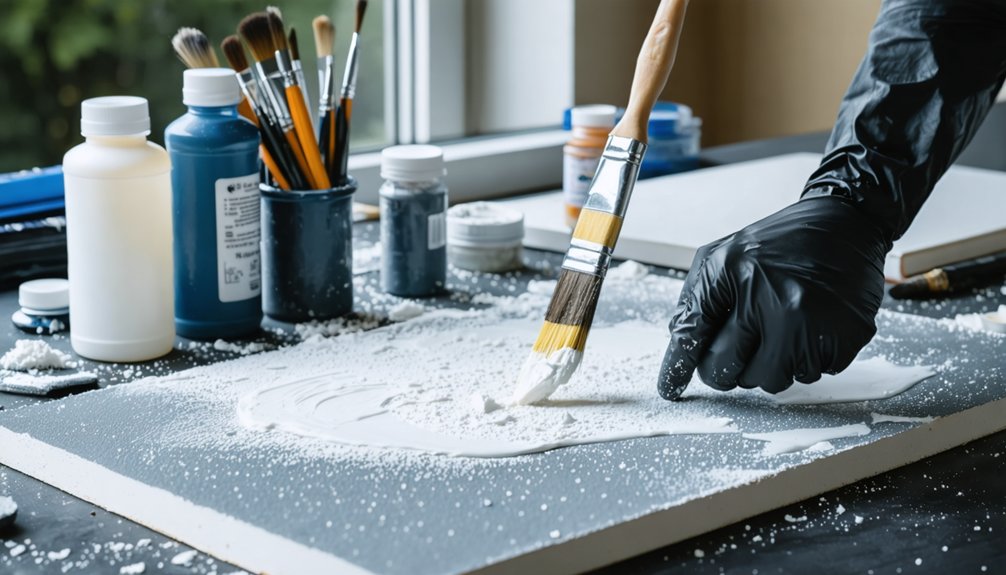
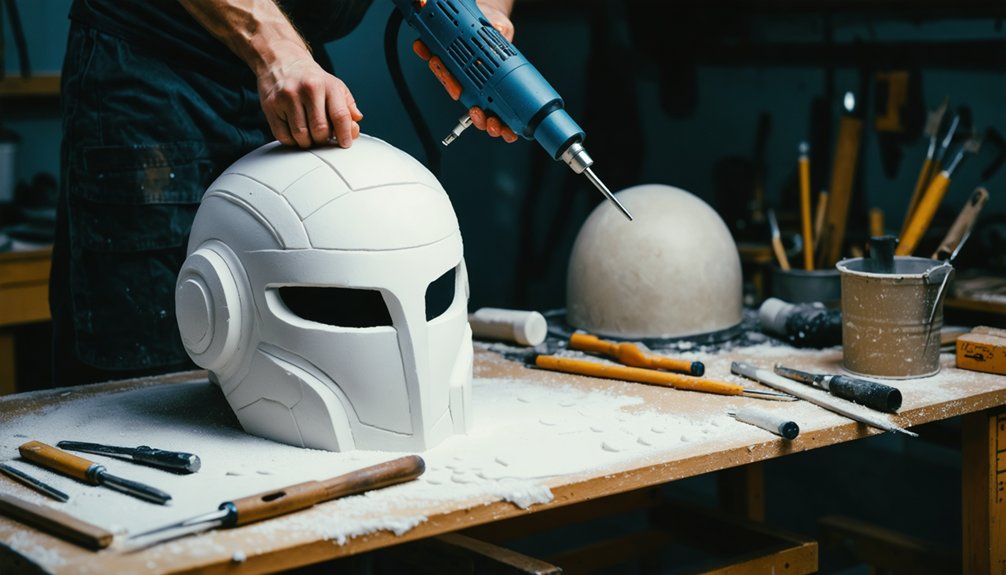
With your patterns marked and ready, you’ll transform flat EVA foam into dimensional components through precise cutting and controlled heat manipulation. Hold your blade at 90 degrees for flat seams or 45 degrees for peaked ridges and crests. Sharp tool considerations matter—EVA foam dulls blades rapidly, requiring frequent sharpening for clean cuts. Execute single, smooth strokes through foam on your cutting mat, avoiding jagged edges.
Heat-forming activates next. Apply your heat gun’s lowest setting to the foam’s interior for 30 seconds, wearing heat-resistant gloves. The material bends toward the heated surface, becoming pliable for shaping over formers or by hand. Maintain proper safety equipment maintenance when using Dremel tools—goggles, dust masks, and gloves prevent injury during sanding and finishing. Hold curved sections until cooled to lock dimensional forms permanently.
Assembly Methods and Structural Reinforcement
Once your foam components have cooled and locked into their final shapes, contact cement creates the primary bonds that hold helmet sections together. Apply adhesive with a scrap foam wedge for controlled coverage, ensuring both surfaces receive even coating. Flat seams require 90° cuts, while beveled edges accommodate angled joins on contoured surfaces.
Heat molding techniques prove essential before assembly—heat foam to increase flexibility, bend over formers, then allow complete cooling before adhesive applications.
Beyond foam construction, structural reinforcement determines long-term durability. Epoxy fiberglass layers provide lightweight rigidity for 3D prints and convention-grade builds. Apply release agent first, coat surfaces with epoxy, then add glass cloth in overlapping layers. Thicker cross-sections cure faster while maximizing strength.
For paper builds, saturate cardstock layers with thinned glue, reinforcing flex-prone areas. Metal bars and nylon straps prevent detachment under stress.
Surface Finishing, Painting, and Visor Installation
Surface preparation begins the moment you remove the helmet from its build plate or pull apart your assembly jig. You’ll start with 120-grit sandpaper to knock down layer lines, progressing through 240-grit, then 400-grit after priming. Proper sanding progressions prevent surface damage—use your electric sander briefly to avoid melting plastic from friction.
Effective primer application techniques require light coats of filler primer in ventilated spaces, building thickness to quarter-inch through layered applications. After 2-hour partial cures, advance to 1000-grit for final refinement.
Critical Finishing Steps:
- Apply automotive primer as your final base coat for superior paint adhesion
- Select spray paints for base colors, acrylics for weathering details
- Install visors only after smoothing interior cutout roughness
- Protect completed work with matte or gloss clear coat
Allow 16 hours for full cure before handling.
Frequently Asked Questions
How Do I Ensure Proper Ventilation and Breathability Inside the Helmet?
Studies show helmet temps drop 15°F with active ventilation. You’ll need ideal airflow channels positioned strategically—mount battery fans at neck/crown intake points, add breathable fabric lining inside, and cut discrete exhaust notches for continuous circulation throughout wear.
What’s the Best Method for Padding and Comfort Lining Installation?
You’ll achieve custom comfort fit by combining EVA foam base layers with strategic loft padding installation using contact cement. Heat-form foam strips first, then add Velcro-backed batting helmet pads where needed—this creates adjustable, breathable support that won’t shift during wear.
How Can I Accurately Size the Helmet to Fit My Head?
Picture your helmet as a second skin. Take head circumference measurements plus width and depth using calipers, then scale custom helmet molds accordingly. Average multiple readings, adjust patterns to your exact dimensions, and test-fit progressively during construction.
What Safety Precautions Should I Take When Working With Resins and Fumes?
You’ll need proper respirator usage with organic vapor cartridges and appropriate personal protective equipment—nitrile gloves, safety goggles, and protective clothing. Work in well-ventilated areas, as resin fumes remain toxic regardless of odor levels during curing processes.
How Do I Add Electronics Like LED Lights or Fans?
You’ll prototype your circuit board integration on breadboards first, then secure components with hot glue inside. Achieve battery pack concealment by crafting foam compartments with velcro mounting, enabling quick repairs while maintaining your helmet’s clean aesthetic.