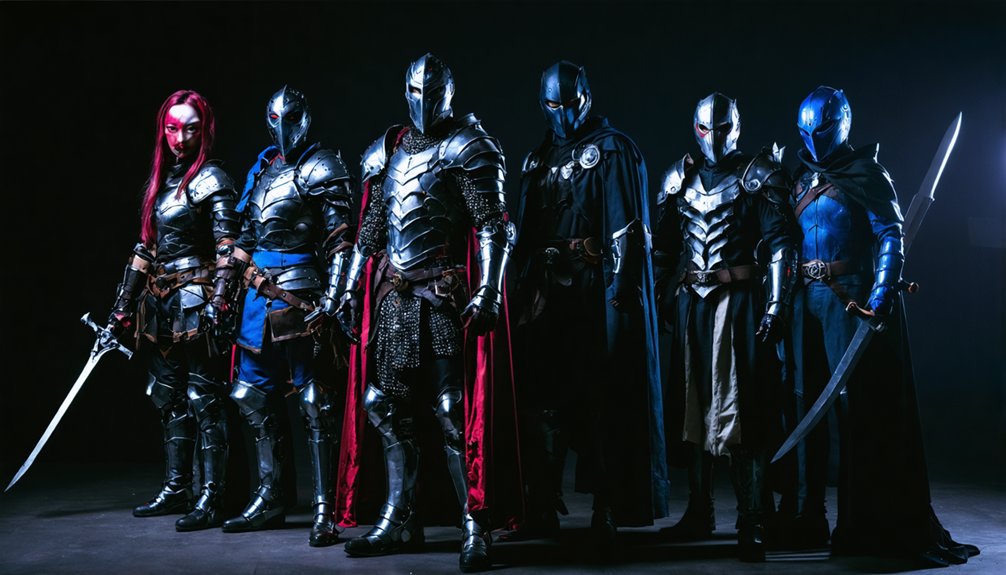
To build an authentic Black Panther suit, you’ll need EVA foam in multiple thicknesses, contact cement, and PlastiDip for your foundation. Start by scaling templates to your measurements, then heat-form each armor piece to match your body’s contours. Apply a black base coat before layering Citadel Contrast paints—Blank Templar followed by Gene Stealer purple in recesses. Add silver accents to claws and structural details for vibranium’s kinetic energy aesthetic. Mount everything to a compression garment base, and you’ll discover advanced techniques for perfecting structural integrity throughout.
Key Takeaways
- Use 4-6mm EVA foam sheets with contact cement adhesive and heat guns to shape armor pieces conforming to body contours.
- Apply PlastiDip primer, black base, then layer Citadel Contrast paints with silver accents for authentic vibranium metallic effects.
- Scale downloaded templates to body measurements before cutting chest plates, abs panels, gauntlets, and helmet components precisely.
- Secure armor to compression garment base using industrial velcro, hidden magnets, or elastic harnesses with strategic padding.
- Test full mobility range and install quick-release mechanisms while distributing weight evenly across shoulders, hips, and chest.
Essential Materials and Tools for Your Vibranium Armor
Building an authentic Black Panther suit requires five essential material categories: EVA foam in multiple thicknesses, specialized adhesives, metallic finishes, base fabrics, and precision cutting tools.
EVA foam thickness variations form your armor’s foundation—4mm sheets construct base panels while 6mm creates durable structural sections. Layer multiple thicknesses to achieve dimensional Vibranium textures that catch light authentically.
Contact cement and PlastiDip dominate adhesive curing techniques, with contact cement providing permanent foam bonds and PlastiDip serving dual purposes as primer and flexible sealant.
Your cutting arsenal needs scissors for clean foam cuts, craft knives for intricate detailing, and heat guns for thermoplastic shaping.
Silver metallic paints over PlastiDip bases deliver the signature Vibranium sheen, while stretchable sub-dye fabrics covering muscle suit foundations guarantee seamless pattern integration and maintained mobility throughout construction.
Crafting the Chest Plate and Back Armor
To achieve the iconic chest plate’s distinctive geometry, you’ll begin by scaling your downloaded templates to match your torso measurements before transferring them onto 6mm EVA foam sheets. Cut precisely along traced lines, then layer additional foam segments using contact cement to replicate vibranium’s dimensional depth. Heat-form each section to conform to your body’s natural curvature, mimicking the suit’s seamless nanobot application across vulnerable areas.
For surface finishing, apply primer followed by PlastiDip to eliminate foam texture, creating that signature metallic sheen. Layer matte silver base coats with strategic gloss accents to simulate kinetic energy absorption properties.
The back armor requires identical construction methodology but demands enhanced flexibility—integrate elastic mounting points that maintain structural integrity while preserving full range of motion during dynamic poses.
Building the Abs Section and Belt Details
Your abs section requires precise template-based cutting of 4-6mm EVA foam sheets, followed by heat gun shaping to achieve anatomically curved panels that mirror the suit’s segmented design.
Stack multiple foam layers with contact cement to build dimensional depth, then carve or overlay thin foam strips along panel edges to replicate vibranium accent lines.
The belt foundation demands measured foam strips matching your waist circumference, heat-formed into ergonomic curves before assembling the buckle structure with reinforced foam backing for stability.
Cutting and Shaping Abs
The abdominal section forms the visual centerpiece of the Black Panther suit, requiring precise panel separation and dimensional shaping to achieve the characteristic sculpted appearance. You’ll need to employ advanced molding techniques using heat manipulation on EVA foam sheets, applying controlled temperature to create three-dimensional contours that mirror natural musculature.
Focus your abdominal contouring efforts on establishing distinct separation lines between individual muscle groups—rectus abdominis panels should exhibit subtle depth variation while maintaining structural integrity.
Cut your foam pieces 15-20% larger than your pattern templates, accounting for material compression during heat forming. Use progressive heating stages: first establish primary curves, then refine secondary details. Your precision here determines whether the suit reads as authentic vibranium armor or merely shaped foam.
Test contouring depths against reference imagery before committing to final adhesive assembly.
Belt Buckle Assembly
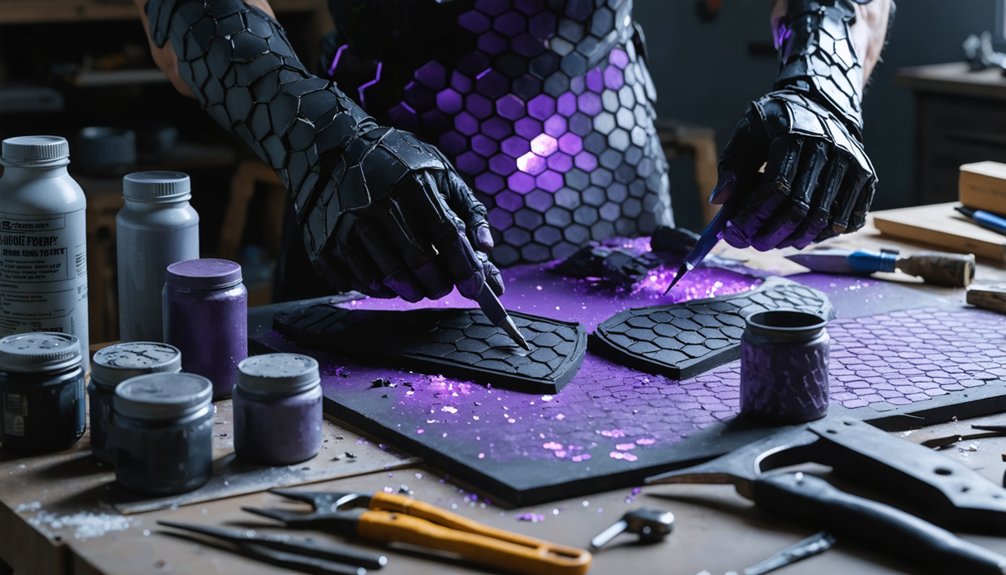
Below your sculpted abdominal panels, the belt assembly demands equal attention to dimensional accuracy and structural reinforcement. Begin with paper templates transferred to EVA foam, then employ EVA foam modification methods like Dremel beveling and heat-gun contouring to establish curved profiles. Layer scrap EVA pieces for elevated ridges before applying Worbla reinforcement.
Advanced Worbla sculpting techniques involve heating sheets to mold rigid buckle structures, pressing material into PVC adapters for secure attachments, and sculpting panther motifs that reference Ka-Zar’s Vibranium emblem aesthetic. Integrate five plastic buckles symmetrically across crotch and belt sections, creating adjustable closure mechanisms. Construct segmented belt loops using bottle-cap-templated circles covered in Worbla for metallic texture.
Unite front components with your abs section, achieving the comic-accurate Vibranium micro-weave appearance through strategic material layering.
Constructing Arms and Strike Gauntlets
You’ll build the arms and strike gauntlets using layered foam construction to replicate the vibranium weave texture characteristic of Black Panther’s enhanced suit. The technique requires stacking multiple EVA foam sheets with contact cement to create dimensional armor pieces that conform to your arm’s natural contours.
Once you’ve shaped the base structure with a heat gun, you’ll apply precise detailing to the gauntlets before sealing and finishing with primer, PlastiDip, and metallic paint layers.
Foam Armor Layering Technique
After selecting your EVA foam materials, begin constructing the arm pieces by creating precise paper templates that’ll serve as your cutting guides. Measure your arm’s circumference and length, then cut rectangular base pieces with an additional inch for overlapping flaps. This foam layering approach requires cutting front and back sections separately to achieve proper contours.
Apply contact cement to overlapped chest and back flaps for a flush connection. The assembly process overview involves gluing side flaps after marking correct placement, then bonding back pieces together. Fill shoulder gaps with foam inserts for structural support.
Heat-form pieces using a heat gun, pressing warmed foam into ceramic bowls for dome shapes. Stack multiple layers strategically to create thickness variation, enhancing the suit’s dimensional vibranium aesthetic.
Gauntlet Details and Finishing
The gauntlet components demand meticulous attention to template accuracy and foam thickness consistency. You’ll cut 4mm or 6mm EVA foam following printed patterns, then layer pieces with contact cement for structural rigidity.
Apply your heat gun strategically to contour the guards around your forearm’s natural shape. For claw detailing, craft extensions from additional foam strips, ensuring symmetrical attachment points that mirror the comic’s vibranium accents.
Once assembled, seal everything with PlastiDip to prevent paint absorption issues. Your metallic surface finish requires multiple silver paint coats to achieve that platinum-vibranium appearance. Heat-set each layer for a glossy, crack-free sheen that simulates kinetic energy absorption.
The Okavango pyramid pattern adds authentic texture while maintaining the seamless, indestructible aesthetic essential to accurate Black Panther replication.
Creating the Iconic Panther Helmet

Apply foam weathering techniques through strategic black spray paint base coating, followed by gloss finishes and silver puff paint accents replicating movie-accurate surface textures.
Painting Techniques for the Vibranium Effect
Once you’ve completed your helmet construction, achieving authentic vibranium metallics demands a methodical layering approach that builds depth through strategic paint application.
Authentic vibranium metallics require methodical layering techniques that strategically build dimensional depth through precise paint application.
Begin with PlastiDip primer on foam surfaces, then establish your black foundation before introducing specialized finishes. Contrast paint blending creates dimensional crevices when you apply Blank Templar base followed by Gene Stealer purple in armor recesses and bicep sections. Apply multiple thin grey coats for superior cobblestone texture rather than single thick layers.
Metallic accent highlighting transforms basic surfaces into technological sophistication:
- Layer Citadel Contrast paints over prepared base colors for enhanced depth
- Apply silver precision brushwork to claws and structural details
- Fade purple accents gradually across armor plating boundaries
- Reapply contrast strategically for camera-distance visibility
This systematic approach replicates vibranium’s kinetic energy aesthetic through deliberate color placement.
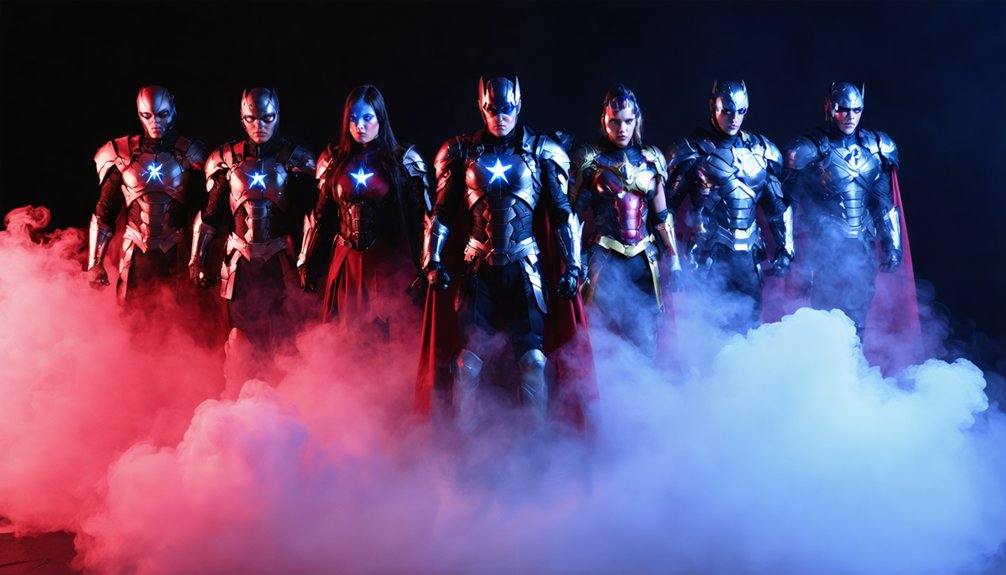
Final Assembly and Wearing Your Suit

After completing your paint applications, structural integrity becomes paramount as you connect individual armor components into a wearable system. Begin with your base layer—a flexible compression garment that’ll support attachment points without restricting movement. Secure armor pieces using industrial-strength velcro, hidden magnets, or elastic harness systems that distribute weight evenly across your frame.
Comfort considerations demand strategic padding at pressure points: shoulders, hips, and chest plates require foam backing to guarantee protection from chafing during extended wear. Test costume mobility through full range-of-motion exercises before your event. You’ll need to crouch, reach, and pose without armor shifting or separating.
Install emergency quick-release mechanisms at critical junctions. This certifies rapid removal when necessary while maintaining the suit’s seamless aesthetic during performance.
Frequently Asked Questions
How Long Does It Take to Complete a Full Black Panther Suit?
You’ll need 3-6 months for complete suit construction timeline, depending on your skill level. Your material selection process—choosing stretch fabrics, foam reinforcements, and claw components—significantly impacts build duration. Professional replicas require 2-4 months with advanced fabrication techniques.
What Is the Total Estimated Cost for Materials and Supplies?
Your total material selection costs range from $150-$1,000+ depending on quality tier. Budget planning should allocate $450 for helmets, $650 for lycra suits, plus armor components. You’ll achieve professional-grade results with premium fabric investments.
Can the Suit Be Made to Fit Different Body Sizes?
You’ll discover adjustable sizing options through strategic foam scaling and elastic panel integration. Whether you’re crafting from templates or ordering pre-made, custom tailored fit accommodates diverse proportions—EVA thickness, contact cement gaps, and vibranium material stretch guarantee your transformation.
How Durable Is the Foam Armor During Conventions and Photoshoots?
Your foam armor demonstrates excellent costume durability through convention days when properly sealed with Plasti Dip or Mod Podge. Costume maintenance requires avoiding LARP combat scenarios, as repeated boffer impacts compromise structural integrity regardless of assembly methods used.
Where Can I Find Accurate Reference Images for Movie Details?
You’ll find precise movie details through high-quality production stills from Marvel’s official press kit, online concept art archives like Art of VFX, and the Smithsonian’s physical exhibit showcasing the screen-used suit’s texture and construction elements.