When it comes to enhancing your cosplay experience, creating a DIY fantasy castle backdrop can be a game-changer. Imagine the impact a well-crafted backdrop can have on your character portrayal and overall aesthetic.
The process may seem challenging, but with the right guidance, you can bring your favorite fantasy world to life. Stay tuned to discover the key steps in building an enchanting castle backdrop that will elevate your cosplay to new heights.
Key Takeaways
- Choose a castle design that aligns with your cosplay vision and style.
- Construct the backdrop with foam boards, craft knives, and hot glue for durability.
- Use textured spray paint, faux ivy, and LED lights for a realistic and immersive look.
- Enhance your cosplay photoshoot with dynamic poses, props, and ideal lighting techniques.
Materials Needed for Castle Backdrop
To create an enchanting castle backdrop for your cosplay, gather a variety of materials that will bring your fantasy setting to life. Start by acquiring large sheets of foam board or cardboard as the base for your backdrop. These materials are lightweight and easy to work with, making them ideal for constructing a castle facade.
Next, you'll need craft foam or Styrofoam to add dimension to your backdrop. Use these materials to create intricate details like stone walls, turrets, and battlements.
For a realistic castle appearance, consider using textured spray paint to give your backdrop a weathered stone look. Construction tips include cutting out windows and doors from the foam board, then adding details with a hot glue gun. To enhance the medieval vibe, incorporate faux ivy, moss, or even miniature LED lights to create a magical ambiance.
Don't forget to add a touch of creativity by painting on bricks, vines, or other intricate designs. With these materials and construction tips, your castle backdrop will transport you to a fantasy domain in no time.
Choosing the Perfect Castle Design
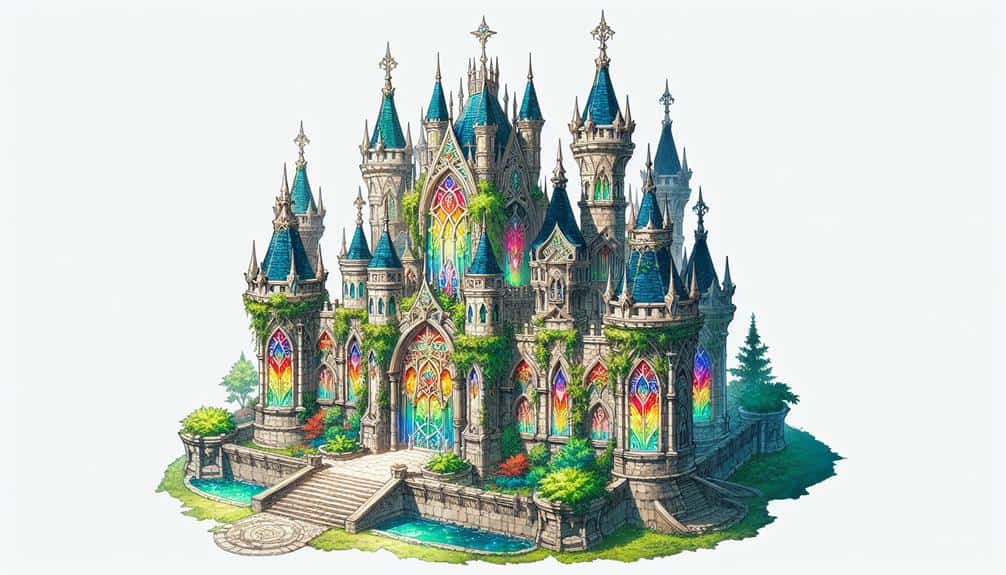
For the ultimate cosplay success, investigate into selecting the ideal castle design that will make your fantasy world truly come alive. When choosing a castle design for your backdrop, consider the intricate details of castle architecture and how they align with your chosen fantasy themes. Think about whether you want historical accuracy or prefer modern interpretations that add a unique twist to your cosplay setting.
Castle architecture plays an important role in setting the tone for your cosplay. Are you drawn to the grandeur of medieval fortresses with towering turrets and massive stone walls, or do you envision a more whimsical fairy-tale castle with spires and delicate embellishments? Think about how the design elements, such as battlements, towers, and gatehouses, can enhance the overall aesthetic of your backdrop.
Whether you opt for a traditional medieval castle or a fantastical interpretation, make sure that the design resonates with your cosplay vision and complements the characters you plan to portray. By carefully selecting the perfect castle design, you can transport yourself and your audience to a enchanting world of fantasy and imagination.
Step-by-Step Construction Guide
Begin on your cosplay journey by immersing yourself in the intricate process of constructing a fantasy castle backdrop with this step-by-step guide.
To start the castle construction, gather materials like foam boards, craft knives, hot glue, and a cutting mat. Sketch out your castle design on the foam boards and carefully cut out each piece according to your plan – walls, towers, and battlements. Assemble the pieces using hot glue, ensuring they're securely attached to create a sturdy structure.
Next, add details to enhance the fantasy cosplay vibe. Create windows, doors, and brick textures by carving into the foam boards with a craft knife. You can also add embellishments like turrets, flags, and ivy for a whimsical touch. Arrange the components to form the desired layout, considering the height and placement of each element to achieve a majestic appearance.
Painting and Finishing Touches
Enhance the visual charm of your fantasy castle backdrop by applying intricate painting techniques and adding delicate finishing touches for a truly immersive cosplay experience. When it comes to castle detailing, consider using a variety of creative techniques to bring your backdrop to life. Start by painting the bricks with a base coat of grey, then add depth by dry brushing lighter and darker shades to create a weathered effect. For the wooden doors and windows, use a wood grain tool to add realistic textures before painting them in rich, earthy tones.
To enhance the overall look of your castle backdrop, consider adding moss, ivy, or even tiny faux lanterns to create a sense of age and mystery. These finishing touches won't only make your backdrop visually appealing but also add depth and dimension to your cosplay photos. Remember, the key is in the details, so take your time and experiment with different techniques until you achieve the perfect look for your fantasy castle backdrop.
Tips for a Stunning Cosplay Photoshoot
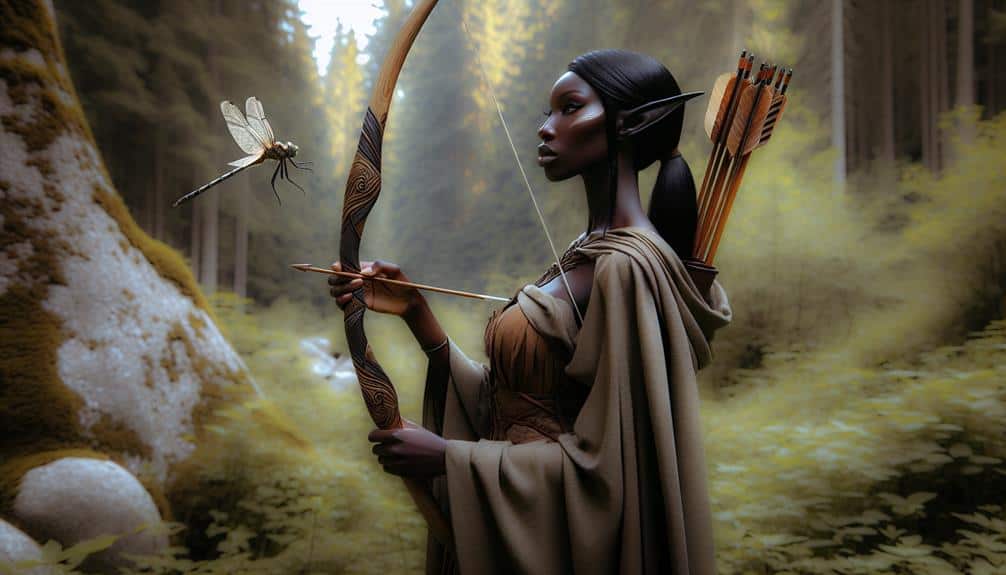
Maximize the full potential of your fantasy castle backdrop by capturing stunning cosplay photos that transport viewers into a domain of enchantment and wonder. When it comes to posing techniques, consider embodying your character fully. Strike dynamic poses that reflect the personality and essence of the character you're portraying. Experiment with different angles to find the most flattering and impactful poses. Utilize props from your cosplay to add depth and storytelling to your photoshoot.
Lighting tricks can make or break your cosplay photos. Natural light works wonders, so aim to shoot during the golden hours of sunrise or sunset for a warm and magical glow. If shooting indoors, invest in softbox lights to create a professional studio feel. Play with shadows and highlights to add drama and intrigue to your images.
Frequently Asked Questions
How Can I Make the Castle Backdrop Portable for Easy Transportation to Different Cosplay Events?
When making the castle backdrop portable for different cosplay events, focus on portable storage and lightweight design. Add travel-friendly modifications for easy setup. Incorporate these features to guarantee your cosplay success wherever you go.
Are There Any Specific Lighting Techniques or Effects That Can Enhance the Overall Appearance of the Castle Backdrop in Photoshoots?
Illuminate your castle backdrop with strategic lighting techniques to create depth and drama. Experiment with colored gels, spotlights, and shadows for enchanting effects. Capture magical moments in photoshoots, mastering cosplay with photography tips.
Can the Castle Backdrop Be Easily Modified or Customized to Fit Different Cosplay Themes or Characters?
Customizing the castle backdrop to suit various cosplay themes or characters is simple. Its versatile design allows for easy modification. You can adapt it to any theme or character, enhancing the overall look of your photoshoot.
Are There Any Recommended Ways to Store and Maintain the Castle Backdrop to Ensure Its Longevity and Durability?
To confirm your castle backdrop lasts, consider storing it in a cool, dry place to prevent damage. Regularly dust and spot clean it gently. Avoid direct sunlight and moisture exposure for longevity. Your care will preserve its enchanting durability.
What Are Some Creative Ways to Incorporate Props or Accessories to Complement the Castle Backdrop and Elevate the Cosplay Photoshoot?
Get ready to rock your castle photoshoot! Think outside the box with extravagant cosplay props. Add a touch of magic with unique accessories. Elevate your game with creative photography techniques. Your fantasy world awaits!


