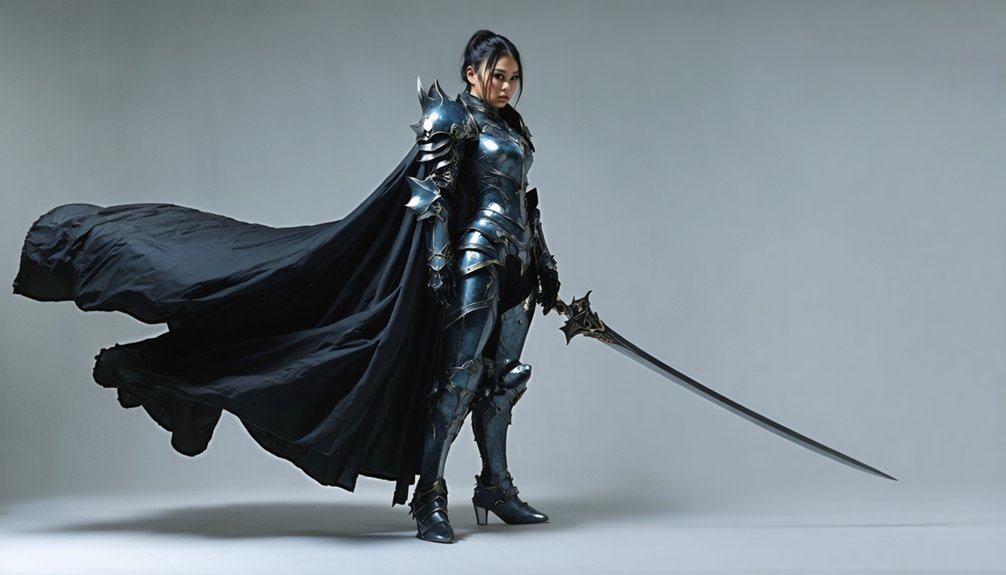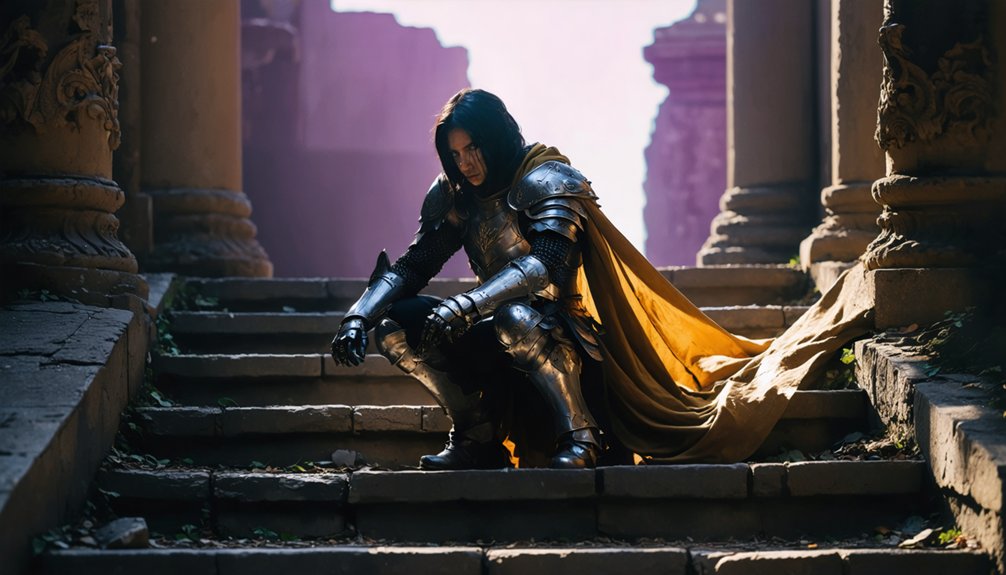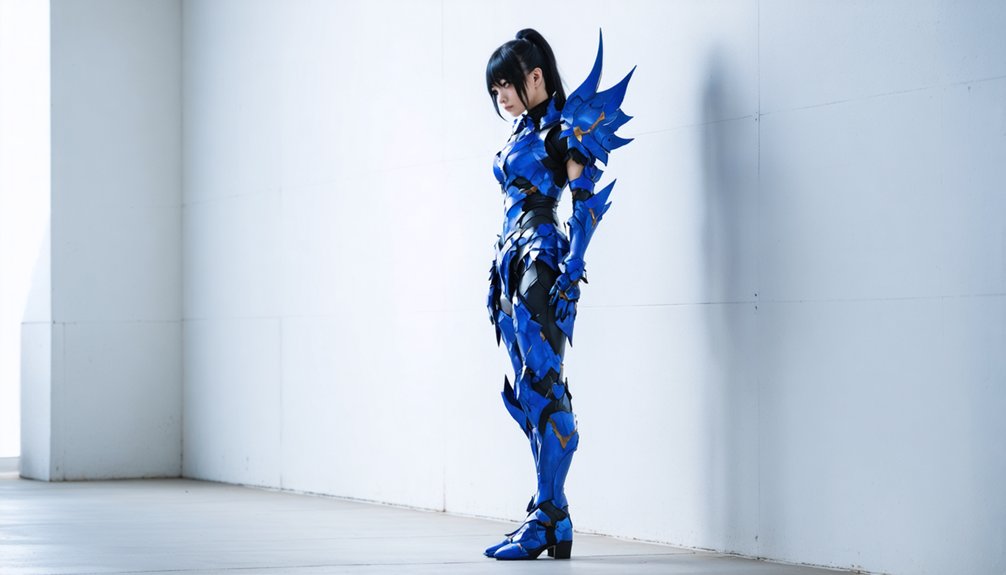
The most common cosplay photography pose mistakes include standing too stiff, squaring your torso directly to the camera, and letting your arms press flat against your sides. You’re also weakening your shots when you repeat the same pose, ignore your character’s personality, or let props block your costume’s best details. Small adjustments—like angling your torso 30–45 degrees or pushing your chin forward—create dramatically stronger images. Each mistake has a targeted fix worth knowing.
Key Takeaways
- Standing completely still with a neutral expression makes cosplay photos feel flat, lifeless, and fails to convey the character’s personality.
- Facing the camera directly flattens your silhouette; rotating the torso 30–45 degrees adds depth and highlights costume details.
- Arms pressed tightly against the body compress the silhouette and obscure important costume features and design elements.
- Pointing props or weapons directly at the camera causes foreshortening, hides costume details, and distorts overall composition.
- Repeating the same pose throughout a shoot reduces visual interest; plan at least five distinct poses for variety.
Cosplay Poses That Stand Still Always Look Flat
When you stand completely still in front of the camera, your photo loses the energy that makes a cosplay image feel alive. Static poses flatten your character’s presence and strip the image of personality. Instead, introduce subtle movement: shift your weight onto one leg, twist your torso slightly, or adjust your stance between shots.
Dynamic facial expressions amplify this effect further. A fixed, neutral face paired with a rigid body produces a generic result, regardless of costume quality. Your expression must carry the character’s emotion.
Background integration also suffers when you’re motionless. A static pose disconnects you visually from the environment, reducing scene cohesion. When your body angles and momentum feel intentional, you naturally relate to the space around you, creating a more compelling, story-driven image.
Squaring Your Torso to Camera Kills the Shot
Facing the camera dead-on flattens your body into a two-dimensional silhouette, eliminating the depth and shape your costume needs to read well in a photo. When you square your torso directly to the lens, you’re removing the angular geometry that creates visual tension and dimension.
Instead, rotate your torso roughly 30 to 45 degrees off-axis. This single adjustment immediately introduces depth, defines your costume’s construction, and gives the frame a stronger compositional line.
Pair that rotation with dynamic expressions to reinforce your character’s energy rather than undermining it with a neutral, front-facing stance.
Background integration also improves when you angle your body, since the environment becomes a layered element rather than a flat backdrop competing with your costume for visual priority.
Arm and Elbow Mistakes That Weaken Your Cosplay Pose
Your arms can quietly sabotage an otherwise strong cosplay pose when you press them flat against your sides, bulk up your silhouette, and erase the definition the costume needs to read clearly on camera.
Elbows aimed directly at the lens create awkward, compressed geometry that distorts your frame and pulls the viewer’s eye to the wrong place.
Hands that hang without purpose signal a lack of intention and make the pose feel unfinished, so every part of your arm should serve the character or the composition.
Arms Too Close Together
Keeping your arms pressed tightly against your sides is one of the most common technical errors in cosplay photography, and it quietly undermines the entire pose. When your arms sit flush against your torso, they compress the silhouette, add visual bulk, and eliminate the negative space that defines your costume’s shape.
Breaking arm symmetry immediately strengthens the frame. Try extending one arm slightly outward, bending an elbow, or placing a hand on a prop at an angle. These small adjustments introduce pose variation that keeps the composition dynamic and character-driven.
Even a few centimeters of separation between your upper arms and torso creates cleaner lines and preserves the costume’s intended silhouette. Don’t let tight arm placement flatten hours of craftsmanship into a single compressed shape.
Elbows Facing The Camera
When your elbows point directly toward the camera, they create awkward geometric shapes that disrupt the pose’s visual flow. Poor elbow positioning compresses depth, distorts proportions, and breaks camera symmetry instantly.
Correct this by applying these four adjustments:
- Rotate your elbow outward so the arm’s natural curve faces the lens instead of the joint’s tip.
- Angle your arm slightly downward or upward to redirect the elbow away from the camera plane.
- Introduce negative space between your arms and torso to restore clean silhouette lines.
- Check your reflection or live preview before shooting to catch forward-facing elbows early.
Controlling elbow positioning transforms a visually cluttered pose into one with strong, intentional geometry.
Purposeless Hanging Hands
Fixing elbow direction solves one problem, but hands that simply hang at your sides introduce another. Limp, unplaced hands signal a lack of intention and immediately weaken an otherwise strong pose. In cosplay photography, purposeful hand positioning transforms a passive stance into a character-driven image.
Start by asking what your character would actually do with their hands. Expressive hand gestures tied to personality, whether gripping a weapon hilt, hovering over a holster, or executing a signature move, communicate story without words.
Even subtle placements, like resting fingertips against your costume or partially curling your fingers, add intentionality.
Avoid letting hands face the lens flat or fall completely open. Slight angles and deliberate tension keep every element of the frame working toward a cohesive, compelling shot.
Hand Placement Errors That Unfinish an Otherwise Strong Look
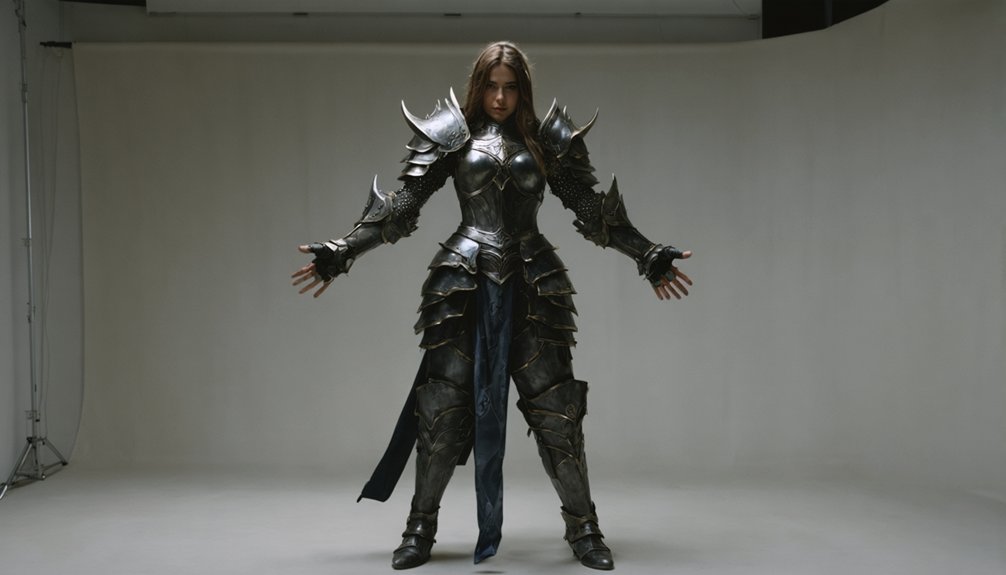
Hands are often the last thing cosplayers think about, yet they’re one of the first things a viewer notices when something feels off. Poor hand positioning breaks gesture clarity and undermines an otherwise strong composition. Avoid these four critical errors:
- Letting hands hang limply at your sides signals an unfinished pose and drains energy from the frame.
- Pointing fingers directly at the lens creates distortion that flattens depth and kills visual impact.
- Covering costume details with your hands removes focal elements the viewer needs to read your character.
- Mirroring both hands symmetrically produces static tension that reads as stiff rather than intentional.
Treat every finger as a deliberate design choice. Purposeful hand placement transforms a competent pose into a compelling character moment.
Chin and Head Positions That Flatten Your Cosplay Features
Where you angle your chin directly controls how defined your jawline appears in the final shot.
Pushing your chin slightly forward and angling it down sharpens jaw definition and prevents the camera from flattening your facial structure.
Even a small, intentional head tilt creates stronger leading lines and keeps your overall silhouette from reading as stiff or two-dimensional.
Chin Angle Defines Jawline
Though it seems minor, chin placement considerably impacts how your jawline reads on camera. Incorrect chin tilt eliminates jawline definition and softens facial structure you’d otherwise want highlighted.
Optimize your chin angle with these four techniques:
- Push your chin slightly forward to separate the jaw from the neck and sharpen your profile.
- Angle downward minimally to avoid the unflattering under-chin exposure a raised chin creates.
- Never tuck your chin completely — it compresses facial features and shortens the neck visually.
- Test both sides — your jawline definition may photograph stronger from one angle depending on your bone structure.
Small, deliberate chin tilt adjustments transform flat, shapeless portraits into structured, character-driven images that command attention.
Head Tilt Affects Lines
Head tilt controls the lines your face creates in the frame, and even a slight miscalculation flattens your features or breaks the character’s visual presence. A head held perfectly straight reads as rigid and mechanical, stripping your facial expression of depth and dimension.
Sharp side tilts create an equally damaging problem, producing disjointed angles that disconnect your head from your body’s natural flow.
Instead, introduce a controlled, subtle tilt that follows the direction your shoulders lean toward. This micro-adjustment elongates the neck, defines facial structure, and reinforces the character’s emotional tone through body language.
Your facial expression and head position must work as a unified system. When they conflict, the image loses authenticity regardless of costume quality or background.
Small corrections here deliver outsized visual returns.
Leg and Foot Mistakes That Hurt Your Cosplay Silhouette
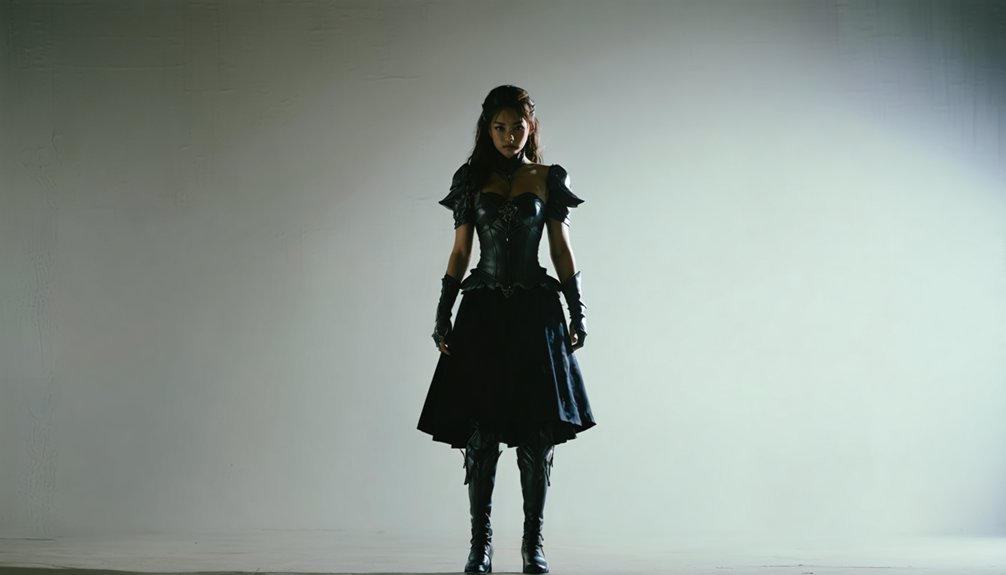
Leg and foot placement can quietly sabotage an otherwise strong cosplay shot by flattening your silhouette before the shutter even clicks. Stance symmetry is your biggest enemy here — it kills visual tension instantly. Footwear variety across shots helps, but the foundation starts with how you position your legs.
Avoid these four critical mistakes:
- Matching feet side-by-side — eliminates depth and looks unnatural
- Pointing both knees directly forward — weakens your silhouette, especially seated
- Distributing weight evenly — shift onto one leg to create shape and flow
- Ignoring leg angles entirely — turn your legs to the side to generate cleaner, more defined lines
Shift your weight, stagger your feet, and angle your legs intentionally. Every adjustment reshapes your silhouette dramatically.
When Props Hide More of Your Cosplay Than They Show
Props can easily become the enemy of your own cosplay when you hold them in ways that block the very costume you worked hard to create.
You’ll want to angle weapons, shields, and accessories so their full length and design stay visible rather than pointing them straight at the lens, which causes foreshortening and flattens the image.
For oversized props at conventions, resting them on the floor instead of clutching them against your body preserves both costume visibility and your physical safety during long shooting sessions.
Props Blocking Costume Details
When you’ve spent hours crafting or sourcing a detailed cosplay, the last thing you want is a prop blocking the very details that make it recognizable. Dynamic lighting can only do so much when a misplaced weapon or oversized shield covers your costume’s most intricate elements, undermining costume authenticity entirely.
Avoid these four prop-placement mistakes:
- Pointing weapons directly at the camera — foreshortening collapses the prop’s length and hides chest or waist detailing.
- Holding large props flush against your torso — this masks embroidery, armor plates, or layered fabric.
- Gripping props at center mass — position hands near handles or bases to expose the design.
- Angling props horizontally across your body — this creates a visual barrier cutting your costume in half.
Angling Props For Visibility
Knowing what not to do with props is only half the equation — the other half is learning how to angle them so your costume stays the visual priority. Turn weapons and large props diagonally rather than pointing them straight at the lens — foreshortening kills detail and flattens design.
Keep prop length visible by extending it across the frame rather than toward it. For oversized pieces, rest them at your side or ground them at an angle that exposes your full silhouette.
Coordinate your background selection so props don’t visually merge with cluttered environments, creating confusion in the frame. Pair smart angling with deliberate lighting techniques to separate props from your costume through shadow and contrast, ensuring both elements read clearly without competing for visual dominance.
Managing Oversized Convention Props
Oversized props present a unique challenge at conventions, where tight spaces and crowded floors make controlled posing even harder. Poor location selection amplifies the problem, forcing awkward angles that bury your costume beneath the prop itself.
Apply these four techniques immediately:
- Rest large props on the floor to free your hands, expose your costume, and reduce obstruction.
- Choose open locations where location selection gives you room to angle the prop away from your body.
- Leverage available lighting techniques to illuminate costume details that props might shadow.
- Angle props diagonally rather than forward-facing, preserving full costume visibility without sacrificing character authenticity.
Controlled prop management transforms a cluttered, obscured shot into a clean, character-driven image worth capturing.
Repeating the Same Cosplay Pose Across a Full Shoot
Falling into the habit of repeating the same pose throughout a shoot drains visual variety and makes even a well-crafted cosplay feel flat across a gallery. When every frame shows the same stance, arm placement, and head angle, the costume does the work alone, and that’s not enough.
Prioritize pose variety by deliberately shifting weight, changing arm positions, and alternating between standing, crouching, and action-based stances.
Expression contrast matters equally. A neutral face in one frame, an intense look in the next, and a character-specific reaction in another builds a narrative across your gallery.
Map out at least five distinct poses before shooting. Treat each frame as a unique composition.
Intentional variation transforms a repetitive set into a compelling, story-driven collection.
Ignoring Your Character’s Personality in Every Pose
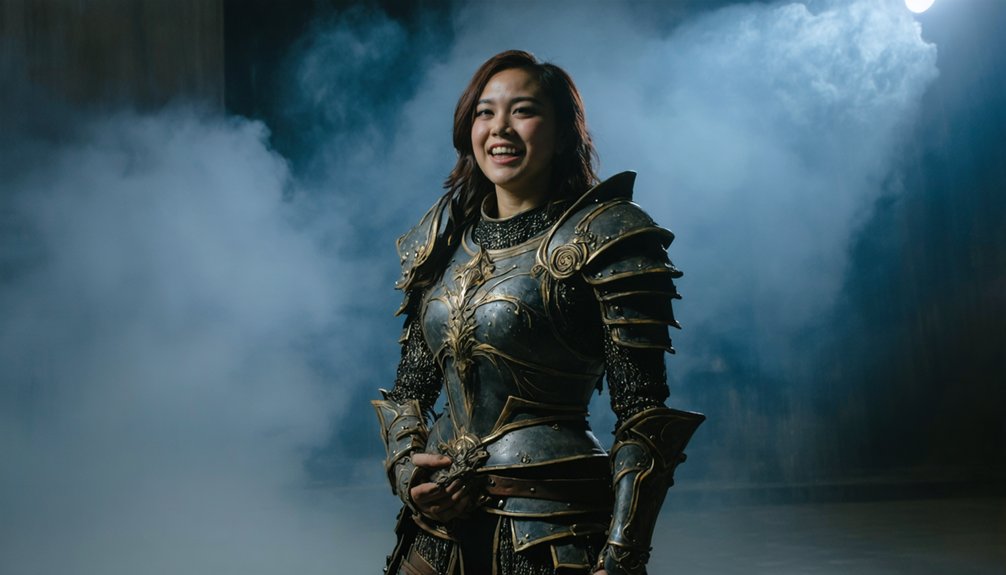
Pose variety means nothing if every stance you hit belongs to the wrong character. Your body language, expressive facial cues, and dynamic background choices must reflect who you’re portraying, not just how you personally move.
Study your character’s core traits before shooting:
- Map emotional states — Identify whether your character is aggressive, stoic, playful, or broken, then lock that into every frame.
- Calibrate facial expressions — Match intensity to the scene; neutral faces betray high-stakes characters instantly.
- Align background to personality — Dynamic background choices reinforce narrative and deepen authenticity.
- Reference source material directly — Pull specific poses from official art, cutscenes, or panels rather than defaulting to generic stances.
Character-accurate posing transforms a costume into a performance.
Camera Angles That Distort Your Cosplay Proportions
Even a flawless costume can look distorted when the camera sits at the wrong angle. Shooting from below elongates your figure but exaggerates weapon scale and makes props look disproportionate. Shooting from above compresses your height and flattens costume detail.
Camera angle can make or break a cosplay photo, distorting proportions and misrepresenting your costume’s true scale.
Align the camera at eye level to maintain accurate proportions and preserve the silhouette you’ve built.
Angle also interacts directly with your lighting techniques and background choices. A low-angle shot paired with overhead lighting creates unflattering shadows across the costume.
A mismatched background becomes more visually dominant when the camera tilts incorrectly, pulling focus from the cosplay itself.
Keep the lens parallel to your body’s centerline. Small adjustments in camera height consistently produce cleaner, more proportionally accurate results without requiring any post-processing corrections.
Frequently Asked Questions
How Does Lighting Affect the Quality of Cosplay Photography Poses?
Lighting techniques directly shape your pose’s impact. You’ll lose definition without proper shadow management, as harsh light flattens dimension while strategic shadows sculpt depth, highlight costume details, and reinforce the dynamic energy your poses demand.
What Camera Settings Work Best for Capturing Detailed Cosplay Costumes?
Like a painter choosing the perfect brush, you’ll capture costume details best by pairing fast shutter speeds with wide apertures. Refine your lighting techniques and camera angles to reveal every intricate layer authentically.
How Can Editing Software Improve a Cosplay Photo After Shooting?
You’ll elevate your cosplay photos using post-processing techniques like sharpening costume textures, correcting exposure, and boosting color accuracy. Apply software enhancements in Lightroom or Photoshop to remove distractions, refine skin tones, and amplify background atmosphere dramatically.
Does Costume Color Choice Impact How Poses Photograph in Different Environments?
Does your costume disappear into the background? Color contrast between your outfit and environment dramatically affects pose visibility. Prioritize environmental harmony by selecting locations that complement, not camouflage, your colors, making your poses photograph with maximum visual impact.
How Many Photos Should a Cosplay Photographer Take During One Session?
Shoot 200–400 frames per session. You’ll capture stronger posing techniques and refine shot composition by bracketing angles, expressions, and stances—giving you enough variety to select technically precise, character-authentic images worth showcasing.
References
- https://aliceincosplayland.com/2013/05/posing-basics-for-cosplay.html
- https://rossicatberry.medium.com/posing-for-photos-101-cosplay-edition-9b28fcfcf9a4
- https://starstruckpanda.com/poses-to-avoid-in-cosplay-photography/
- https://www.lyricalvillaincosplay.com/post/cosplay-photography-101
- https://www.lyricalvillaincosplay.com/post/cosplay-photography-posing-basics
- https://www.tumblr.com/wjscosplayphotography-blog/139159185605/posing-tips-for-cosplay-photos-part-2