You’ll sabotage your cosplay through five critical mistakes: choosing materials for aesthetics rather than structural performance, using incompatible adhesives like hot glue instead of contact cement for load-bearing joints, skipping dry-fit assemblies that reveal proportion issues, neglecting surface preparation and weathering details that expose amateur craftsmanship, and failing to conduct stress tests before convention day. These errors compound into catastrophic failures—foam separation mid-photoshoot, fatigue from poorly distributed weight, and rushed hotel room repairs without proper ventilation. Understanding each failure point will transform your approach to prop construction.
Key Takeaways
- Choosing heavy materials without considering wearability causes fatigue and structural failures during extended convention wear.
- Skipping test assemblies leads to discovering critical movement restrictions and fitting issues only after completion.
- Using incompatible adhesives like hot glue instead of contact cement for load-bearing components results in structural collapse.
- Neglecting surface preparation and detail finishing creates inconsistent textures and overlooks visible hardware elements.
- Rushing construction without prototyping reveals paint incompatibility and durability failures under actual performance conditions.
Choosing the Wrong Materials for Your Props and Costumes
When selecting materials for prop construction, makers frequently prioritize visual accuracy over functional practicality, resulting in unwearable costumes and props that fail within hours of convention floor use. Heavy materials create fatigue during extended wear, while inadequate research into adhesive compatibility leads to structural failure mid-event.
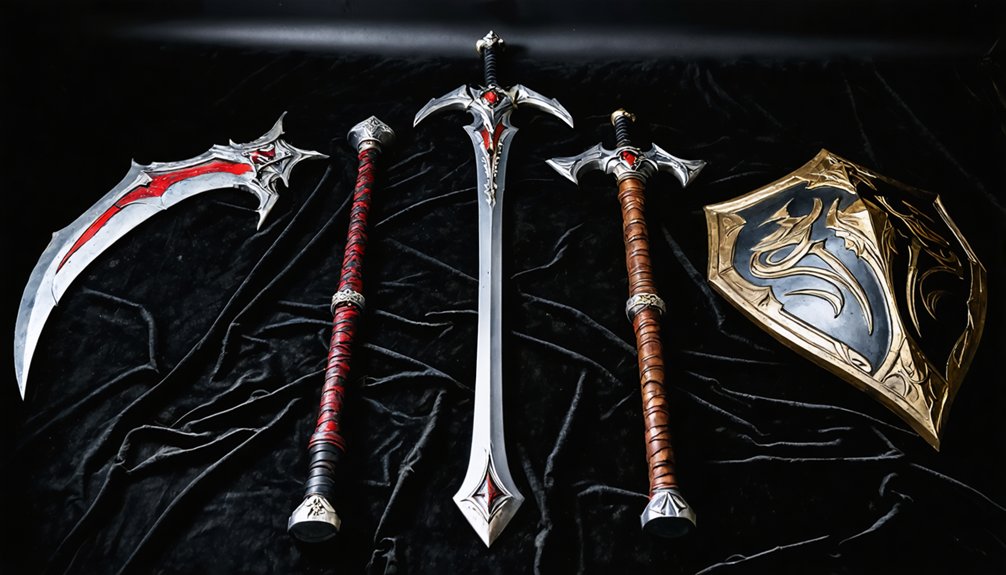
You’ll find insulation foam provides ideal stiffness for achieving proportional scale in oversized weapons without compromising portability. Contact cement outperforms hot glue for load-bearing components, maintaining structural integrity throughout full-day convention attendance. Lightweight silk requires fusible interfacing reinforcement to prevent drooping in structured garments.
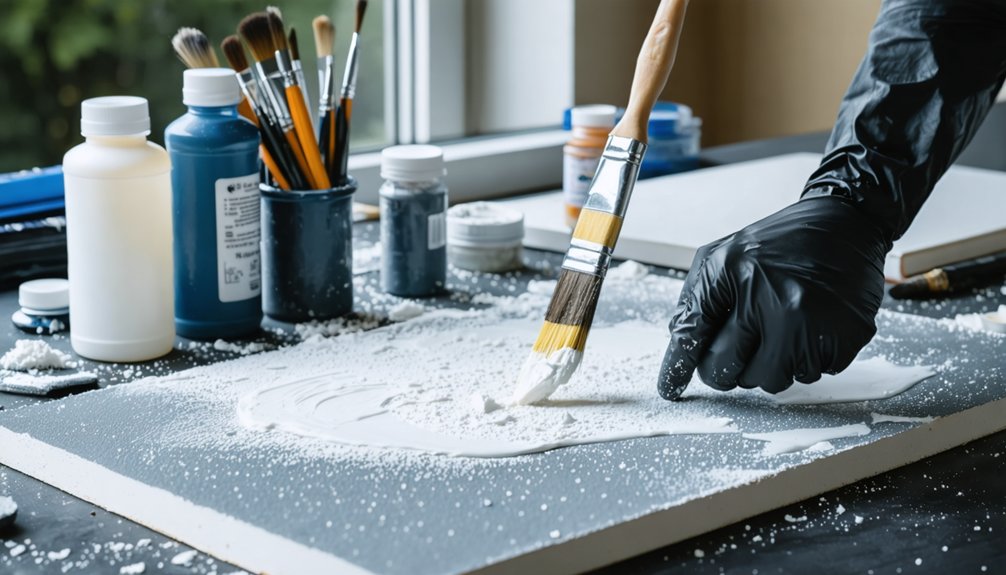
Before final assembly, you must test paint compatibility and product reactions on scrap materials—discovering adhesion failures during construction prevents catastrophic costume deterioration. Strategic material selection directly determines whether your prop survives photoshoots or becomes convention floor casualties.
Construction Mistakes That Compromise Your Build
Structural compromises during fabrication consistently transform promising builds into convention liabilities that crack under normal handling stress. Poor fitting attachments between foam sections demand immediate repair through piecing and Bondo application rather than material waste.
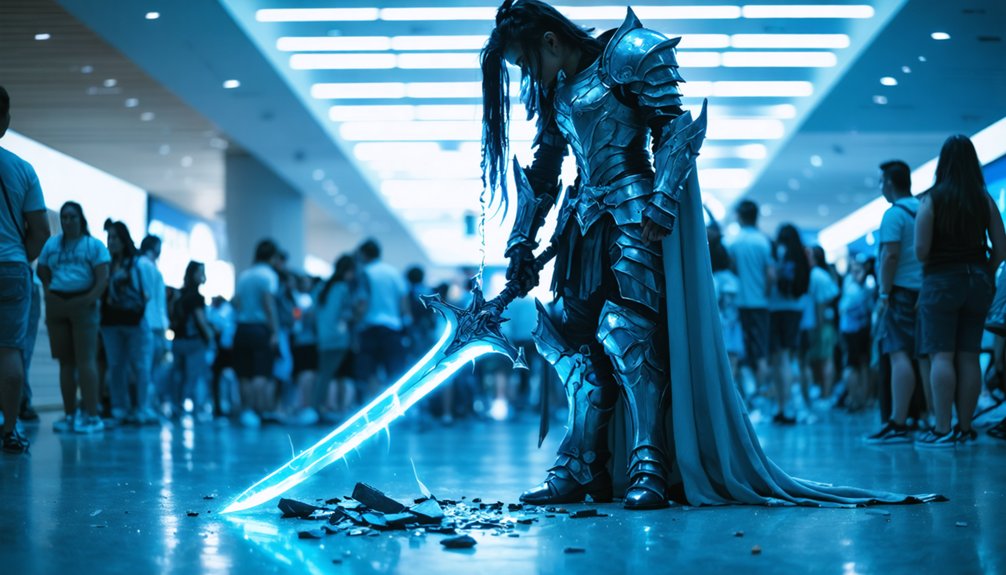
You’ll strengthen compromised areas by gluing additional foam layers before applying filler for seamless integration. Inadequate support structures plague oversized weapons—giant swords and hammers require lightweight core materials to guarantee against fatigue during extended wear.
For massive PVC-based props, you must engineer hidden separation points using bandsaw cuts at strategic locations, then secure reassembled sections with neodymium magnets stabilized by super glue and tape. Permanent bonding eliminates transport flexibility, while modular construction with thermoplastic reinforcement protects fragile components during flights.
Weight assessment before fabrication secures convention manageability and prevents impractical builds.
Planning Failures That Lead to Last-Minute Disasters
You’ll face convention-floor failures when skipping trial assembly runs that reveal structural weaknesses, wear points, and mobility restrictions under actual use conditions. Attempting builds beyond your current skill level compounds timeline pressure—choosing advanced techniques like vacuum forming or resin casting without prior experience guarantees production delays and wasted materials.
These planning gaps force rushed repairs in hotel rooms, where you’re working without proper tools, ventilation, or the time needed to address fundamental design flaws.
Skipping Pre-Convention Trial Runs
Although cosplayers invest hundreds of hours perfecting individual costume elements, many skip the critical step of conducting full trial runs before convention day—a planning oversight that transforms minor issues into catastrophic failures.
Without pre-testing, you’ll discover movement restrictions in armor that prevents basic walking, props that won’t fit standard luggage requiring emergency disassembly, and shapewear that becomes unbearable after hour three.
Full-assembly trials reveal critical integration problems: makeup clashing with wig colors under convention lighting, EVA foam structural weaknesses emerging during activity simulation, and wardrobe malfunctions risking venue compliance violations.
Inadequate cosplay documentation compounds these failures when you can’t reference assembly sequences. Improper storage solutions between home trials and convention transport accelerate material degradation, necessitating on-site repairs you haven’t practiced executing.
Ignoring Skill Level Limitations
Pre-testing failures pale in comparison to the catastrophic consequences of selecting projects that exceed your demonstrated technical capabilities—a planning error that guarantees convention-morning panic as you stare at malformed armor plates and structurally unsound weapons.
Overconfidence in skills drives you to attempt full armor builds without mastering basic foam beveling at 45-degree angles first. You’ll grab 3D modeling software without proficiency, burning filament on failed prints.
Underestimating learning curve impacts manifests when you select intricate sword carvings before practicing rotary tool control at low RPM settings. Your weathering effects peel because you skipped priming fundamentals.
Heavy wood layering overwhelms beginner handling capacity while heat gun thermoplastic work melts props irreparably. Recognition requires honest assessment: reaching 99th percentile proficiency demands years, not convention-week cramming sessions.
Overlooking Essential Details and Finishing Touches
When construction nears completion, many prop makers abandon quality control precisely when attention to detail matters most. You’ll compromise authenticity by neglecting screw heads, straps, and hardware elements that distinguish professional work from amateur attempts.
Hardware details separate professional prop work from amateur attempts—screw heads, straps, and fasteners demand the same attention as major structural elements.
Surface texture inconsistencies emerge when you skip foam sanding before adhesive application—textured backing prevents proper bonding, causing catastrophic structural failures.
Weathering transforms pristine surfaces into believable artifacts through strategic nicks, chips, and paint application that adds shadows and highlights. Final finishing touches include rubbing dirt and rust compounds into crevices for authentic aging effects. Don’t skip material compatibility testing—gold paint transferring onto fabric permanently damages costume elements.
Create mock-ups using final materials to identify proportion issues before commitment. Test adhesives and paints on scrap samples to prevent incompatibilities during critical assembly phases.
Skipping Critical Testing Before Event Day
Because convention floors demand flawless execution, you’ll sabotage months of work by skipping thorough testing protocols before event day. Inadequate prototyping reveals paint incompatibility, structural weaknesses, and scale inaccuracies only when it’s too late to correct them. Create scrap mock-ups using identical materials and processes—test primer adhesion on foam samples, validate metallic base layers for scuff realism, and document carving techniques with flex shaft tools.
Insufficient performance trials expose critical failures under actual conditions. Simulate distance viewing to guarantee details maintain visual impact, conduct handling trials to identify balance issues, and assess durability under movement to locate weak joints. Test lighting contrast effects on metallics and verify proportions at convention scale. Document each iteration photographically for replication troubleshooting. These validation steps separate competition-winning craftsmanship from event-day breakdowns.
Tool and Equipment Preparation Shortfalls
Why do expertly sculpted props fail at conventions despite meticulous crafting? Tool preparation determines success before you touch materials. Inadequate vise options create cascading failures—drilling without proper clamps risks injury while damaging workpieces. You’ll need cushioned jaws for plastics, custom grooves for dowels, and surface-locking mechanisms for perpendicular operations.
Tool preparation determines convention success—proper vise selection and clamping protocols prevent catastrophic workpiece damage before you begin crafting.
Improper inventory tracking compounds these issues. Manual lists can’t efficiently locate specialized clippers or spring-loaded clamps across storage spaces. Implement digital systems categorizing equipment as buy/rent/repurpose/create, streamlining pre-production phases.
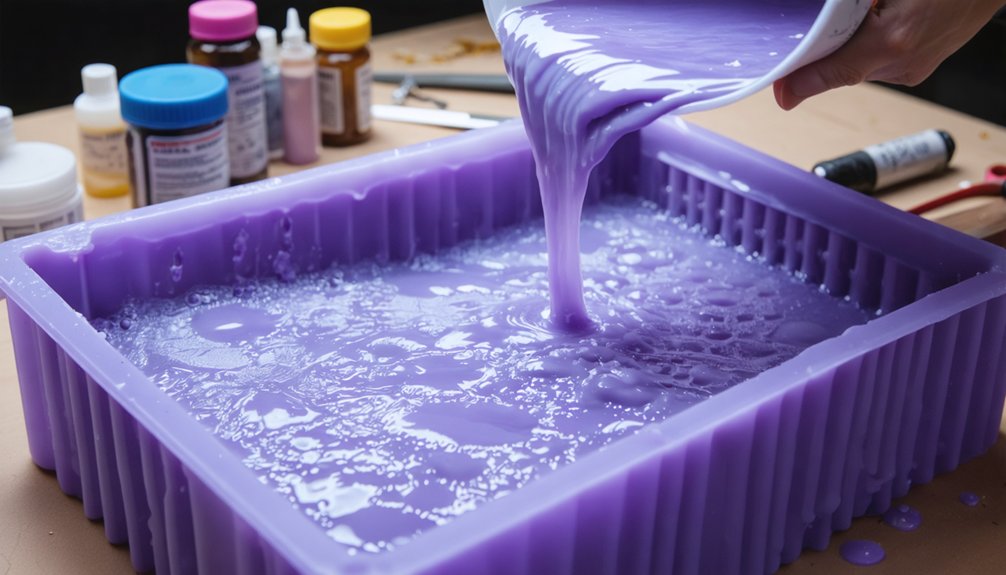
Precision mixing equipment proves non-negotiable. Incorrect resin ratios—2:1 versus 1:1—yield flexible, unusable castings. Calculate mold volumes beforehand and document exact amounts on containers.
Deploy ventilation systems and respiratory protection during sanding operations. High-powered rotary tools demand securing protocols beyond generic C-clamps for repeatable accuracy.
Weight Distribution and Wearability Problems
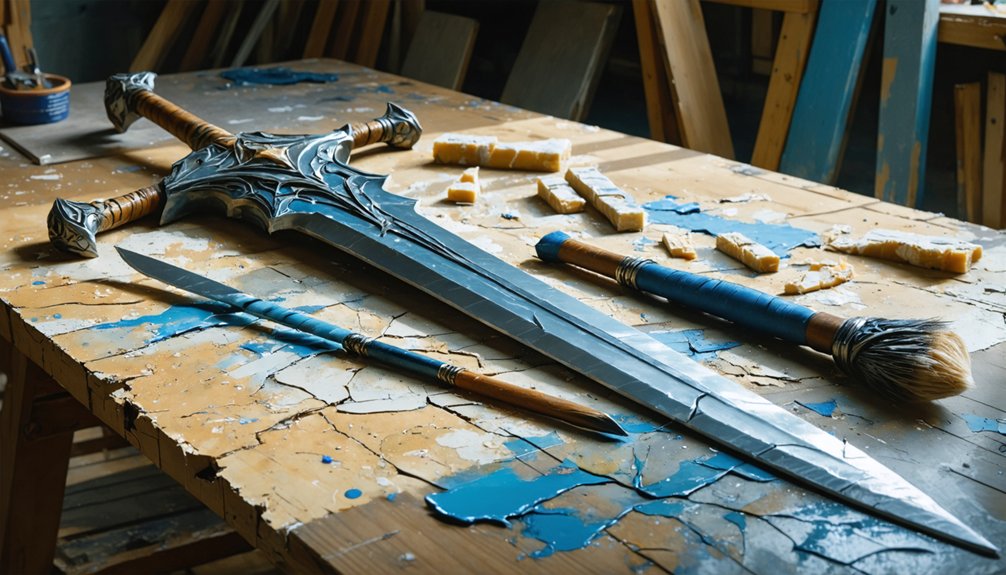
How often does a meticulously crafted 36-inch sword become unwearable within the first convention hour? Solid resin casts create prop durability challenges that compromise extended wear, with Feather Light resin producing unexpectedly heavy results despite buoyancy claims.
You’ll face storage and transportation issues when concentrated mass causes arm fatigue and inflates shipping costs. The solution requires hybridized construction: integrate threaded rods through foam cores, employ PVC pipe systems for upright stability, and utilize expandable urethane foam fillers within resin shells. For weight addition, thread unmelted solder through EVA foam rather than scorching material with heat. Self-skinning foams offer alternatives to heavy solid pours.
Without proper internal support structures and material combinations, you’re building props that look impressive but fail wearability requirements.
Frequently Asked Questions
How Do I Safely Transport Large Props on Airplanes or Public Transit?
You’ll guarantee safe transport by checking TSA regulations first, then safely packing props in appropriately sized cases. Fit small items in carry-on; check oversized pieces. Avoid fire props in cabin baggage due to fuel residue detection triggering security alerts.
What’s the Best Way to Repair Props That Break During a Convention?
Use safety pins, gaffers tape, and zip ties for immediate structural reinforcement techniques during conventions. Consider material substitution considerations by keeping matching paints, fusible tape, and spare components in your repair kit for quick, professional-looking fixes on-site.
How Can I Modify My Costume for Different Weather Conditions?
You’ll revolutionize your costume’s versatility through strategic weatherproofing techniques—apply water-resistant sealants, install removable insulation layers, and utilize temperature controlled storage between events. Incorporate breathable mesh panels, moisture-wicking linings, and modular components that adapt seamlessly to environmental extremes.
What Insurance Options Exist for Expensive or Commissioned Costume Pieces?
You’ll need specialized Props, Sets & Wardrobe (PSW) insurance or business contents coverage with riders for protecting commissioned pieces. Prop insurance policies require detailed documentation including appraisals, photos, and receipts to establish replacement value for high-end custom work.
How Do I Photograph My Costume to Showcase All the Detail Work?
Your detail work vanishes without proper setup. Master lighting techniques—use natural window light or strategically positioned LEDs to eliminate harsh shadows. Choose clean background selection that won’t compete with intricate elements, ensuring your craftsmanship commands attention.