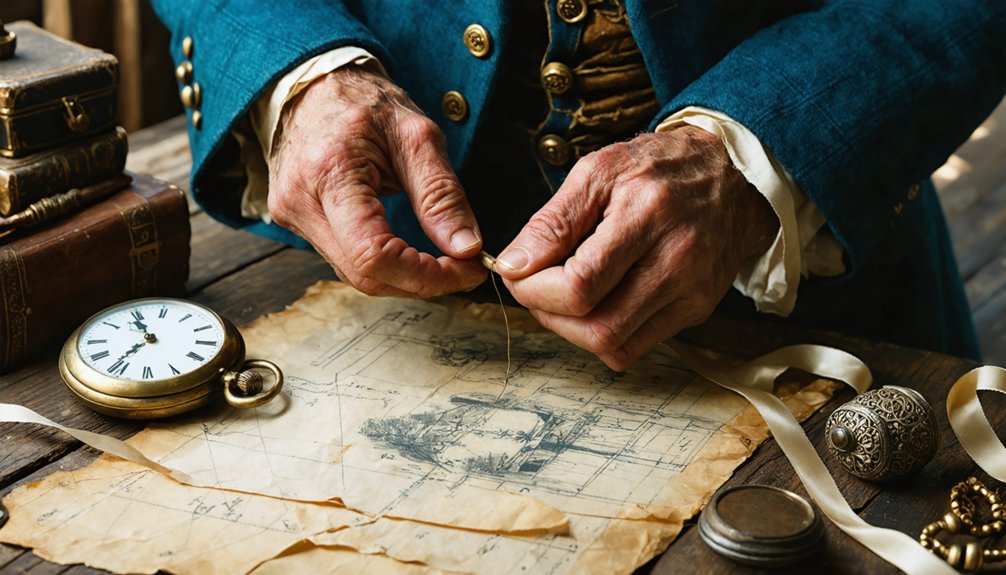
You’ll create accurate cosplay patterns by first measuring your body with a 60″ metal-tipped tape, then selecting a drafting method—duct tape for beginners, draping for intermediate skills, or flat pattern slopers for advanced precision. Modify basic patterns by transforming necklines and seam lines while remembering to add seam allowances to new edges. Test your design with muslin mockups, using a pounce wheel to transfer markings, then refine the fit through movement simulation. The sections below reveal how specialty materials like thermoplastics enhance structural elements.
Key Takeaways
- Choose a pattern drafting method based on skill level: duct tape for beginners, draping for intermediate, flat pattern drafting for advanced.
- Gather essential tools including square rulers, French curves, hard pencils, measuring tape, pattern notchers, and a dress form.
- Modify basic patterns by altering necklines, seam lines, and panels while remembering to add seam allowances on new edges.
- Create muslin mockups to test fit and simulate movement before cutting final fabric, using pounce wheels to transfer markings.
- Account for material thickness when drafting patterns for specialty materials like thermoplastics, foam, and layered structural elements.
Gathering Your Essential Tools and Taking Accurate Measurements
Before you draft your first pattern piece, assembling the right tools transforms guesswork into precision work. You’ll need a square ruler for 90-degree angles, French curves for armholes, and hard pencils (3H or 4H) that won’t smudge your lines.
Precision tools eliminate guesswork—square rulers, French curves, and hard pencils form the foundation of accurate pattern drafting.
A 60″ measuring tape with metal tips handles body measurement techniques—capture circumferences at bust, waist, and hip points precisely. Your awl punches internal markings like bust points, while pattern notchers create 1/16″ x 1/4″ alignment nicks.
Don’t overlook pattern storage methods: pattern punches cut 3/4″ holes for hooks with cord, keeping your work organized and wrinkle-free. A dress form visualizes your reference body, and toile fabric tests fit before you commit to final materials.
These tools aren’t optional—they’re your foundation for dimensional accuracy.
Choosing the Right Pattern Drafting Method for Your Skill Level
With your tools assembled and measurements recorded, you’re ready to select a pattern drafting approach that matches your technical abilities. Beginners should start with the duct tape method—wrapping tape directly onto your body creates immediate templates without extensive preparation.
For intermediate crafters, draping fabric on dress forms enables creative personalization through three-dimensional shaping, particularly for garments with complex tucks and flowing elements.
Advanced cosplayers benefit from flat pattern drafting with slopers, which delivers precision-fitted foundations adaptable across multiple designs. The knockoff method offers efficient shortcuts by tracing existing garments that already possess your desired silhouette.
Time management considerations factor considerably into method selection: duct tape delivers quick results, while sloper development requires substantial investment but yields reusable foundations. Match your technique to garment complexity and available construction timeline.
Modifying Basic Patterns to Match Your Costume Design
Once you’ve established your base pattern, surgical precision transforms generic templates into character-accurate costume pieces. Master neckline transformations by cutting strategic curves—gentle arcs create scooped openings while deeper curves produce sweetheart shapes. Always trace your original before modifications to preserve future options.
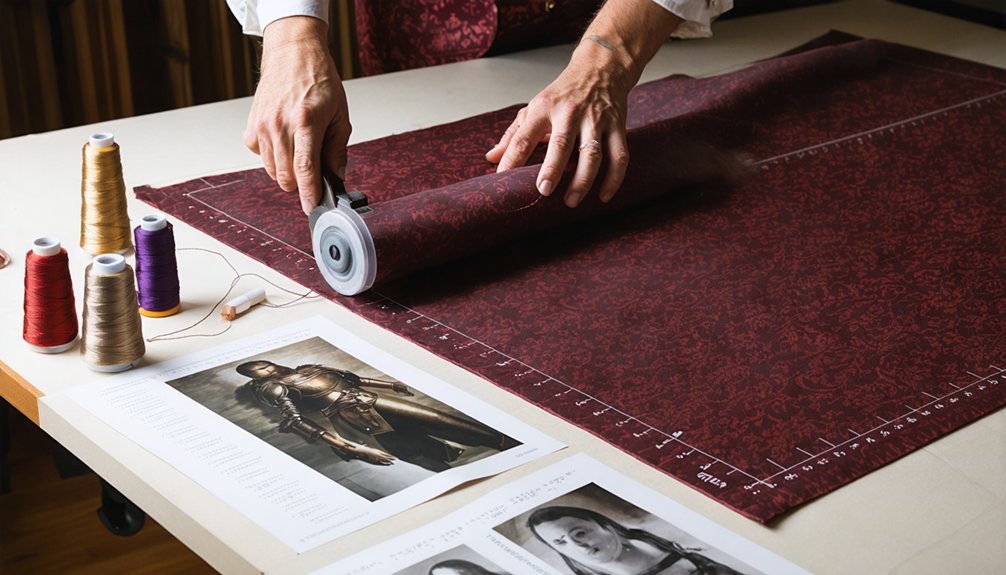
Altering seam lines enables color blocking and structural division. When drafting asymmetrical panels, extend front pieces with careful measurements to guarantee symmetry where needed. Add seam allowances to every newly created edge—overlooking this step results in undersized garments.
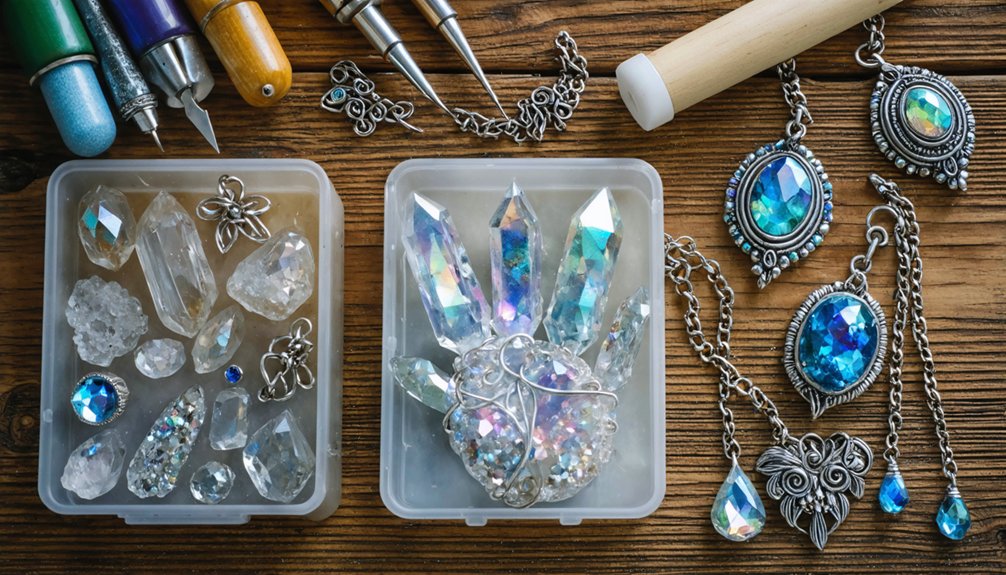
Pattern frankensteining merges sleeves from one template with bodices from another, though armhole adjustments may be necessary. Verify fabric quantities before committing. Supplement modifications with dimensional elements: stuffed rolls at hems, sleeve tabs, appliqués, and polymer clay accessories that elevate basic patterns into character-specific constructions.
Testing Your Patterns With Mockups and Fitting Adjustments
Pattern modifications mean nothing if the final garment doesn’t fit your body. Create your muslin mockup immediately after drafting—this loosely woven fabric tests fit before committing costly materials to production. Assemble your printed pattern pieces using alignment markings, taping pages D7 to D8 precisely. Transfer markings with a pounce wheel to indicate darts, pockets, and construction points.
Sew the mockup and test on your body or dressform, stretching and squeezing fabric to simulate movement. This prototype reveals necessary adjustments to necklines, sleeves, and curves before final construction.
For durable pattern construction, scale patterns using ImageJ—measure your height, set proportions, then calculate print percentages. This sustainable fabric sourcing approach prevents waste from ill-fitting garments while ensuring your costume achieves professional results through systematic testing and refinement.
Selecting Specialty Materials for Structural Costume Elements
Why does your costume buckle under stress during convention wear? You’re overlooking structural material selection. Master utilizing thermoplastics for strength and complexity by choosing Worbla for flexible curves or Wonderflex Pro for complex directional bends. Back these materials with foam for reinforcement.
Understanding the benefits of different foam types transforms your build quality. High-density foam creates load-bearing armor frameworks, while craft foam adds detailed surface elements. EVA foam floor mats from hardware stores offer thick, budget-friendly armor bases. Plastazote delivers superior durability for shaped components.
Layer materials strategically: foam core, thermoplastic shell, fabric finish. This sandwich construction distributes weight and withstands impact. Your patterns must account for material thickness—thermoplastics add 2-3mm per layer. Plan seam allowances accordingly for professional results that survive intensive convention environments.
Frequently Asked Questions
How Do I Store and Organize My Costume Patterns for Future Use?
Catalog physical patterns by storing tissue pieces in labeled ziplock bags within clear boxes, organized numerically or by garment type. Digitize pattern files by photographing or scanning envelope instructions and tissue pieces for accessible digital backup and future modifications.
Can I Scale Patterns up or Down for Different Character Sizes?
Yes, you can scale patterns for character proportions using percentage calculations or slash-and-spread methods. Measure your reference image in ImageJ, then adjust patterns for different body types by distributing volume changes across multiple seam lines for accurate dimensional transformation.
What’s the Best Way to Transfer Pattern Markings Onto Dark Fabrics?
While light-colored fabrics reveal every mark, dark materials demand strategic approaches. You’ll achieve precision by using chalk to mark dark fabrics or utilizing washable fabric markers. Carbon transfer paper and tailor’s tacks offer additional accuracy for complex cosplay construction details.
How Do I Adjust Patterns for Stretch Versus Non-Stretch Fabrics?
You’ll adjust patterns by analyzing fabric composition first—add 1.5-inch seam allowances for stretch textiles requiring body-conforming fits, while extending non-stretch pieces directly without easing. Apply specialized stretching techniques like slash-and-spread methods for precise dimensional modifications.
Should I Prewash Fabric Before Cutting Out My Costume Pattern Pieces?
Yes, you should prewash fabric before cutting patterns. This process reveals true fabric thickness, tests fabric quality through shrinkage behavior, removes production chemicals, and prevents post-construction distortion—ensuring your cosplay maintains precise dimensions and professional finish throughout wear.