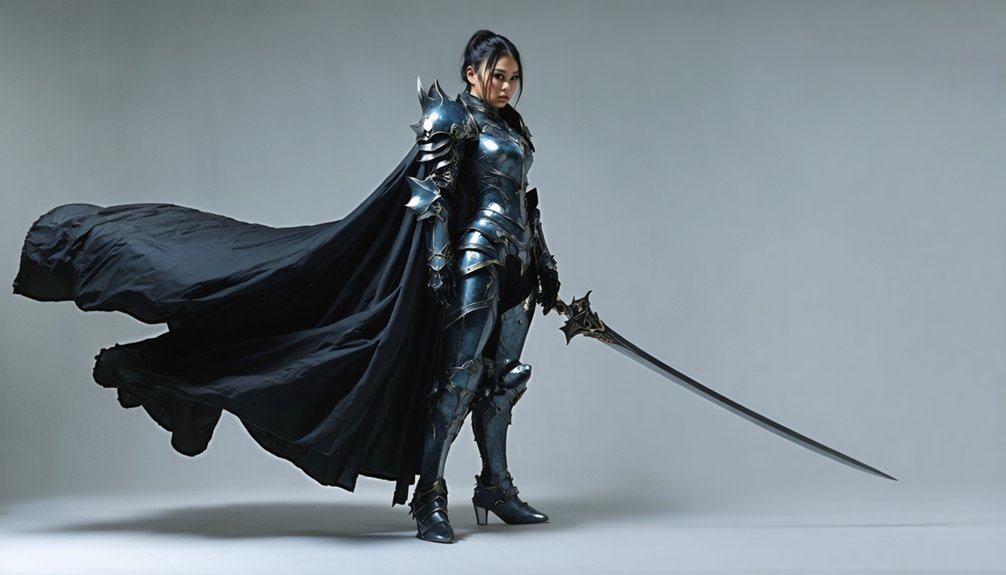
Position your body at a 45-degree angle to the camera while shifting weight onto your back leg to create depth. Extend your front foot forward to counter foreshortening, and maintain shoulder-back posture with slightly bent knees. Keep space between your torso and arms to slim your silhouette, and direct your nose toward the photographer’s shoulder while locking eyes with the lens. Match expressions to your character’s archetype—heroes smile, villains smolder. The techniques below will transform your character portrayals from snapshots into professional-grade compositions.
Key Takeaways
- Use a 45-degree angle to the camera with weight on your back leg for flattering, dynamic body positioning.
- Create gaps between arms and torso while avoiding flat hand placements to achieve a slimmer, more dimensional silhouette.
- Match facial expressions to character archetypes and extend your chin forward to define the jawline while maintaining eye contact.
- Position feet shoulder-width apart with one leg forward and knees slightly bent to establish depth and movement readiness.
- Apply rule of thirds and utilize props strategically to create layered compositions that guide viewer focus through the frame.
Mastering Body Positioning and Camera Angles
Everyone can elevate their cosplay photography by mastering fundamental body positioning techniques that create dimensionality and visual interest in every frame. Execute a 45-degree angular stance to your camera—this creates ideal body lines while maintaining character authenticity.
Master the 45-degree angle to instantly transform flat cosplay photos into dimensional character portraits that capture authentic essence.
Implement proper body weight distribution by shifting mass onto your back leg for casual poses, then advance your front foot toward the lens to counter foreshortening effects.
For torso lean adjustments, maintain shoulder-back posture with controlled chin elevation unless portraying slouched characters. Create separation between your upper arms and torso to establish a slimmer silhouette. Position your knees with subtle bends to introduce depth planes into your composition.
Apply rule-of-thirds framing: place your head in the upper third for portraits, aligning your body within vertical columns for full-body shots. Strategic angular positioning transforms standard poses into dynamic visual narratives.
Face and Expression Control for Character Authenticity
Mastering facial control separates authentic character embodiment from generic costume photography. Direct your nose toward the photographer’s shoulder while maintaining camera eye contact—avoiding flat, straight-on positioning. Identify your ideal angle through systematic selfie analysis before shoots.
Match expressions to character archetype: cheerful smiles for heroes, smoulder techniques with narrowed eyes for villains. Execute the “turtle” chin extension to define your jawline, particularly important with minimal makeup application. Control eye direction strategically—lens-locked when chin dips creates piercing intent, while 45-degree shifts add dimensional interest.
Practice mirror repetitions to master emotion range across your specific face structure. Deep-set eyes naturally convey serene expressions; adapt accordingly. Coordinate facial positioning with lighting control—chin tilts toward light sources enhance definition while maintaining character-appropriate intensity through eyebrow manipulation and controlled breathing patterns.
Dynamic Arm and Hand Placement Strategies
While facial expressions establish character identity, strategic arm and hand placement constructs the dimensional framework that separates professional cosplay photography from amateur snapshots. You’ll create visual interest through creative use of costume elements—interact with belt pouches, grip weapons purposefully, or manipulate wig strands for candid authenticity.
Master these foundational techniques:
- Maintain torso-arm gaps to slim your silhouette and prevent bulkiness from pressed limbs
- Position hands diagonally in frame composition, avoiding mirrored symmetry that flattens depth
- Execute 45-degree body angles with asymmetrical hand placement for dimensional layering
Controlled breathing techniques stabilize your arm positions during extended shoots. Hold breath briefly when freezing bold poses, then release during shifts. Avoid flat-palm stomach placement—instead, rest hands on walls, grip props using the glide method, or insert thumbs into pockets for natural extension.
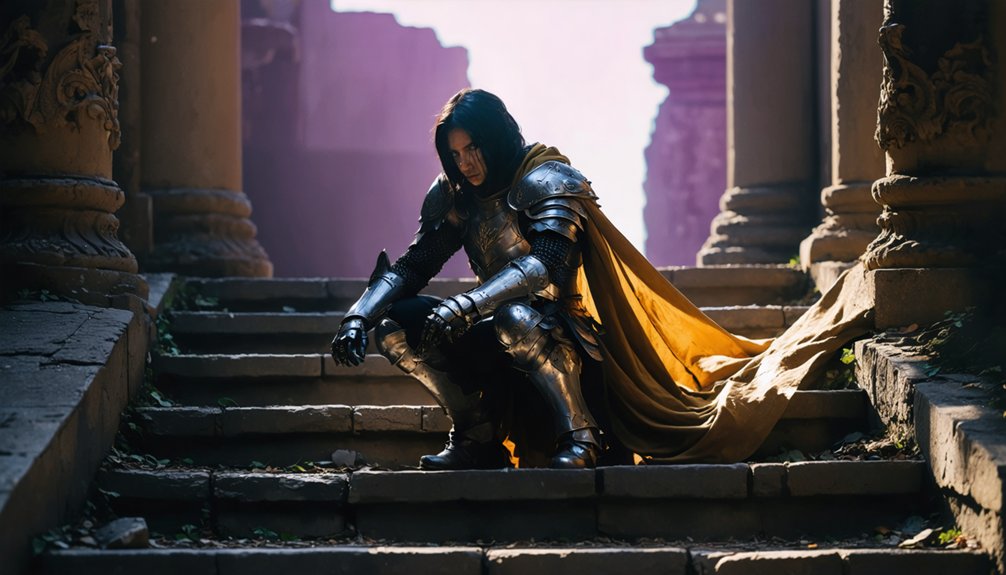
Leg Positioning and Stance Variations
Your arm and hand framework requires proper foundation support—leg positioning determines whether your upper body work reads as intentional composition or unstable posturing. Position feet shoulder-width apart with one leg forward, maintaining straight spine and shoulders back. Angle yourself toward the camera rather than squaring up unless intimidation serves the character.
For balanced sitting stances, create triangular configurations—cross-legged with arm propped on knee, or extend one leg while bending the other against a vertical surface. Character specific leg gestures amplify personality: shift weight backward with crossed shins for casual male presentations, or place one foot back while raising the opposite hip for feminine angles. Spread legs wider than comfortable to break silhouette boundaries.
Bend forward knees in standing poses to establish depth and movement readiness.
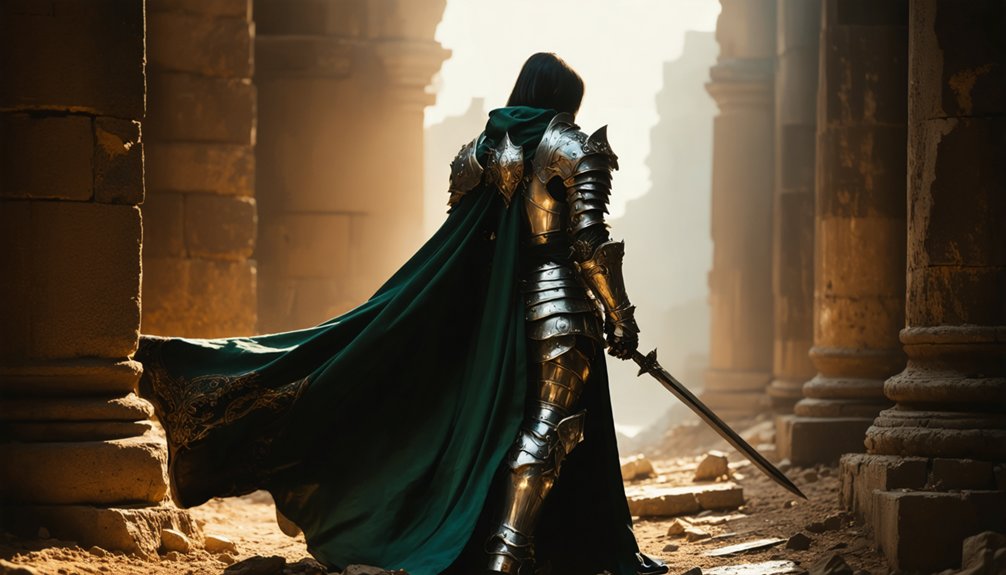
Props, Group Shots, and Action Poses
Strategic prop integration transforms standard cosplay photography into character-driven narratives that demonstrate source material mastery. You’ll enhance authenticity through accurate costume elements while utilizing perspective techniques to create optical illusions and depth. Natural lighting highlights prop details for atmospheric scenic environment integration.
Essential execution priorities:
- Schedule group compositions before solo shots during public sessions
- Apply rule of thirds positioning for focal points across multiple subjects
- Derive action poses directly from character mannerisms and source material
Your cohesive storytelling narrative emerges through symmetry, asymmetry, and leading lines that guide viewer eye flow. Dynamic angles convey motion in reaching or walking sequences, while body language adds compositional meaning. Integrate foreground and background layers with depth of field control, blurring distractions while maintaining focus on primary action elements and character interactions.
Frequently Asked Questions
What Camera Settings Work Best for Indoor Versus Outdoor Cosplay Photography?
Indoors, you’ll need ISO 400-800 with shutter speed adjustments to 1/160th minimum and aperture settings around f/2.8 for depth. Outdoors, you’ll use ISO 200-400, faster 1/250-1/1000 speeds, and wider aperture settings like f/1.8 for ideal results.
How Do I Edit Photos to Enhance Costume Details Without Over-Processing?
Use minimal edits through selective masking and targeted curves adjustments on costume elements only. Apply natural enhancements via dodging/burning layers, subtle sharpening on textures, and luminosity blending modes—you’ll preserve authenticity while revealing intricate details without artificial over-processing.
What Lighting Equipment Is Essential for Beginner Cosplay Photographers?
You’ll need a two-light manual flash kit with umbrellas and softboxes ($226) for studio lighting control, plus reflectors to manipulate natural lighting. This foundation enables three-point setups while maintaining portability for location shoots and convention work.
How Can I Communicate Effectively With Cosplayers During Photo Shoots?
Build trust through professional dialogue and collaborative direction. Set expectations by discussing shot lists, poses, and boundaries pre-shoot. Use precise verbal cues during sessions, confirm adjustments beforehand, and maintain open communication channels for ideal creative results and cosplayer comfort.
What Locations Require Permits or Special Permission for Cosplay Photography?
Traversing location permissions is your roadmap to legal shoots. You’ll need permits for Chicago parks, gardens, and architectural landmarks. Always secure private property access agreements and public event permissions beforehand—typically requiring 7-14 days advance notice and $25-250 fees.