To craft a fantasy cosplay cape, start by matching your pattern to your skill level — gathered capes need just two straight stitches, while circular cloaks demand precise measuring. Choose fabric strategically; chiffon flows beautifully, but velvet commands presence. Estimate yardage carefully, since half-circle designs often require four or more yards. Cut accurately using sharp shears, sew from neckline outward, and finish edges based on your fabric type. There’s far more technique ahead worth discovering.
Key Takeaways
- Match your cape style to your skill level, starting with simple gathered capes before attempting complex hooded or circular designs.
- Choose fabric weight carefully, as lightweight chiffon creates fluid movement while structured velvet adds dramatic, fantasy-appropriate volume.
- Measure accurately from neckline to hem and determine shoulder width before cutting, using tailor’s chalk to mark fabric precisely.
- Construct hoods separately from exterior and lining pieces, pinning carefully along the neckline before stitching and topstitching for security.
- Enhance character authenticity through embroidery, appliqués, and character-appropriate closures like brass clasps or jeweled brooches for finishing touches.
Choose the Right Fantasy Cape Style for Your Skill Level
Before picking up a single yard of fabric, you’ll want to match your cape style to your current sewing abilities. Gathered capes require only two straight stitches, making them ideal for beginners exploring costume customization.
Match your cape style to your skill level before buying fabric—gathered capes need only two straight stitches, perfect for beginners.
Circular cloaks deliver a fuller fabric drape but demand precise measuring tips and careful edge finishing. Half circle capes create dramatic silhouettes, though they’ll consume significant yardage.
Hooded designs introduce separate construction elements, requiring more technical skill. Each style variation influences your closure options—cord ties, clasps, or decorative brooches all interact differently depending on neckline shape.
Specialty fabrics like shimmery materials amplify fantasy aesthetics but require careful handling during assembly. Matching your skill level to the right construction method guarantees cleaner results and a more refined, intentional finished piece.
Pick the Right Fabric and How Much You Need
Once you’ve locked in your cape style, fabric selection becomes your next major decision—and it shapes everything from drape to durability.
Fabric weight directly influences movement—lightweight chiffon creates fluid drape effects, while wool or structured velvet holds dramatic silhouettes.
Consider texture considerations carefully; shimmery specialty fabrics elevate fantasy aesthetics, while fleece eliminates edge-finishing steps entirely.
For lining options, pair contrasting or complementary fabrics to add depth and structure.
Color choices should align with your character’s palette, and pattern matching becomes critical when working with plaids or directional prints.
Regarding fabric sourcing, specialty retailers and online suppliers offer the widest fantasy-appropriate selections.
Estimate yardage based on your chosen style—half-circle capes often demand four or more yards, so always measure twice before purchasing.
How to Cut and Sew a Fantasy Cape
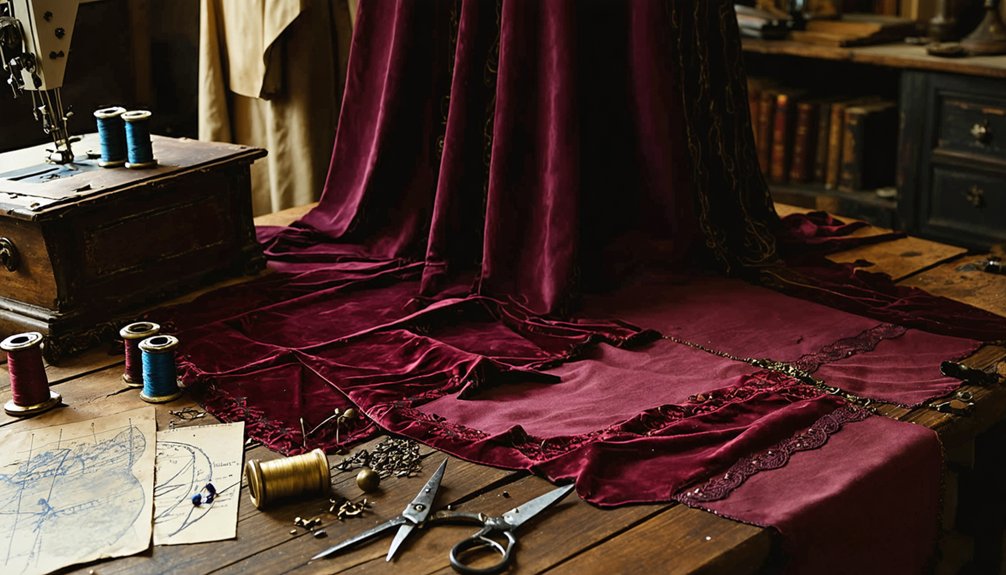
Once you’ve settled on your fabric — whether it’s flowing velvet, shimmery satin, or no-fray fleece — you’ll need to cut your pieces precisely, since uneven edges translate directly into a misshapen finished cape.
For circular or half-circle styles, fold your fabric carefully and use a measured string-and-chalk compass method to cut clean, symmetrical arcs for both the outer layer and lining.
After cutting, sew your pieces right sides together, turn them inside out, and finish raw edges with topstitching or a sewn hem to give your cape a polished, professional look.
Choosing Your Cape Fabric
Fabric choice shapes everything about your finished cape — how it drapes, whether it holds warmth, and how much finishing work you’ll need to put in at the edges.
Fleece and wool are smart starting points because their raw edges don’t fray, cutting your construction time considerably. If you’re chasing dramatic movement, shimmery or specialty fabrics amplify fantasy aesthetics with every shift of light.
Consider fabric texture carefully — heavier materials create structured silhouettes, while lighter weaves produce fluid, sweeping drape.
Color selection drives your character’s visual identity, so choose intentionally rather than defaulting to standard black.
Remember that larger designs like half-circle capes demand at least four yards, so calculate your yardage before cutting anything. Precision here saves both time and money.
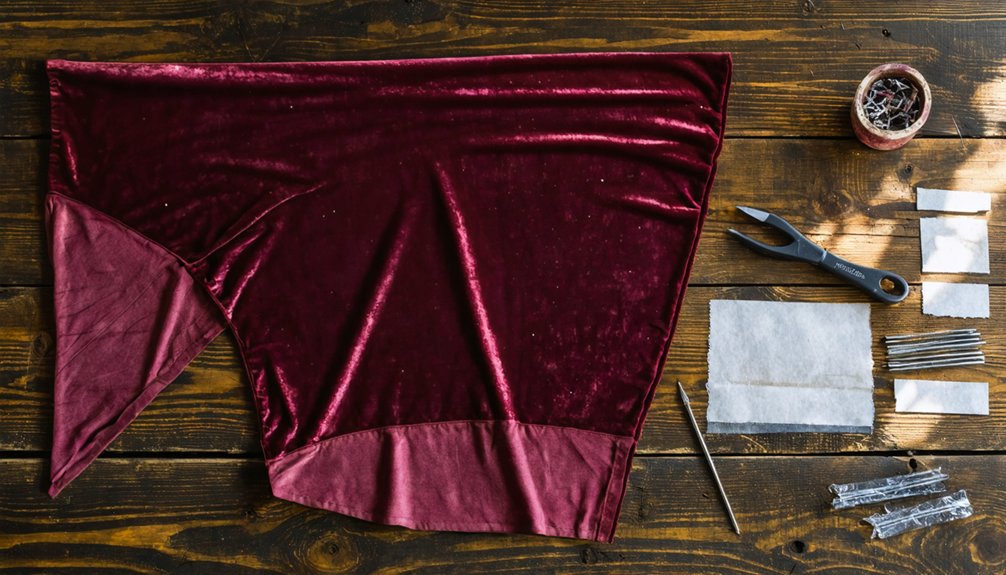
Measuring and Cutting Techniques
Accurate measurements form the foundation of every well-constructed cape, so take your time before a single cut is made. Start by measuring from your neckline to your desired hem length, then determine your shoulder width to establish the cape’s spread.
For half-circle capes requiring four or more yards, precise measuring techniques prevent costly fabric waste.
Your cutting tools matter greatly here. Sharp fabric shears deliver clean edges on wool and fleece, while rotary cutters excel along straight pattern lines.
Mark measurements directly onto fabric using tailor’s chalk before cutting. When working with lining layers, cut both pieces simultaneously to guarantee identical sizing.
For adjustable cape length, leave extra hem allowance, then trim and finish edges after final fitting.
Sewing and Finishing Edges
With your pieces cut and ready, sewing your fantasy cape begins at the neckline and works outward toward the hem. Pin your outer and lining layers right sides together, then stitch along the neckline with a consistent seam allowance.
Once sewn, turn the cape inside out to reveal clean, structured edges.
Edge treatment techniques vary by fabric choice. Fleece and wool tolerate raw edges, while shimmery or woven specialty fabrics demand hemmed or topstitched borders to prevent fraying.
Run a second topstitch along key seams to secure layers and sharpen the silhouette.
For finishing touches, attach your chosen closure—cord ties, clasps, or a decorative brooch—directly at the neckline.
These details reinforce structure while amplifying your cape’s fantasy aesthetic with intentional, character-specific personality.
Finish the Neckline With the Right Cosplay Closure
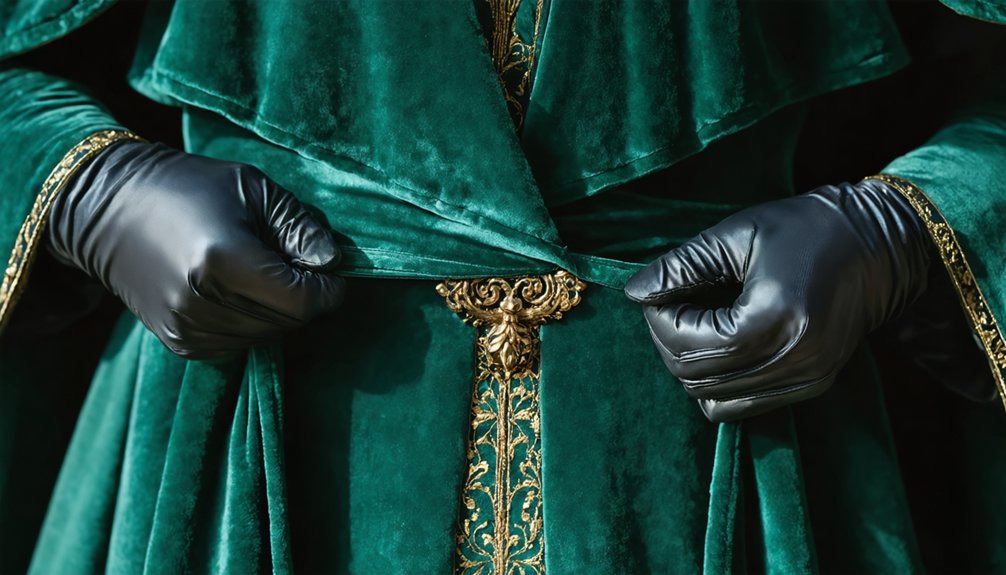
Once the cape body is assembled, you’ve got 4 main closure types to contemplate: cord ties, clasps, velcro, or a decorative brooch. Each option delivers a distinct functional and aesthetic result.
A tied cord cinches the neckline tightly, creating dramatic gathering that amplifies your fantasy silhouette. Metal clasps offer clean, structured fastening ideal for armored or medieval character builds. Velcro provides quick wearability, perfect for high-frequency costume changes.
For maximum visual impact, decorative options like an ornate brooch or gemstone clasp elevate your cosplay’s authenticity instantly. Attach your chosen closure after turning and topstitching the neckline seam.
Pin it precisely at center front before securing permanently. Your closure isn’t just functional—it’s a defining character detail that communicates your design intent before anyone sees the rest of your build.
Add a Hood for a Medieval or Wizard Effect
To give your cape a medieval or wizard feel, construct the hood from separate exterior and lining pieces cut to matching sizes. Then sew them right sides together before turning them out for a clean, polished finish.
Choose your hood fabric strategically — wool or fleece holds structure well for a dramatic drape, while shimmery specialty fabric amplifies a magical, otherworldly character effect.
Once the hood is sewn and turned, pin it carefully along the cape’s neckline before stitching it into place, ensuring the seams align cleanly with the existing collar or closure work you’ve already completed.
Hood Construction Basics
Adding a hood transforms your cape into something that feels genuinely medieval or arcane, and the construction process is more straightforward than it looks.
You’ll cut two separate pieces — an exterior shell and a lining — then sew them right sides together before turning the assembly clean.
Hood shape variations range from fitted pointed silhouettes ideal for wizard builds to wider, rounded profiles suited for druid or ranger aesthetics.
Your hood lining options include matching outer fabric for consistency, contrasting material for visual interest, or a fleece interior for warmth without bulk.
Once sewn and turned, pin the finished hood carefully along the neckline before attaching it to the cape body.
Topstitching secures everything cleanly and gives the junction a professional, deliberate finish.
Attaching Hood To Cape
With your hood sewn, turned, and pressed, you’re ready to attach it to the cape body — the step that pulls the whole build together. Align the hood’s raw neckline edge with the cape’s neckline, matching center back and front opening points precisely. Pin carefully, distributing fabric evenly before stitching.
Hood attachment techniques vary depending on your finish preference. For a clean result, tuck the hood between the cape’s outer and lining layers before topstitching around the entire neckline — this simultaneously secures and finishes the edge.
Hood lining options matter here: a contrast lining creates a dramatic reveal when the hood falls back, while a matched lining keeps the look seamless.
Once attached, press the seam flat and add your chosen closure — cord, clasp, or brooch.
Choosing Hood Fabric
Whether you’re conjuring a woodland sorcerer or a cloaked medieval wanderer, the hood fabric you choose shapes not just the look but the entire feel of the finished piece.
Fabric weight determines how your hood holds its structure — heavier wool creates dramatic drape effects, while lightweight velvet suits flowing character inspiration.
Consider texture options like brocade or crushed fabric for visual depth. Lining considerations matter too; smooth satin prevents friction against hair and skin.
Match your hood fabric to the cape body for clean pattern matching. Seasonal fabrics like fleece add warmth for outdoor events.
Embellishment ideas such as embroidered edges or metallic trim elevate the design. Strong seam allowances and tightly woven materials improve durability factors during repeated costume use.
Color choices should reinforce your character’s visual identity.
Details That Make Your Cape Character-Specific
Once your cape’s basic structure is sewn and turned, the character-specific details are what transform it from a generic cloak into a recognizable costume piece.
Apply character motifs through embroidery, fabric paint, or iron-on appliqués directly onto your outer layer. Embellishment techniques like beading, sequin trim, or metallic ribbon can reinforce a magical or regal aesthetic.
Embroider motifs, paint designs, or apply iron-on appliqués to make your costume cape instantly recognizable.
Choose closures that reflect your character’s world — a hammered brass clasp suits a medieval warrior, while a jeweled brooch elevates a wizard or sorceress look.
Layered trim along the hem and hood edges adds visual depth. Shimmery lining fabric peeking through the front opening creates contrast.
Every material choice should map directly to your character’s design, keeping the overall costume cohesive and instantly readable.
Common Fantasy Cape Mistakes and How to Fix Them
Even experienced sewists run into cape-specific pitfalls, so knowing what to watch for before you cut your first piece of fabric can save hours of rework. Among the most frequent errors: skipping pre-treatment on fray-prone materials.
Implement fabric fraying solutions early by serging, pinking, or applying fray sealant before assembly begins.
Misaligned necklines are another common issue. When following cape assembly tips, always pin both layers together before stitching, checking that the curve lies flat and even.
Sizing mistakes also derail projects. Measure your shoulder span and desired length before cutting, since trimming afterward is easier than adding fabric back.
Finally, don’t rush closures. A poorly attached clasp or uneven cord placement undermines an otherwise polished cape, especially on detailed character-specific builds.
Frequently Asked Questions
Can I Make a Fantasy Cape Without Using Any Sewing Machine?
You can absolutely create a fantasy cape using no sew techniques! Apply fabric glue along edges, explore fabric alternatives like non-fraying fleece, and you’ll craft a stunning, machine-free cosplay cape effortlessly.
How Do I Keep My Cape From Blowing Open While Wearing It?
You’ll want to use cape fasteners like clasps, velcro, or decorative brooches at the neckline to boost wind resistance. A tied cord cinching the front also keeps your fabric controlled while maintaining that dramatic fantasy silhouette.
Are Commercial Patterns Available for Unisex Fantasy Cape Costume Designs?
Multiple commercial pattern options exist for your fantasy builds. You’ll find unisex design considerations built into several fantasy cape variations, letting you explore innovative silhouettes, bold materials, and dramatic cuts that push creative boundaries across countless cosplay possibilities.
How Long Does It Typically Take to Complete a Beginner Cape?
You can finish a straight-line beginner cape in under 20 minutes! Factor in beginner sewing tips like pre-hemming fraying fabrics and cape length considerations when trimming, and you’ll craft a polished, innovative fantasy piece efficiently.
Can Specialty Shimmery Fabrics Be Used for Magical Character Cape Styles?
You can absolutely use shimmery fabric options to elevate magical character inspirations! These specialty materials create dramatic, fantasy-forward effects, making your cape visually striking. Choose fabrics with intentional drape to guarantee they’ll move beautifully during wear.
References
- https://www.doodlecraftblog.com/2022/10/how-to-make-cape-in-less-than-20-minutes.html
- https://www.etsy.com/listing/4324833931/medieval-hooded-cape-cloak-easy-sewing
- https://www.youtube.com/watch?v=_i7B_3M9WSU
- https://www.tiktok.com/@m.y.artistry_/video/7336291233628802346
- https://www.youtube.com/watch?v=TBIa24-CPD0
- https://www.amazon.com/Simplicity-Pattern-Costume-Creative-Patterns/dp/B07FT8LT2D
- https://www.youtube.com/watch?v=bIDUYy_rnjk
- https://www.facebook.com/groups/201640786519419/posts/6202203399796431/
- https://www.youtube.com/watch?v=LxfPXaR4xwE
- https://www.tiktok.com/@euriellvairecreations/video/7490262288956443926