Think you can conquer the mythical creature look with a Cyclops mask?
Before you start, consider these important 7 tips that can make or break your cosplay transformation.
From choosing the right materials to nailing the intricate design of the Cyclops eye, each step plays an essential role in achieving an authentic and impressive result.
Stay tuned to discover the secrets that will elevate your DIY Cyclops mask to the next level of cosplay mastery.
Key Takeaways
- Experiment with different eye colors and glowing effects for a striking Cyclops look.
- Craft a comfortable and secure mask base using foam shaping and attachment techniques.
- Enhance the mask with vibrant colors, weathering effects, and detailed painting for authenticity.
- Ensure cosplay success by adjusting straps, adding padding, and focusing on comfort and detail.
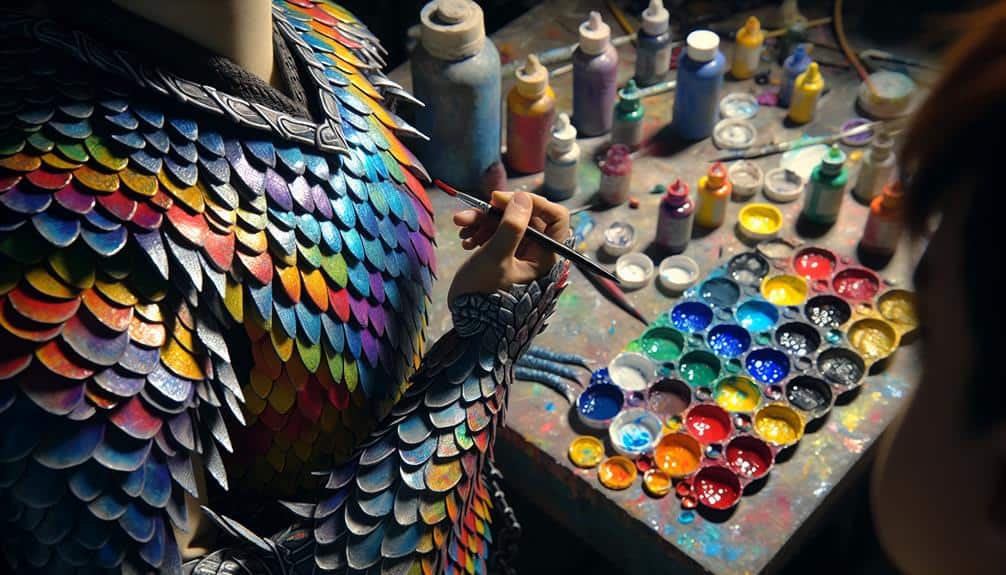
Materials Needed
To create your DIY Cyclops mask, gather these essential materials. You'll need craft foam sheets for foam sculpting, ensuring you have enough to shape the intricate details of the mask. Look for foam that's easy to cut and mold, allowing you to bring your Cyclops vision to life with precision. Additionally, acquire LED lights for the LED installation, choosing ones that are bright and energy-efficient. LEDs will add a striking effect to your mask, making the Cyclops eye stand out in any cosplay event.
When selecting foam for sculpting, opt for different thicknesses to achieve varying textures and depths in your mask. Thicker foam can be used for the base and structural elements, while thinner sheets are ideal for finer details. For the LED installation, consider battery-operated lights for ease of use and mobility. These lights can be strategically placed within the eye socket of the mask, enhancing the overall appearance of your DIY Cyclops creation.
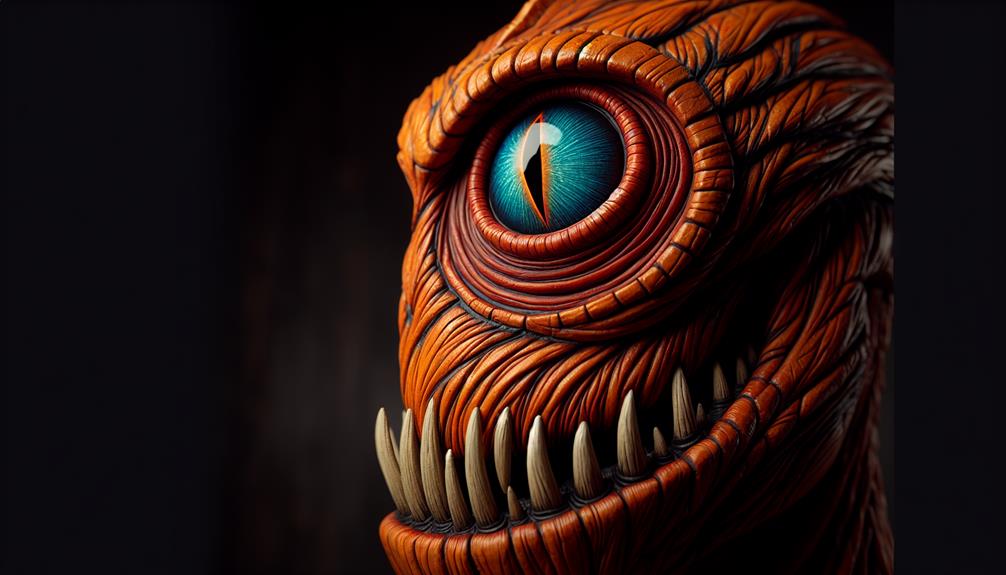
Designing the Cyclops Eye
When designing the Cyclops Eye for your cosplay mask, consider the eye color selection to match your character's unique look.
Enhance the eye by adding a glowing effect using LED lights or reflective materials for a dramatic touch that will make your Cyclops mask stand out at any event.
Experiment with different materials and techniques to create a mesmerizing and attention-grabbing Cyclops Eye that will complete your cosplay ensemble.
Eye Color Selection
Consider choosing a vibrant eye color that captures the essence of your Cyclops character, bringing your mask to life with a striking and unique design. When selecting the eye color for your Cyclops mask, keep these in mind:
- Contact Lens Options: Explore different contact lens options to achieve the perfect eye color for your Cyclops. Colored contact lenses can enhance the overall look of your mask.
- Alternative Eye Colors: Don't be afraid to think outside the box and experiment with unique eye colors. Unconventional choices can make your Cyclops stand out.
- DIY Eye Prosthetics: If you prefer a more realistic approach, consider creating DIY eye prosthetics to achieve intricate and detailed designs that perfectly match your character.
Choose your eye color wisely to make your Cyclops mask truly mesmerizing!
Adding Glowing Effect
Capture the essence of a mystical Cyclops by infusing a mesmerizing glowing effect into the design of its iconic eye. To achieve this, consider installing LEDs inside the eye socket of your mask. Use small, battery-operated LED lights that emit a powerful glow to create a striking effect.
Make sure the lights are securely attached and hidden within the mask for a seamless look. Additionally, apply glowing paint around the eye area to enhance the luminous effect. Choose paint that's safe for skin contact and glows brightly under UV light.
Experiment with different layers and intensities to achieve the desired glow. With careful LED installation and glowing paint application, your Cyclops mask will truly stand out at any cosplay event.
Crafting the Mask Base
To create a sturdy foundation for your Cyclops mask, begin by shaping a base using materials such as foam or clay that can withstand the weight of additional embellishments. When crafting the mask base, keep these tips in mind:
- Foam Shaping: Utilize foam shaping techniques to mold the base of your Cyclops mask with precision and detail. Sculpt the foam carefully to achieve the desired shape and dimensions for your cosplay masterpiece.
- Sculpting Techniques: Employ sculpting techniques to refine the contours and features of the mask base. Use tools like sculpting knives and heat guns to shape the foam or clay to perfection, capturing the essence of the Cyclops character.
- Attachment Methods: Explore various attachment methods to secure the mask base comfortably on your face. Consider fitting adjustments to ensure the mask fits snugly and allows for ease of movement during your cosplay adventures.
Crafting the mask base sets the stage for the rest of your Cyclops cosplay journey, so enjoy the process and express your creativity!
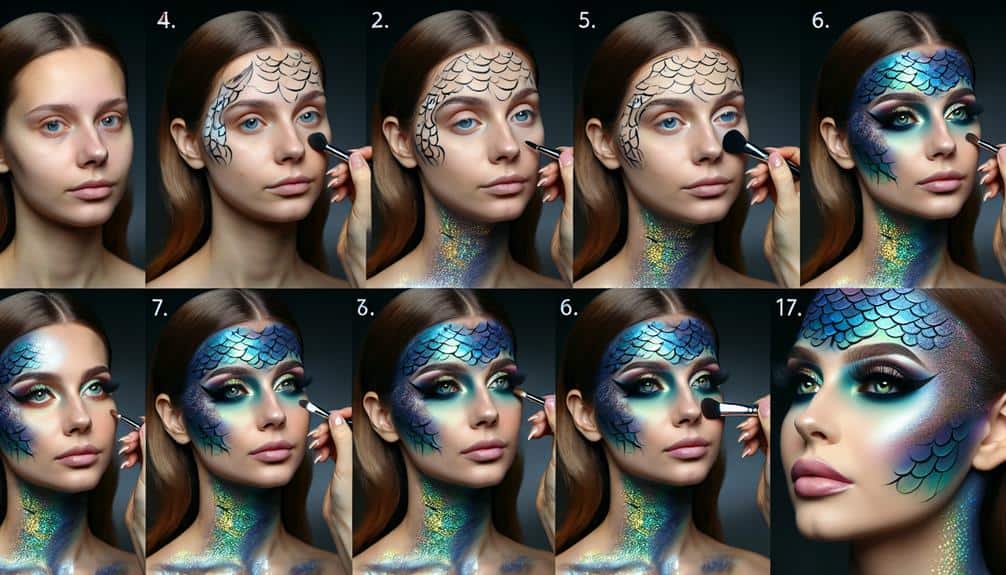
Painting and Detailing
Now it's time to bring your Cyclops mask to life with the magic of paint and detailing.
Choose your colors wisely to capture the essence of this iconic character.
Don't forget to highlight those intricate details and add weathering effects for a truly professional finish.
Color Selection Tips
Selecting the right colors for your DIY Cyclops mask can truly bring your creation to life, adding depth and vibrancy to your cosplay masterpiece. When deciding on the color combination for your Cyclops mask, consider the following:
- Contrasting Colors: Opt for colors that contrast well to make different parts of the mask stand out.
- Shimmer and Shine: Introduce metallic paints or glitter for a dazzling effect that catches the light.
- Complement with Accessories: Coordinate your mask colors with your cosplay accessories for a cohesive and polished look.
Highlighting Intricate Details
Enhancing the intricate details of your DIY Cyclops mask through precise painting and detailing will truly elevate the authenticity and visual appeal of your cosplay creation.
To achieve a professional finish, start by using custom prosthetics to enhance the features of the mask, such as the single eye area and facial contours. Then, focus on adding special effects like shadowing and highlighting to create depth and realism.
Use fine brushes to meticulously paint small details like wrinkles, scars, or textures. Incorporating metallic paints can add a futuristic touch to your Cyclops mask.
Adding Weathering Effects
To enhance the authenticity and visual appeal of your DIY Cyclops mask, consider incorporating weathering effects through skillful painting and detailing techniques. Adding weathering techniques can give your mask a realistic and aged look, making it stand out at any cosplay event.
Here are some tips to help you achieve the perfect weathered effect:
- Dry Brushing: Use a dry brush with a small amount of paint to lightly brush over raised areas for a worn look.
- Aging Effects: Experiment with techniques like sponge painting or sanding to create a weathered appearance on your mask.
- Detailing: Pay attention to small details like scratches, rust spots, or fading to enhance the overall weathered effect.
Adding Texture and Depth
How can you bring your DIY Cyclops Mask to life with alluring textures and multidimensional depth? To create dimension and enhance realism, consider incorporating various techniques to add texture and depth to your mask.
One method is using sculpting materials like air-dry clay to mold raised features such as scales, scars, or mechanical details onto the surface. These additions not only create visually intriguing but also give the mask a tactile quality that adds depth to your cosplay.
Another way to elevate your mask is by layering different materials to achieve a dynamic look. For example, combining faux leather for a weathered effect with metallic accents can create a striking contrast that catches the eye.
Additionally, adding depth can be achieved through painting techniques like dry brushing or washes to highlight textures and create shadows, giving the illusion of depth. By incorporating these tips, you can transform your DIY Cyclops Mask into a visually enchanting piece that stands out at any cosplay event.
Securing and Comfort Tips
For a secure and comfortable Cyclops Mask cosplay experience, make sure that the fit is snug yet not too tight to avoid discomfort during extended wear. Securing techniques and comfort adjustments are essential to guarantee you can fully enjoy embodying the powerful Cyclops character. Here are some tips to help you achieve a flawless cosplay look:
- Adjust Straps: Check the straps of your mask regularly to make sure they're secure but not causing any undue pressure. You want a snug fit that stays in place without being too tight around your head.
- Padded Lining: Consider adding a padded lining inside the mask for extra comfort. This will help prevent any rubbing or discomfort, especially during long periods of wear.
- Breathability: Make sure that your mask allows for proper airflow. Consider adding ventilation holes if needed to prevent overheating and make sure you can breathe comfortably while in character.
Final Touches and Adjustments
Consider adding subtle weathering effects such as scuff marks and scratches to give your Cyclops Mask an authentic and battle-tested appearance. Weathering techniques can elevate your cosplay by adding depth and realism. Use fine-grit sandpaper to gently distress the edges and high-contact areas of the mask. You can also apply small amounts of black and silver paint with a sponge or brush to simulate wear and tear. Pay attention to details like where the mask would naturally rub against clothing or armor, as these areas would show the most wear.
For final touches, focus on strap modification for guarantee enhancement. Guarantee that the straps are securely attached and easily adjustable for a snug fit. Consider adding padding or soft fabric to areas that come into contact with your skin to prevent discomfort during extended wear. Test the mask's fit and make any necessary adjustments to guarantee it stays in place while you showcase your cosplay skills. With these final tweaks, your Cyclops Mask will be ready for the spotlight at your next event.
Frequently Asked Questions
How Can I Make the Cyclops Mask More Durable for Long-Lasting Cosplay Events?
To make the Cyclops mask more durable for endless cosplay adventures, reinforce it with sturdy materials and weatherproof sealants. Embrace techniques like fiberglass reinforcement and silicone sealants for a long-lasting masterpiece that can withstand any event!
Can I Incorporate LED Lights Into the Cyclops Eye for a Glowing Effect?
To create a mesmerizing Cyclops eye, place LEDs strategically inside the mask for a luminous effect. Source batteries wisely for long-lasting glow. Explore various wiring options to guarantee a seamless, glowing masterpiece that dazzles onlookers.
Are There Any Alternative Materials I Can Use for Crafting the Mask Base if I Don't Have Access to the Recommended Supplies?
If you lack recommended supplies for crafting a mask, get creative! Consider alternative materials like cardboard, plastic bottles, or even old fabric. Embrace unique designs by exploring recycling options for a fun, eco-friendly twist.
How Can I Ensure the Paint Job on the Mask Is Waterproof and Won't Smudge During Wear?
To make your paint job on the mask waterproof and smudge-proof, consider applying a waterproof sealant after painting. This extra layer will protect your design from moisture and wear, ensuring your Cyclops mask stays vibrant and flawless throughout your cosplay adventures.
Can I Customize the Mask With Additional Features Like Horns or Spikes for a Unique Look?
Absolutely! You can totally customize the mask with creative embellishments like horns or spikes for a unique look. The customization options are boundless, allowing you to release your creativity and make a one-of-a-kind Cyclops mask for your cosplay!