When it comes to bringing your favorite Disney and Pixar characters to life through cosplay, they say necessity is the mother of invention.
From crafting Mickey Mouse ears that stand out to creating Elsa's icy crown with a magical touch, these top 10 character cosplay prop hacks will elevate your costume game to the next level.
Discover how to transform ordinary items into extraordinary props that capture the essence of beloved characters, leaving everyone in awe of your attention to detail and creativity.
Key Takeaways
- Craft Mickey Mouse Ears with lightweight materials and decorative elements for authentic cosplay.
- Create character-inspired DIY props like Buzz Lightyear Jet Pack with cardboard and paints.
- Design and apply decals meticulously for prop customization and character accuracy.
- Enhance character-specific props like Elsa's Icy Crown with wire shaping and gem accents.
Crafting Mickey Mouse Ears
When creating your own Mickey Mouse ears for cosplay, consider using lightweight materials like foam or felt to guarantee comfort and durability. For the ear headband alternatives, you can start by selecting a flexible wire that can hold the shape of the ears without being too heavy. Wrap the wire with felt to give it a soft texture and cover any sharp edges for safety. This method allows you to customize the size and shape of the ears to match your desired look accurately.
When working with wire and felt materials, make sure to securely attach the ears to the headband. You can sew them on for a more permanent hold or use hot glue for a quicker option. To add a touch of creativity to your DIY character accessories, consider decorating the ears with sequins, beads, or even small bows. These additions can elevate your Mickey Mouse ears and make them stand out as unique and eye-catching creative headwear ideas for your cosplay ensemble.
DIY Buzz Lightyear Jet Pack
For an authentic Buzz Lightyear cosplay, craft a DIY jet pack using simple materials and creative techniques to bring this iconic character accessory to life.
To create a Buzz Lightyear-inspired jet pack, start by gathering cardboard, silver spray paint, red and green acrylic paints, hot glue, and two empty plastic bottles. Cut out two large rectangles from the cardboard to serve as the main wings of the jet pack.
Paint these silver and add details like buttons and logos with the red and green paint to match Buzz Lightyear's look. Attach the wings to the plastic bottles using hot glue to create the jet pack propulsion, Buzz Lightyear style.
To secure the jet pack to your back, use elastic straps or adjustable belts. This DIY project is a fun and affordable way to complete your Buzz Lightyear costume and take your cosplay to infinity and beyond!
Simba's Roaring Mane Technique
To achieve Simba's iconic roaring mane look for your cosplay, master the art of using theatrical hair techniques and innovative styling methods to capture the majestic essence of the Lion King. Start by gathering materials such as faux fur fabric in shades of gold, brown, and cream to replicate the mane's colors realistically. Cut the fabric into thin strips, varying the lengths to add dimension to the mane. Attach these strips to a wig cap using hot glue or sewing for a secure hold that won't shift during wear.
For a more dynamic mane styling, consider incorporating wire into the fabric strips to create a controllable shape that can be molded into different roaring positions. This technique allows you to customize Simba's mane to suit your desired look, whether it's flowing gently or standing upright in a fierce roar. Experiment with different lion costume designs and character hair techniques to find the perfect balance between authenticity and practicality for your Lion King cosplay.
Finding Nemo's Fin-tastic Tail
Explore the depths of creativity by crafting your own Fin-tastic Tail inspired by the beloved character Nemo from Disney and Pixar's animated film. Dive into the world of Finding Nemo cosplay ideas with these tips:
- Underwater Tail Design: To create Nemo's iconic tail, start with a sturdy base like a foam board or cardboard cutout in the shape of a fish tail. Use bright orange and white fabric to cover the tail, adding details like black stripes to mimic Nemo's unique markings. Consider adding a fin at the top for an extra touch of authenticity.
- Finding Nemo Cosplay Ideas: Pair your Fin-tastic Tail with a matching orange and white striped top to complete the Nemo look. For added flair, consider wearing orange face paint with white stripes to resemble Nemo's face. Don't forget the expressive eyes – you can use makeup or a small mask to capture Nemo's adorable look.
With these tips, you'll be swimming into the world of Finding Nemo cosplay with style and creativity.
Rapunzel's Magical Hair Extension
Crafting your own Rapunzel's Magical Hair Extension prop can transport you into the enchanting world of Disney and Pixar cosplay with a touch of whimsy and charm. To recreate Rapunzel's iconic long golden locks, consider using synthetic hair extensions in a radiant blonde shade. Attach these extensions to a sturdy headband or a clear wire frame to give the illusion of floating hair. To add a magical touch, intertwine small LED lights within the strands to mimic the glowing effect seen in the movie.
For added flair, adorn the hair extension with colorful flowers, ribbons, and beads to capture Rapunzel's bohemian style. These fantasy hair accessories will enhance your overall cosplay look and make you feel like a true princess from a fairytale. The final result will surely wow the crowd and create magical cosplay transformations that bring the beloved character to life. Embrace the enchantment of Rapunzel's long, flowing hair and let your creativity shine through in every strand.
Lightning McQueen's Racing Decals
Get ready to rev up your creativity with Lightning McQueen's Racing Decals!
Discover the best techniques for applying decals to guarantee a smooth and professional look.
Learn how to design your own custom decals and maintain them for long-lasting cosplay adventures!
Decal Application Techniques
When applying Lightning McQueen's racing decals to your cosplay prop, make sure you meticulously follow a step-by-step process for best results. Here are some key techniques to guarantee a flawless application:
- Decal Removal Tricks: Before applying new decals, use a gentle adhesive remover to eliminate any residue from previous stickers. This will assure a smooth surface for the new decals.
- Precision Cutting Techniques: Carefully cut around the edges of the decal to avoid any excess material. A sharp craft knife or precision scissors can help you achieve clean and accurate cuts.
- Heat Transfer Applications: Use a heat source, like a hairdryer or heat press, to gently warm the decal before application. This will make the decal more pliable and help it adhere smoothly to your cosplay prop.
DIY Decal Designs
After making sure your cosplay prop is prepped and ready, you can begin creating Lightning McQueen's iconic racing decals with these DIY design techniques.
To make custom decal designs, start by sketching out the pattern on paper to make certain accuracy. Then, transfer your design onto vinyl sticker paper using a precision cutting tool for intricate details. Carefully cut out the decal shapes, making sure to follow the lines precisely. Once cut, peel off the backing of the vinyl sticker and apply the decal onto your prop, smoothing out any air bubbles as you go.
For curved surfaces like Lightning McQueen's car, gently heat the decal with a hairdryer as you press it down for a secure fit. Mastering these vinyl sticker application skills will elevate your Lightning McQueen cosplay to the next level.
Decal Maintenance Tips
For superb longevity and vibrancy of Lightning McQueen's racing decals, consider implementing these practical maintenance strategies for preserving their appearance and integrity.
- Decal Removal Methods: To remove decals without damaging them, use a gentle heat source like a hairdryer to soften the adhesive, making it easier to peel off without leaving residue.
- Decal Storage Solutions: Store decals flat in a cool, dry place to prevent curling or warping. Consider using a protective sleeve to shield them from dust and light exposure.
- Decal Customization Ideas: Explore adding clear coat protection to decals for increased durability, or try layering different decals for a unique look that showcases your creativity.
Elsa's Icy Crown Creation
Craft a shimmering and regal Elsa-inspired crown using simple materials like silver wire, beads, and glue. To start, shape the wire into a crown base that fits your head comfortably. Next, thread icy blue gems onto thinner wire and twist them into delicate snowflake accents. Attach these snowflakes to the crown base using a strong adhesive, ensuring they're evenly spaced for a balanced look.
For Elsa's crown decoration, consider adding larger icy blue gems at the points where the snowflakes intersect. This will create a focal point that sparkles and catches the light beautifully. To enhance the regal feel, incorporate clear beads or crystals throughout the crown for added shimmer.
Once all the elements are securely in place, let the glue dry completely before wearing your Elsa-inspired crown. This DIY project allows you to customize the crown to your liking, making it a unique and eye-catching accessory for your Disney or Pixar character cosplay.
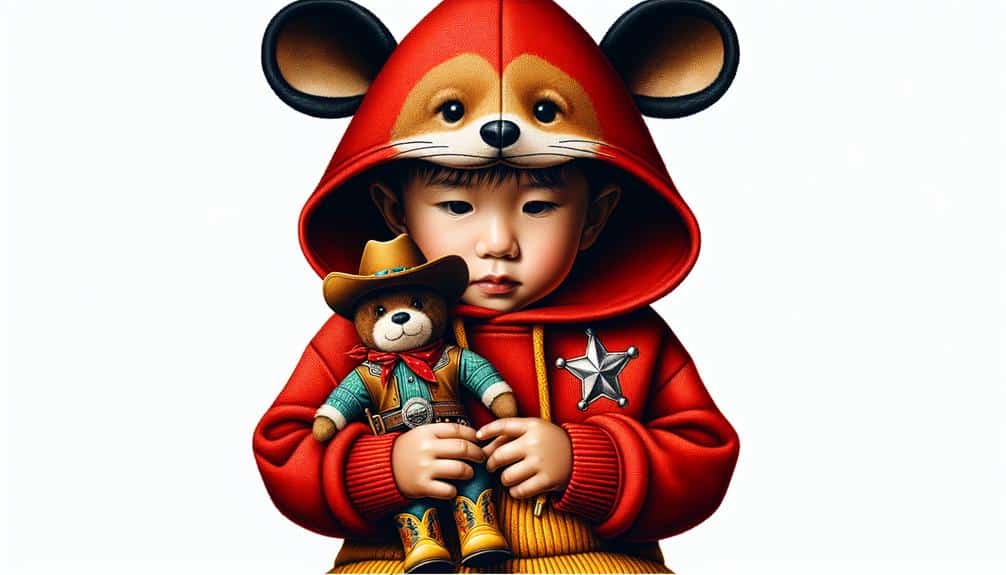
Woody's Cowboy Hat Upgrade
Enhance Woody's iconic cowboy hat with a creative and authentic upgrade that captures the essence of the beloved character. To achieve this, consider the following hat embellishment techniques and cowboy costume accessories:
- Bandana Accent: Attach a small bandana around the base of the hat for a classic Western touch. Choose a bandana with a design that complements Woody's color scheme to enhance the overall look.
- DIY Hat Brim Shaping: Use a steam iron to shape the brim of the hat, giving it that signature cowboy hat curve. Be patient and gentle with the process to avoid damaging the hat material.
- Character Hat Upgrades: Add unique elements like faux leather patches or miniature sheriff badges to personalize your hat further. These details can make your cosplay stand out and showcase your attention to detail.
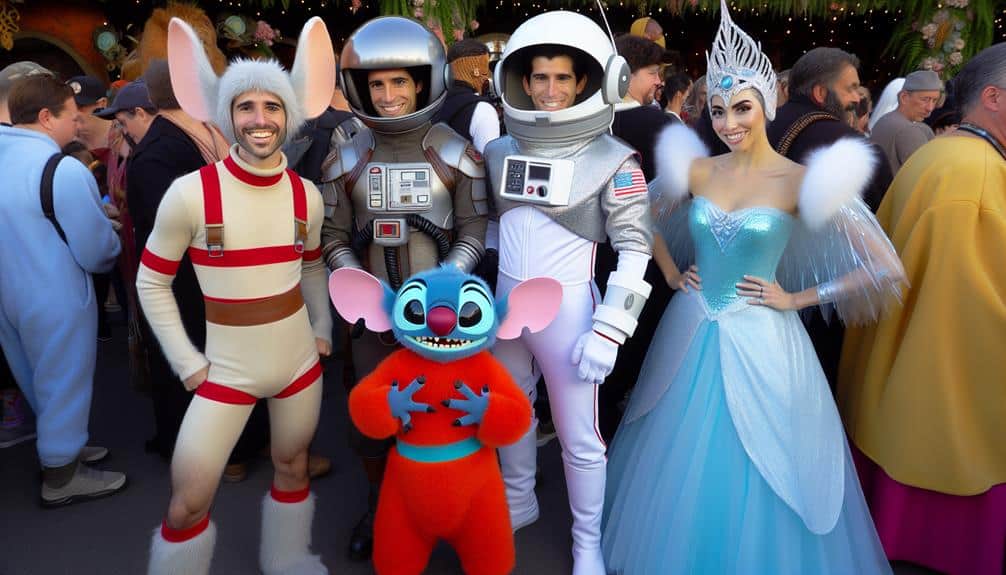
Stitch's Cute and Easy Ears
Craft your own adorable Stitch-inspired ear headband using simple materials like felt and wire. Don't forget the iconic blue faux fur accents to bring the character to life.
This DIY project is perfect for adding a touch of cuteness to your Disney or Pixar cosplay ensemble. The lightweight design guarantees comfort for extended wear at conventions or themed parties.
With a little creativity and some basic crafting skills, you can easily make these charming ears that are sure to make you stand out in any crowd.
DIY Stitch Ear Headband
To create your own adorable Stitch ear headband, gather a few simple materials and follow these easy steps for a cute and fun accessory!
- Wire Technique: Start by shaping blue felt pieces into Stitch's signature ear shape, then use a thin wire inside to give them structure and flexibility.
- Felt Embellishment: Add details like smaller felt pieces for the inner ear and facial features using hot glue to secure them in place.
- Headband Alternative: Attach the finished ears to a headband using a hot glue gun or opt for a clip-on version for versatility in wear.
Felt and Wire Construction
For creating Stitch's cute and easy ears using felt and wire, you'll need to master a simple yet effective construction technique. Start by cutting out two identical ear shapes from blue felt, ensuring they match the character's look for cosplay accuracy.
Next, take a piece of wire and bend it to match the outline of the ears, providing structure and stability. Attach the wire frame between two felt pieces using fabric glue, firmly securing it in place. Once dry, trim any excess felt and refine the edges to achieve a polished appearance.
These lightweight and durable ears make fantastic cosplay accessories, adding an authentic touch to your Stitch costume. Master the art of felt crafting and wire bending to elevate your character portrayal.
Blue Faux Fur
Achieve Stitch's signature look effortlessly by crafting his cute and easy ears using blue faux fur. To make sure your ears stand out and stay in great condition, consider the following tips:
- Blue Fur Alternatives: If you're looking for cost-effective options, consider using blue fleece fabric or even repurposed blue clothing for a similar effect.
- Faux Fur Care: To keep your faux fur looking fresh, gently brush it with a pet brush to remove any tangles or debris. Avoid washing faux fur too frequently to maintain its softness.
- Maintenance Tips: Store your faux fur ears in a cool, dry place to prevent them from getting damaged. Consider using a garment bag or a plastic container to keep them safe when not in use.
Dory's Forgetful Tag Trick
Wandering through a sea of people at a convention, you can make your Dory cosplay stand out with a clever Forgetful Tag trick. To enhance your memory like Dory's, create a DIY forgetful tag using a small piece of blue fabric and a safety pin. Write key phrases or reminders on the tag to help you remember important details about the character, ensuring you stay in character throughout the event.
For an added touch of underwater adventure, consider incorporating Nemo-inspired accessories into your cosplay. Think about wearing a cute orange and white striped headband or adding a small plush Nemo toy to your costume. These subtle additions will tie your Dory cosplay to the beloved movie and make your character portrayal even more convincing.
Frequently Asked Questions
Can These Cosplay Prop Hacks Be Used for Children's Costumes as Well?
Yes, you can definitely utilize these cosplay prop hacks for your children's costumes. These DIY tricks and creative accessories are perfect for adding that special touch to their outfits, letting their imagination soar while showcasing their favorite characters.
Are There Any Safety Concerns to Keep in Mind When Creating These Props?
When crafting cosplay props, safety precautions are crucial. Utilize DIY tutorials with clear instructions on materials and construction techniques. Immerse yourself in the cosplay community for advice on safe practices, ensuring a magical experience for all.
How Long Does It Typically Take to Complete Each of These Prop Hacks?
When creating these prop hacks, it usually takes a varied amount of time depending on complexity and skill level. Time management is essential for efficiency, allowing you to fully immerse in the creative process and engage with the cosplay community.
Are There Any Specific Materials or Tools That Are Recommended for These Projects?
To ace those Disney and Pixar character cosplay prop hacks, grab recommended materials like EVA foam and Worbla. Essential tools? Heat gun and precision cutter. Opt for budget-friendly options such as thrift store finds and craft store discounts.
Can These Props Be Easily Adjusted or Customized for Different Sizes or Styles of Costumes?
When crafting your cosplay props, you can easily adjust sizes by using versatile materials like foam or PVC pipes. For style variations, experiment with painting techniques, fabric covers, or adding embellishments for that personal touch.