If you've ever dreamed of crafting your own armor inspired by medieval legends and fantasy domains, these 3 DIY LARPing armor tutorials will kickstart your journey into the world of live-action role-playing.
From mastering the intricate art of chainmail to shaping foam into battle-ready gear, each tutorial offers a unique approach to creating your armor.
Get ready to transform ordinary materials into extraordinary protection that will make you stand out on the LARP battlefield.
Key Takeaways
- Master armor crafting techniques like chainmail weaving and leather molding for LARPing armor.
- Prioritize maintenance and care to ensure longevity and performance of DIY LARPing armor.
- Focus on material selection for mobility, protection, and authenticity in creating LARPing armor.
- Enhance DIY LARPing armor with attention to detail, authenticity, and visual appeal through creative techniques.
Chainmail Armor Tutorial
If you're looking to create chainmail armor for your LARPing adventures, mastering the art of weaving metal rings is crucial. To maintain your chainmail armor, regularly check for any loose rings or areas that may need repair. Use pliers to carefully close any open rings to make sure they don't come apart during combat. When storing your chainmail, make sure it's dry to prevent rusting, and consider hanging it to maintain its shape.
When crafting your chainmail armor, exploring historical chainmail patterns can add authenticity to your design. Patterns like the European 4-in-1 or the Persian weave offer different looks and levels of protection. Experiment with different ring sizes and materials to achieve the desired weight and flexibility for your armor.
Foam Armor Crafting Guide
Start on your foam armor crafting journey by selecting high-quality foam sheets that are lightweight yet durable for excellent mobility and protection. When it comes to foam armor techniques, cutting the foam accurately is essential. Utilize a sharp utility knife or foam cutter to shape the pieces precisely according to your design. To guarantee a secure fit, consider using contact cement or hot glue for joining the foam sections together seamlessly.
For added authenticity and detail, experiment with heat shaping techniques by using a heat gun to mold the foam into intricate shapes and contours. This method allows you to create visually striking textures and patterns on your foam armor pieces. Additionally, incorporating beginner resources like online tutorials and forums can provide valuable insights and tips from experienced crafters.
Remember to prime and paint your foam armor to enhance its durability and aesthetic appeal. Choose acrylic paints for their flexibility and ease of use when coloring your armor. With these foam armor crafting basics and beginner resources, you'll be well on your way to creating impressive DIY LARPing gear that stands out on the battlefield.
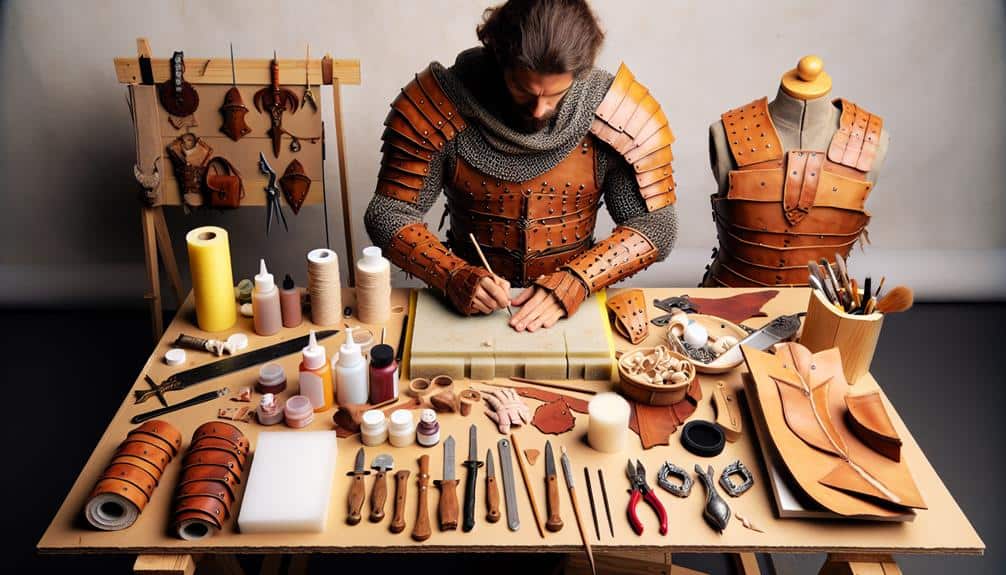
Leather Armor DIY Instructions
To craft your own leather armor for LARPing, begin by selecting high-quality leather hides that are both durable and flexible for best mobility and protection. When it comes to leather dye techniques, consider using professional-grade leather dyes for vibrant and long-lasting colors. Before dyeing, make sure the leather is clean and free of any oils or dirt to allow the dye to penetrate evenly. Experiment with different dye application methods such as sponging, spraying, or hand painting to achieve unique effects on your armor.
For leather shaping methods, molding the leather to fit your body contours is essential for comfort and protection during LARP battles. Techniques like wet molding or heat shaping can help you achieve the desired shape and form of your armor pieces. Remember to allow the leather to dry completely before wearing to prevent any warping or discomfort.
With attention to detail and practice, you can create personalized leather armor that not only looks impressive but also offers excellent defense on your LARPing adventures.
Frequently Asked Questions
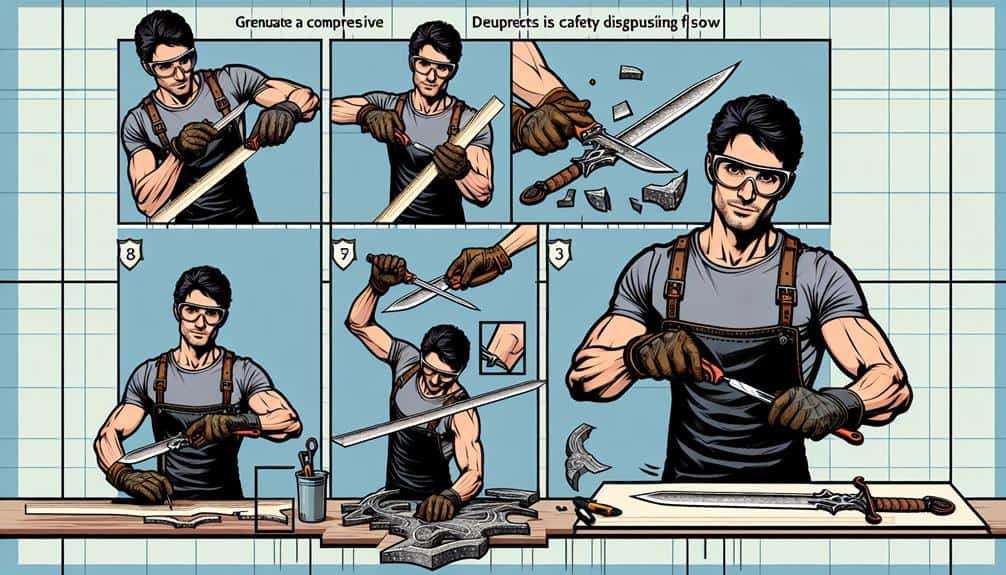
Are There Any Specific Safety Precautions to Keep in Mind While Crafting LARPing Armor at Home?
Before diving into crafting DIY armor, remember this: 'an ounce of prevention is worth a pound of cure.' Safety tips are crucial. Avoid beginner mistakes by wearing protective gear, using proper tools, and researching thoroughly.
How Can I Properly Care for and Maintain My DIY LARPing Armor to Ensure Its Longevity?
To properly care for and maintain your DIY LARPing armor, use gentle cleaning techniques like wiping with a damp cloth. Store it in a dry, cool place to prevent damage. Repair any cracks promptly and reinforce stress points for longevity.
Can I Customize and Add My Own Personal Touches to the Armor Designs Provided in the Tutorials?
To truly make your armor shine, don't hesitate to add personal touches. Get creative with design modifications and let your imagination run wild. Customization is key to standing out on the battlefield.
Are There Any Alternative Materials That Can Be Used to Create LARPing Armor Aside From Those Mentioned in the Tutorials?
You can explore various materials like EVA foam, craft foam, or even repurposed leather to craft unique LARPing armor. Get creative with your designs by incorporating chainmail, scales, or engraving for a personalized touch.
How Can I Accurately Measure Myself to Ensure a Proper Fit for the Armor Pieces I Create?
To guarantee proper fitting of your DIY LARPing armor, accurately measure yourself. Tailor pieces to your dimensions for comfort and mobility. Customization enhances both aesthetics and functionality, creating a personalized and effective armor set.