If you've ever struggled with achieving a seamless werewolf transformation for your Halloween costume, consider the benefits of utilizing DIY werewolf fur application tips. The key lies not only in the final look but also in the process itself.
By incorporating these expert techniques, you can elevate your costume to a whole new level of authenticity. But why stop there?
Stay tuned to discover how these tips can not only enhance your appearance but also save you time and effort in the long run.
Key Takeaways
- Achieve realistic and customized look affordably.
- Enhance creative expression with personalized touch.
- Ensure secure and professional fur application.
- Maintain and store fur for long-lasting quality.
Benefits of DIY Werewolf Fur Application
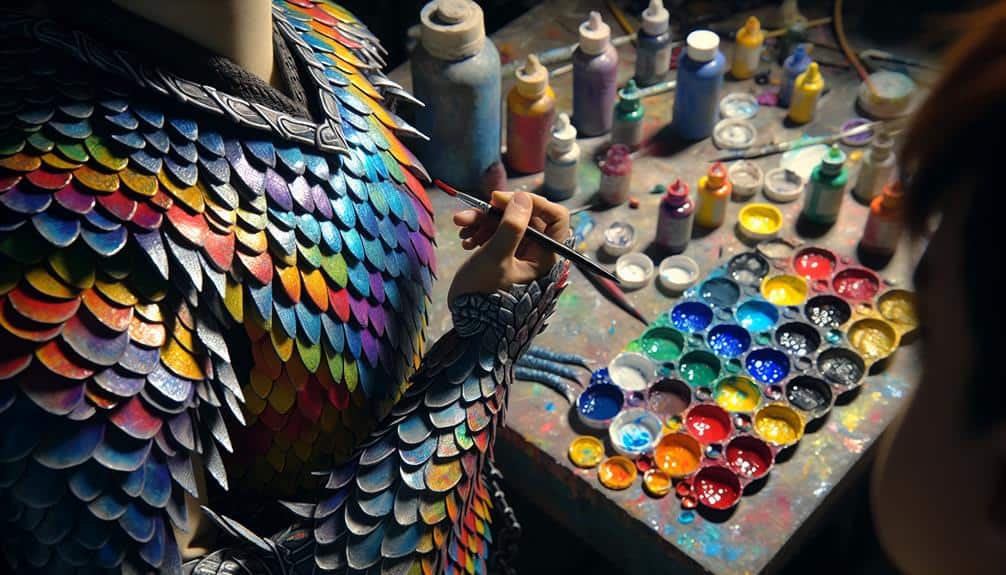
When applying DIY werewolf fur, you can achieve a more realistic and customized look that enhances your transformation. One of the significant benefits of opting for a DIY approach is that it can be cost-effective compared to purchasing pre-made werewolf costumes. By sourcing materials yourself, you have the flexibility to choose cost-effective options without compromising the quality of your werewolf fur. This cost-saving aspect allows for more creativity in other areas of your costume or event planning.
Moreover, DIY werewolf fur application is an excellent way for creative expression. You have the opportunity to tailor the fur to your liking, whether you prefer a sleek and groomed appearance or a wild and untamed look. This customization enhances the overall experience of embodying a werewolf character, adding a personal touch to your transformation. Embracing the DIY approach not only saves you money but also enables you to bring your werewolf persona to life with creativity.
Essential Supplies for Fur Application
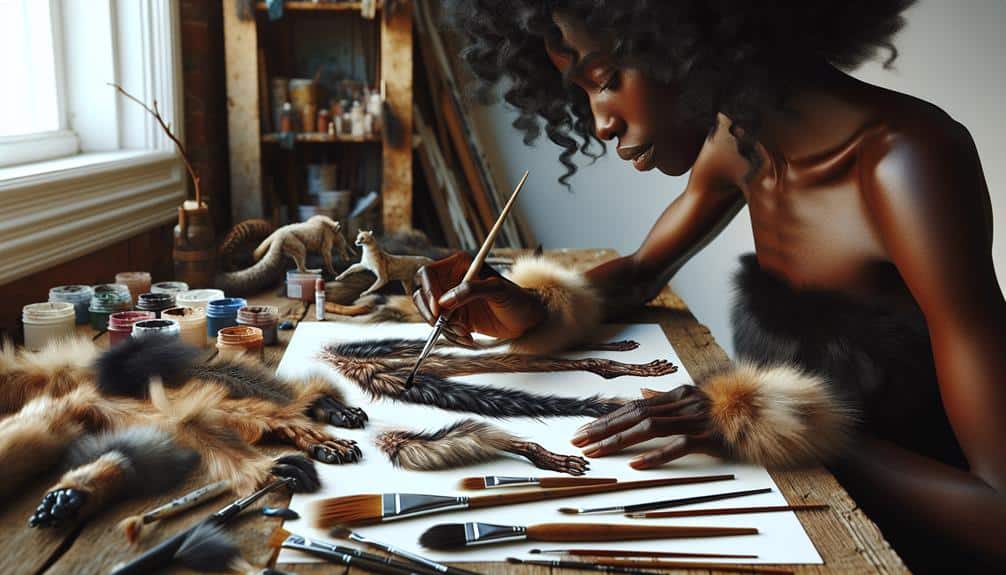
To effectively apply fur for your werewolf transformation, make sure you have the essential supplies ready for a seamless process. When considering fur color choices for your werewolf look, opt for shades that match the concept you have in mind, whether it's a classic gray, brown, or a more unique color variation. Making sure you have the right fur color is critical to achieving a realistic transformation.
For the application techniques, having a quality adhesive is key to making the fur stay in place throughout your transformation. Look for a strong adhesive that's skin-safe and will withstand movement. Additionally, having sharp scissors for trimming the fur to the desired length is essential for achieving a neat and polished look. Precision is key when trimming the fur, so make sure your scissors are sharp to avoid any jagged edges or uneven cuts.
- Fur Color Choices: Opt for shades that match your werewolf concept.
- Adhesive: Choose a strong, skin-safe adhesive for secure fur application.
- Sharp Scissors: Use sharp scissors for precise trimming to achieve a polished look.
Step-by-Step Fur Application Process
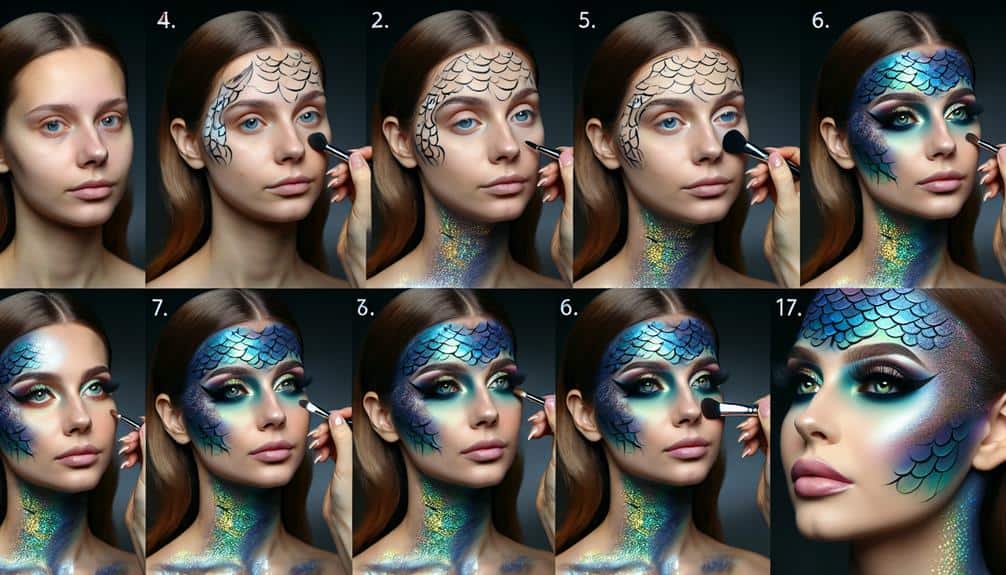
For a seamless and professional werewolf transformation, begin the fur application process by making sure your skin is clean and dry. Choose a high-quality adhesive that's safe for skin application. Start by applying a thin layer of adhesive to your skin in the desired area where you'll be attaching the fur. Allow the adhesive to become tacky before placing the fur onto your skin. When selecting fur colors, consider shades that mimic natural werewolf fur such as browns, blacks, and grays for a realistic look.
To achieve a natural appearance, use blending techniques to seamlessly merge the fur with your skin. Gently pat and press the edges of the fur into your skin to create a smooth shift between the fur and your natural skin. Blend different fur colors together strategically to add depth and dimension to your werewolf transformation. Remember to take your time during the application process to make a professional and convincing end result.
Tips for Blending Realistic Werewolf Fur
Guarantee a seamless integration of realistic werewolf fur by mastering the art of blending different colors and textures strategically. When it comes to achieving a lifelike appearance, the blending techniques and color choices you make are important. Here are some essential tips to help you blend werewolf fur effectively:
- Layering Technique: Start by applying a base color and then gradually layer different shades on top. This method creates depth and dimension in the fur, making it look more authentic.
- Gradient Blending: Blend different colors together seamlessly by using a sponge or brush to create a smooth change between shades. This technique is ideal for achieving a natural fur texture.
- Color Matching: Choose colors that mimic real fur tones to achieve a more realistic look. Consider mixing various shades to match the werewolf fur you envision accurately.
Mastering these blending techniques and being mindful of your color choices will elevate your DIY werewolf fur application to the next level of authenticity.
Maintenance and Removal of Werewolf Fur
When maintaining and removing werewolf fur, proper care techniques are essential to preserve the quality and longevity of your DIY creation. For fur removal techniques, gently comb through the fur using a wide-toothed comb to detangle any knots. Avoid using harsh chemicals or excessive force, as this can damage the fur fibers. To remove stubborn fur, consider using a specialized fur removal tool designed for gentle and effective fur removal without causing harm.
Regarding fur maintenance tips, store your werewolf fur in a cool, dry place away from direct sunlight to prevent fading and damage. Regularly brush the fur to maintain its softness and prevent matting. If the fur becomes dirty, spot clean it with a damp cloth and mild soap, then allow it to air dry completely. Avoid heat styling or excessive washing, as this can lead to deterioration of the fur's quality. By following these fur maintenance and removal techniques, you can make sure your DIY werewolf fur stays in top condition for future use.
Frequently Asked Questions
Can DIY Werewolf Fur Application Be Used for Other Costumes Besides Werewolves?
When exploring costume versatility, DIY fur application offers endless possibilities beyond werewolves. Creative cosplay ideas can come to life with this technique, allowing you to transform into various characters and creatures with unique fur textures and colors.
Will the Fur Application Process Damage My Skin or Hair?
To protect your skin during the fur application process, make sure you have a barrier like petroleum jelly. Avoid allergic reactions by doing a patch test. Safeguard your hair by tying it back. Follow safety precautions for a successful application.
How Long Does DIY Werewolf Fur Application Typically Last?
Typically, DIY werewolf fur application lasts for several days with proper care. Durability hinges on maintenance like avoiding water exposure and friction. Removal is gentle to prevent skin damage, allowing easy reapplication for a fresh look.
Are There Any Special Considerations for Applying Werewolf Fur to Children or Pets?
When applying werewolf fur to children or pets, safety precautions are essential. Be mindful of sensitive skin. Use gentle application techniques. Treat them like delicate treasures, ensuring a comfortable and secure experience.
Can I Reuse the Fur for Multiple Applications, or Is It a One-Time Use Product?
You can reuse werewolf fur for multiple applications, making it cost-effective. Ensure proper application techniques for longevity. Regular maintenance like gentle brushing and storage in a cool, dry place will help preserve the fur's quality.