You can elevate your cosplay accessories by replacing safety pins with hand-stitched thread, anchoring bows at multiple points, and reinforcing buttons using cross-stitch patterns. Swap flimsy foam props for painted components or 3D-printed pieces, then apply dry-brushed metallic paint for realistic depth. Coordinate every visible element intentionally, from rhinestone layers to styled wigs, ensuring cohesive character storytelling. There’s plenty more where that came from, with detailed tricks waiting just ahead.
Key Takeaways
- Replace safety pins with hand-stitched thread to securely anchor accessories like bows, ribbons, and jewelry using cross-stitch patterns for lasting durability.
- Reinforce belts, chokers, and similar accessories with invisible thread loops to keep them firmly in place throughout the event.
- Style wigs using latch hook tools and layer embellishments like rhinestones and temporary tattoos for a polished, professional appearance.
- Sculpt foam accessories with Dremel tools or heat guns to add realistic texture and dimension to your cosplay props.
- Coordinate all accessories intentionally, ensuring color, style, and design align cohesively with your character’s overall aesthetic and storytelling.
Fix Loose Threads on Your Cosplay Before the Event
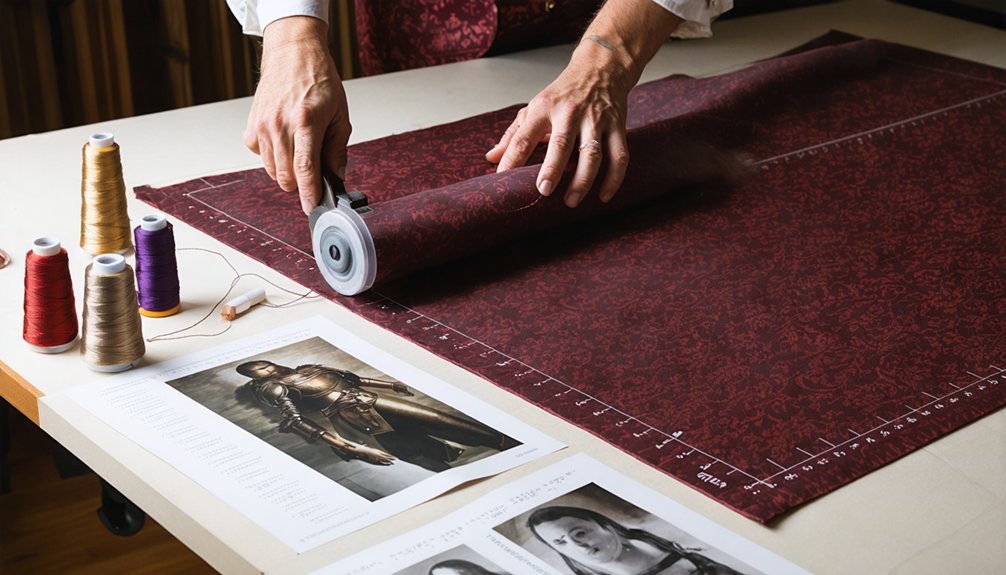
Loose threads are cosplay’s silent saboteurs — they snag on props, unravel seams mid-convention, and strip a polished costume of its professional edge.
Before your event, audit every seam finish carefully. Different thread types behave uniquely — polyester threads resist fraying better than cotton, while metallic threads demand precision trimming to prevent cascading unraveling.
Polyester resists fraying; metallic threads demand precision — know your thread type before convention day arrives.
Grab sharp scissors or a seam ripper and methodically eliminate stray fibers from hems, collars, cuffs, and embellishment edges. Don’t just snip — seal. Apply a micro-dot of seam sealant on vulnerable raw edges to lock fiber ends permanently.
Inspect your costume under bright lighting, rotating it completely to catch hidden stragglers. After washing, repeat this entire process since laundering inevitably loosens fibers.
Your costume’s longevity and visual sharpness depend on this disciplined pre-convention ritual.
Iron Out Wrinkles for a Polished Cosplay Look
Choosing the right iron makes all the difference — set it to low heat for synthetic fabrics and always test on a scrap piece first to avoid melting or scorching delicate materials.
You’ll want to use a pressing cloth over textured or embellished areas to distribute heat evenly and prevent flattening details that give your costume its character.
Once you’ve smoothed out every crease, hang the costume immediately to let the fabric set its shape and lock in that crisp, convention-ready finish.
Choosing the Right Iron
When ironing cosplay costumes, the type of iron you use can make or break delicate fabrics like chiffon, velvet, or heat-sensitive synthetics. Choose a steam iron with adjustable steam settings to match specific fabric types — high steam for cotton, minimal heat for polyester blends.
Before pressing, always verify fabric compatibility by testing on scrap material first. Prioritize iron safety by using a pressing cloth over textured or embellished garment types to prevent scorching.
Follow a strategic ironing order — start with accessories, then move to larger costume sections — for wrinkle prevention without repeating effort.
Maintain tool maintenance by descaling your iron regularly to guarantee consistent steam output. Proper heat protection techniques keep your costume photo-ready while extending its convention lifespan considerably.
Preventing Fabric Damage
Preventing fabric damage while ironing starts with understanding your costume’s material composition, since synthetic blends common in store-bought cosplay pieces melt or warp under excessive heat.
Prioritize fabric care by testing your iron on scrap material before tackling the actual costume. Use a pressing cloth over textured or embellished fabric types to distribute heat evenly without scorching delicate surfaces.
Your maintenance tips should include washing techniques like cold-water hand washing for heat-sensitive synthetics, preventing fiber breakdown over time.
For longevity strategies, always hang costumes post-ironing rather than folding them immediately. Implement proper storage solutions—breathable garment bags minimize dust accumulation while preventing compression creases.
Damage prevention ultimately depends on costume preservation habits you build consistently, ensuring each convention appearance looks deliberately crafted rather than carelessly rushed.
Setting the Final Shape
Setting the final shape of your cosplay transforms a wrinkled, limp costume into something that reads as intentional and polished from across a convention floor.
Use a steam iron on low heat, testing first on scrap fabric to prevent melting synthetics. A pressing cloth protects textured materials during this process.
Fabric draping techniques become more effective when you iron directionally, following each panel’s natural grain to reinforce intentional folds rather than flattening them. After ironing, hang your costume immediately to let the shape set without new creases forming.
Costume layering strategies also benefit here — press each layer individually before assembling, ensuring underlayers don’t bunch or distort outerwear.
Repeat this process after every wash to maintain that sharp, deliberate silhouette throughout extended convention wear.
Add Petticoats and Shapers to Build the Right Cosplay Shape
Beneath your costume lies the foundation that determines whether your silhouette reads as screen-accurate or flat, so choose petticoats based on their hoop count and fabric stiffness to match your skirt’s intended volume.
If your character requires a corseted waist or structured bust, layer a boning-reinforced undergarment beneath the outer costume to sculpt your body into the correct proportions.
You don’t need to spend heavily on these foundational pieces—thrifted formalwear sections and Amazon’s costume undergarment listings frequently offer petticoats, corsets, and bloomers at a fraction of specialty cosplay store prices.
Choosing the Right Petticoat
When building the right cosplay silhouette, selecting the correct petticoat style is the most critical structural decision you’ll make for skirt-based costumes.
Match fabric types — organza for stiff volume, chiffon for soft floofiness — to your character’s aesthetic. Length variations determine silhouette accuracy; measure your skirt’s hem before purchasing.
Color considerations matter more than you’d expect: white beneath dark fabrics creates unintended contrast, so opt for matching tones.
Master layering techniques by stacking two shorter petticoats instead of one bulky option for controlled shape. Verify style compatibility with your overskirt’s cut — A-line versus circle skirts behave differently.
Prioritize comfort factors like waistband elasticity for long convention hours. Follow care instructions diligently to maintain loft.
Brand recommendations include Malco Modes and Crinolines Direct for reliable construction.
Corsets and Body Shapers
Petticoats handle what falls below the waist, but corsets and body shapers tackle the upper silhouette — and together, they complete the structural foundation your cosplay actually needs.
Selecting the right corset styles means matching fabric types like brocade, mesh, or cotton twill to your character’s historical accuracy requirements. Sizing tips matter enormously — measure your natural waist, not your clothing size.
Consider these layering techniques for precision:
- Underbust corsets prioritize waist training while preserving bust support flexibility.
- Body shaper benefits include smoothing lines and improving silhouette choices without rigid boning.
- Overbust designs unify bust support and compression into one structural piece.
Balance comfort factors against aesthetic demands — extended convention wear punishes poor fit decisions ruthlessly. Choose strategically.
Budget-Friendly Undergarment Options
Corsets and body shapers claim the upper half, but building a complete cosplay silhouette means sourcing budget-friendly undergarments without sacrificing structural integrity.
Start by exploring thrift shop finds—vintage styles often feature structured petticoats with quality fabric blends that modern affordable shapewear can’t replicate at comparable price points.
Layer techniques matter here: stack tulle slips beneath hoopskirts to amplify volume while distributing weight evenly across your hips.
Scout online deals through Amazon, eBay, or AliExpress for bloomers, crinoline tiers, and compression shorts suited for costume adjustments mid-convention.
If commercial options fall short, DIY undergarments using repurposed organza or cotton muslin give you precise silhouette control.
Cut, stitch, and test each layer before event day to confirm mobility, comfort, and structural accuracy beneath your finished costume.
Sew Down Accessories Before Something Falls Off Mid-Event
Nothing ruins a cosplay faster than watching a carefully placed bow or decorative button skitter across a convention floor. Swap safety pins for hand-stitched thread to maximize accessory attachment and event durability throughout long con hours.
Target these high-risk embellishments first:
- Bows and ribbons: Anchor multiple points using matching thread to distribute tension evenly.
- Buttons and jewelry: Reinforce with cross-stitch patterns that resist repeated fabric movement.
- Belts and chokers: Secure connecting hardware with small, invisible thread loops alongside existing closures.
Select thread colors that blend seamlessly into your base fabric, making reinforcement completely invisible.
Inspect every sewn attachment before leaving home, tugging firmly to simulate real movement stress. This proactive approach eliminates mid-event wardrobe failures before they interrupt your carefully crafted character presentation.
Enhance Cosplay Props With Simple Material Swaps
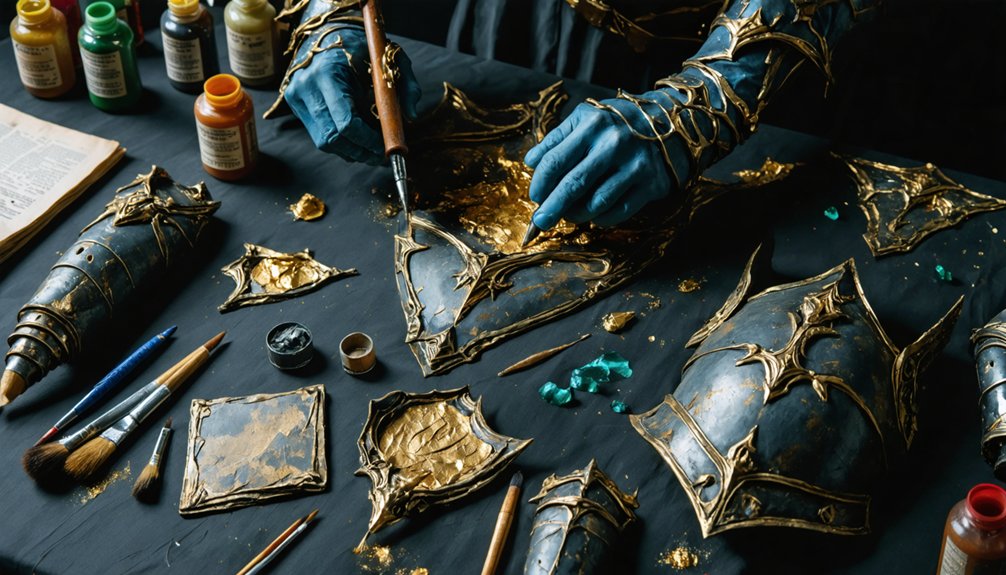
Swapping out flimsy foam accessories for painted pingpong balls or lightweight 3D-printed components instantly elevates a prop’s realism without dramatically increasing its weight or production cost.
These material alternatives deliver stronger prop durability while unleashing creative enhancements you can’t achieve with basic foam alone. Apply textured spray primers or stippling techniques to create effective textures that mimic metal, stone, or worn leather.
You’ll generate tremendous visual impact through realistic finishes like dry-brushed metallic paint or weathering powders. Lightweight options such as thermoplastics or balsa wood enable functional designs that hold their shape under convention conditions.
Reinforce prop ends using hot glue dots, while cost-effective swaps like fabric-wrapped handles add both tactile authenticity and aesthetic upgrades that transform store-bought pieces into convincingly handcrafted-looking builds.
Add Cosplay Finishing Details That Complete the Look
Once your props carry that convincingly handcrafted quality, the remaining finishing details pull every element of your costume into a cohesive, polished whole.
Intentional accessory coordination transforms individual pieces into a unified visual narrative.
Deliberate accessory choices unify scattered costume elements into one seamless, story-driven visual statement.
Prioritize these finishing touches for maximum impact:
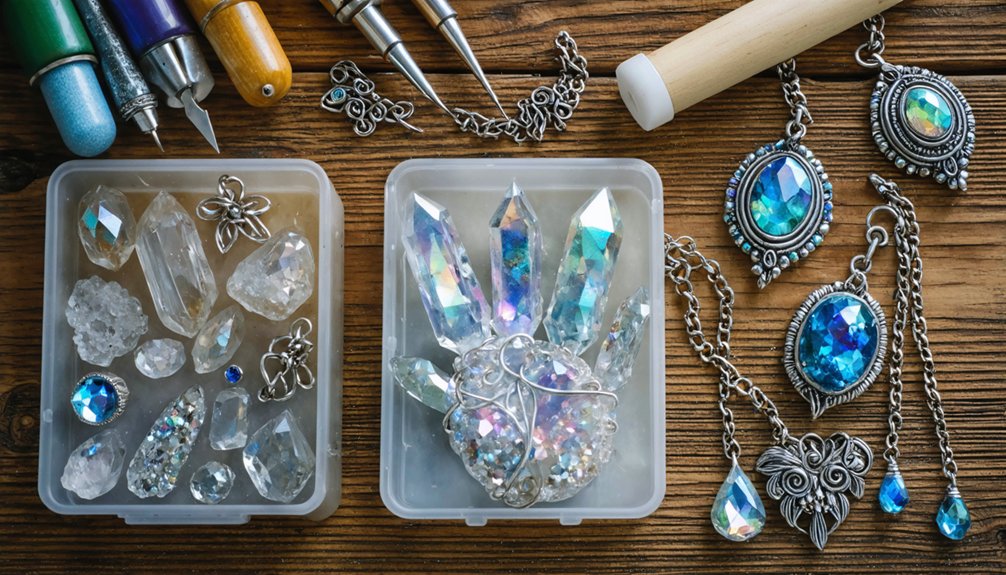
- Wig styling: Use latch hook tools for realistic lace front ventilation, creating natural hairline depth.
- Surface detailing: Sculpt foam with Dremel tools, soldering irons, or heat guns to achieve dimensional texture effects.
- Layered embellishments: Stack rhinestones, temporary tattoos, colored contacts, and nail art to reinforce your character’s specific aesthetic signature.
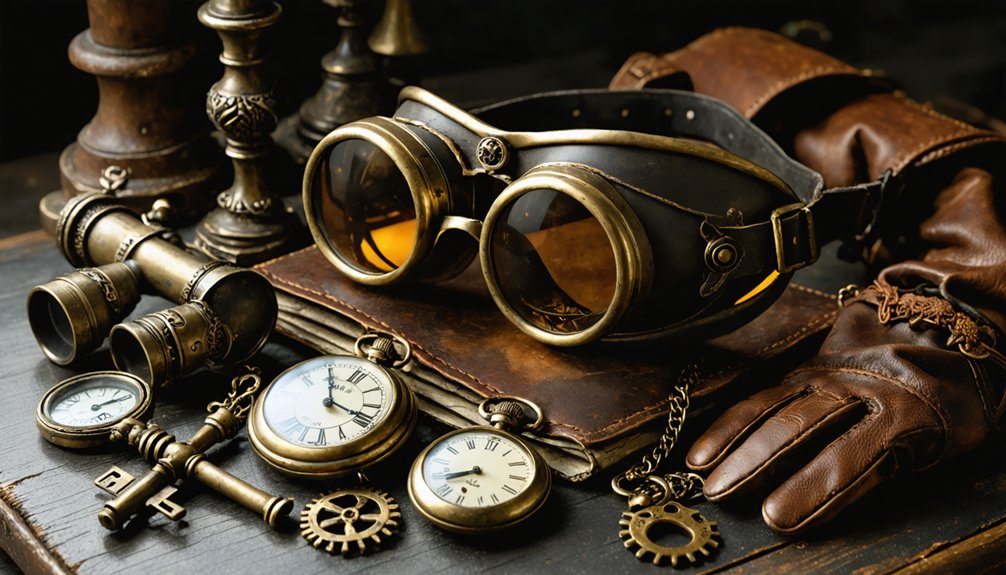
Each decision compounds — upgraded shoes improve posing accuracy while gloves and jewelry bridge costume-to-character authenticity.
Approach accessory coordination systematically, treating every visible element as deliberate rather than incidental, ensuring your complete look reads professionally from every angle.
Frequently Asked Questions
How Do I Store Cosplay Accessories Without Damaging Them Between Conventions?
Ironically, your prized accessories deserve better than a chaotic junk drawer. Master accessory organization by wrapping delicate pieces in acid-free tissue, then use protective storage bins with foam inserts, keeping rhinestones, props, and embellishments convention-ready without damage.
Can Store-Bought Costumes Compete With Handmade Ones at Competitions?
Yes, store-bought costumes can compete when you master craftsmanship comparison techniques! You’ll close quality differences by ironing wrinkles, removing loose threads, securing accessories with stitching, and adding rhinestones or 3D-printed props for innovative, competition-worthy polish.
What Budget Should Beginners Set Aside for Cosplay Upgrades?
“A penny saved is a penny earned!” You’ll want a $50–$100 cost breakdown for essential materials like thread, hot glue, rhinestones, and petticoats—prioritizing impactful upgrades that transform store-bought pieces into competition-worthy cosplay masterpieces.
How Do I Transport Fragile Cosplay Props Safely to Events?
Pack your fragile props using foam-lined cases and bubble wrap for ultimate prop protection. You’ll want to disassemble larger pieces, securing them with Velcro. These travel tips guarantee your 3D-printed or hot-glued accessories arrive convention-ready and damage-free.
Are There Cosplay Communities Where Beginners Can Get Costume Feedback?
You’ll find costume critiques in community forums like Reddit’s r/cosplay, Discord servers, and Facebook groups. These platforms let you share photos, receive technical feedback, and connect with innovative cosplayers who’ll help refine your beginner builds creatively.
References
- https://goldielocks2017.wordpress.com/2017/04/13/5-ways-to-improve-your-bought-cosplay-costume/
- https://www.lemon8-app.com/@summer_fire_cosplay/7459430451204522542?region=us
- https://www.youtube.com/watch?v=_C_oaPInpIk
- https://eyecandys.com/blogs/news/the-art-of-accessorizing
- https://juliechantal.com/en/blogs/general/modify-store-bought-costume
- https://makezine.com/article/craft/cosplay-props/cosplay-pro-tips/