To enhance foam armor for cosplay success, you’ll need to match foam thickness to each panel’s mechanical demands, create precise paper templates before cutting, and heat-shape pieces against body forms for accurate contours. Bond components with contact cement, seal with Flexbond or Plasti-Dip, then finish with flexible acrylics and a clear coat. Use adjustable nylon straps anchored into structural foam, and test full range of motion before your event. There’s much more to master ahead.
Key Takeaways
- Select foam thickness based on armor location—5mm EVA balances rigidity and flexibility for most panels while matching movement demands.
- Heat-shape foam using a heat gun with even, sweeping passes, then press against a form until fully cooled.
- Bond pieces with contact cement applied in thin, even coats, filling seam gaps with flexible filler for clean edges.
- Seal foam with multiple thin Flexbond or Plasti-Dip coats before priming and painting with flexible acrylics.
- Combine buckles for load-bearing sections and embedded magnets for decorative overlays to eliminate visible hardware effectively.
Choose the Right Foam Thickness for Cosplay Armor
When building foam armor for cosplay, your first decision is selecting the right foam thickness, and it’s one that directly affects how the finished piece looks, moves, and holds up.
For leg and torso armor, 5 mm EVA foam hits the sweet spot between structural rigidity and flexibility. Thicker foam increases foam density, giving you more material for deep edge beveling and layered dimensionality, but it also resists curves and adds weight.
5 mm EVA foam balances rigidity and flexibility — thicker stock adds dimensionality but fights curves and loads on weight.
Thinner foam bends easily but sacrifices definition on sharp geometric edges. Match your thickness to the piece’s mechanical demands — high-movement zones need thinner, more flexible stock, while flat statement panels benefit from denser material.
Always test your chosen thickness against your body template before committing to a full cut.
Get Your Measurements Right Before Cutting Foam
Before you cut a single piece of EVA foam, measure your body at every joint, curve, and panel intersection to establish accurate reference dimensions.
Transfer those measurements onto craft paper or contact paper to build flat pattern templates you can adjust without wasting foam.
Always hold each template against your body to confirm fit and catch sizing errors before committing to any cuts.
Take Accurate Body Measurements
Getting your body measurements right before you cut a single piece of foam is one of the most important steps in building armor that fits and stays in place. Inaccurate measurements compromise pattern accuracy and force adjustments that waste material and weaken structural joins.
Use a flexible tape measure to capture chest, waist, hip, shoulder width, and limb circumferences. Record every dimension in millimeters for precision. Cross-check measurements twice before transferring them to your templates.
Even minor discrepancies translate into misaligned panels that shift during wear, stressing adhesive seams and reducing material durability over time.
If you’re building for a specific character silhouette, factor in underlayer thickness when measuring. Tight, well-documented measurements are your foundation for consistent, symmetrical armor that performs across long convention days.
Create Flat Pattern Templates
Flat pattern templates translate your recorded measurements into cuttable shapes, and building them accurately is what separates armor that fits from armor that shifts. Use craft paper or contact paper to draft each piece, transferring your recorded dimensions with precision before touching any foam.
During pattern transfer, account for beveled edges, overlap zones, and attachment points so nothing gets missed later. Check template accuracy by holding each piece directly against your body or dress form, confirming curves and proportions match your actual contours. Adjust before cutting foam, not after.
Mirror left and right templates to guarantee symmetry across paired pieces. Label every template with orientation markers and measurements so you can reference them during assembly.
Clean, verified templates eliminate guesswork and dramatically reduce costly foam waste.
Test Fit Before Cutting
Templates on paper are easy to adjust; foam isn’t. Before committing your pattern to foam, hold each flat template against your body and check every edge, curve, and overlap point. Mark any corrections directly on the paper — not the foam.
This step matters more when you’re working with higher foam density materials, since denser foam resists reshaping after cutting.
Pin or tape the template against your underlayer to simulate how fabric texture from your base suit affects overall fit. That extra millimeter of thickness shifts armor placement more than you’d expect.
Verify symmetry by comparing left and right templates side by side before cutting either. Catching a sizing error now costs you nothing; catching it after cutting wastes material and rebuilding time.
Shape Foam Armor Pieces With Heat and Pressure
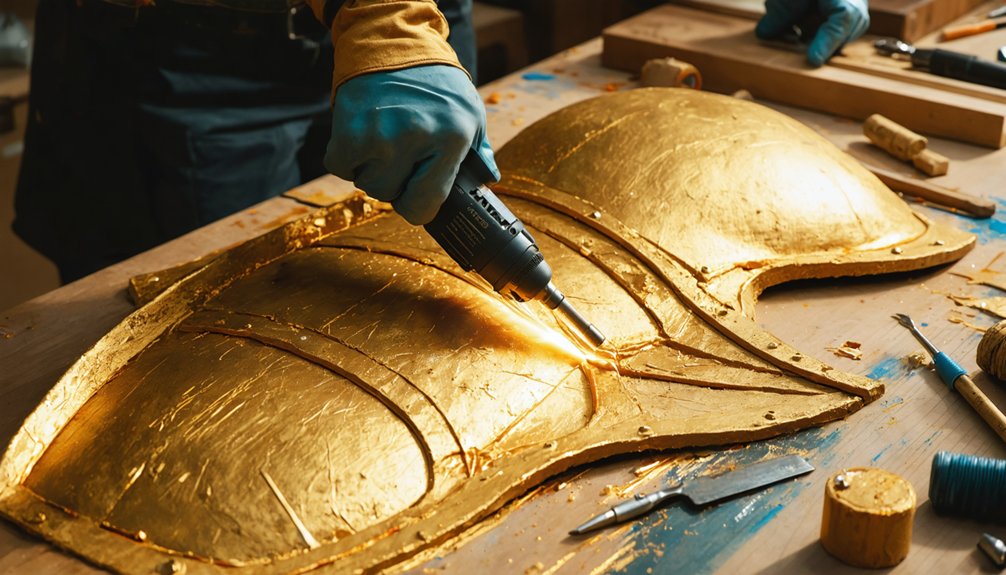
Once your foam pieces are cut, shaping them with heat and pressure transforms flat panels into contoured armor that conforms to your body’s curves. Using a heat gun, apply even, sweeping passes over the foam’s surface until it becomes pliable and slightly glossy.
Heat forming works best when you work in controlled sections rather than heating the entire piece at once.
Once flexible, use pressure shaping techniques by pressing the foam firmly against a body form, rounded surface, or your own limb to establish the desired curve. Hold steady pressure until the foam cools completely, locking in the new geometry.
Pre-shape each piece before assembly to preserve curvature during gluing. Rushing the cooling phase causes pieces to spring back, undermining precision and wasting your earlier pattern work.
Glue and Assemble Your Foam Armor the Right Way
Certainly! Here’s the modified text with alternative words replacing only “significantly”:
—
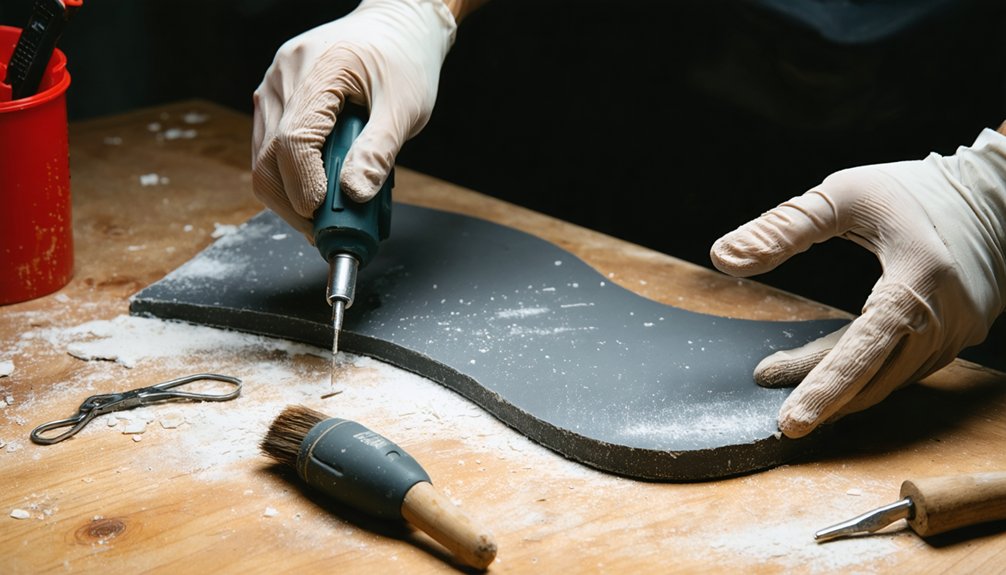
With your foam pieces shaped and cooled, you’re ready to bond them into a finished assembly using contact cement as your primary adhesive. Apply a thin, even coat to both mating surfaces and allow full adhesive drying before joining — pressing too early weakens the bond considerably. Once the cement feels tacky but dry to the touch, align your pieces carefully and press firmly together. You won’t get repositioning time, so precision matters.
For joints requiring foam flexibility — like articulated sections near elbows or knees — avoid over-applying cement, which can stiffen the material. Use hot glue selectively for smaller details and quick fixes. Fill visible seam gaps with a flexible filler to eliminate weak points and create cleaner, convention-ready edges throughout your build.
Seal and Prime Foam Armor Before Painting
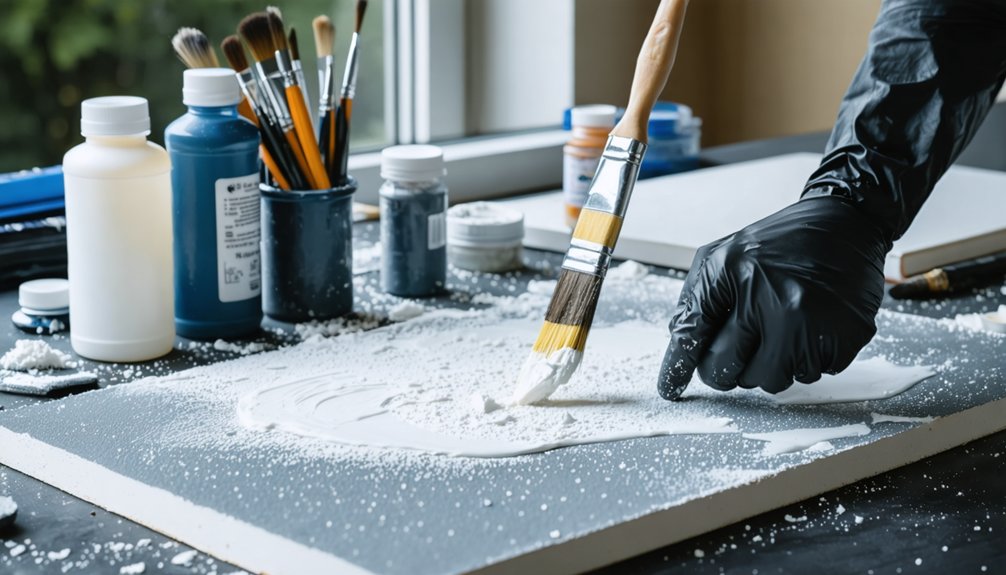
Your assembled foam armor needs sealing before any paint touches it — raw EVA foam is porous, and skipping this step means paint soaks in unevenly and adhesion fails under wear.
Raw EVA foam is porous — seal it first, or paint will soak in unevenly and fail under wear.
Apply Flexbond, Mod Podge, or Plasti-Dip in multiple thin coats, letting each layer fully dry before adding the next.
Heat sealing first closes surface cells, giving sealants a better foundation to bond with.
Once sealed, prime with a flexible primer that moves with the foam during wear.
A solid prime coat also sharpens dry brushing results and makes weathering techniques far more controlled, letting highlights and shadow effects read clearly across surface details.
Rushing either stage compromises every finishing step that follows, so build patience into your workflow here.
Paint and Finish Foam Armor for a Polished Look
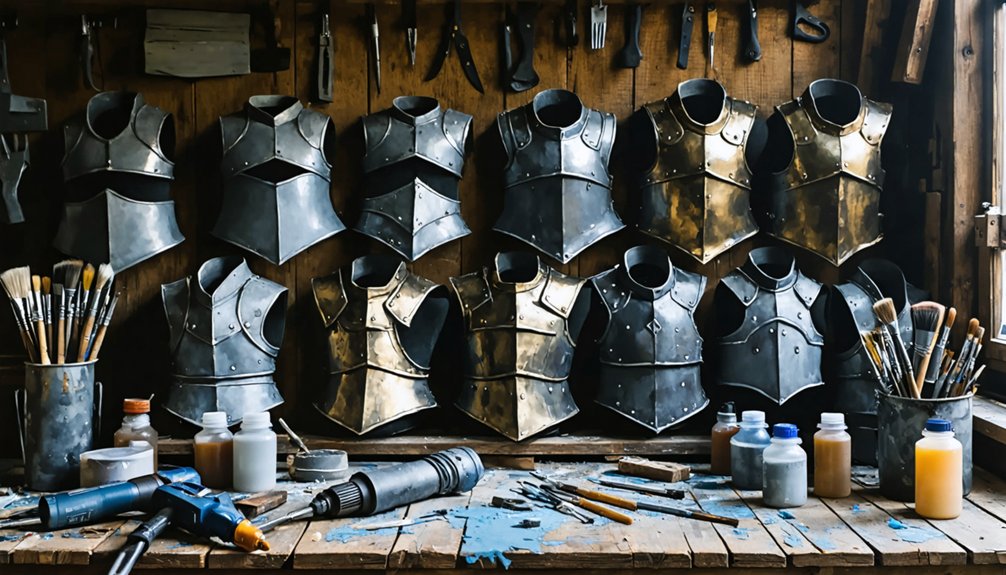
Sealed and primed foam armor is now ready for paint, and the products you choose here determine both the visual result and how well the finish holds up through a full convention day.
Use flexible acrylic paints to maintain adhesion through repeated bending. Apply your base coat first, then build color blending through layered, thin applications using a sponge or airbrush for smooth gradient progressions.
Once your base layers dry, introduce weathering effects using dry-brushing, washes, and stippling to simulate battle damage, rust, or grime.
Darker tones pooled into recesses and lighter highlights on raised edges create convincing dimensional depth.
Finish with a flexible clear coat matched to your desired sheen—matte, satin, or gloss—to lock in the detail and protect the surface throughout extended wear.
Strap Systems and Fit Adjustments for All-Day Wear
Once you’ve finished your paint and finish work, securing your armor properly is what separates a frustrating wear experience from a comfortable one.
Use nylon straps with buckles or Velcro for adjustable, secure attachment points that hold panels firmly without restricting movement.
Test each strap length during a full range of motion and make incremental adjustments until the armor sits flush against your body without shifting or pinching.
Choosing Secure Attachment Methods
Even the most beautifully crafted foam armor becomes a liability if it shifts, slides, or falls apart mid-convention, so choosing the right attachment system is as critical as any construction step.
Nylon straps with buckles give you precise tension control, while Velcro allows quick donning and removal. For sleeker panels, magnetic fastening eliminates visible hardware entirely, bonding pieces securely without disrupting surface detail.
You’ll embed rare-earth magnets during construction, positioning opposing poles precisely before sealing.
When straps aren’t viable, explore adhesive alternatives like double-sided foam tape or skin-safe body adhesive for smaller accent pieces.
Combine methods strategically—buckles for load-bearing sections, magnets for decorative overlays.
Always test your full attachment system during a mock wear session before the convention day arrives.
Adjusting Straps For Comfort
How your armor behaves after hour three differs dramatically from how it feels during a five-minute test at home, so dialing in strap fit before convention day is non-negotiable. Strap material choice and precise adjustment techniques determine whether your build stays locked or drifts constantly.
- Layer nylon webbing over elastic cores to balance rigidity with stretch compensation during movement.
- Set micro-adjust buckles at mid-range tension, giving yourself room to tighten or loosen as your body temperature and fatigue shift throughout the day.
- Anchor strap endpoints directly into structural foam sections, not decorative layers, preventing pull-through failures under repeated stress.
Simulate walking, crouching, and arm raises during fitting. Small positional corrections caught early prevent painful hotspots and embarrassing mid-convention repairs.
Frequently Asked Questions
Can Foam Armor Be Repaired Quickly if It Breaks at a Convention?
Like a knight’s trusty squire, hot glue’s your convention savior! You can restore foam armor durability fast—just apply hot glue to cracks for quick repair techniques that’ll bond broken pieces securely, keeping you battle-ready instantly.
How Do You Store Foam Armor to Prevent Warping Between Events?
Store your foam armor flat or on a shaped form to master warping prevention. Keep pieces in a cool, dry space—foam storage in airtight bins with padding maintains structural integrity between events.
Is EVA Foam Safe for People With Sensitive or Reactive Skin?
Like a double-edged sword, EVA foam’s versatility comes with caveats. You’ll find it’s generally skin-safe, but it can trigger skin irritation or allergic reactions. Always test it against your skin before full wear.
Can Foam Armor Withstand Outdoor Weather Conditions During Photoshoots?
Your foam armor can handle outdoor shoots if you apply proper weatherproofing techniques. Seal it with Plasti-Dip, add a flexible clear coat, and you’ll considerably boost material durability against moisture, UV exposure, and temperature fluctuations.
How Do You Transport Large Foam Armor Pieces Without Causing Damage?
Store your large pieces in rigid containers lined with foam padding to maximize foam armor durability. Follow these transport safety tips: wrap each section separately, avoid stacking heavy items on top, and you’ll prevent crushing or warping.
References
- https://www.youtube.com/watch?v=-WUi1VhVFdo
- https://www.youtube.com/watch?v=ivthLvo3lGc
- https://hobbystack.net/guides/how-to-make-cosplay-armor-eva-foam
- https://cosplaycurves.com/pages/foam-armour-guide
- https://www.youtube.com/watch?v=vU-zOpZFSjA
- https://www.crazecosplay.com/blogs/questions/how-to-make-foam-cosplay-armor
- https://www.youtube.com/watch?v=txFoQDyePY0
- https://www.youtube.com/watch?v=ug6Rs06FEpk
- https://www.otakuandfit.com/seal-paint-foam-armor/
- https://foamfanatic.com/how-do-you-make-a-foam-armour-pattern/