Position your speedlights at 45-degree angles outside the frame for dimensional face modeling, then adjust camera settings to 1/160th-1/250th second at ISO 400-800 for convention spaces. You’ll want to use manual mode with fast shutter speeds and high F-stops to eliminate ambient light contamination. Attach diffusers to soften harsh shadows, or experiment with RGB LED panels for sci-fi character color matching. Master these fundamentals, and you’ll discover advanced techniques for capturing anime aesthetics with professional-grade results.
Key Takeaways
- Position LED panels or softboxes at 45-degree angles to create dimensional face lighting and eliminate unflattering shadows on characters.
- Use speedlights in manual mode with fast shutter speeds and high F-stops to eliminate ambient light and control exposure.
- Create anime-style aesthetics with overhead lights using snoots, and position subjects away from walls to deepen background shadows.
- Select 50mm f/1.2 for low-light control or 35mm f/1.8 for close armor details with environmental blur effects.
- Employ RGB LED panels for sci-fi character color matching and attach diffusers to speedlights for softer shadows.
Understanding Light Sources for Flattering Character Portraits
Great cosplay photography begins with mastering your light sources, and understanding how different lighting setups affect your character portraits will transform amateur shots into professional-looking images.
You’ll achieve optimal results by positioning your subject near windows for natural diffused illumination, prioritizing face lighting to eliminate unflattering shadows. When shooting outdoors, seek shaded locations that reduce harsh contrast while maintaining ambient light balance. Position LED panels or softboxes at 45-degree angles from your subject for dimensional modeling—compact ML60 units deliver 600-watt-equivalent output without bulky equipment.
Master reflector utilization by bouncing light off white or grey surfaces, creating natural-looking fill without additional strobes. RGB LED panels provide 360 color options for sci-fi characters, while daylight bulbs guarantee superior color rendering compared to yellow-toned standard lighting.
Mastering Flash and Speedlight Positioning Techniques
While natural light creates beautiful ambient portraits, off-camera flash techniques will elevate your cosplay photography to convention-hall professional standards where environmental lighting fails. Position your speedlights outside the frame as close as possible to maximize intensity—sideways for male characters, frontal for female subjects.
Configure multiple units in L-shapes or opposite arrangements using custom flash accessories mounted on portable light stands for remote portrait capture flexibility.
Switch to manual mode with fast shutter speeds (minimum 1/125th), high F-stops, and low ISO to eliminate ambient light completely, rendering backgrounds pitch-black while your flash illuminates only your subject. Swivel speedlight heads up to 90 degrees for precise directional control. Attach diffusers to soften shadows, or experiment with colour filters replicating theatrical stage effects that complement character themes and costume details.
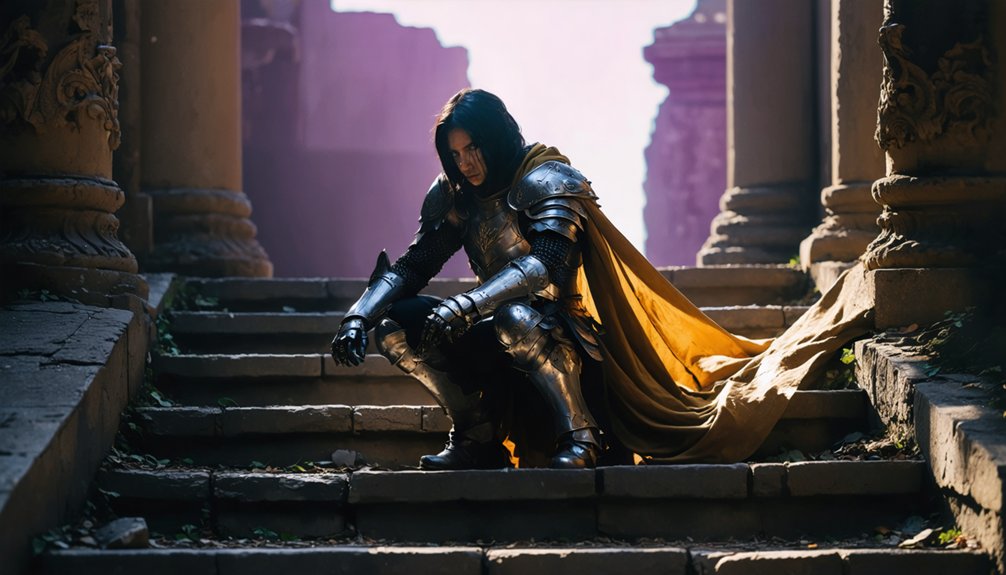
Creating Mood Through Strategic Shadow Placement
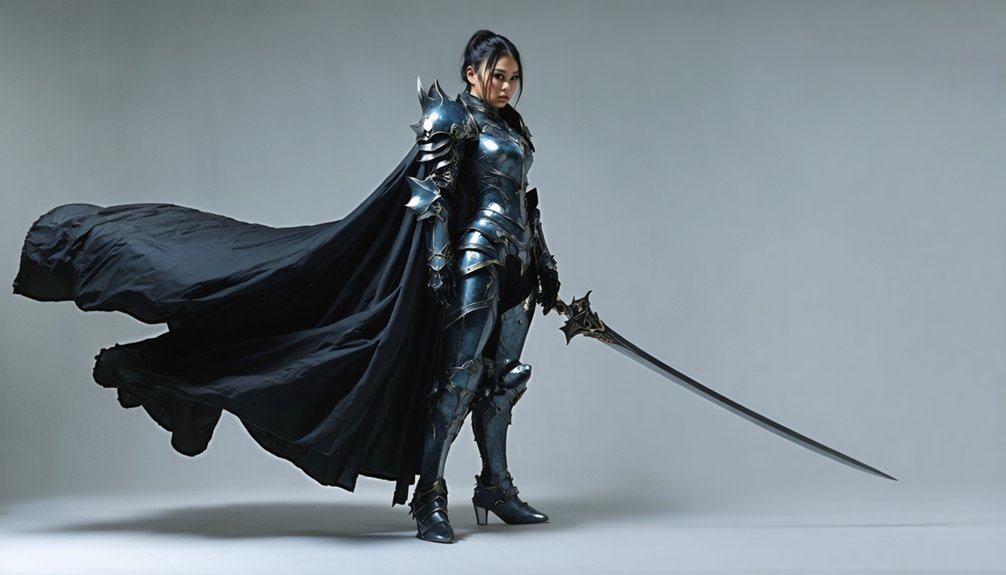
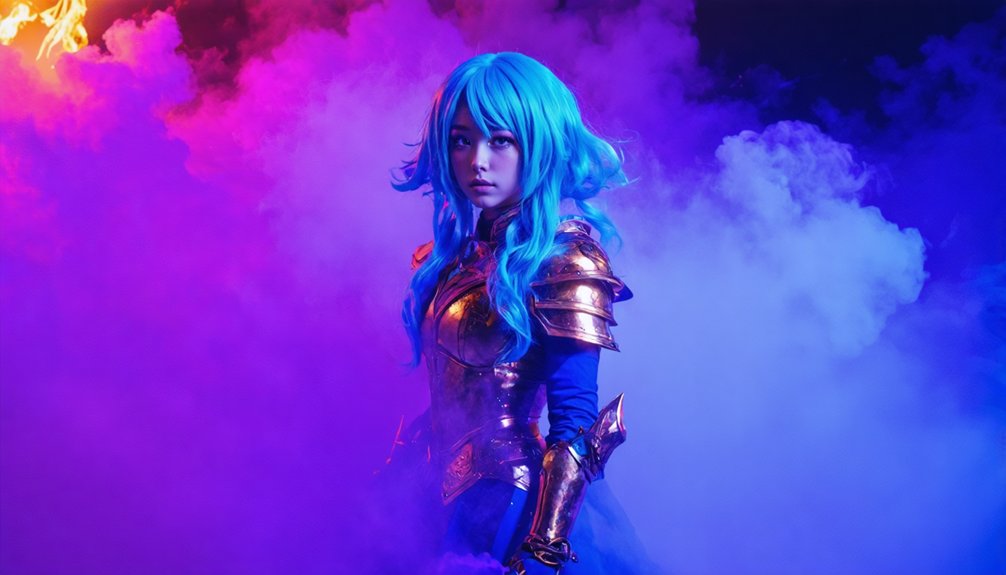
Strategic shadow placement transforms flat cosplay portraits into dimensional character studies that capture the dramatic essence of source material. You’ll achieve dynamic shadow gradients by positioning overhead lights with snoots, mimicking anime’s signature top-lit aesthetic while casting intensity beneath chins and noses. For intentional silhouette framing, place your model between the camera and backlight, then add rim lighting to define edges without compromising core shadows.
Grid modifiers on strip softboxes prevent unwanted background spillover, maintaining clean separation in multi-subject shoots. Balance harsh shadows using three-light setups—key, fill, and back—ensuring costume details remain visible while preserving mood. Position subjects away from walls to deepen background shadows, and mark floor positions to avoid blocking projected light paths. Fast shutter speeds eliminate ambient contamination, preserving the dramatic shadows you’ve carefully crafted.
Selecting the Right Lighting Equipment and Modifiers
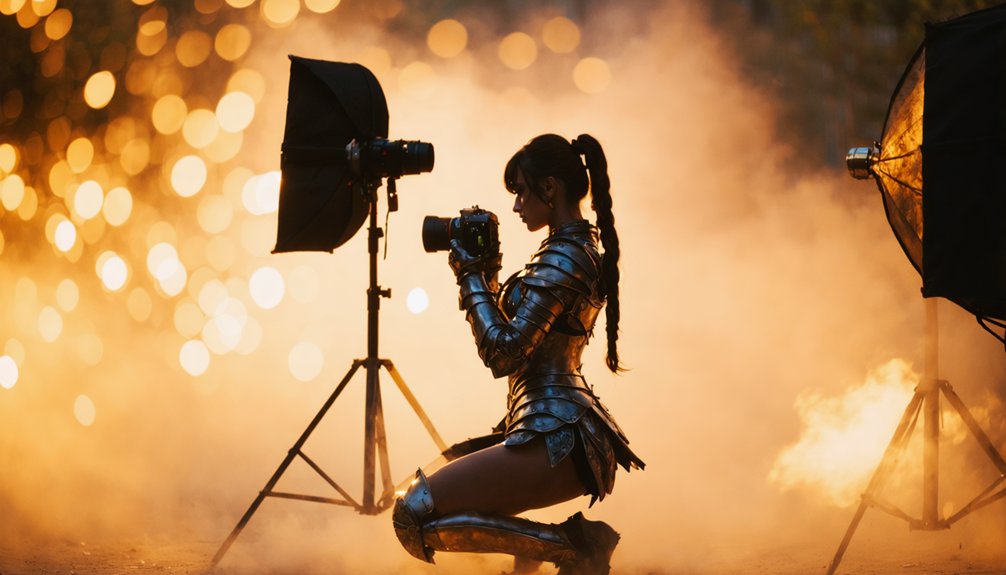
How do you choose between continuous LEDs and strobe flashes when your convention setup time is measured in minutes? Your lighting power considerations should balance portability with output—LED panels like the ML60 deliver 60w equivalent to 600w tungsten, while the AD300 Pro strobe provides 300w with fast recycling. Portable power supplies determine your location flexibility; pocket flashes run on 8x AA batteries, perfect for remote forest shoots.
Convention photographers face a critical tradeoff: continuous LEDs enable quick visualization while strobes maximize power efficiency in cramped spaces.
Essential modifier combinations for cosplay photography:
- Shoot-through umbrellas paired with strobes for rapid soft-light setups
- V-flats constructed from foam boards create reflective lighting chambers
- Grey reflectors bounce fill light without overexposing pale skin tones
- RGB panels like the M1 Mini enable sci-fi character color matching
- High-speed sync technology balances ambient convention lighting with flash output
Weight-rated light stands prevent equipment damage during packed convention halls.
Directing Cosplayers for Optimal Light Interaction
Your lighting setup means nothing if your cosplayer doesn’t know how to work with it. Direct them to position at 45 degrees from your off-camera flash, turning their face toward the light source to sculpt highlights and minimize unflattering shadows.
Cosplayer positioning relative to ambient light matters—orient them toward skylight windows or shaded areas at conventions for even illumination. Avoid harsh midday sun that causes squinting and contrast issues.
When mastering mixed lighting scenarios, combine natural and artificial sources strategically. Position your subject where ambient light provides base exposure, then add gelled flashes at varying angles for dimension.
Place a cyan-gelled beauty dish overhead while wrapping blue light from below. For reflective costumes, adjust angles slightly from exact 45 degrees to prevent hotspots. Always allow stabilization time between pose adjustments.
Optimizing Camera Settings for Indoor and Outdoor Shoots
When shooting cosplay indoors, start with a shutter speed between 1/160th and 1/250th second to freeze both subject movement and eliminate camera shake in crowded convention spaces. For dealer halls with flash, drop to 1/30th second at 1/8th power covering 15-foot distances. ISO boost techniques involve setting your base at 400-800, scaling higher with full-frame sensors that handle noise efficiently during quick shoots.
Indoor-to-Outdoor Camera Optimization:
- Use ISO 200-400 outdoors for daylight full-body shots with crisp detail
- Set auto white balance settings for outdoor flexibility, or custom balance with gray cards before group shoots
- Pair 50mm f/1.2 with manual mode for consistent low-light control without flash
- Select 35mm f/1.8 for close armor details and environmental blur
- Maintain 1/60th second tripod speed at ISO 400-1000 for distant stage performances
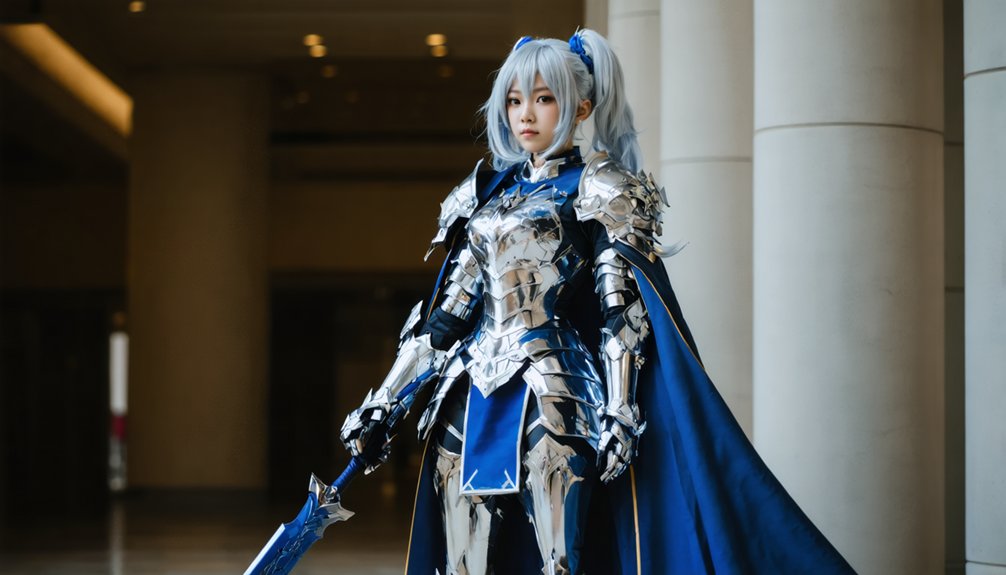
Using Color Gels to Match Anime Character Themes
Color gels transform standard flash photography into character-accurate anime portraits by matching your lighting temperature and saturation to specific costume palettes. Position a red gel on your Godox AD200 backlight to capture Asuka Langley Soryu‘s powerful energy, creating dramatic separation against white studio backgrounds.
Match your flash gels to costume colors for character-authentic anime portraits that create dramatic separation and capture each character’s distinctive energy.
Your three-light setup should feature a top-down gridded softbox as key, gelled rim lighting for color contrast, and subtle fill via strip softbox to retain shadow detail.
Run lighting test shots before your convention shoot to verify gel intensity and positioning. Place gels behind obstacles for even ambient fill, or adjust their tightness for broader spread. Master gel removal techniques between character changes—quick swaps enable thematic variety throughout your session.
This approach delivers cinematic depth that resonates with anime communities seeking innovative portrait solutions.
Enhancing Images With Targeted Post-Production Methods
You’ll take your cosplay images to the next level by mastering dodging and burning—selectively lightening and darkening specific areas to sculpt dimension and guide viewer attention to your subject’s costume details. These targeted adjustments let you enhance armor highlights, deepen shadow contours, and create the dramatic contrast common in anime source material.
Digital light effects complement this foundation by adding particle glows, lens flares, and energy bursts that match your character’s abilities while maintaining the natural integration techniques the community values.
Dodging and Burning Techniques
Although dodging and burning originated in traditional darkroom photography—where practitioners would physically block or extend light during the enlargement process—these techniques have evolved into essential digital post-production methods for cosplay photographers. You’ll enhance costume details and guide viewer attention through strategic tonal adjustments.
Implement these advanced techniques:
- Use Dodge tool at 5% Exposure on Highlights to brighten armor reflections and fabric highlights
- Apply Burn tool at 5% Exposure on Shadows to deepen costume depth and background separation
- Create luminosity based adjustments through black-white masks targeting specific tonal ranges
- Employ custom masking techniques on Curves Adjustment Layers for precise contrast control
- Paint on dedicated Soft Light layers with low-opacity brushes for gradual, natural-looking results
Always duplicate your base layer and build effects incrementally—preserving texture while maximizing visual impact.
Adding Digital Light Effects
Beyond refining tonal values through dodging and burning, cosplay photographers can amplify dramatic impact by introducing digital light effects that simulate practical lighting scenarios. Layer blending techniques prove essential—import flare stock images, set them to screen mode, and adjust opacity for seamless integration.
You’ll achieve realistic lighting simulation by painting light blue on linear dodge layers with soft brushes, creating edge enhancement around your subject’s silhouette. Change your aspect ratio to 16:9 for cinematic results before applying overlays.
Create background atmosphere by lassoing irregular selections, filling with light colours, and applying Gaussian blur. Enhance depth by duplicating your subject layer, isolating adjustments to eyes through masking, then selectively brightening highlights. These post-production methods transform standard captures into dynamic J-Pop-inspired compositions.
Frequently Asked Questions
How Do You Choose the Best Location for Anime Cosplay Shoots?
Picture your character coming alive—you’ll match their essence to settings. Choose outdoor scenic backdrops for nature-themed heroes or indoor studio setups for controlled lighting. Consider thematic resonance, community-recommended venues, and whether convention proximity or park serenity better serves your vision.
What Permits or Permissions Are Needed for Convention Photography?
You’ll need event organizer consent before shooting at conventions, plus adherence to venue photography rules. Always secure permission from cosplayers, avoid restricted areas like dealers’ rooms, and keep equipment handheld within a 15-inch radius for compliance.
How Do You Communicate Poses That Match Specific Anime Characters?
Channel your inner character by studying source material like a blueprint—screenshots become your pose selection guide. Coordinate directly with cosplayers, discussing signature gestures and expressions that showcase their costume coordination. Reference iconic moments together, ensuring authenticity through collaborative communication.
What Backup Equipment Should Photographers Bring to Cosplay Events?
You’ll need backup batteries (at least six plus chargers), spare memory cards (twelve UHS-II speed cards), a second camera body, portable power banks, and protective rain covers. This redundancy guarantees you won’t miss critical shots during marathon convention sessions.
How Do You Handle Crowds When Photographing at Busy Conventions?
Like traversing Tokyo’s Comiket with 200,000 attendees, you’ll scout low-traffic zones early, use wide apertures to blur backgrounds, and maintain group composure by positioning subjects against walls. This minimizes interruptions while isolating your cosplayer from chaos.