You’ll transform basic clothing into cosplay by layering statement jewelry that anchors your character’s aesthetic, then adding structural elements like belts and harnesses for visual weight. Build authenticity through extremity details—foam arm guards, fingerless gloves, or fabric wraps secured with proper construction techniques. Complete the transformation with headpieces or wigs that redirect attention from plain garments to character-defining features, while signature props provide instant recognition markers. Strategic accessory placement creates focal points that override basic foundations, and understanding material selection, attachment methods, and visual balance principles guarantees your transformation appears intentional rather than improvised.
Key Takeaways
- Use statement jewelry as a visual anchor to establish character identity through necklaces, collars, or period-specific pieces.
- Add structured belts or harnesses with hardware details like buckles, grommets, and D-rings to define character silhouette.
- Transform arms and hands with foam guards, fabric wraps, or fingerless gloves using materials like EVA foam or stretch suede.
- Create instant character recognition with headpieces, wigs, crowns, or helmets featuring appropriate embellishments and secure attachments.
- Complete the transformation with signature props and boot covers that make characters unmistakable without altering base clothing.
Start With Statement Jewelry to Define Your Character’s Style
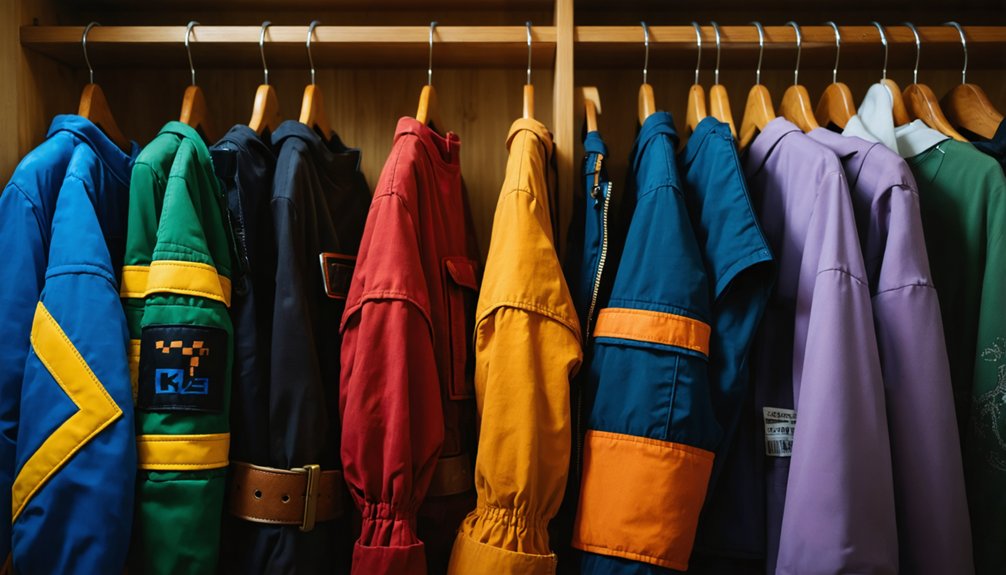
Statement jewelry acts as the visual anchor that transforms everyday clothing into recognizable character cosplay. Your focal piece selection determines whether you’re channeling Elvish fantasy with geometric script rings and chains or embodying vintage glamour through Etruscan revival necklaces.
Strategic accessory placement begins at the neckline—bold 3-strand layered designs create immediate visual impact, while geometric tornado rhinestone patterns establish modern sci-fi aesthetics. Consider construction details: gold-plated zirconia double star collars work for celestial characters, whereas chunky brass and wooden geometric pieces suit steampunk builds.
Multi-strand bib necklaces in emerald crystal or Italian resin deliver period-specific authenticity. Match material weight to your character’s era—lightweight 40-inch chains for ethereal figures, substantial vintage Cadoro gilt pieces for historical accuracy. Each element reinforces character identity through calculated design choices.
Layer Belts, Harnesses, and Straps for Structure and Functionality
When basic garments lack the dimensional presence your character demands, structural layering through belts and harnesses creates instant transformation. Build waistbands from faux leather reinforced with 2mm craft foam, securing one-inch buckles through punched adjustment holes.
Consider layering impact by constructing shoulder straps from foam-backed leather strips, riveting them directly to your base harness for load distribution.
Coordinate with textures through strategic hardware placement—grommets matching your waistband aesthetics, metal corner embellishments on functional pouches, and D-rings enabling modular strap connections. Half-inch leather triangles riveted to waistbands create geometric visual interest while maintaining structural integrity. Line 20 snaps secure heavier components, while rotary-punched holes enable precise sizing adjustments. PU leather ready-made straps offer durability for high-stress attachment points, transforming simple clothing into character-defining armor systems.
Add Gloves, Arm Guards, and Wraps for Authentic Detail
Your character’s presence extends beyond the torso into extremities that demand equal attention to detail. Master foam construction techniques by layering two 3mm EVA foam sheets, measuring circumference with 6mm strips accounting for costume bulk, then bonding with super glue while curving around cone-shaped tools. Refine edges using Dremel sanding bits for professional finish.
Wrap fabric selection determines authenticity—choose stretch suede for flexibility, white stretch materials with non-fraying edges, or structured options requiring ⅓ yard main fabric, lining, and fusible interfacing. Install twelve 5/32 eyelets with leather twine lacing for adjustability.
For fingerless gloves, use stretch fabric sewn with zigzag stitches between fingers, incorporating bandage strips directly into construction. Layer knit wraps over long straight wraps, ensuring proper seam allowance prevents restricted movement.
Transform Your Look With Headpieces, Wigs, and Hats
Headpieces command immediate visual attention, transforming basic clothing into recognizable character portrayals through strategic placement at eye level. You’ll achieve authenticity through material selection—foam for lightweight comfort during extended wear, fiberglass for durable helmet construction, and craft foam for precision detail work.
Apply sculpting techniques for character-specific horns using layered foam or thermoplastic materials, shaping unicorn spirals, devil horns, or mythical ram attachments. Integrate masking techniques for hidden headpiece attachment points beneath wigs or within hat structures, ensuring seamless visual flow.
Select crowns for royal characters, helmets for sci-fi personas, or specialty pieces with chain and floral embellishments for fantasy builds. Elastic bands provide adjustable sizing while metallic trims and sequins enhance magical character presentations. Your headpiece becomes the dramatic focal point that elevates costume recognition.
Incorporate Props and Footwear to Complete the Character
Your character’s identity crystallizes through signature props and footwear that anchor the costume’s visual impact. A wizard requires their staff, a knight demands a sword, and a space explorer needs technical gear—these elements transform generic clothing into recognizable personas.
Footwear establishes your physical foundation, matching character mobility requirements while maintaining structural alignment with prop systems through integrated cores and balanced weight distribution.
Signature Props Define Characters
Certain props transcend mere accessories to become the defining element that transforms fabric and foam into an unmistakable character. When signature prop alteration elevates plain-clothes characters from anonymous to iconic, you’re engineering character identification enhancement through visual association.
Props function as primary recognition markers where costume elements alone prove insufficient—Cloud’s oversized buster sword or Hiei’s weapon immediately communicate identity without elaborate costume construction.
Consider these character-defining prop relationships:
- Keyblade wielders require weapon-specific silhouettes that outweigh all costume components
- Investigation protagonists transform generic suits into recognizable personas through signature notebooks or badges
- Fantasy warriors depend on oversized weapons scaled beyond realistic proportions
- Magical characters achieve completion through staffs, wands, or transformation devices
Strategic prop selection separates competent cosplay from exceptional character representation among countless interpretations.
Footwear Grounds Your Cosplay
While props communicate character identity at eye level, footwear anchors your transformation from ground contact to complete silhouette. Master armor footwear construction through strategic boot cover systems—fabric shells slide over existing shoes using elastic straps across soles and heels, maintaining flexibility without permanent modifications.
For advanced DIY shoe modifications, build from insole boards that match lasts perfectly, creating stable foundations for sole construction and heel attachments through drilled mounting points. Layer fabric using E6000 adhesive, tucking edges into sole creases with precision tools, then mask seams with ribbon for polished finishes.
Implement modular armor attachments using pivoting brads and clip-on buckles for removable character-specific elements. This approach preserves base footwear functionality while achieving authentic costume aesthetics, enabling both movement comfort and visual accuracy in your grounded transformation.
Balance Textures and Colors Using the Rule of Three
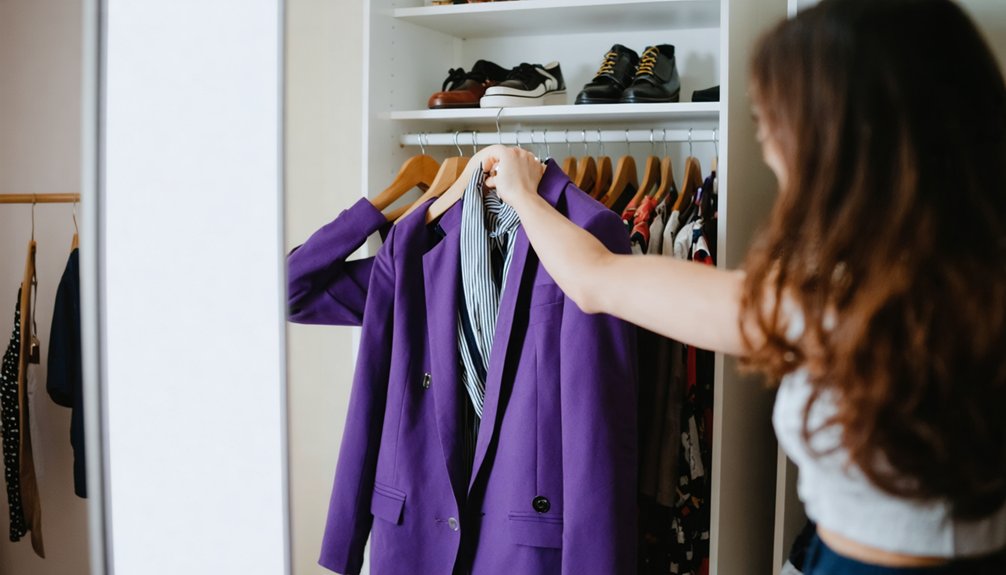
You’ll transform a basic outfit into recognizable cosplay by applying the Rule of Three to control your color distribution and texture mixing. Start with a dominant color covering the majority of your garments, add a secondary color at one-third proportion, then punctuate with minimal accent color—this 2:1 ratio creates asymmetric harmony that registers instantly as your character.
Layer complementary textures through your third piece, whether that’s a leather vest over cotton, a metallic accessory against matte fabric, or structured outerwear contrasting soft underlayers to build visual depth without adding costume complexity.
Limit Your Color Palette
Breaking down your cosplay outfit into three core colors transforms a chaotic ensemble into a cohesive character representation. When you strictly limit color palette choices, you’ll achieve professional-grade costume design that photographs beautifully at conventions.
Curate color combinations using the 60-30-10 principle: dominant color establishes character identity, secondary color provides visual support, and accent color delivers strategic pop through accessories.
Strategic color distribution creates visual hierarchy:
- Dominant navy bodysuit (60%) anchors superhero aesthetic
- Secondary silver armor plates (30%) reinforce technological theme
- Accent crimson belt and gauntlets (10%) draw focus to functional elements
- Patterned cape incorporating all three unifies the composition
Patterns count as single colors—extract supporting hues directly from printed fabric. Position your character’s signature color near your face through collars, hoods, or helmet details for instant recognition.
Layer Complementary Texture Types
Color harmony alone won’t salvage flat-looking armor—texture creates the dimensional contrast that separates amateur foam builds from convention showstoppers. Apply modular foam stacking through three complementary texture types: your base layer establishes smooth foundation structure, mid-level adds sculpted relief through foam clay or Dremel-carved patterns, and outer accents introduce surface grit via sealed dry dust. This multi dimensional material layering technique prevents visual monotony while maintaining structural integrity.
Start with thick Flexbond primer brushed unevenly for organic relief, then Dremel asymmetrical contours mimicking natural patterns. Avoid reheating textured sections—you’ll destroy carefully formed wrinkles. Seal everything with varnish post-painting to preserve dimensional details through convention wear. Stack varying foam thicknesses strategically: 8mm base, 4mm mid-detail, 2mm accent strips create professional topographic depth without overwhelming your silhouette.
Test and Refine Your Accessories for Comfort and Cohesion
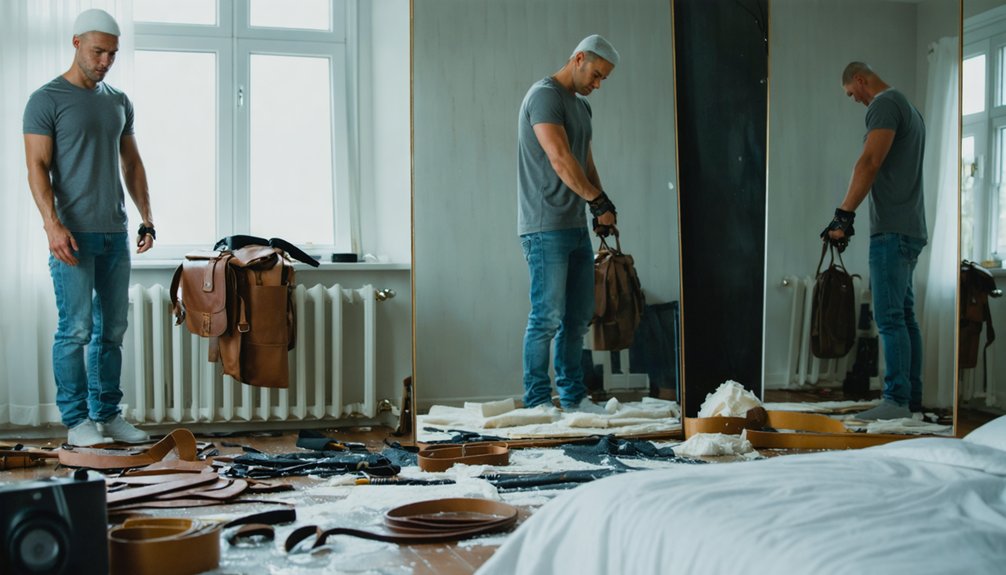
Before you debut your cosplay at a convention or photoshoot, subject each accessory to real-world stress tests that replicate actual wear conditions. Material experimentation proves essential—test thermoplastics like Worbla with heat guns, verify flexible materials maintain shape during character-typical movements, and confirm non-toxic makeup won’t irritate skin after hours of wear. Weather considerations demand selecting heat-resistant or rain-proof materials for outdoor events.
Refine for cohesion using these checkpoints:
- Apply the rule of three: one statement piece plus two complementary accessories prevents visual clutter
- Limit your palette: three colors maximum creates hierarchy without overwhelming your base costume
- Balance proportions: massive headpieces shouldn’t dominate your silhouette
- Test functionality: belts and harnesses must secure props during activity while allowing unrestricted movement
Coordinate accessories with makeup, hair, and costume for polished immersion.
Frequently Asked Questions
How Do I Store and Transport Delicate Accessories to Conventions Safely?
Use proper storage containers like organza bags and small boxes for fragile pieces, layering acid-free tissue for support. Apply careful packing techniques with zipper bags grouping items together, while silica gel packs maintain ideal humidity during transport.
Can I Reuse Accessories From One Cosplay for a Different Character?
While character accuracy matters, you’ll absolutely reuse accessories across cosplays successfully. Incorporate thrifted items into cosplays by disassembling jewelry for beads, converting belts into harness straps, and repainting hardware. Strategic repurposing creates innovative costume elements while reducing costs.
What’s the Best Way to Repair Broken Costume Jewelry Quickly?
You’ll achieve fast repairs using epoxy adhesive for secure bonds and jump rings for clasps—quick costume glue tips that work. These inexpensive jewelry repair methods require flat-nose pliers, eliminating soldering while maintaining structural integrity for your evolving cosplay accessories.
How Do I Prevent Accessories From Damaging My Base Costume Fabric?
Use protective base layers like Lycra between accessories and costume fabric, ensuring proper costume maintenance through strategic accessory placement considerations. Test friction points on muslin prototypes first, then secure items with non-permanent methods like safety pins or double-sided tape.
Where Can I Find Affordable Alternatives to Expensive Custom-Made Accessories?
Your treasure hunt starts at online craft stores and second-hand marketplaces like eBay, where you’ll discover steampunk goggles, character-specific wigs, and crafting materials for under $5—transforming budget finds into convention-worthy accessories through creative modification and strategic sourcing.