Building a cosplay photography portfolio starts with curating 20–30 images that reflect your personal brand through consistent lighting, color, and storytelling. You’ll want to define your goal first — commissions, modeling, or collaborations — because that shapes every creative decision you make. Group shots into themed mini-series, prioritize technical craftsmanship, and sequence images to reveal character progression. The strongest portfolios feel like tightly edited films. Keep exploring to access every technique that transforms good shots into an unforgettable visual argument.
Key Takeaways
- Curate 20–30 high-quality images grouped into themed mini-series that maintain consistent lighting, color settings, and a cohesive visual narrative.
- Define your portfolio’s purpose—commissions, modeling, or collaborations—before shooting, as your goal directly shapes content and creative decisions.
- Scout locations, plan pose variety boards, and match settings to character diversity to ensure purposeful, well-prepared shoots.
- Use a 100mm macro lens for fabric textures, controlled side-lighting for hardware, and standardized sRGB color profiles for polished editing.
- Optimize your portfolio platform for mobile and SEO, cross-post across social media, and engage with the cosplay community to grow exposure.
The Core Elements Every Cosplay Photography Portfolio Needs
A strong cosplay photography portfolio isn’t just a collection of pretty images—it’s a curated argument for your skills, vision, and creative identity. Every image you include must earn its place.
Prioritize thematic consistency by grouping work into intentional mini-series—hero shots, atmospheric night scenes, dynamic action sequences—so viewers experience a coherent visual narrative rather than scattered snapshots.
Thematic grouping transforms a portfolio from a random gallery into a story only you could tell.
Your portfolio aesthetics should reflect your brand: Are you known for cinematic lighting, intricate craftsmanship details, or expressive character portrayal? Lock that identity down, then build around it.
Limit your selection to 20–30 images for a sharp first impression. Include captions noting character, series, and lighting context.
Every technical and creative decision should signal one thing clearly—you know exactly what you’re doing.
Define Your Portfolio Goal Before You Pick Up a Camera
Before you shoot a single frame, you need to know exactly what you want your portfolio to accomplish — whether that’s landing paid commissions, attracting modeling bookings, securing exhibition spots, or building collaboration networks.
Your purpose dictates everything: a commission-focused portfolio demands razor-sharp craftsmanship details and construction close-ups, while a modeling portfolio calls for full-costume hero shots that highlight presence and range.
Once you’ve locked in that goal, every image you select, every shoot you plan, and every edit you finalize should serve it relentlessly.
Identify Your Portfolio Purpose
Why does one cosplay portfolio land collaborations while another collects dust? Purpose. Your portfolio audience determines every creative decision you’ll make, from storytelling techniques to branding strategies.
Before touching editing software, define your endgame precisely. Are you chasing commissions, image licensing deals, exhibition spots, or modeling bookings?
Each goal reshapes your thematic consistency entirely. Commission-focused portfolios must demonstrate craftsmanship obsessively. Modeling-driven collections demand dynamic range and emotional versatility.
Collaboration-oriented work requires networking tips baked directly into your presentation — showing potential partners you understand their creative vision immediately.
You’re not building a highlight reel; you’re building a targeted argument. Every image should answer one question: why should someone hire, feature, or partner with you?
Lock your purpose down first, then shoot with ruthless intention.
Tailor Content To Goals
Once your purpose is locked, your content decisions become surgical. Every image should serve your objective—nothing more, nothing less. Align your cosplay inspiration and creative storytelling directly to what your audience needs to see.
Match your content to your goal:
- Commissions — Showcase technical craftsmanship: seams, materials, structural complexity.
- Modeling bookings — Feature full-costume dynamic shots with expressive posing ranges.
- Collaborations — Highlight atmospheric storytelling and editorial-style compositions.
- Exhibitions — Curate thematic series demonstrating conceptual depth and visual cohesion.
You’re not collecting images—you’re constructing an argument for why someone should hire or feature you. Every frame either strengthens that argument or dilutes it.
Cut ruthlessly, sequence intentionally, and let your portfolio speak with unmistakable precision.
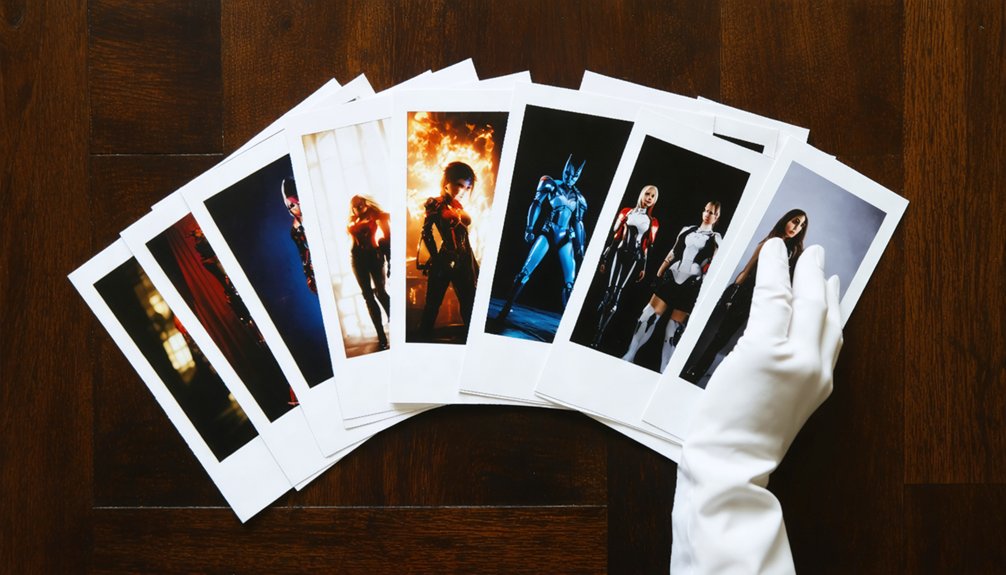
How Many Photos Should a Cosplay Portfolio Include?
Finding the right number of photos for your cosplay portfolio is less about hitting a magic number and more about curating a focused, intentional body of work that leaves a strong impression. Aim for 20–30 images on your first pass. That range gives you enough photo variety to demonstrate range across characters, lighting scenarios, and creative concepts without overwhelming your viewer.
Image consistency matters just as much as quantity. Every shot should reflect the same level of technical polish and intentional storytelling. One weak image dilutes the entire collection.
Think of your portfolio as a tightly edited film reel — every frame earns its place. Prioritize quality relentlessly, cut anything that doesn’t elevate your strongest work, and resist the urge to pad numbers with mediocre shots.
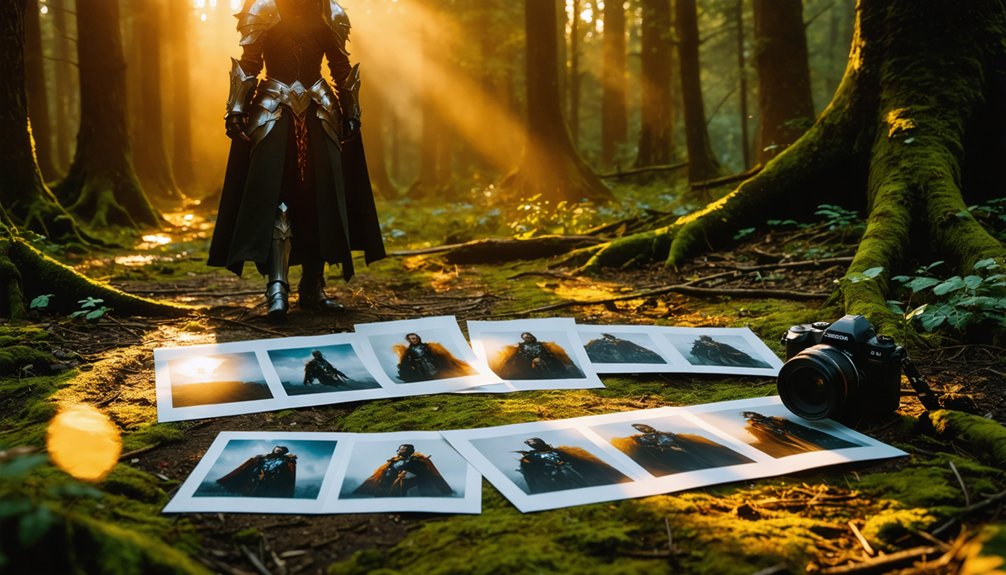
Plan Your Cosplay Photography Shoots Around Themes and Locations
- Define your narrative focus — match atmospheric settings to character diversity, pairing urban alleys with gritty antiheroes or forest trails with fantasy figures.
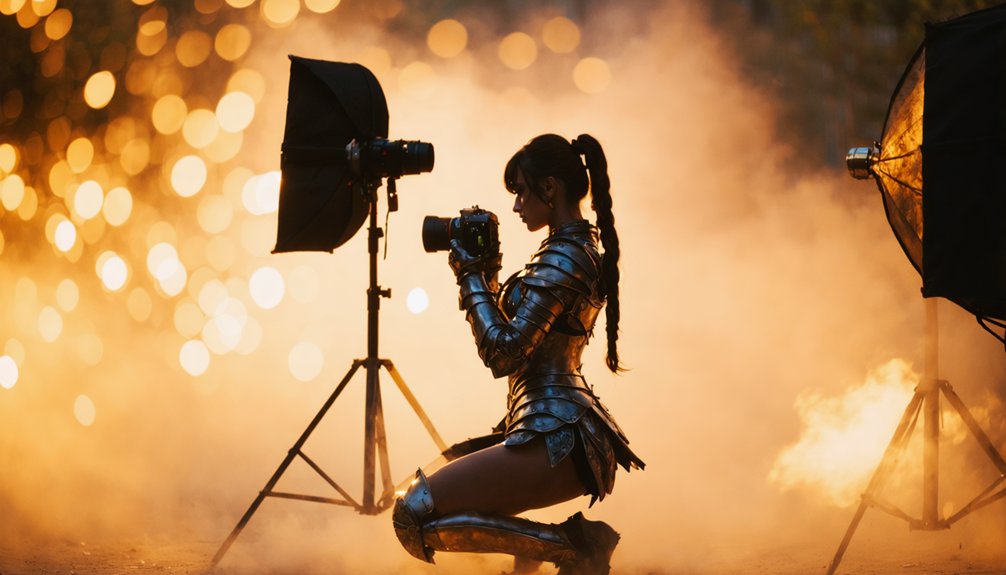
- Scout lighting conditions — identify golden hour windows and natural shade pockets that enhance costume details without harsh shadows.
- Draft pose variety boards — map iconic silhouettes and dynamic action beats per character before arriving on location.
- Build themed mini-series — group shots by mood, applying consistent lighting techniques and atmospheric settings that reinforce each character’s world.
This disciplined approach elevates every frame into purposeful visual storytelling.
What to Include on Your Cosplay Photography Shot List
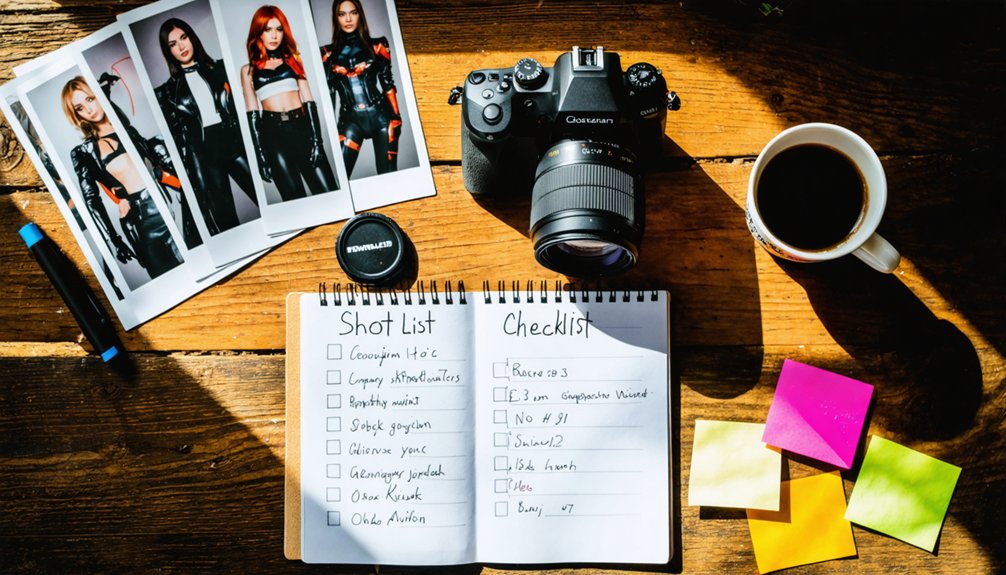
Your shot list is the backbone of a productive cosplay shoot, so structure it around three essential tiers: wide establishing shots that root the character in their environment, mid-action poses that capture personality and movement, and tight detail captures that highlight craftsmanship in props, fabric, and accessories.
Each tier serves a distinct portfolio purpose — establishing shots build narrative context, action poses demonstrate your ability to direct dynamic scenes, and detail shots prove your technical eye for light and texture.
Draft this list before you ever arrive on location, and you’ll shoot with intention rather than scrambling for coverage.
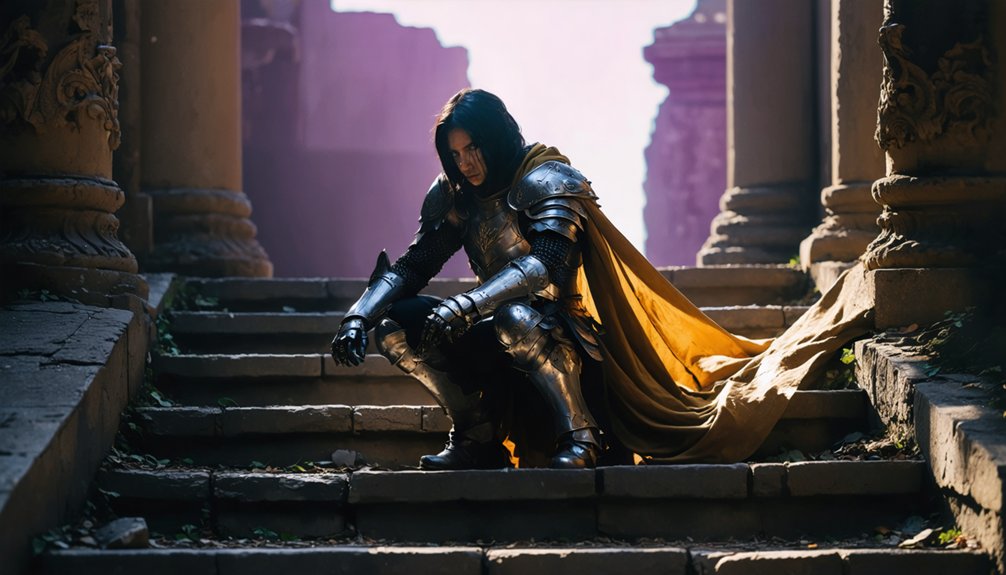
Wide Establishing Shots
Wide establishing shots anchor your entire shot list by placing the cosplayer inside a world that feels intentional, not accidental.
Master these four wide shot techniques to transform ordinary locations into cinematic environments:
- Scout atmosphere first — prioritize location scouting for establishing backgrounds that mirror your character’s universe before booking anything.
- Apply rule-of-thirds placement — use framing methods and subject placement to position your cosplayer at intentional intersections, not dead center.
- Engineer your lighting setups — golden hour amplifies atmospheric elements naturally, eliminating heavy post-processing.
- Control your composition tips — lead lines, negative space, and environmental layers add visual depth that tighter shots can’t deliver.
Every wide frame should communicate story, scale, and identity simultaneously.
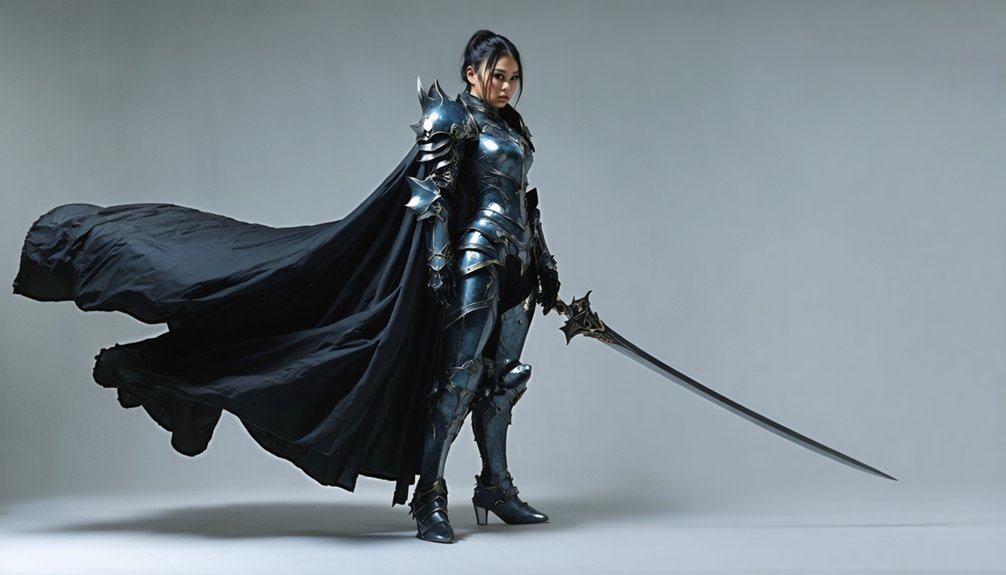
Mid-Action Character Poses
Mid-action character poses bridge the gap between your wide establishing shots and tight detail captures, giving your shot list its dramatic backbone.
You’re shooting dynamic movement here—a sword swing frozen mid-arc, a cape billowing against wind, a villain’s menacing lean forward. These action sequences demand intentional dramatic angles; crouch low, tilt your frame, push visual tension deliberately.
Prioritize character expressions alongside costume detailing simultaneously—a snarling face paired with a gauntlet’s intricate rivets creates powerful emotional storytelling within a single frame.
Your lighting techniques matter enormously here; side-lighting carves muscle definition, while rim lighting separates cosplayers from backgrounds forcefully.
Maintain thematic cohesion across every mid-action shot you capture. Each image should feel connected, building momentum that pulls viewers deeper into your portfolio’s narrative arc.
Tight Detail Captures
Tight detail captures are where your shot list transforms into a showcase of genuine craftsmanship—these close-up frames reveal the hand-stitched embroidery, weathered leather textures, and precision-painted resin pieces that wider shots simply can’t honor.
Mastering tight detail techniques elevates your portfolio from documentation to artistry.
Prioritize these four macro-focused captures:
- Fabric texture shots — isolate embroidery patterns or layered materials using a 100mm macro lens option for razor-sharp rendering.
- Hardware and accessories — capture buckles, chains, and prop mechanisms with controlled side-lighting to emphasize dimensionality.
- Paint and weathering effects — reveal battle-worn finishes and gradient blends that demonstrate the cosplayer’s technical mastery.
- Facial prosthetics or makeup details — document intricate creature work or theatrical makeup at close range, honoring the transformation completely.
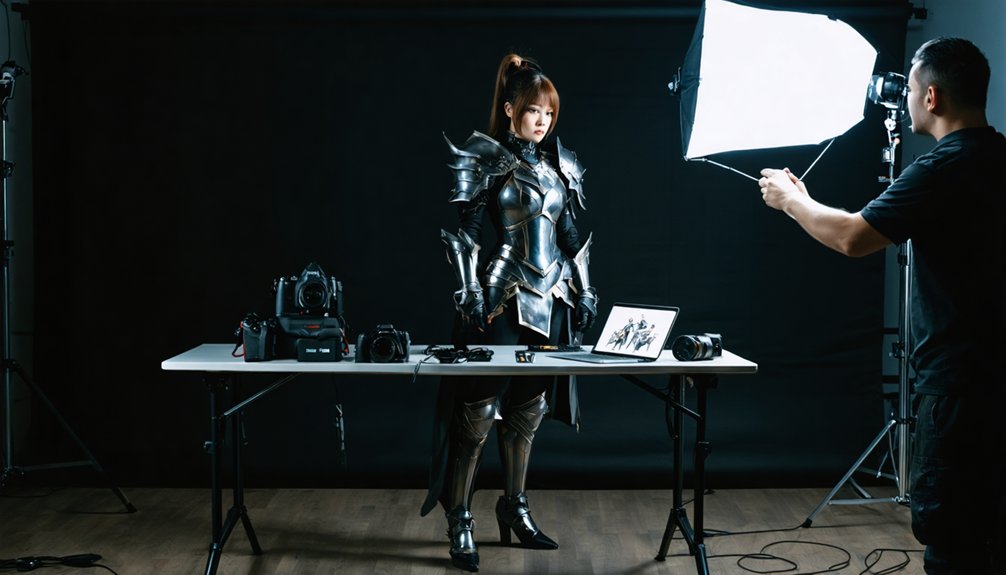
How to Shoot Multiple Angles Without Losing a Unified Look
Shooting multiple angles is one of the most exciting challenges in cosplay photography, but it’s also where consistency can quietly fall apart. To capture multiple perspectives without fracturing your visual identity, anchor every shot to the same lighting setup, white balance, and color preset before you move an inch.
Lock your exposure, then rotate around your subject with intention — wide establishing shots, dynamic mid-angles, and tight details should all feel like chapters from the same story. Use a consistent style by maintaining similar contrast levels and tonal range across every frame.
Your subject’s costume doesn’t change, so your aesthetic language shouldn’t either. Shoot in bursts at each position, then edit the sequence so each angle adds new information rather than simply repeating what you’ve already shown.
How to Edit Cosplay Photography to a Professional Standard
Once you’ve locked in your angles and captured that variety of perspectives, the real creative power shifts to your editing suite. Your editing techniques and color grading choices define your artistic vision and sharpen image consistency across every frame.
Follow these essential steps:
- Standardize color profiles — apply consistent presets in sRGB for cohesive branding strategies.
- Enhance digitally with purpose — use digital enhancements like background composites matching source material.
- Craft visual storytelling — sequence images within your portfolio layout to reveal character progression.
- Apply creative effects intentionally — atmospheric overlays and lighting corrections elevate emotional impact.
Regularly invite photo critiques from trusted peers. Fresh eyes expose inconsistencies your trained eye overlooks, pushing your work beyond competent into truly compelling cosplay photography.
How to Sequence Your Cosplay Portfolio Images for Maximum Impact
How you arrange your portfolio images shapes whether a viewer lingers or clicks away within seconds. Lead with your strongest single image — it sets expectations immediately.
From there, build image flow deliberately: open with a wide establishing shot, shift into dynamic mid-action frames, then close on intimate detail work. This rhythm creates a visual narrative that pulls viewers deeper rather than overwhelming them upfront.
Avoid sequencing similar angles back-to-back. Each image should introduce new information — a different character, lighting condition, or emotional tone.
Think cinematically; your portfolio is fundamentally a curated reel, not a dump folder.
End on a second strong image. Viewers remember the first and last frames most. That bookend structure leaves a lasting impression that converts browsers into collaborators, clients, or commissioners.
Which Platform Best Showcases a Cosplay Photography Portfolio?
Once you’ve sequenced your images for impact, choosing the right platform transforms your portfolio from a simple gallery into a powerful professional tool.
You’ll need to weigh top contenders like Adobe Portfolio, Format, and Pixieset against free options like Flickr or Instagram, each carrying distinct trade-offs in customization, loading speed, and audience reach.
Beyond just picking a platform, you’ll optimize your presentation through smart image sizing, clean navigation, and strategic cross-posting to maximize visibility across the cosplay community.
Top Portfolio Platform Picks
Choosing the right platform can make or break how your cosplay photography portfolio lands with clients, collaborators, and fans. Smart portfolio hosting hinges on platform features that balance speed, aesthetics, and reach.
- Adobe Portfolio – Clean layouts, Creative Cloud integration, and custom domains elevate professional credibility instantly.
- Format – Built for visual artists, offering powerful client-proofing tools and refined gallery controls.
- Squarespace – Combines stunning templates with built-in SEO, making discovery effortless.
- Pixieset – Delivers lightning-fast loading, gorgeous presentation, and seamless digital delivery for commissioned work.
Each platform serves a different creative ambition.
Prioritize load speed above everything—slow galleries kill first impressions. Match your platform’s aesthetic to your shooting style, and your portfolio becomes an experience, not just a slideshow.
Free Versus Paid Platforms
Whether you’re just starting out or scaling toward paid commissions, the platform you pick determines how seriously the cosplay community takes your work.
Free platform pros include zero upfront risk, instant publishing, and built-in audience engagement through established communities. However, free tiers often sacrifice user experience with cluttered ads and limited platform features like custom domains or advanced analytics tools.
Paid platforms eliminate those compromises. You control branding, portfolio maintenance schedules, and presentation quality.
The trade-off involves cost considerations — monthly subscriptions add up, especially before commissions flow consistently.
Evaluate both options against your current goals. If you’re building credibility fast, a polished paid site signals professionalism immediately.
If budget’s tight, optimize a free platform ruthlessly — clean sequencing and fast load times outperform expensive hosting with mediocre curation every time.
Optimizing Platform Presentation
Platform choice shapes how your audience experiences your work before they process a single image. Optimize every layer of your presentation with intention.
- Loading speed directly affects bounce rates—compress images to 2000–2500px and use platforms with CDN support.
- Mobile optimization guarantees your portfolio renders beautifully across all devices, protecting image accessibility for every viewer.
- SEO strategies like descriptive filenames, alt text, and character-tagged captions drive organic discovery and boost audience engagement.
- Branding consistency—matching fonts, color palettes, and layout grids—reinforces your creative identity across every platform feature.
Your user experience design communicates professionalism before a client reads your bio.
Treat your portfolio architecture as seriously as your editing workflow, because seamless navigation converts casual browsers into committed collaborators.
How to Promote Your Cosplay Photography Portfolio
Once your portfolio is polished and sequenced, getting it in front of the right eyes requires a sharp, multi-channel strategy.
Cross-post across social media platforms using consistent branding techniques—same handle, cohesive aesthetic, intentional captions that reinforce your visual storytelling identity.
Attend networking events like conventions and local meetups where collaboration opportunities emerge organically; compliment a cosplayer’s craftsmanship, exchange contacts, and follow up professionally.
Community building compounds your reach faster than any algorithm—photograph multiple creators, tag them accurately, and engage genuinely with their audiences.
Sharpen your audience engagement by responding to comments, sharing behind-the-scenes content, and posting process breakdowns that showcase your technical depth.
Combine these promotional strategies deliberately, and your portfolio stops being a static gallery—it becomes a living, discoverable extension of your creative brand.
Frequently Asked Questions
How Do I Handle Cosplayers Who Cancel Shoots Last Minute?
When cancellations hit, you’ve got to implement clear cancellation policies upfront and master rescheduling strategies fast. Confirm shoots 48 hours ahead, maintain a backup cosplayer list, and transform sudden gaps into spontaneous solo creative sessions.
Should I Watermark My Cosplay Photography Portfolio Images?
Watermarks don’t truly stop theft—they’re easily cropped. Weigh watermark pros like brand visibility against watermark cons like cluttering your portfolio’s visual impact. You’ll protect your work better by embedding metadata and publishing on reputable platforms instead.
How Do I Price My Cosplay Photography Services as a Beginner?
Start with affordable pricing strategies to build your portfolio fast! Offer tiered service packages—basic edits, full shoots, or premium composites—so you’re attracting clients while gaining experience and confidently raising rates as your skills sharpen.
Can I Include Fan Art Inspired Edits Without Copyright Issues?
You can include fan art inspired edits, but you’ve got to respect copyright guidelines carefully! Transform original elements considerably, credit source material, and understand fan art legality — avoid directly reproducing copyrighted designs without transformative creative innovation driving your edits.
How Do I Back up My Cosplay Photography Files Safely?
Losing your files would be an absolute catastrophe! Back up using cloud storage and external hard drives simultaneously. Apply data encryption for security, and maintain strict file organization so you’re always retrieving your cosplay masterpieces effortlessly and efficiently.
References
- https://crispyphotography.ca/creating-cosplay-photography-portfolio/
- https://contrastly.com/cosplay-photography-101-tips-and-tricks/
- https://www.youtube.com/watch?v=cKoa2n0nEXA
- https://www.thephoblographer.com/2017/09/29/the-art-of-cosplay-how-to-photograph-cosplayers/
- https://www.youtube.com/watch?v=3_dXs1bf7Po