Building a cosplay staff or wand from scratch starts with choosing the right core material—PVC pipe for rigid, lightweight durability or fiberglass rods for flexible, bendable designs. You’ll wrap your core with EVA foam, carve decorative details, and reinforce every joint with epoxy and internal dowels. Then you’ll prime, paint, and seal the surface for a polished, professional finish. Stick around, and you’ll uncover every technique needed to bring your design to life.
Key Takeaways
- Gather reference images from multiple angles to capture accurate proportions, then calculate your scale ratio before beginning construction.
- Choose rigid cores like PVC pipe for strength or flexible cores like fiberglass rods for bendable designs.
- Wrap EVA foam around the shaft for texture, carve decorative details, and reinforce joints with internal dowels and epoxy.
- Seal foam surfaces with gesso, then layer paint using dry-brushing techniques to add depth and realistic dimension.
- Fix common issues like warped shafts by reheating PVC, and fill visible seams with spackling before re-priming.
Plan Your Cosplay Staff Build and Gather References First
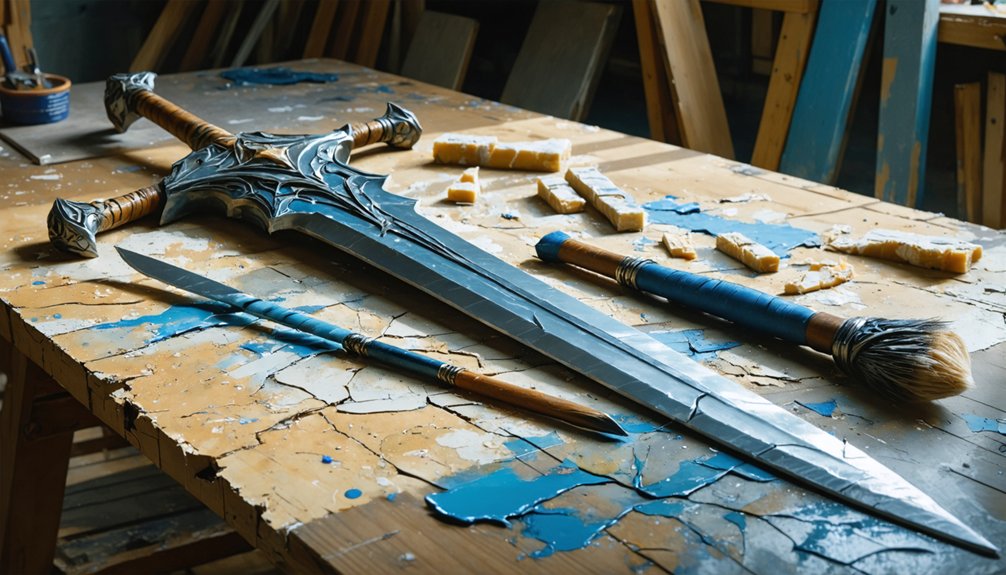
Before cutting a single piece of foam or PVC, you’ll need a clear visual reference for your staff or wand. Collect images from multiple angles to capture accurate proportions, surface details, and your intended color palette. Official artwork, in-game models, and fan renders each reveal different construction details worth noting.
Once you’ve gathered references, measure and calculate a scale ratio before enlarging the design to full size. Break the overall shape into simple geometric forms first, then identify which sections require pattern pieces. Note any lighting effects early, since integrated LED components require internal cavities and wiring channels planned into the structure from the start.
Deciding whether the prop must disassemble for travel also affects joinery choices before you ever touch a blade.
Choose the Right Core Material for Your Cosplay Staff
Once you’ve finalized your design plans, you’ll need to select a core material that matches your staff’s structural demands.
For rigid builds, PVC pipe and wooden dowels are your strongest options, since both handle repeated stress at the head-to-shaft joint without flexing or snapping.
If your prop needs to curve, bend, or compress for travel or safety reasons, flexible alternatives like fiberglass rods or thin aluminum armature wire let you shape the core while still providing enough internal support.
Rigid Core Options
What holds your staff together when it’s swinging at your side or being handled by crowds at a convention? Your rigid core determines everything.
PVC pipe delivers the best balance between cost, weight, and workability — you can heat it with a heat gun to introduce organic curves that flexible materials can’t replicate.
Wooden dowels suit smaller wands where lightweight cores matter more than diameter.
For larger builds, schedule-40 PVC in ½-inch or ¾-inch diameters handles significant lateral force without flexing.
Choose aluminum rod when you need maximum strength at minimal thickness.
Match your core diameter to your design’s shaft width before purchasing, since oversized cores force unnecessary foam buildup.
Always cut your core longer than the finished shaft length to accommodate end fittings and head attachments.
Flexible Core Alternatives
Sometimes a rigid core works against your design — whippy wands, fabric-wrapped staves, or articulated props benefit from flexible cores that absorb impact rather than transferring it directly to fragile foam.
A flexible armature lets your prop bend under stress without cracking surface layers or snapping joints. Consider these three reliable options:
- Aluminum armature wire — twists, holds position, and resists fatigue across repeated bending cycles.
- Fiberglass rods — offer controlled flex with significant tensile strength, ideal for longer staves needing slight give.
- Segmented builds with magnetic attachment — connect prop sections using embedded magnets, allowing deliberate flex points while keeping assembly clean and travel-friendly.
Match your core flexibility to the prop’s handling demands. A wand that survives convention crowds needs resilience built from the inside out.
Build and Shape Your Cosplay Staff Shaft Like a Pro
Building the shaft is where your staff starts to feel real, so cut your core tube or dowel to the target length first, leaving a few extra inches at each end for the head, tip, and end cap attachments.
Wrap EVA foam around the core if you need a larger diameter or a more finished surface. Apply texture techniques by scoring shallow grain lines into the foam, then warm it with a heat gun so the cuts open naturally.
Sand all seams and exposed edges before priming.
During painting, use color blending to layer darker tones into scored grooves and lighter highlights across raised surfaces, creating convincing depth.
If you want an organic silhouette, carefully heat PVC with a heat gun to introduce a subtle, controlled curve.
Sculpt the Head and Decorative Details
Start by cutting two mirrored pieces of EVA foam for the staff head, then glue them together face-to-face to build the thickness and symmetry your design requires.
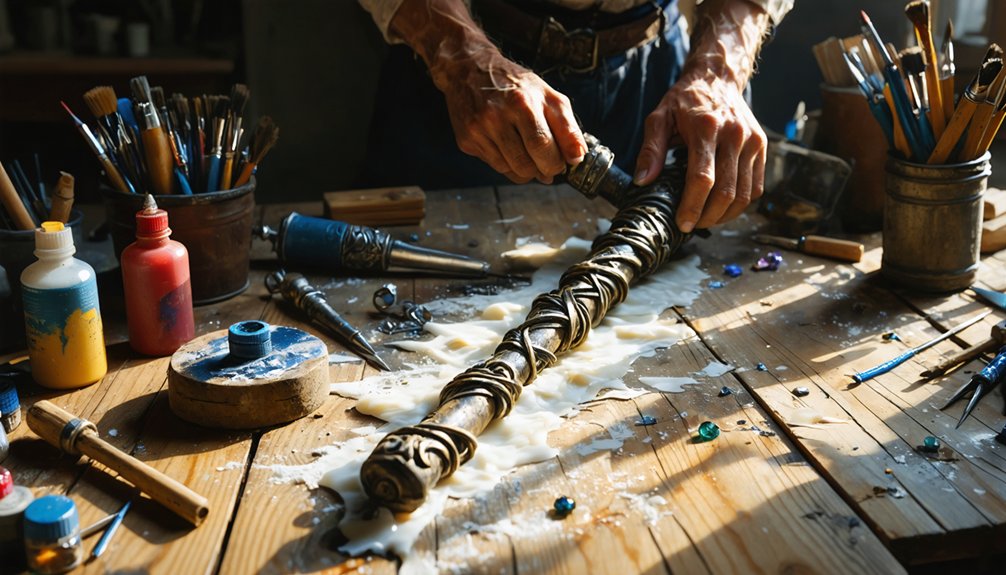
Once the foam block cures, carve swirls, runes, blades, or other motifs directly into the surface using an X-Acto knife.
Then warm the foam with a heat gun to open up and define the texture.
Secure any separate decorative accents—horns, gem settings, raised borders—using slots, tabs, or internal dowel anchors rather than relying on surface adhesive alone, since the head-to-shaft joint takes the most handling stress.
Cutting Mirrored Foam Pieces
When cutting foam pieces for the staff head, work from your paper template to trace and cut two identical mirror-image halves from your EVA or craft foam sheet. Precise cutting techniques determine whether your finished head holds clean symmetry or requires excessive correction later.
Follow this sequence for accurate mirrored foam results:
- Trace the template onto foam, then flip it completely before tracing the second piece, ensuring true mirror alignment.
- Cut along traced lines using a sharp X-Acto knife in single confident strokes rather than multiple passes.
- Stack both pieces immediately after cutting and trim any mismatched edges together so both halves match exactly.
Once trimmed, glue the halves together to build thickness, then proceed to carving your decorative motifs into the assembled block.
Carving Motifs And Details
Once your glued foam block has fully cured, you’re ready to carve swirls, runes, blades, horns, or whatever motifs your design calls for. Use an X-Acto knife for precise line work and a rounded tool for sweeping curves. Cut at consistent depths to maintain visual rhythm across repeated elements.
After carving, warm the foam with a heat gun to open scored lines and sharpen edges naturally.
For metal inlays, press thin craft foam strips painted with metallic acrylics into carved channels, then seal them flush.
For gemstone simulation, resin-cast cabochons or shaped transparent filament pieces deliver convincing depth and refraction. Epoxy each accent firmly into pre-carved recesses.
Test structural integrity before moving to priming, since loose details become harder to fix once paint layers accumulate.
Attaching Decorative Accents Securely
Before gluing anything permanently, dry-fit every decorative accent against the staff head to confirm placement, alignment, and balance.
Once satisfied, choose your fastening method based on accent weight and material:
- Use epoxy or contact cement for heavy resin or Worbla pieces that demand a rigid, permanent bond.
- Apply magnetic attachment points beneath lightweight ornaments when you need removable accents for transport or modularity.
- Reinforce foam clay details with decorative adhesives like E6000, which flex slightly and resist cracking under handling stress.
After securing each accent, press firmly and hold until the adhesive grabs.
Check that nothing shifts alignment during curing.
Wipe away squeeze-out immediately with a damp cloth before it dries.
Test-flex the assembled head gently to confirm every joint holds under realistic handling pressure.
Attach and Reinforce Every Joint on Your Cosplay Staff
After you’ve test-fitted every component, start permanently bonding each joint using an adhesive matched to your materials—hot glue for quick foam connections, epoxy for high-stress or mixed-material bonds, and PVC glue for pipe-to-pipe fittings. Adhesive selection directly determines joint stability, so never substitute convenience for compatibility.
Once bonded, reinforce the head-to-shaft joint first, since it absorbs the most handling stress. Push an internal dowel or brass rod through both sections, then epoxy it in place.
For detachable segments, thread brass inserts or friction-fit connectors before final assembly.
Apply a secondary bead of epoxy along foam seam edges where flex could cause separation. Hold each joint under pressure until fully cured—don’t rush this stage.
Weak joints compound over time and compromise the entire prop’s structural integrity.
Prime and Paint Your Cosplay Staff for a Polished Look

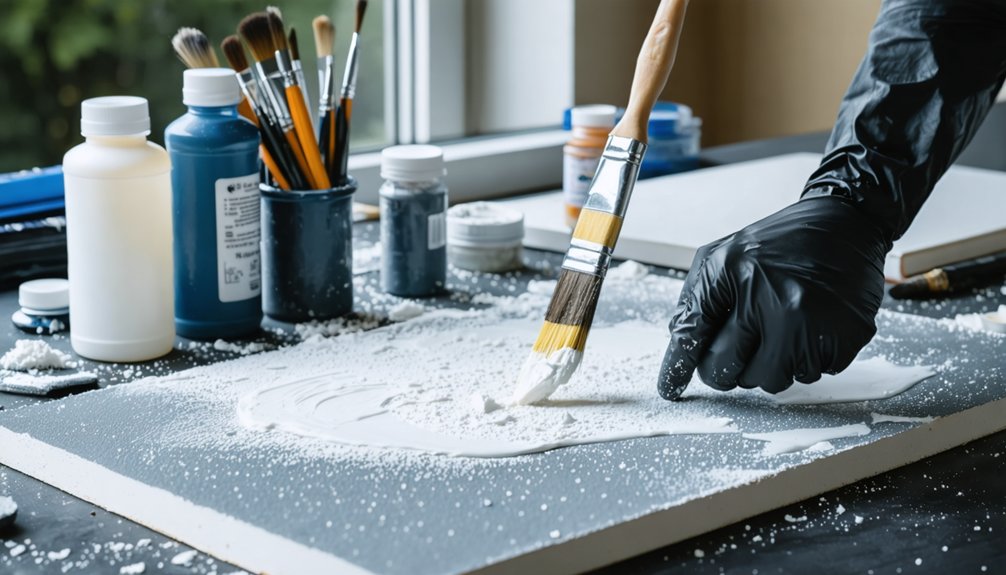
With all your joints cured and your structure solid, it’s time to seal and prep every foam surface before any paint touches the prop. Apply gesso or Mod Podge first, sanding lightly between coats to eliminate texture inconsistencies and sharpen carved edges.
- Prime twice using thin, even coats to build a unified base that accepts color evenly across different materials.
- Use color mixing to develop custom mid-tones, shadows, and highlights that push depth into carved grooves and raised ornaments.
- Execute texture layering by dry-brushing lighter values over darker base coats, which reveals dimensional detail without obscuring fine linework.
Finish with a matte or satin sealer matched to your prop’s intended material appearance. Allow full cure time before handling to protect the final surface.
Fix the Most Common Cosplay Staff Build Problems
Even the most carefully planned cosplay staff builds run into problems, and knowing how to diagnose and correct them quickly keeps your build on track.
If your shaft warps, reheat the PVC with a heat gun and hold it straight until it cools.
Weak head-to-shaft joints need epoxy reinforcement plus an internal dowel anchor.
When surface texture looks uneven after priming, sand lightly and apply a second gesso coat before repainting.
Poor color blending on carved details responds well to dry-brushing thin acrylic layers, building depth gradually rather than applying heavy coats.
If foam seams remain visible, fill them with spackling, sand smooth, and re-prime.
Address each problem systematically, since rushing corrections typically compounds damage rather than resolving the underlying structural or finish issue.
Frequently Asked Questions
How Do I Safely Transport a Finished Cosplay Staff to Conventions?
Ironically, your toughest challenge isn’t building the staff—it’s transporting it. For cosplay safety, you’ll want a padded PVC tube for staff storage, securing detachable sections separately to prevent damage during transit.
Can I Add LED Lighting Effects Inside a Hollow Staff Core?
For LED installation, you’ll thread a light strip through your hollow core, secure a small battery pack near the base, and follow hollow core safety by keeping heat-generating components ventilated to prevent foam warping.
What Is the Average Cost to Build a Cosplay Staff From Scratch?
You’ll typically spend $30–$150 on cosplay materials like EVA foam, PVC pipe, and paint. Factor in safety precautions—proper ventilation and tools—which may add costs. Complex builds with resin or LEDs can exceed $200.
How Do I Legally Carry a Cosplay Staff Through Convention Security?
Check each convention’s prop regulations before arriving. You’ll avoid delays by pre-registering your staff, ensuring it’s foam-based, and carrying documentation. Cosplay safety inspectors approve lightweight, non-functional props faster than rigid or sharp alternatives.
How Long Does a Completed Cosplay Staff Typically Last Before Needing Repairs?
Your cosplay staff’s lifespan depends on materials and handling frequency. With proper cosplay staff maintenance, foam builds last 1–3 convention seasons. Follow staff durability tips like resealing joints and touching up paint annually to extend longevity considerably.
References
- https://www.reddit.com/r/cosplayprops/comments/zb96sx/tips_on_how_to_build_this_cosplay_staff_i_am/
- https://www.worbla.com/?cat=54
- https://www.youtube.com/watch?v=wgrFcJNM5gM
- https://leafnincosplay.com/2022/10/12/decoupage-a-basic-stick-or-staff-prop/
- https://www.youtube.com/watch?v=XV5EWh3mIyU
- https://www.youtube.com/watch?v=2fCDDNkwxE4
- https://www.reddit.com/r/cosplayprops/comments/1qy49b6/cosplay_noob_building_a_staff/
- https://www.youtube.com/watch?v=PhduBp7OM9Y
- https://www.youtube.com/watch?v=s-yfzUmeO8s
- https://www.cosplaytutorial.com/guides/dmgstaff.php