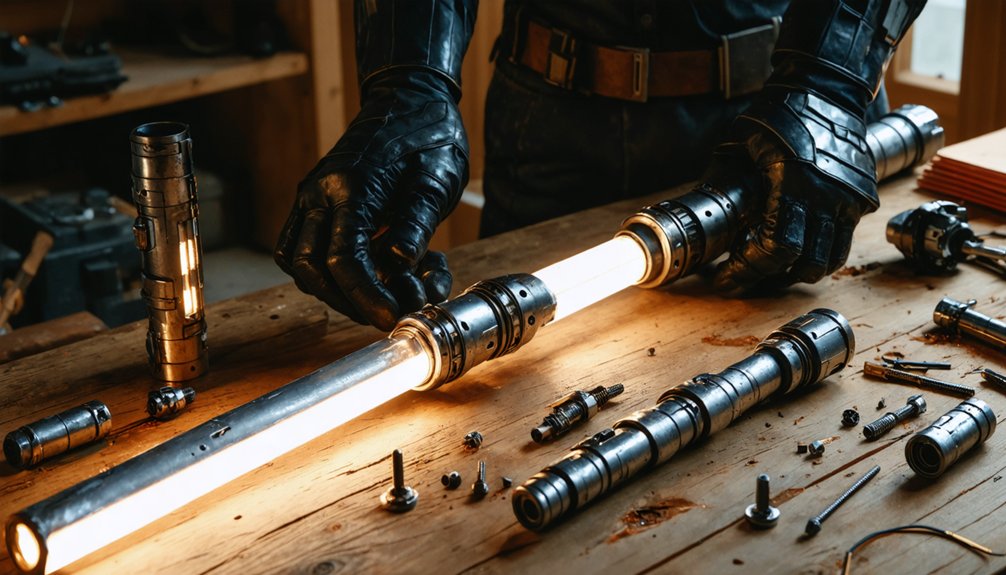
To make a lightsaber prop for sci-fi cosplay, you’ll need a translucent 1-inch PVC or polycarbonate blade tube, a mini Cree LED flashlight, and motorcycle grips for the hilt. Cut your PVC hilt to 10.25 inches, route your wiring through it, and secure everything with pop rivets, hot glue, and epoxy. Add tinted tiddlywinks for color effects and a piezo buzzer for sound. There’s plenty more technique involved to get that truly screen-accurate finish.
Key Takeaways
- Use translucent PVC or polycarbonate tubing for the blade, as it diffuses LED light evenly for a realistic glowing effect.
- Build the hilt from a 10.25-inch PVC pipe section, covered with motorcycle grips for a professional, screen-accurate appearance.
- Wire LED diodes to a toggle switch, sealing all connections with heat shrink tubing before final assembly.
- Secure the blade to the hilt using pop rivets and hot glue, ensuring durability for combat-style handling.
- Add finishing touches like tinted tiddlywinks for color effects and a piezo buzzer for authentic lightsaber sound.
Gather These Materials Before You Build Your Lightsaber
Before you start building, gather all the necessary materials to avoid interruptions mid-assembly. You’ll need a rigid PVC or polycarbonate tube with a one-inch diameter for the blade, a mini Cree LED flashlight matching that diameter, and motorcycle grips designed for one-inch handlebars to create a polished hilt.
Choose translucent tubing over clear for better light scattering.
For internal components, grab 3/4-inch tiddlywinks to colorize the beam, tin foil, electrical tape, friction tape, hot glue, epoxy, heat shrink tubing, and a toggle switch.
Confirm battery compatibility between your LED flashlight and chosen power source before assembling.
Follow basic safety precautions when handling heat shrink materials, epoxy, and drilling equipment.
Having everything staged beforehand keeps your workflow efficient and precise.
Choose the Right Blade Tube for Maximum Light Effect
When selecting your blade tube, you’ll find that material choice directly impacts how well your lightsaber glows.
Translucent PVC or polycarbonate tubes scatter light internally, producing a more even, diffused glow across the entire blade length.
Clear tubes, by contrast, allow light to pass straight through without scattering, leaving most of the blade looking dim and unlit.
Tube Material Matters
Choosing the right tube material makes a significant difference in how your lightsaber blade looks when lit. You’ll want to select either rigid PVC or polycarbonate tubing with a one-inch diameter.
Here’s where color theory becomes critical: translucent tubes scatter light more effectively than clear tubes, producing a fuller, more uniform glow across the entire blade length. Clear tubes concentrate light too narrowly, creating uneven illumination that weakens the visual impact during cosplay performances.
Polycarbonate offers superior impact resistance if you’re planning dynamic displays, while rigid PVC remains the more affordable option.
Though sound effects aren’t tube-dependent, your blade material directly affects the overall sensory experience viewers perceive.
Select translucent white or frosted tubing whenever possible to maximize light diffusion from your LED source outward.
Translucent Versus Clear
Although both tube types transmit light, translucent tubing scatters photons laterally across the blade’s full diameter, while clear tubing channels light straight through, leaving the outer edges dim and the glow uneven.
When you’re building a lightsaber prop, light diffusion is everything. Translucent PVC or polycarbonate distributes your LED source uniformly, creating that signature solid-column effect recognizable in sci-fi cosplay.
Clear tubing undermines color blending, particularly when you’re using tinted tiddlywinks or colored LEDs. The beam stays concentrated at the core, producing a harsh hotspot rather than a smooth, saturated hue across the entire blade.
Translucent material integrates color evenly from tip to base. Choose frosted or milky-white polycarbonate tubing to maximize lateral photon scatter and achieve consistent, professional-grade illumination throughout your finished prop.
Build Your Lightsaber Hilt From PVC and Motorcycle Grips
Building the hilt starts with cutting a 10.25-inch length of 1-inch PVC for the main body.
Mark a line at 1.75 inches labeled “top” and another at 1.5 inches labeled “bottom.” These measurements carry cultural significance, echoing the precise craftsmanship of historical prop-making traditions from early sci-fi cinema.
Cut four squares from sheet material roughly matching the hilt base width for grip sections.
Press 0.5-inch PVC pipe into the middle of heated squares, followed by the pommel.
Heat the inside plastic pieces and small strips at the prong tops, then slide the hilt into the pommel securely.
Finish by sliding motorcycle grips designed for one-inch handlebars over the PVC body.
Their shiny aesthetic delivers a professional, screen-accurate appearance that honors lightsaber design heritage while maximizing your build’s visual impact.
Wire Your Lightsaber LED and Mount It Inside the Hilt
To wire your LED circuit, twist the diode leads together according to your wiring diagram. Then seal each connection with heat shrink plastic by running a lighter along the tubing until it contracts firmly around the leads.
Connect your wires to a toggle switch, sealing those joints with heat shrink as well to keep everything insulated and secure.
Once your circuit’s complete, fix the LED diodes at the top of the emitter with a dab of hot glue to lock them in place before sliding the assembly into the hilt.
LED Wiring Circuit Setup
When wiring your lightsaber’s LED circuit, you’ll need to twist the LED diodes together following a specific wiring diagram to guarantee the correct circuit configuration. Proper alignment here directly impacts your battery capacity, ensuring efficient power draw for extended use during cosplay events.
Once twisted, seal each diode lead with heat shrink plastic by applying a lighter briefly to shrink the material tightly around the leads. This prevents shorts and protects your connections.
Next, attach wires to the diode leads, sealing each connection with additional heat shrink for clean insulation.
Connect those wires to a toggle switch, again sealing with heat shrink. If you’re integrating sound effects, route your wiring carefully to accommodate the additional components without crowding the hilt’s interior space.
Mounting LED Inside Hilt
Once your wiring’s complete, secure the LED diodes at the top of the emitter using hot glue to lock them firmly in place and prevent any movement during use. Proper mounting directly impacts blade flexibility and hilt ergonomics, ensuring consistent light output through every swing.
Follow these critical steps:
- Apply hot glue evenly around the diode base, avoiding the lens to maintain maximum light projection into the blade.
- Allow full cure time before inserting the assembly, ensuring the emitter sits flush against the hilt’s interior wall.
- Route your wires carefully toward the toggle switch, keeping them tight against the hilt walls to preserve ergonomic handling balance.
Test the LED before final assembly to confirm the connection holds and illumination reaches the blade tip uniformly.
Assemble the Blade, Hilt, and Electronics Into One Unit
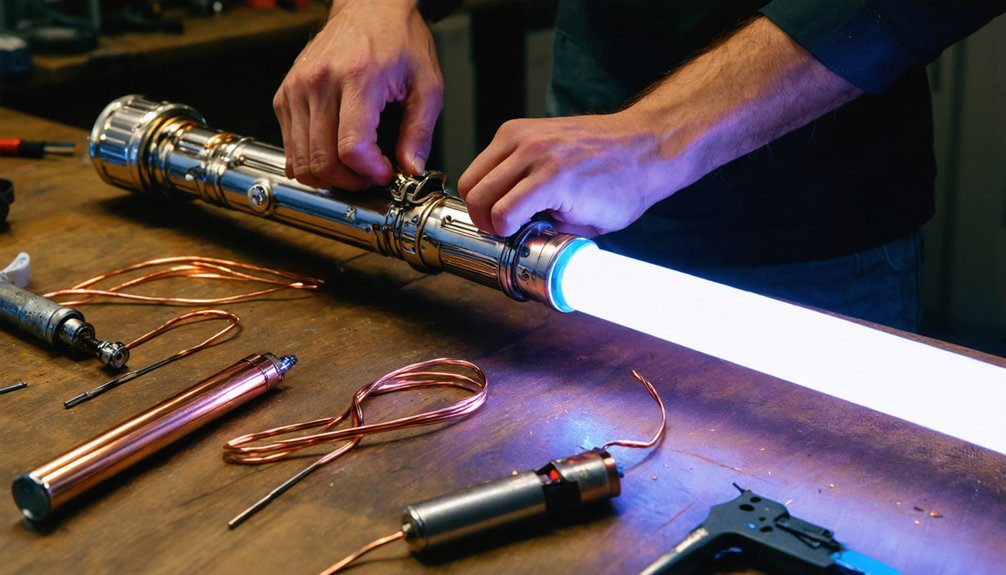
Bringing all three components together starts with inserting the blade into the hilt, aligning the screw hole on the PVC with the drain opening. Push the blade firmly until it seats flush, then secure it using your pop rivets through the pre-drilled 1/8-inch holes.
Next, feed your wiring harness through the hilt cavity, connecting the toggle switch leads to your LED circuit. This configuration supports color blending if you’ve wired multiple diodes with separate channels.
Tuck connections cleanly to avoid interference with internal components.
Apply hot glue around the blade base where it meets the hilt for added stability. Once your electronics are secured and sound effects module is integrated, test the toggle switch to confirm full illumination and functionality before final assembly with the pommel end cap.
Lock Everything in Place So Your Lightsaber Survives Combat Play
After you’ve confirmed full illumination and switch functionality, it’s time to lock every component permanently in place so your lightsaber holds up to repeated combat stress. Drawing on historical references from prop fabrication and cultural influences from stage combat weaponry, secure everything systematically.
With illumination and switch functionality confirmed, lock every component permanently in place to withstand repeated combat stress.
- Mix a small epoxy batch and apply it to the sink drain assembly’s base, anchoring the end cap against torque forces.
- Wrap one friction tape layer around the 0.75-inch coupler, then push it against the 29-inch bottom stopper wrap for alignment.
- Drive pop rivets through 1/8-inch pilot holes drilled over clear tape targets, preventing bit slippage during fabrication.
Finally, insert the blade into the hilt, aligning the screw hole with the drain opening, then torque the fastener firmly.
Final Details That Give Your DIY Lightsaber a Professional Finish
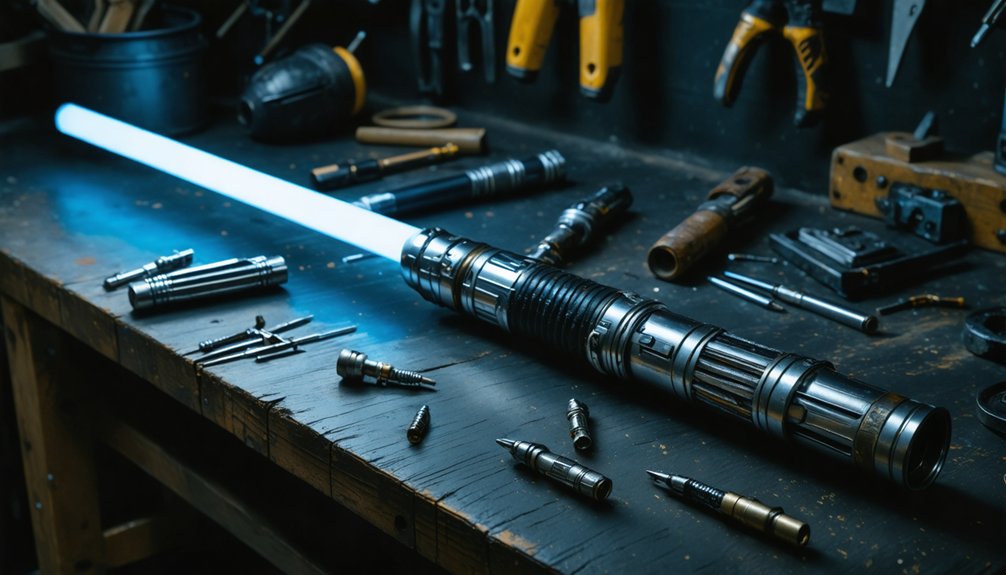
With the structure locked in, these finishing details transform your prop from functional to professional. Start with color blending by inserting different tinted tiddlywinks into the flashlight to layer hues and achieve a richer, more dynamic beam effect. Translucent blade tubing diffuses these blended colors evenly, eliminating harsh hot spots.
Next, address sound effects by integrating a compact piezo buzzer wired into your toggle switch circuit. This triggers a hum every time you power the blade, reinforcing authenticity during cosplay interactions. Seal all wire connections with heat shrink for a clean internal finish.
Finally, wrap the hilt grip sections tightly with friction tape, then buff the motorcycle grip surface for maximum sheen. These precise final touches elevate your lightsaber from a workshop build to a convention-ready showpiece.
Frequently Asked Questions
Can I Use Rechargeable Batteries to Power My Lightsaber LED System?
80% of LED builds run on rechargeables successfully. You can use them, but you’ll want to verify voltage compatibility with your Mini Cree LED system and prioritize battery safety to avoid overloading your toggle switch circuit.
How Long Does a Completed DIY Lightsaber Prop Typically Last?
Your DIY lightsaber’s blade durability depends on PVC quality, lasting years with proper care. Battery lifespan varies, but rechargeable cells typically deliver 2–4 hours per charge, so you’ll want reliable power management.
What Total Cost Should I Expect for Building This Lightsaber?
You’ll spend roughly $50–$100 total; your cost analysis should include PVC, LEDs, motorcycle grips, epoxy, and hardware. Budget planning helps you prioritize quality components like Cree LEDs for ideal, innovative illumination results.
Are There Weatherproofing Options to Protect Electronics During Outdoor Events?
Why risk your build? You’ll want to apply weatherproof coatings over all exposed connections and use electronics insulation like conformal spray on your wiring, toggle switch, and LED diodes to protect against moisture during outdoor events.
Can Children Safely Use This Lightsaber During Cosplay Activities?
You’ll want to assess child safety carefully before use. Age suitability matters—supervise younger children, as sharp PVC edges, epoxy, and pop rivets pose hazards. Sand all edges smooth and guarantee secure assembly to minimize risks.
References
- https://www.youtube.com/watch?v=R5W8Aqc9neI
- https://www.youtube.com/watch?v=9SS-BayMkjY
- https://www.youtube.com/watch?v=uqa4k49xmKg
- https://www.instructables.com/Simple-Lightsaber/
- https://www.instructables.com/DIY-Skywalker-Lightsaber-Tutorial/
- https://www.youtube.com/watch?v=P6kg_dM6KsY