Start by measuring your head circumference, cap depth, and ear-to-ear distance, then create a custom styrofoam head using masking tape guidelines and compressed tissue. Cut 40-50cm acrylic yarn lengths and assemble them into wefts with tulle backing. Construct your base cap using fiberglass-reinforced cast tape wrapped over cellophane, integrating silk liners 0.5-1 inch from the hairline. Attach wefts horizontally from the nape upward, sewing minimum four loops per point through elastic bands. The complete process reveals essential techniques that separate amateur attempts from convention-ready results.
Key Takeaways
- Measure head circumference, cap depth, ear-to-ear distance, and crown width to ensure proper wig fit and comfort.
- Create a custom styrofoam head using masking tape guidelines, measurements, and compressed tissue paper for structural support.
- Prepare acrylic yarn wefts by cutting uniform lengths, attaching to tulle backing, and heat-styling up to 300°F.
- Construct a base cap using cast tape over cellophane-wrapped forms, adding silk liners and securing clips or combs.
- Attach wefts horizontally from nape upward, sewing through elastic bands and reinforcing with hot glue dots.
Taking Accurate Head Measurements and Planning Your Design
Before you cut a single strand of fiber or thread your first weft, you’ll need precise measurements of the intended wearer’s head. Start with circumference: position your tape at the front hairline center, wrap behind the ears and across the nape, maintaining snug tension without compression. Standard sizing runs 21-23.5 inches, though head size variations demand individual assessment.
Next, measure front-to-nape along the scalp’s midline to establish cap depth. Capture ear-to-ear across the forehead for lace front positioning, then repeat over the crown’s apex for cap width planning. Factor in hair volume by adding up to one inch for bulkier styles. These measurements directly inform your cap construction blueprint and determine whether you’re building for small (21-21.5″), medium (22-22.5″), or large (23-23.5″) specifications.
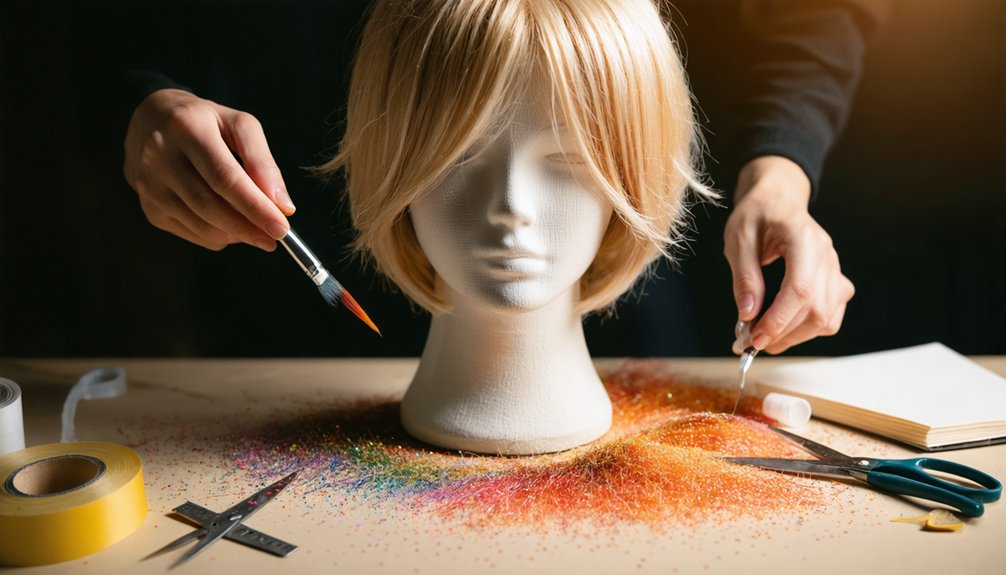
Building a Custom Styrofoam Wig Head Mold
Armed with your measurements, you’ll now translate those numbers into a physical working surface by customizing a styrofoam wig head to match the wearer’s exact dimensions.
Transform your standard foam mannequin into a precise replica by mapping real measurements onto tape guides and strategic padding.
Begin by applying masking tape ear-to-ear across the center hairline, then add perpendicular strips at the eyebrow and ear positions. Mark your measurements directly on the tape with Sharpie for precision. Crush tissue paper into compact shapes and stuff along the centerline until taut, then fill from forehead to back. This method allows testing material alternatives while maintaining dimensional accuracy.
- Tape Framework: Create intersecting guidelines with 1-2 inch overlaps for structural integrity
- Progressive Stuffing: Fill centerline first, then radiate outward for uniform proportions
- Securing Wig Head Stability: Weight the base with polyester pellets or BBs to prevent tipping during styling
- Volume Verification: Cross-reference stuffed dimensions against your original measurements before sealing
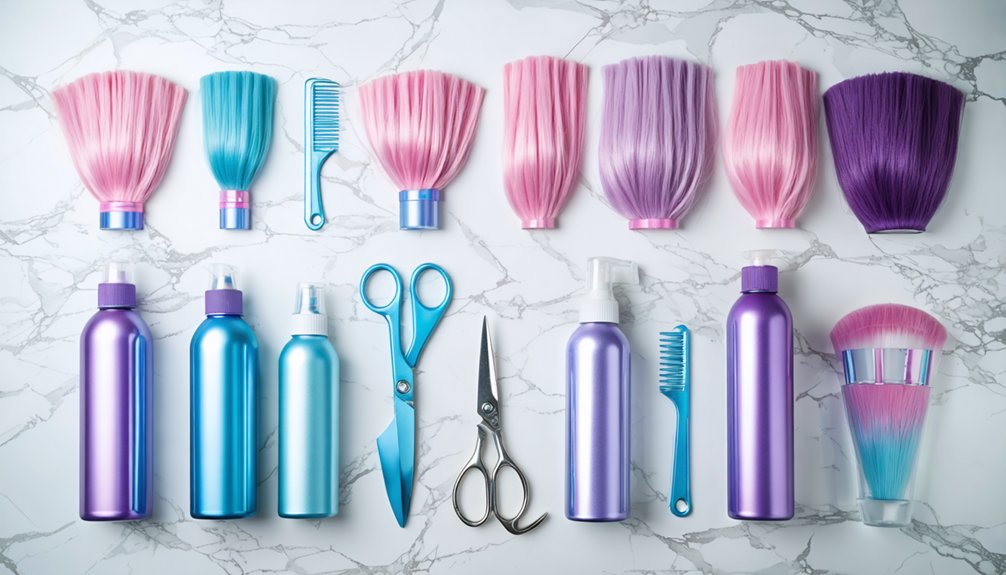
Preparing Acrylic Yarn Wefts and Straightening Techniques
You’ll need to cut your acrylic yarn into uniform lengths before assembling wefts, typically measuring 40-50cm sections to match your planned wig length.
Once you’ve created the wefts using tulle backing and your preferred attachment method, heat straightening becomes essential for achieving sleek, professional-looking fiber alignment.
Apply controlled heat up to the yarn’s resistance limit—most acrylic fibers tolerate temperatures around 275-300°F—using a flat iron in smooth, continuous passes along each weft section.
Cutting Uniform Yarn Lengths
Once you’ve selected your acrylic yarn, creating uniform strand lengths becomes your foundation for a professional-looking wig. Your repetitive measurement process starts by determining total length—double your desired hair length to account for folding. For 30-inch hair, you’ll need 60-inch strands plus trimming allowance.
Essential tools for uniform yarn batching:
- Rigid cardboard strips taped together (2 inches longer than needed) prevent warping during wrapping
- Chair backs or fixed posts matching double your target length circumference
- Sharp scissors for batch cutting after 40-50 wraps
- Measuring tape for verification from forehead to end point
Wrap your chosen object 40-50 times, maintaining consistent tension. Cut all loops simultaneously at one end. This method produces 100-144 uniform strands efficiently, with 300 yards typically providing full coverage.
Heat Straightening Weft Sections
Raw acrylic yarn emerges from packaging with a kinked, fuzzy texture that undermines the sleek appearance you’re targeting for your cosplay wig. Transform these fibers through systematic heat straightening.
Begin by brushing wefts gently, then secure them using glue application techniques—PVA glue spread on silicone sheets prevents sticking while curing overnight. Twist yarn into pairs for anime-style chunky strands.
Set your flat iron to minimum heat, gradually increasing based on fiber response. Pass the iron over sections multiple times, treating them like human hair. Heat-resistant acrylic tolerates up to 410°F safely. When troubleshooting straightening issues, dampen sections with water spray for enhanced results, and allow complete cooling before handling. Re-straighten any tangles immediately. Pin finished wefts radially from your wig cap’s center for natural flow.
Constructing a Durable Base Cap Foundation
When building a wig from scratch, your foundation determines everything—from weight distribution to ventilation comfort during extended wear. You’ll need to master securing cap layers through methodical construction, whether you’re working with fabric or hard shell designs.
Start by choosing appropriate materials based on your character’s demands: weightless silks and advanced meshes for breathability, or fiberglass-reinforced cast tape for armor-adjacent helmets.
Essential Construction Elements:
- Canvas block preparation – Wrap with cellophane and packing tape before pinning cotton liner along your marked outline
- Cast tape application – Work with ice water to extend setting time, wearing gloves for fiberglass safety
- Premium integration – Hand-sew silk bases 0.5-1 inch from hairline for invisible parting illusion
- Attachment hardware – Install pressure-sensitive combs or toupee clips for convention-proof stability
Attaching Wefts Layer by Layer for Volume
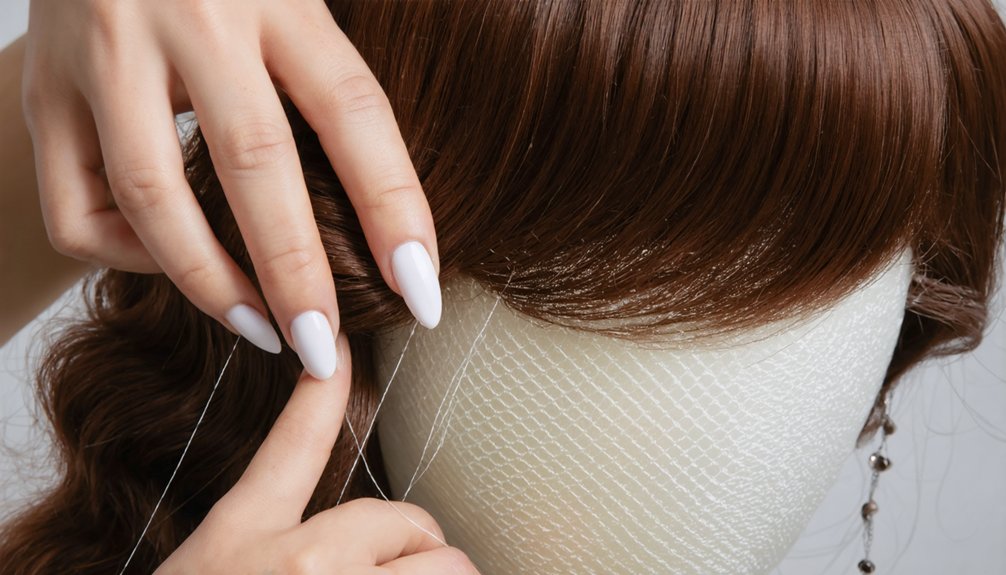
Begin at the wig’s nape section, positioning your first weft horizontally across the lowest elastic band. Pin the weft at every other band intersection, maintaining natural slack that mirrors the cap’s original stretch—pulling it taut will compromise the wig’s elasticity.
This bottom-up construction method prevents disrupting previously attached layers as you build density toward the crown.
Starting at the Nape
The nape serves as your foundation point because its narrow width allows precise control over weft placement and tension calibration. Position your wig head securely, then separate wefts to match the nape’s dimensions—trimming excess as needed. Thread your needle with matching color and gather pins for initial placement across elastic bands.
Insert pins through weft into elastic bands at alternating intervals, maintaining natural slack. Sew minimum four loops per attachment point, threading through elastic band centers only. Layer subsequent wefts directly above the first, progressing from narrow to wide sections. Apply hot glue dots as alternative anchoring for reinforced hold in high-stress areas.
This methodical approach guarantees securing wefts efficiently while preserving head flexibility. Skip solid mesh zones during attachment—elastic bands provide optimal grip without restricting wig movement during wear.
Building Upward for Density
After establishing your nape foundation, progressive layering transforms sparse coverage into convincing volume through strategic weft placement. Pin each weft across the wig head at every other elastic band, maintaining natural slack for adjustable weft height that accommodates varying head sizes. Thread your needle through pin locations with four loops minimum, sewing directly through elastic band centers to eliminate gaps. This systematic approach enables dense layering options as you build upward.
Alternatively, harvest wefts from donor wigs by detaching securing threads, then transplant these sections to increase density efficiently. Cut harvested wefts to precise measurements before attachment. Each progressive layer adds depth while maintaining flexibility. Continue this pinning-and-sewing sequence systematically, ensuring consistent spacing between wefts. The cumulative effect creates professional-grade fullness without compromising the wig’s structural integrity or movement capabilities.
Final Styling and Finishing Touches
- Layer thin straightened sections over crimped areas to conceal texture marks
- Trim excess fibers post-gluing, immediately resealing cut edges with small glue dots
- Brush spikes thoroughly between spray-and-dry cycles for maximum hold
- Allow complete air drying after final shaping to permanently set your design
Frequently Asked Questions
Can I Use Synthetic Hair Extensions Instead of Acrylic Yarn?
Yes, you’ll find synthetic extensions work like precision tools compared to acrylic’s blunt approach. They’re superior for wig cap materials due to their synthetic fiber quality—finer strands cooperate beautifully for cutting, styling, and creating professional-grade cosplay wigs.
How Do I Wash and Maintain My Custom Acrylic Yarn Wig?
Gently hand-wash your acrylic yarn wig in cool water with mild shampoo, avoiding aggressive agitation that loosens knots. Blot excess moisture with towels, air-dry completely on a wig stand, then finger-style when dry to maintain your custom construction.
What’s the Average Cost to Make a Wig From Scratch?
You’ll spend $10-15 total versus $100+ retail. Custom wig material selection dramatically impacts your budget—synthetic fiber packages cost just €3 each, while wig material costs for human hair bundles reach $20+. Strategic sourcing maximizes value.
How Long Does It Take to Complete a Custom Wig?
Your wig preparation time and wig construction duration typically span 40-60 hours total. You’ll find density, color complexity, and head size directly influence build speed, while intricate styling can add several days to your project timeline.
Can I Reuse the Styrofoam Mold for Future Wigs?
Ironically, that “disposable” foam becomes your permanent workshop asset. You’ll absolutely reuse styrofoam molds repeatedly—just store styrofoam molds carefully between projects. Proper sealing with PVA and tissue layers transforms temporary foam into durable, multi-project sculpting foundations.