Build retractable cosplay weapons using telescoping PVC pipes in graduated sizes—½-inch fits into ¾-inch, which nests inside 1-inch Schedule 40 pipe. You’ll maintain 0.05-0.1-inch clearance for smooth friction-fit operation while ensuring adequate pull-apart resistance. Secure wooden components with threaded E-Z Hex inserts, matching pilot holes to manufacturer specifications. Test-fit all segments before applying contact cement or heat-forming Worbla shells around your collapsible framework. The following sections cover specialized techniques for decorative elements, protective coatings, and convention-ready finishing methods.
Key Takeaways
- Use telescoping PVC pipes with 0.05-0.1-inch clearance between sizes (1/2-inch into 3/4-inch, 3/4-inch into 1-inch) for smooth retraction.
- Create friction-fit connections where male pipe’s outer diameter exceeds female pipe’s inner diameter for secure retention without fasteners.
- Apply contact cement to bond high-density foam layers for balanced weight distribution throughout the retractable mechanism.
- Test telescoping action after painting to ensure smooth operation; adjust clearances if paint adds thickness to surfaces.
- Use Worbla thermoplastic for rigid outer shells that maintain structural integrity while allowing internal telescoping movement.
Essential Materials and Tools for Building Retractable Props
Building retractable cosplay weapons requires three fundamental material categories: structural components for the collapsible mechanism, adhesives that withstand repeated motion stress, and finishing supplies that maintain visual authenticity during extension cycles.
You’ll need PVC pipes for telescoping cores, paired with high-density EVA or Plastazote foam ensuring balanced weight distribution across extended lengths. Worbla thermoplastic creates rigid outer shells that won’t buckle during activation. Contact cement bonds foam layers permanently—always use respirators for fume protection.
Essential tools include utility knives with snap blades for precision cuts, rotary cutters for magnet housing preparation, and heat guns for thermoplastic activation. Cutting mats prevent surface damage while plastic clamps secure assemblies during curing.
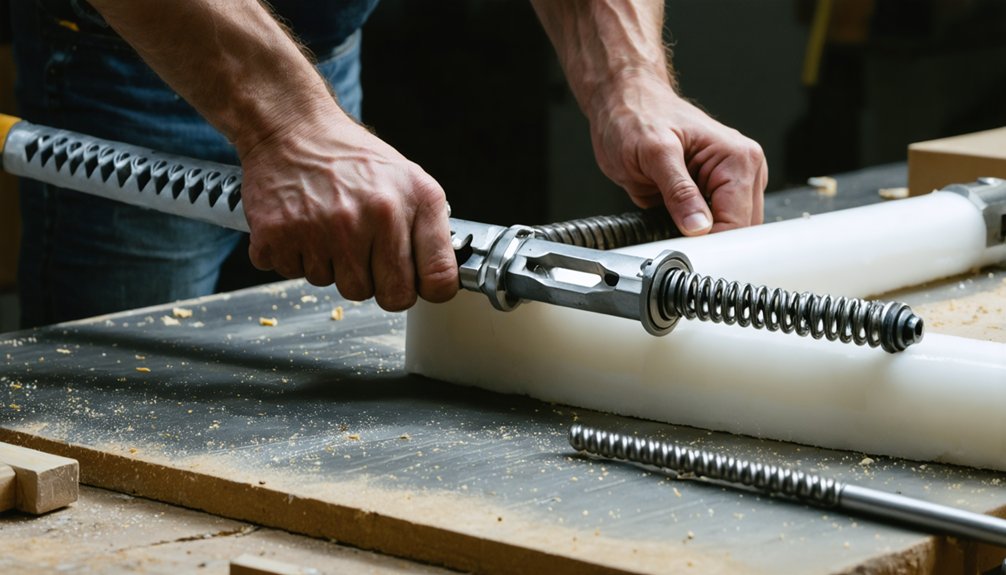
Advanced builders benefit from incorporating storage compartments within PVC cores for concealed magnets or spring mechanisms, maximizing structural integrity without compromising aesthetic detail.
Choosing the Right PVC Pipe Sizes for Telescoping Sections
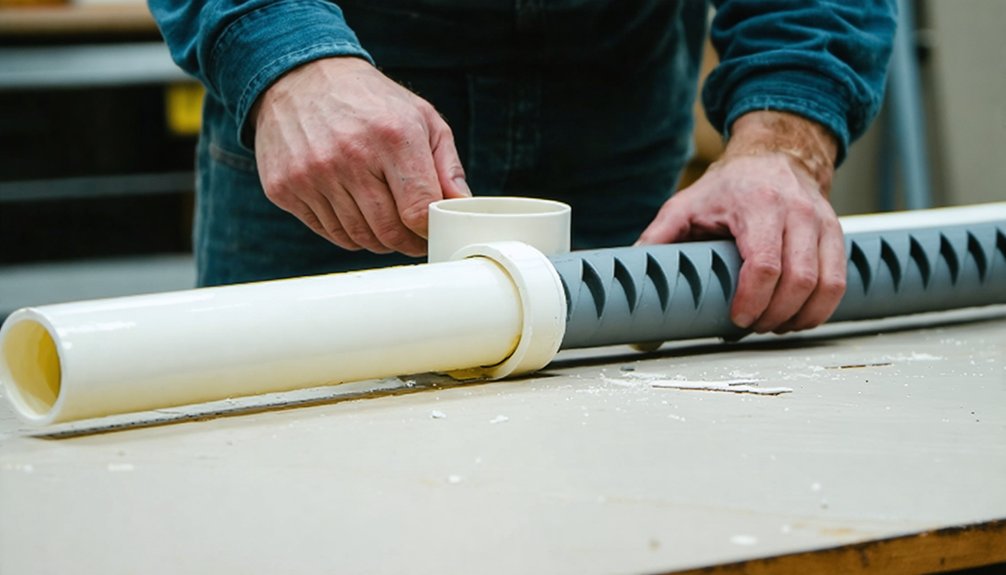
Selecting appropriate PVC pipe dimensions determines whether your telescoping mechanism extends smoothly or jams during activation. Standard Schedule 40 PVC creates reliable nesting pairs: 1/2-inch (0.84″ OD) telescopes into 3/4-inch (1.05″ ID), while 3/4-inch fits within 1-inch. You’ll need 0.05-0.1-inch clearance for friction-fit operation without excessive wobble.
Conduct clearance and tolerance testing by physically jamming smaller pipes into larger sections before committing to your design. Remember that nominal sizes don’t reflect actual measurements—verify dimensions with calipers. Thicker Schedule 40 walls prevent bending under extension force compared to thinner alternatives.
Consider considerations for paint applications carefully, as multiple coating layers greatly tighten tolerances and may lock sections permanently. Test-fit after each painting stage to maintain smooth telescoping action throughout your prop’s operational range.
Creating Friction-Fit Connections With Nested Pipes
Achieving proper friction-fit connections requires understanding the mechanical interference between your nested PVC sections. You’ll create friction by ensuring the male pipe’s outer diameter slightly exceeds the female pipe’s inner diameter, establishing reliable engagement without requiring additional fasteners.
Friction-fit success depends on precise diameter interference—the male section must be slightly larger than the female section’s interior opening.
Achieving uniform joint fit demands careful attention to diametrical tolerances—avoid overlapping specifications that could produce excessive clearance or binding.
For ideal results, mechanically generate friction through controlled torque application on radial fasteners, ensuring smooth telescoping action throughout the weapon’s extension and retraction cycles. Your interference fit should enable hand-assembly while maintaining predictable resistance during operation.
Critical safety consideration: test each nested section’s pull-apart resistance before use, confirming adequate retention without compromising smooth deployment. This approach delivers dependable connections that withstand cosplay performance demands while maintaining professional-grade functionality.
Installing Threaded Inserts in Wooden Components
When incorporating wooden elements into your retractable cosplay weapons, threaded inserts establish permanent machine-thread anchoring points that dramatically outperform direct wood screws. Select E-Z Hex™ inserts in Type D (flanged) or Type E (flush) configurations based on your assembly requirements. Their wide external threads deliver exceptional holding power in plywood and composition materials.
Proper pilot hole sizing proves critical—consult manufacturer specifications to match your insert’s threaded portion precisely. Mark your locations with accuracy, then drill and clear all debris to prevent splintering during installation.
Use an E-Z LOK Drive Tool for straight, controlled insertion, or employ a hex cap screw alternative. Drive screw-in types evenly until reaching desired depth, ensuring accurate placement of threaded inserts without adhesives. Remove the installation screw and verify thread engagement before final assembly.
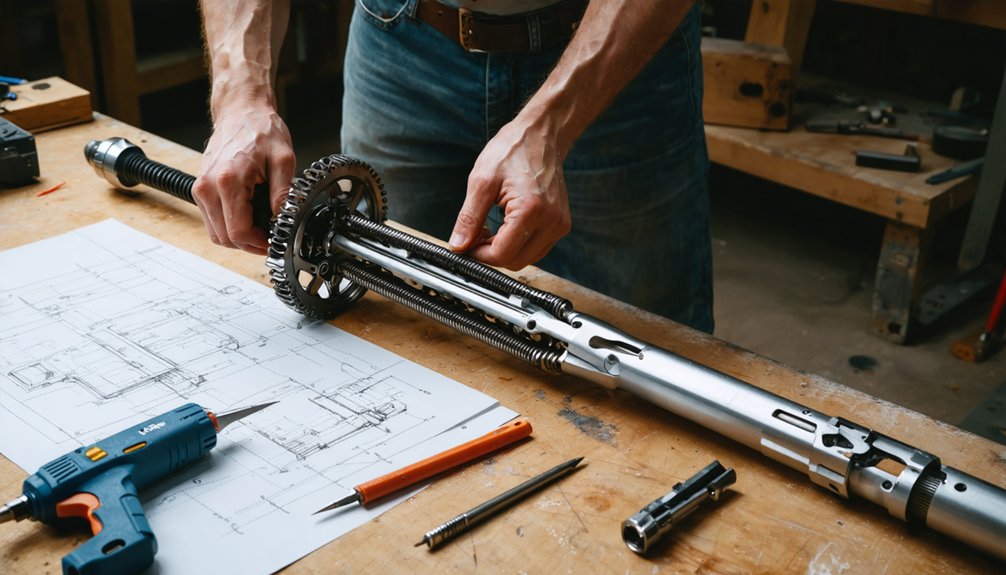
Cutting and Preparing Staff Sections for Assembly
With your mounting hardware secured, staff fabrication begins with accurate measurement and segmentation of your primary structural components. Measure your PVC pipe into quarters that’ll fit your transport case dimensions, enabling efficient disassembly techniques for convention travel. Execute cuts using appropriate saws, then rough all edges with 120-grit sandpaper to maximize adhesive bonding surfaces.
Prepare five 4-inch segments from 1/2-inch PVC for your connection points. For foam core stabilization, cut precise 1-inch diameter holes in your insulation foam bottoms using a hole cutter—this creates secure mounting channels for your pipe sections.
Heat-form decorative PVC elements using a heat gun and heavy wire as internal armature. Complete surface preparation by applying soldering iron carved details to create dimensional texture on staff segments before final assembly.
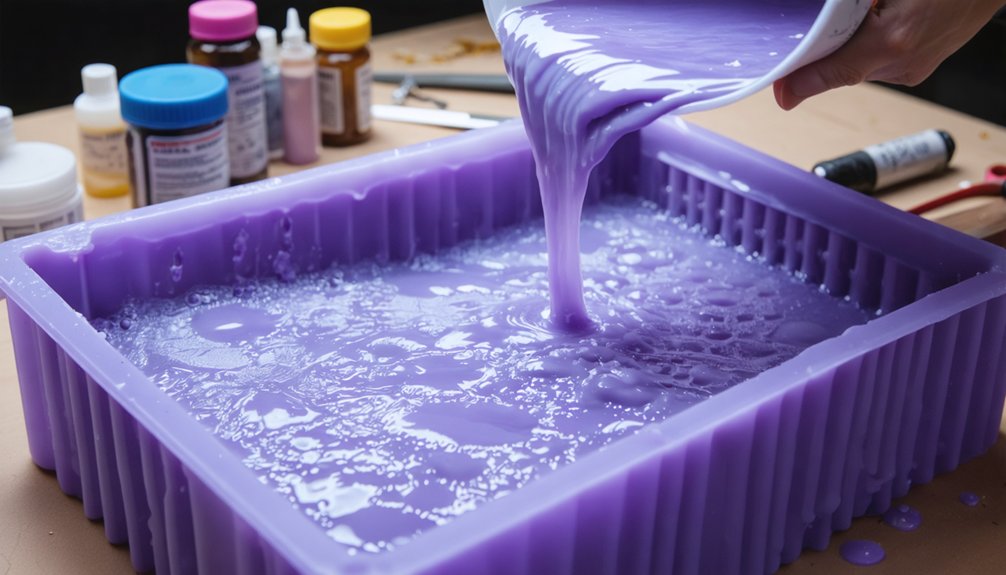
Embedding Neodymium Magnets for Magnetic Connections
Neodymium magnets transform retractable cosplay weapons from multi-piece constructions into seamless assemblies through strategic embedment in your prop’s core structure. Use a Dremel to create recesses halfway through 10mm foam—approximately 5mm deep—ensuring precise magnet orientation for ideal attraction.
Select pull force at double your prop’s weight; a 3lb weapon requires 6lb minimum rating. Rubber-coated mounting magnets excel at vertical holds due to superior shear force calculations, with grippy pads increasing resistance fourfold. Stack two magnets per recess for enhanced holding power through material thickness.
Apply shoe goo adhesive, pressing magnets firmly while maintaining flat surface contact during cure time. This magnet-to-steel configuration prevents alignment issues inherent in magnet-to-magnet systems, delivering reliable attachment without excessive removal difficulty.
Designing Multi-Segment Props for Easy Transport
Convention transport challenges demand multi-segment prop designs that balance structural integrity with compact portability. 3D modeling software like Tinkercad enables you to blueprint segmented components before physical fabrication, establishing precise connection points and weight distribution across separable sections.
Smart segmentation planning in digital space prevents structural failures during convention travel while maintaining prop authenticity through calculated connection geometry.
Implement 30mm-32mm threaded connections requiring 10+ rotations for secure removable prop segments. Pepakura programs convert your 3D models into unfolded patterns, while voxel remeshing integrates threaded ports seamlessly into the prop body without visible seams.
EVA foam provides suitable material choice for lightweight modular design, with 2mm craft foam delivering flexibility for body-worn components. Combine thermoplastic reinforcements at connection points to guarantee durability during repeated assembly cycles.
Apply spray-on rubber primer before painting to unify segmented appearances. Verify assembly integrity through thorough dry-fitting before departure.
Bending and Shaping PVC With Heat
You’ll need a heat gun capable of paint-stripping temperatures to soften PVC for precise bends, though models without temperature gauges work if you monitor visual cues. Watch for the golden-brown color change that signals ideal malleability—this typically occurs in 20 seconds for 1.5mm PVC when you maintain constant rotation.
For 45-degree curves in weapon props, use a pegged jig or pre-cut board template to establish your bend angle, then rapidly cool the pipe with water to lock the shape and prevent sagging.
Heat Gun Temperature Control
When working with PVC pipe for retractable cosplay weapons, mastering heat gun temperature control separates successful builds from warped failures. Target 150-175°F using medium settings—watch for surface glossing that signals ideal malleability.
Maintain a uniform heating pattern through constant sweeping motion, never allowing direct contact that creates gas bubbles or localized warping. Proper grip technique involves heat-resistant gloves or holding sticks positioned away from the application zone.
Distance modulation serves as your primary temperature regulator: closer proximity intensifies heat concentration for precise section targeting, while increased distance enables broader area coverage. Stop immediately when deformation appears—you’ve reached the critical threshold.
This controlled approach outperforms immersion methods, delivering surgical precision for complex geometries while preventing the catastrophic overheating that compromises structural integrity and mechanical function.
Creating 45-Degree Curves
Before attempting complex bends, you’ll need to master the sand-filling technique that prevents kinking and maintains structural integrity throughout the forming process. Pack dry sand completely into your PVC pipe and seal both ends with duct tape—this creates internal support that enables precise 45-degree bends without wall collapse.
Apply your heat source using constant rotation until the targeted section becomes malleable. Whether you’re using boiling water submersion or a heat gun, consistent heat application guarantees uniform softening. Once flexible, bend immediately while the material’s hot, then hold firmly against a form to lock the exact angle.
Accelerate cooling by applying wet towels to the heated section, which sets your curve permanently. Always work in ventilated spaces and test small sections first to gauge material response before committing to critical prop components.
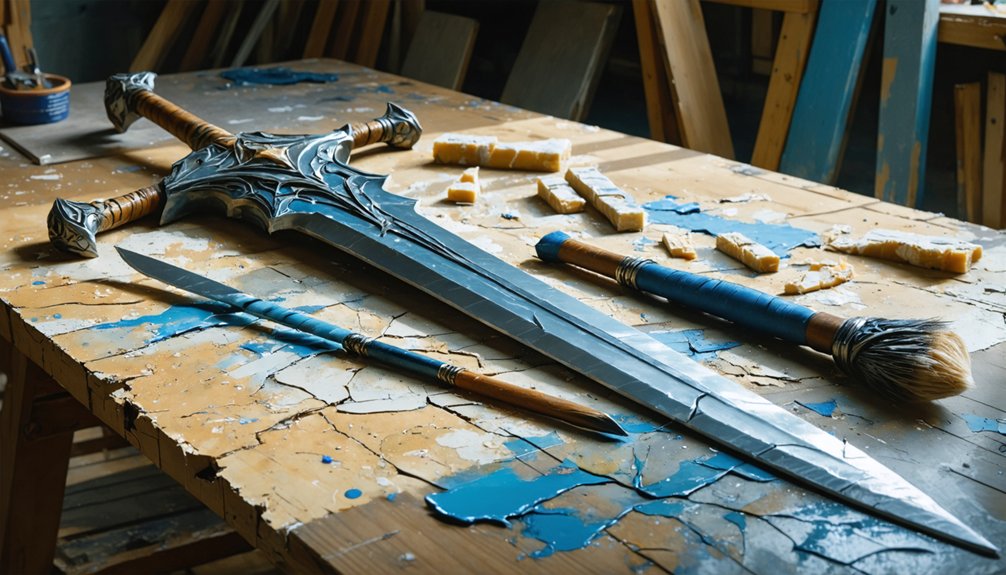
Securing Specialized Ends and Decorative Elements
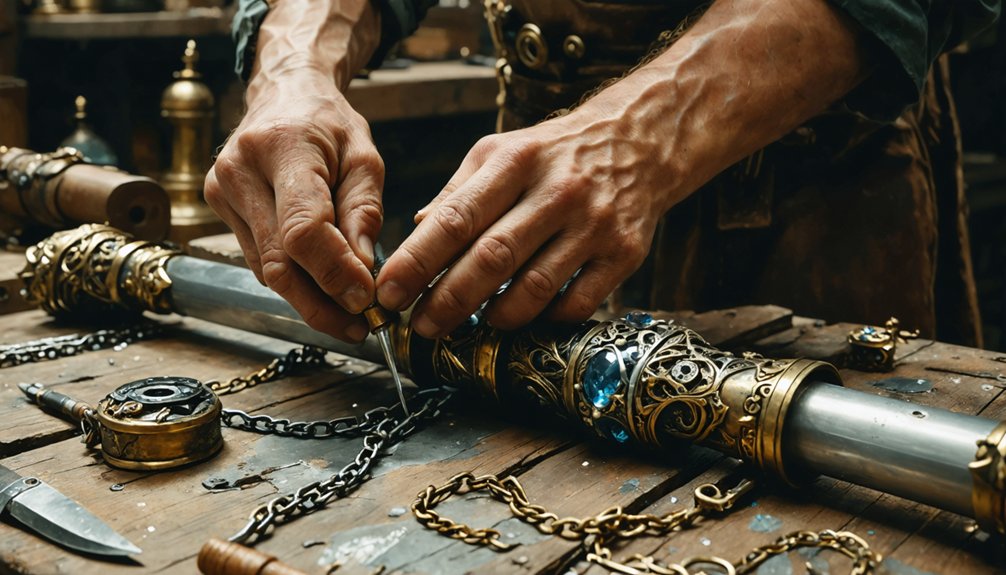
Specialized prop ends—whether ornamental pommels, blade tips, or decorative terminals—require distinct securing methods that balance structural integrity with aesthetic concealment. Careful material attachment begins with surface preparation: scuff urethane rubber components with steel wool, then apply thin CA glue coats for optimal bonding.
For foam-to-material joining techniques, embed magnets internally by drilling precise holes through PVC cores, securing them with super glue and tape reinforcement. Pair opposing magnets to guarantee alignment between retractable sections. Fill decorative hollow ends with hot-glued cotton batting for dimensional stability.
Heat-shape EVA foam terminals before contact cement application—apply to both surfaces, allow proper drying, then press firmly. Reinforce critical stress points with hot glue on internal seams. Test all attachment methods on scrap materials first, ensuring your specialized elements withstand repeated assembly cycles.
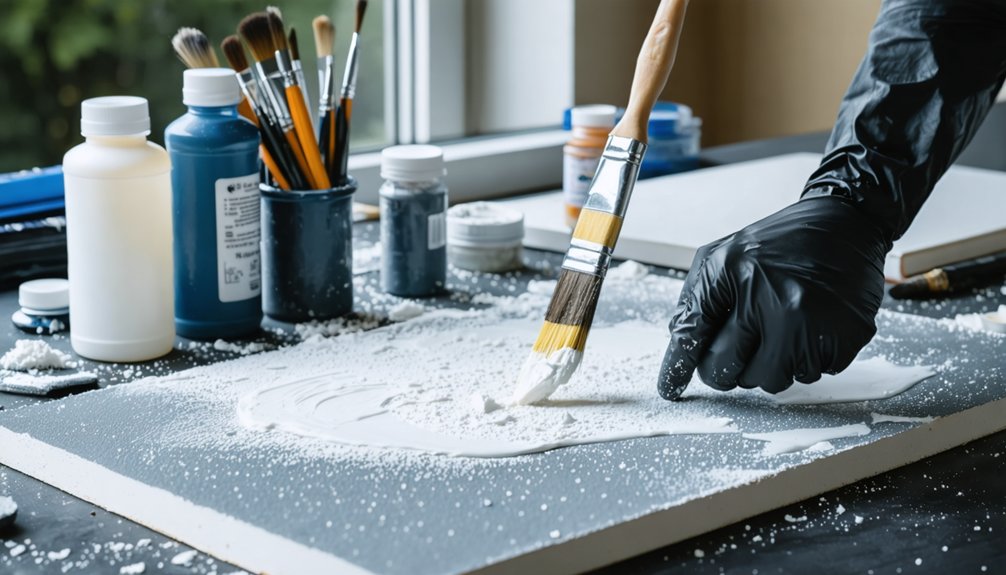
Protective Coating and Finishing Techniques
You’ll need to seal your retractable weapon’s foam components with Plasti Dip, applying three layers with 30-minute drying intervals between coats while wearing a respirator and gloves due to the coating’s toxicity.
Before sealing, guarantee all moving parts have adequate clearance, as any protective coating adds thickness that can create friction points in retractable mechanisms.
Sand foam surfaces smooth and fill visible seams with Mod Podge prior to applying Plasti Dip, since this base layer determines your final paint finish quality.
Plasti Dip Application Methods
How can you transform raw EVA foam into a professional-grade cosplay weapon that withstands convention wear? Plasti Dip creates a protective, flexible barrier that shields your prop from scratches, dents, and water damage while maintaining movement flexibility.
Essential Application Protocol:
- Surface Preparation: Heat EVA foam with a heat gun to guarantee smooth substrate, then remove all contaminants before priming with black or transparent variants.
- Spray Technique: Maintain 3-4 inches distance for medium passes, applying 2-3 minimum coats with 30-minute curing time considerations between layers.
- Custom Texture Creation: Promote air bubbling by layering before full dry for sci-fi effects, or increase distance beyond 6 inches for leather-like fuzzies.
- Finishing Standards: Apply 4 coats for reflective smoothness, creating paintable surfaces for detail work post-cure.
Paint and Friction Considerations
Multiple protective coating systems serve distinct functions in cosplay weapon construction, with selection determined by friction exposure levels and handling frequency. Mod Podge layered protection excels for high-friction components through progressive buildup in stress zones, while Rustoleum clear coats provide adequate coverage for minimal-contact surfaces.
Epoxy sealing requires two to three layers with respirator protection, accepting color tinting considerations to identify coverage gaps. Urethane coatings deliver impact resistance while capturing fine surface details in thin applications.
Weathering techniques enhance realism through blackwashing and brownwashing mixture application—dry towel removal preserves recessed detail while clearing raised surfaces. Silver paint on edges simulates authentic wear patterns. You’ll achieve ideal durability by matching coating systems to mechanical stress requirements rather than applying uniform protection across all components.
Surface Preparation and Smoothing
Before applying any protective coating system, proper surface preparation determines adhesion quality and finish durability in retractable cosplay weapons. Edge preparation begins with fine-grit sandpaper to eliminate irregularities along foam seams and moving component interfaces. Follow this sequence for ideal surface smoothing:
- Execute initial sanding passes using progressive grit patterns to refine texture
- Apply controlled heat gun treatment to seal foam cells and create uniform density
- Remove all particulate contamination using dampened microfiber cloths
- Perform final heat-smoothing pass on critical contact surfaces
Multiple sanding iterations may prove necessary for precision articulation points. Clean surfaces with wet rags between stages, ensuring zero debris remains. This methodology prevents primer rejection and coating delamination during weapon deployment cycles, while establishing proper substrate conditions for subsequent protective layer systems.
Frequently Asked Questions
How Do I Fix a Retractable Prop That Gets Stuck During Extension?
To troubleshoot malfunctioning extension, you’ll need to inspect sliding components for debris accumulation and misalignment. Clean channels with compressed air, apply silicone lubricant to surfaces, and verify tube straightness to restore smooth mechanical operation.
Can Retractable Props Be Painted Without Affecting the Sliding Mechanism?
Yes, you can paint retractables if you mask sliding channels before acrylic paint application. Apply thin coats to prevent binding, then seal with clear lacquer coating. Test mechanism function between layers to guarantee smooth operation throughout your build.
What’s the Maximum Safe Length for a Retractable Weapon Prop?
You’ll need to check your venue’s maximum legal length restrictions, typically 4-6 feet. Consider prop weight considerations—heavier materials create dangerous momentum when extended. Always prioritize structural integrity and controlled deployment to prevent injury during activation.
How Do I Maintain Magnets That Have Weakened Over Time?
You’ll achieve ideal performance through proper magnet storage away from heat and magnetic interference. However, for cosplay mechanisms, regular magnet replacement proves more reliable than restoration attempts, ensuring consistent retraction functionality and preventing prop failure during wear.
Are There Alternatives to PVC for Lightweight Retractable Props?
You’ll discover carbon fiber tubing offers exceptional strength-to-weight ratios for retractable mechanisms. Rigid foam alternatives like high-density polyethylene or aluminum tubing provide structural integrity while maintaining portability. These materials guarantee safe deployment without compromising your prop’s mechanical functionality.