When it comes to painting EVA foam, envision yourself as a craftsman sculpting a masterpiece. The process involves more than just wielding a brush; it requires finesse and attention to detail.
As you commence on this creative journey, the key lies in understanding the nuances of surface preparation and paint selection. By mastering these fundamental steps, you can elevate your foam creations to new heights of artistry.
Key Takeaways
- Use primer for longevity and appearance.
- Experiment with paint types and finishes.
- Master base coat techniques for depth.
- Detailing and weathering enhance realism.
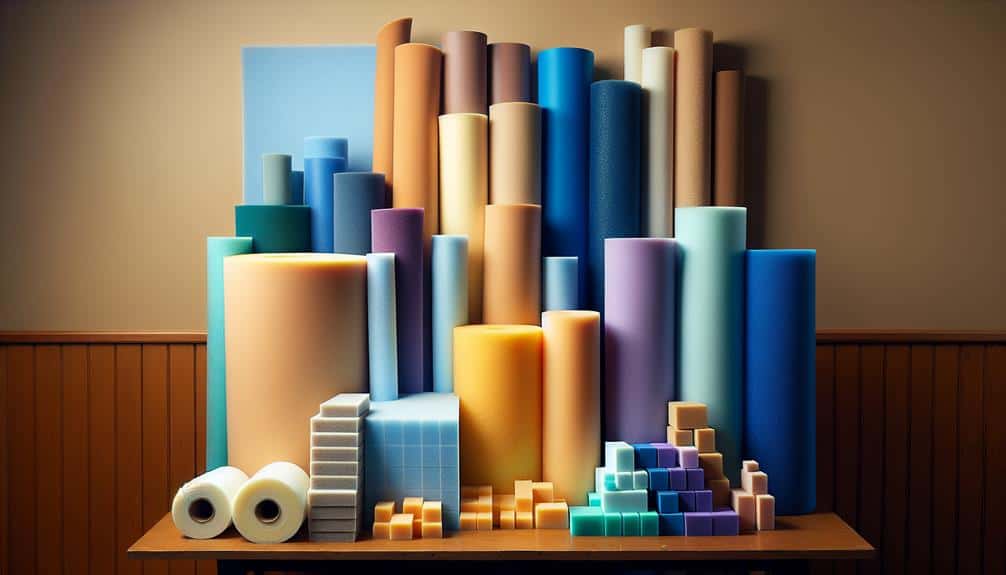
Preparing the EVA Foam Surface
To guarantee a flawless painting outcome, begin by thoroughly cleaning the surface of your EVA foam with a damp cloth to remove any dust or debris. This step is vital as any impurities on the surface can affect the adhesion and overall quality of the paint.
Once the foam is clean and dry, the next essential step is surface priming. Applying a primer designed specifically for EVA foam helps create a smooth and uniform base for the paint to adhere to, ensuring better durability and color vibrancy.
Texture masking is another important technique to take into account during the preparation phase. By masking off certain areas of the foam with tape or other materials, you can create intricate patterns or protect specific sections from paint, allowing for more intricate and professional-looking designs.
Properly preparing the surface of your EVA foam not only enhances the final appearance of your project but also improves its longevity. Mastering these techniques will elevate your painting skills and set the foundation for a successful and visually stunning outcome.
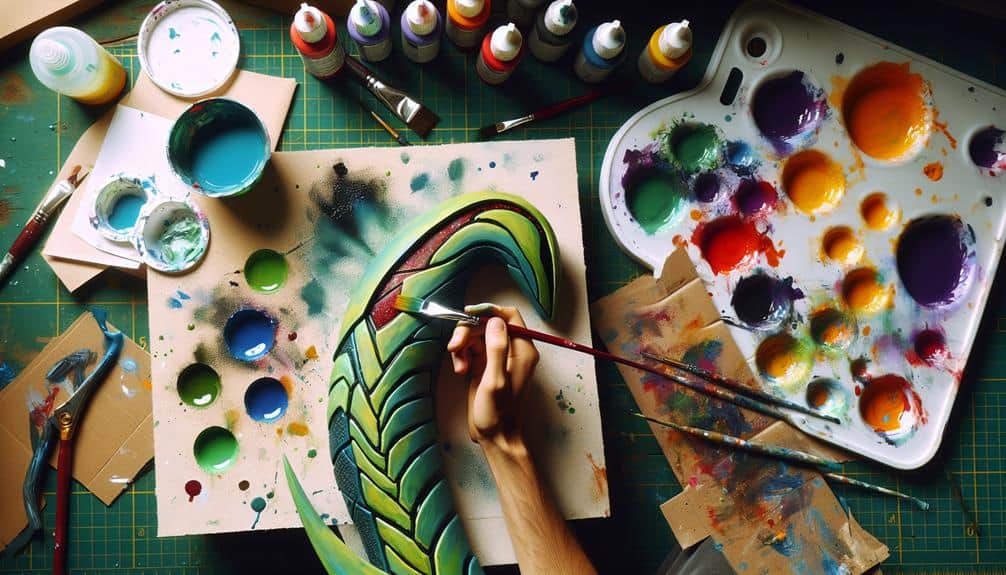
Choosing the Right Paints
Now, let's explore how selecting the perfect paints can bring your EVA foam creations to life with vibrant colors and long-lasting finishes. When choosing paints for your EVA foam projects, consider whether to use acrylics or spray paint. Acrylic paints are versatile, providing excellent coverage and adhesion to EVA foam, while spray paint can give a smooth, even finish, ideal for larger surfaces.
Next, think about the finish you desire – matte or glossy. A matte finish gives a more subtle look, reducing glare and creating a more natural appearance. On the other hand, a glossy finish adds shine and can make colors appear more vibrant.
For intricate details and controlled application, acrylic paints are a great choice. If you're looking to cover larger areas quickly and evenly, spray paint might be the way to go. Experiment with different paint types and finishes to achieve the perfect look for your EVA foam projects.
Applying the Base Coat
Consider the base coat as the foundation for your EVA foam masterpiece, a pivotal step that sets the stage for the vibrant colors and flawless finish to come. When applying the base coat, remember these key points to elevate your painting game:
- Blending techniques: Experiment with blending different colors to create depth and dimension in your EVA foam project. Blending can be achieved by gently mixing two or more colors while they're still wet on the foam surface.
- Brush strokes: Pay attention to the direction and pressure of your brush strokes. Smooth, even strokes will result in a professional-looking finish, while dabbing or uneven strokes can create an unintended texture.
- Consistency is key: Make sure your base coat is applied evenly across the entire surface of the EVA foam. Consistent thickness will provide a uniform base for the subsequent layers of paint.
Mastering these techniques won't only enhance the appearance of your project but also set the stage for the detailed work to come.
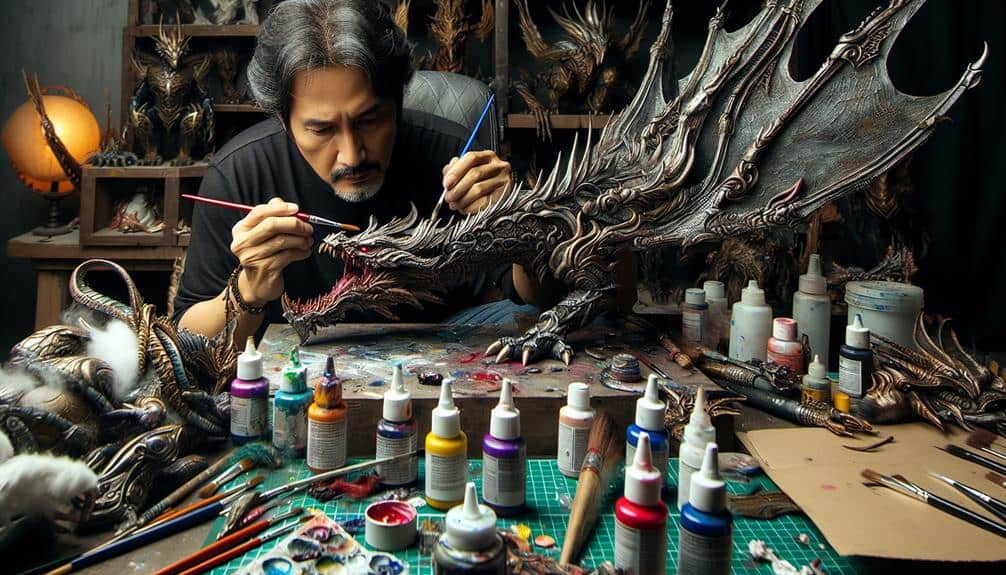
Adding Details and Weathering
Awaken your creativity by intricately adding details and weathering to breathe life into your EVA foam creation. Creating textures and aging your foam can elevate your piece from a simple craft to a work of art. Consider using a variety of tools like heat guns, sandpaper, or even a Dremel to carve intricate designs or patterns onto the foam. By layering different textures and depths, you can achieve a more dynamic and visually interesting look.
Enhancing realism through weathering techniques is another important step in the detailing process. Weathering adds depth and character to your creation by mimicking the effects of wear and tear over time. Dry brushing techniques with varying shades of acrylic paint can simulate dirt, grime, or rust, while strategically applied washes can highlight crevices and edges, making your piece look more realistic.
Sealing and Protecting Your Creation
To safeguard and enhance the longevity of your EVA foam masterpiece, sealing and protecting your creation is a critical final step in the crafting process. Here's why this step is essential:
- Gloss Finish for Durability: Applying a gloss finish not only gives your creation a professional look but also adds a layer of protection that makes it more resistant to wear and tear. This finish enhances the vibrant colors of your paint job while ensuring your piece lasts for years to come.
- Clear Sealant for Flexibility: Utilizing a clear sealant not only protects your foam creation from moisture and UV damage but also provides flexibility. This is vital, especially if your project includes moving parts or areas that might bend, ensuring that your hard work doesn't crack or peel over time.
- Longevity and Professionalism: Sealing your EVA foam creation not only prolongs its life but also elevates its overall appearance to a professional level. Your masterpiece deserves to stand the test of time, and sealing it properly is the key to achieving that.
Frequently Asked Questions
What Are Some Common Mistakes to Avoid When Painting EVA Foam?
To paint EVA foam flawlessly, avoid these mistakes: neglecting surface prep, not properly sealing, wrong color choices, and lacking blending techniques. Master these steps for an impeccable finish that showcases your skill and creativity.
How Long Does It Typically Take for the Paint to Fully Dry on EVA Foam?
When painting EVA foam, the drying time can vary based on factors like humidity. To secure best practices by allowing ample time for drying and preparing the surface properly.
Can You Use Spray Paint on EVA Foam, and if So, Are There Any Special Considerations?
You can use spray paint on EVA foam for vibrant colors and fast application. Make sure proper surface prep like sanding for better adhesion. Choose spray paints labeled for plastics for durability. Experiment with techniques for desired finish.
Are There Any Specific Techniques for Achieving a Metallic or Shiny Finish on EVA Foam?
To achieve a metallic or shiny finish on EVA foam, experiment with different brush techniques for depth and weathering effects. Utilize metallic powders for a lustrous sheen and select sealants wisely to preserve your masterpiece.
How Can I Prevent the Paint From Cracking or Peeling off of the EVA Foam Over Time?
To prevent cracking or peeling off your EVA foam masterpiece, make sure proper surface preparation by cleaning and priming the foam. Use flexible paints suitable for foam, apply thin layers, and allow ample drying time between coats. Your creation will endure beautifully.