To style a spiky anime wig for cosplay, you’ll start by steaming out factory bends, then mount it securely on a foam head. Crimp thin sections for grip and volume, then tease aggressively to the roots for structural stability. Pinch and twist each spike, apply Got 2b Spiking Glue from base to tip, and set it with a low-heat hairdryer. Trim stray fibers for sharp points, then seal with firm-hold hairspray. There’s plenty more to uncover ahead.
Key Takeaways
- Steam the wig first to remove factory bends, then mount it on a foam head secured with T-pins for controlled styling.
- Crimp thin sections with a fully warmed iron to create a textured, grippy base that supports spike formation.
- Tease hair aggressively to the roots, leaving the interior gnarled to provide structural integrity for each spike.
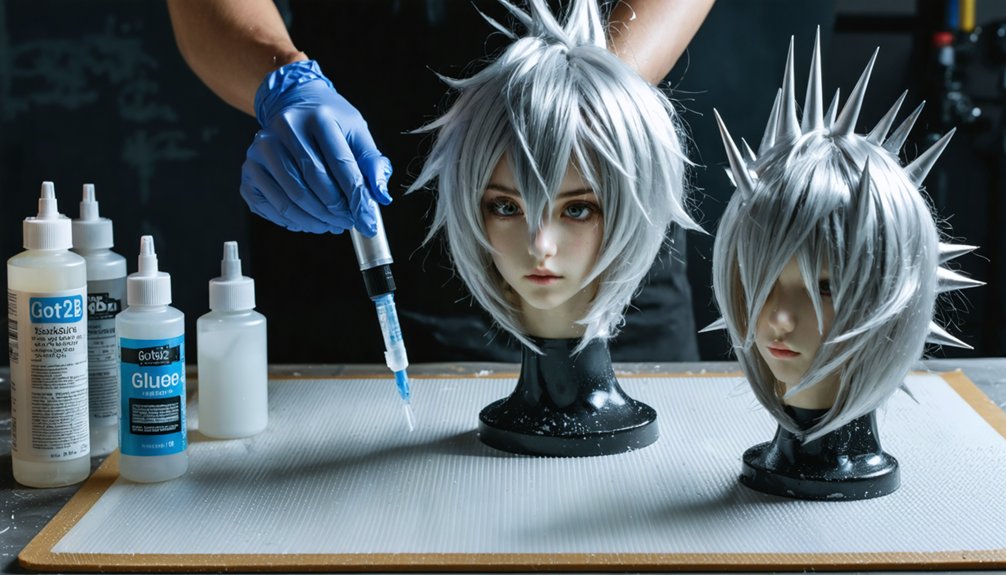
- Pinch and twist teased sections, apply Got 2b Spiking Glue, then set spikes using a hairdryer on low heat.
- Trim stray fibers diagonally, seal tips with tacky glue, and finish with firm-hold hairspray for lasting sharp definition.
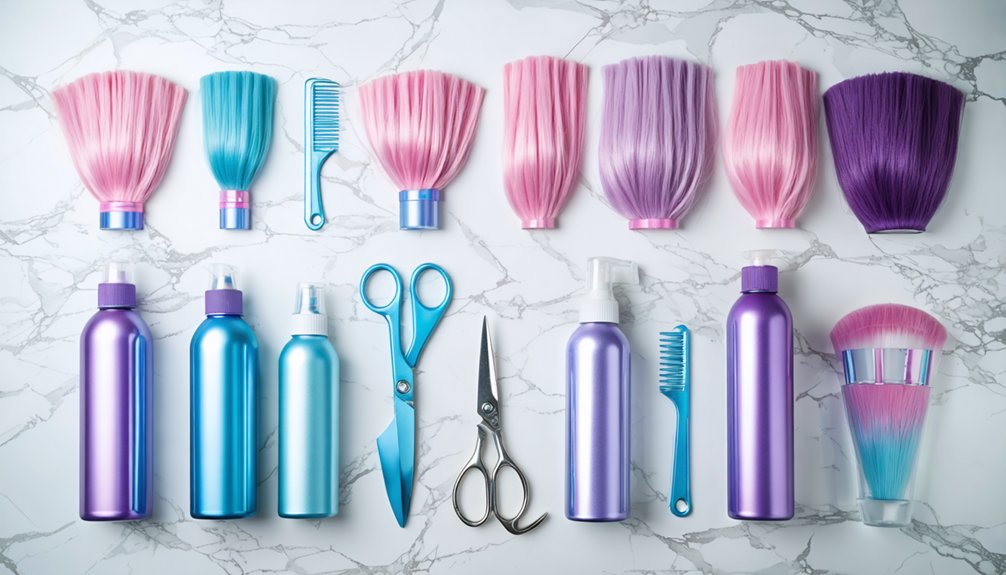
Gather These Tools Before You Start
Before diving into styling your spiky anime wig, you’ll want to have the right tools on hand to make the process smooth and efficient. Proper wig care starts with assembling your toolkit strategically.
You’ll need:
- Styling tools: teasing brush, rattail comb, crimping iron, hairdryer
- Texture products: Got 2b Spiking Glue, firm-hold hairspray, hair wax
- Construction materials: craft foam triangles, tacky glue, fabric scraps
- Wig care essentials: wig form, bobby pins, shears
Consider your character inspiration and desired spike designs before selecting color options for your wig.
Different cosplay events demand different maintenance tips — some spikes need reinforcement for all-day wear.
Having everything ready before you start saves time and keeps your creative momentum flowing throughout the styling process.
Steam and Pin Your Wig for a Clean Start
Steaming your wig is the essential first step that gives you a blank canvas to work with. Heat relaxes synthetic fibers, erasing factory bends and previous styling techniques that could interfere with your spike designs. Hold your steamer 2–3 inches away, working section by section for even wig care across all texture variations.
Once steamed, mount your wig onto a foam head and secure it firmly with T-pins. This setup keeps color options visible from every angle while you plan your anime characters’ iconic silhouettes.
Pin sideburns and front sections separately to maintain control during shaping.
For product recommendations, a quality wig stand with an adjustable base makes wig maintenance considerably easier throughout your entire build.
Now you’re ready to start sculpting those show-stopping spikes.
Crimp Your Wig First for Volume and Spike Stability
Crimping transforms flat synthetic fibers into a textured, grippy base that gives your spikes something to actually hold onto. This volume boosting step is non-negotiable for long-lasting anime spikes.
Start with smart heat application — warm your crimp iron fully before touching the wig. Work through one weft at a time, using deliberate crimping techniques rather than rushing through large sections. Overloading the iron damages synthetic fibers and produces uneven texture creation.
These styling tips keep your wig maintenance on point:
- Crimp in thin sections for maximum grip
- Work root to tip for consistent texture
- Don’t overlap wefts during heat application
This structured approach makes every spiking method you apply afterward dramatically more effective and durable.
Section and Tease Hair for Anime Spike Stability
Once your wig is crimped and ready, separate the sideburns and front sections first, pinning them out of the way with bobby pins to keep your workspace organized.
Working one section at a time, hold each spike’s intended direction and tease the hair aggressively down to the roots with a teasing comb, leaving the interior gnarled for maximum stability.
This root-level teasing is your foundation, so don’t rush it — the tighter and more structured your teased base, the sharper and more defined your anime spikes will be!
Separating Sideburns and Front Sections
Before teasing your wig into those dramatic anime spikes, you’ll need to properly separate your sideburns and front sections first. This foundational step makes all the difference in achieving clean, structured results.
Using a fine-tooth comb, carefully isolate your sideburn styles by pulling those strands away from the main body of the wig. Clip them securely with bobby pins to keep them out of your workspace.
Next, apply precise section techniques to your front hairline, separating the bang area from the crown sections. Work methodically from front to back, pinning each division cleanly.
These separated sections give you total control over spike placement and direction. You’ll avoid chaotic overlapping and create intentional, sharp anime-accurate results that’ll elevate your entire cosplay look dramatically.
Teasing Hair to Roots
With your sections pinned and ready, grab your teasing brush and start working each spike cluster from tip to root. Proper teasing techniques create the internal structure that holds anime spikes upright and sharp throughout your cosplay event.
Follow this sequence for maximum root stability:
- Hold each section at your desired spike angle before teasing begins.
- Push the brush firmly downward toward the wig’s root base in short strokes.
- Leave the interior deliberately gnarled — this tangled core anchors everything.
- Use a teasing comb for precise, deeper root penetration on stubborn sections.
Don’t smooth the surface yet. That textured, backcombed foundation is your spike’s skeleton, giving every point the structural integrity to stay perfectly rigid and defined.
Securing Sections With Bobby Pins
Bobby pins are the unsung heroes of anime spike construction, locking your carefully teased sections into position while you work through the rest of the wig. Once you’ve teased a section to the roots, immediately apply bobby pin techniques to hold everything in place before moving forward.
Slide each pin parallel to the wig cap, gripping the teased base tightly without disturbing its volume. Securing sections this way prevents your hard work from collapsing mid-style. Cross two pins in an X-pattern for extra-stubborn sections that keep slipping.
Work systematically — secure your sideburns first, then your front sections, and finally your bang panels.
You’ll thank yourself later when both hands are free for shaping and spraying without sections unraveling unexpectedly.
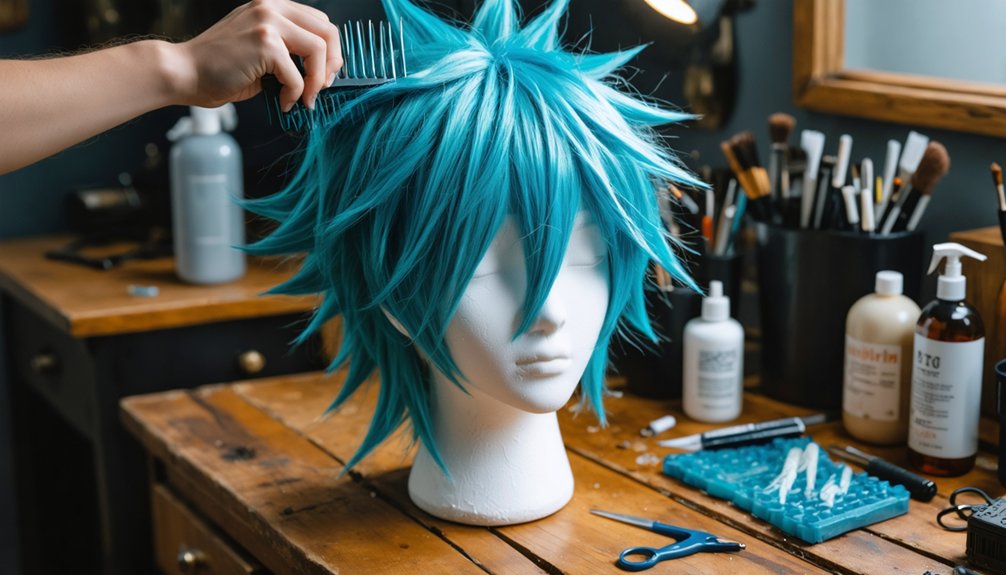
Shape and Lock Each Anime Wig Spike Into Place
Once your sections are teased and ready, it’s time to mold each spike into its final shape! Using the right spike techniques and styling products makes all the difference here.
Spike perfection starts here — master the right techniques and products to sculpt every strand into bold, defined spikes.
- Pinch and twist each teased section upward, sculpting your desired spike direction.
- Apply Got 2b Spiking Glue from base to tip, coating evenly for maximum hold.
- Blast each spike with a hairdryer on low heat, locking the styling products into place permanently.
- Seal the tip with a drop of clear tacky glue, then pinch it sharp before it dries.
Hold each spike firmly until the heat sets its shape.
Finish with short bursts of firm-hold hairspray 8-10 inches away, ensuring every spike stays crisp and defined.
Which Glues and Sprays Hold Anime Wig Spikes Best?
Locking your spikes into shape is only half the battle — the products you choose determine whether they last an hour or an entire convention day. Understanding adhesive types gives you a serious edge.
Got 2b Spiking Glue delivers aggressive hold duration, while clear tacky glue seals stubborn tips. Master spray techniques by holding hairspray 8–10 inches from the base using short bursts, preventing rock-hard texture.
Product layering is your secret weapon — combine wax for grip, glue for structure, then finish with firm-hold spray. Texture variation emerges naturally through strategic application methods.
Always account for drying time; use a low-heat hairdryer to accelerate setting.
For removal tips, warm water softens most adhesives without damaging synthetic fibers, keeping your wig reusable for future builds.
Trim Each Spike to a Sharp Point
Once your spikes are set, grab your shears and snip any stray hairs at the tips to clean up the shape.
Trim downward into the top of each spike to thin it out and create a sharp, defined point.
After setting, cut any excess length to dial in the final look, then pinch each tip with hairspray and dry for a crisp finish.
Snipping Stragglers at Ends
Snip away any stray or uneven hairs sticking out from the tips of each spike using a sharp pair of shears. These spike maintenance tips and cutting techniques are essential for achieving clean, defined points that sell your anime character’s look:
- Hold each spike firmly between your fingers to isolate stragglers from the shaped body.
- Cut downward into the spike’s tip at a slight angle, removing only excess length.
- Rotate the spike slowly, trimming all sides evenly for a symmetrical point.
- Check each spike against natural light to spot any remaining flyaways you’ve missed.
Work methodically through every spike before applying final product. Precision here determines whether your wig reads as polished cosplay craftsmanship or an unfinished project.
Thinning and Pointing Spikes
With your stray hairs cleaned up, it’s time to sharpen each spike into a true point. Grab your shears and trim downward into the spike’s tip, removing bulk while preserving height. This technique is essential for spike maintenance—it eliminates blunt, flat-looking ends that ruin anime aesthetics.
Pinch each spike firmly between your fingers, then snip diagonally toward the tip. You’re thinning the interior without collapsing the structure. Work methodically across every spike, checking symmetry as you go.
Once trimmed, apply a small amount of spiking glue directly to the tip, pinch it sharp, and hit it with your hairdryer on low.
These styling tips guarantee your points stay crisp and defined throughout your entire cosplay event. Precision here transforms good spikes into show-stopping ones.
Final Trimming for Length
Each spike now needs a final length check before you call it done—hold your shears parallel to the spike’s axis and cut downward in short, controlled snips to dial in your desired height. These length adjustments seal your spike symmetry across the entire wig.
- Compare adjacent spikes side-by-side, trimming any outliers to match your tallest reference spike.
- Snip stray fibers at each tip, cutting diagonally to reinforce a razor-sharp point.
- Apply a short burst of spiking glue post-trim to re-seal freshly cut ends.
- Photograph the finished wig against a neutral background to audit overall symmetry before your event.
These styling techniques keep your wig maintenance minimal long-term—properly trimmed, sealed spikes hold their shape appreciably longer between cosplay appearances.
Fix Flat or Collapsed Spikes Fast
Even the most carefully styled spikes can lose their shape over time, but you don’t have to start from scratch to fix them. These spike maintenance tips will rescue collapsed spikes fast.
First, apply a small amount of Got 2b Spiking Glue directly to the flattened area and reshape it with your fingers.
A small dab of Got 2b Spiking Glue applied directly to flattened areas restores shape instantly with your fingertips.
Next, use quick repair techniques like a low-heat hairdryer to reactivate existing product already in the fibers. Hold each spike upright while drying to lock in the restored shape.
Finish with a short burst of firm-hold hairspray from 8-10 inches away, pinching the tip into a sharp point.
If the spike remains stubborn, lightly re-tease the base section before reapplying glue and heat. Your spikes will look convention-ready again within minutes.
Frequently Asked Questions
How Do You Store a Spiky Anime Wig Without Ruining It?
Like a crown awaiting its hero, store your spiky wig on a wig form! These wig maintenance tips and storage solutions keep spikes intact—you’ll avoid crushing, preserve shape, and protect your cosplay masterpiece effortlessly!
Can You Restyle a Spiky Wig Multiple Times Before It Breaks Down?
Yes, you can restyle a spiky wig multiple times! With proper wig maintenance tips, you’ll extend its life. Use gentle styling techniques, steam to reset fibers, and reapply products carefully to keep your innovative cosplay looks fresh!
How Long Does a Fully Styled Spiky Anime Wig Typically Last?
Want lasting results? With proper wig maintenance tips and styling techniques, your fully styled spiky anime wig can last 1–2 years! You’ll preserve it longer by storing it carefully and reapplying products sparingly between wears.
Does Wig Color Affect How Visible or Sharp Spikes Appear?
Yes, color absolutely impacts spike visibility! Lighter shades highlight texture and sharp definition, while darker tones can soften edges. Prioritize wig maintenance to boost spike longevity, ensuring your chosen color always showcases those crisp, eye-catching spikes brilliantly!
Can Spiky Anime Wigs Be Worn Comfortably During Extended Conventions?
Your spikes are your crown — wear them proudly! Yes, you can rock spiky anime wigs comfortably all day. Prioritize wig comfort with secure pinning, and maintain spike maintenance using touch-up hairspray throughout your convention adventure!
References
- https://www.youtube.com/watch?v=XgMyqx_KQ1w
- https://www.youtube.com/watch?v=SJNwVamGxyQ
- https://emibeebooks.wordpress.com/2018/02/12/cosplay-tutorial-spiking-wigs-upwards/
- https://www.youtube.com/watch?v=qsMfIVK8Vqk
- https://www.instructables.com/Spiked-Wig-Tutorial/