To turn regular clothes into cosplay outfits, you’ll want to start by breaking your character’s look down into key garment categories — tops, bottoms, outerwear, and accessories. Prioritize two or three signature pieces that make the character instantly recognizable. Modify solid-colored basics using fabric paint, appliqués, and felt cutouts. Source gaps from thrift stores, and build props from layered craft foam. The full technique goes much deeper than it first appears.
Key Takeaways
- Choose characters with recognizable signature elements and simple outfits, cross-referencing their clothing needs with your existing wardrobe to minimize costs.
- Break down the character’s look into tops, bottoms, footwear, and accessories, ranking pieces by their importance to character recognition.
- Modify clothing using fabric paint and appliqués for character-specific markings, securing them with fabric glue and hand stitching for durability.
- Create DIY accessories like headbands, belts, badges, and weapon props using craft foam, felt, elastic, and acrylic paint.
- Pack an emergency repair kit with safety pins, iron-on tape, fabric patches, and fabric glue to handle wardrobe malfunctions at events.
Pick a Character You Can Actually Closet Cosplay
The character you choose makes or breaks a closet cosplay before you even open your wardrobe. Prioritize characters whose signature elements — specific colors, recurring accessories, and iconic clothing silhouettes — translate directly into recognizable garments. Your character choices determine whether your closet exploration yields usable pieces or dead ends.
Study reference images carefully. Identify the hairstyle, dominant color palette, and two or three clothing staples defining that character’s appearance.
Characters wearing casual outfits — jeans, solid-colored shirts, simple jackets — convert most efficiently into wearable cosplays. Avoid characters whose designs rely heavily on armor, structured fantasy garments, or complex layering requiring specialized construction.
Cross-reference each identified garment against what you already own. The strongest character selections leave minimal gaps between what you need and what you’ve already got.
How to Break Down a Character Into Specific Clothing Pieces
Once you’ve chosen your character, pull up clear reference images—stills from the show, game screenshots, or official artwork—and study them closely for repeating signature elements like a distinct color palette, a recognizable jacket, or a specific accessory.
Break the look into functional categories: tops, bottoms, footwear, outerwear, and accessories, then rank each piece by how critical it’s to making the character instantly identifiable.
You’ll often find that nailing two or three key items—say, a red hoodie, dark jeans, and a specific belt—does more for recognition than reconstructing every minor detail perfectly.
Identifying Signature Character Elements
Breaking down a character into wearable pieces starts with identifying their most recognizable visual signatures — the specific colors, clothing silhouettes, and accessories that make them instantly identifiable.
Study reference images carefully, noting signature styles like recurring jacket cuts, distinctive collar shapes, or consistent footwear choices. Analyze their color palettes — characters typically anchor around two or three dominant hues repeated across every outfit variation.
Prioritize elements appearing consistently across multiple media appearances, since those represent core identity markers rather than situational wardrobe choices.
Catalog each component separately: outerwear, base layers, bottoms, shoes, and accessories. Note fabric textures, pattern placements, and hardware details.
This systematic breakdown transforms an overwhelming character design into a structured shopping and construction checklist you can realistically execute using everyday clothing and basic craft materials.
Studying Reference Materials Closely
Gather multiple high-quality reference images before touching a single piece of fabric or setting foot in a thrift store. Build character moodboards using screenshots, official artwork, and fan illustrations to capture every angle. Reference imagery reveals construction details that single images miss entirely.
Break your character down systematically:
- Silhouette first: Identify overall shape before focusing on individual garments.
- Color values: Note exact shades, not just general hues like “blue” or “red.”
- Layering order: Determine which pieces sit underneath or overlap others.
- Texture indicators: Distinguish matte fabrics from shiny, structured from draped.
Cross-reference multiple sources because single images distort proportions and obscure details. Zoom into accessory construction, collar shapes, and hem lengths.
This analytical approach transforms vague inspiration into a precise, executable shopping and construction list.
Prioritizing Key Clothing Pieces
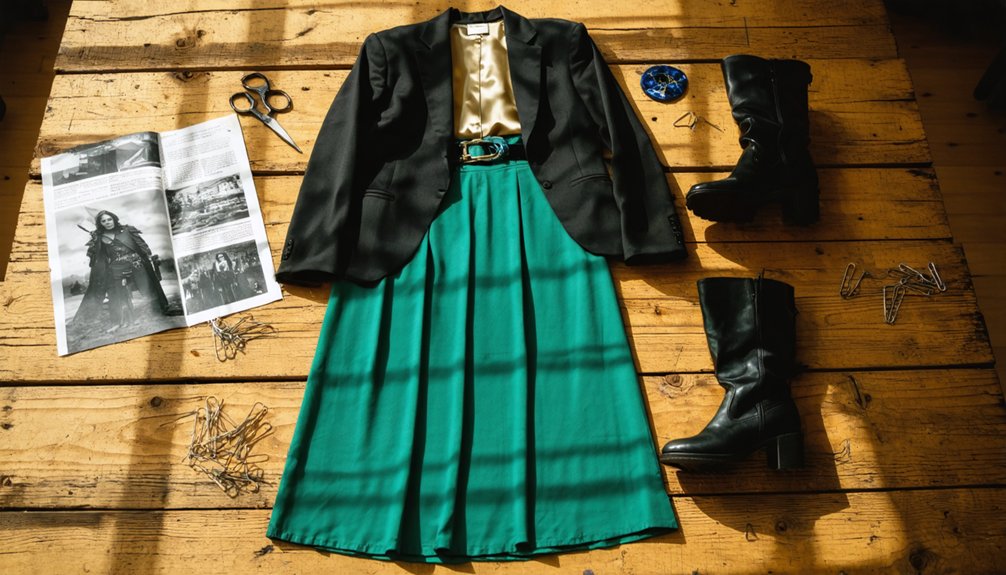
With your reference materials compiled and your character fully mapped, the next step turns analysis into a prioritized clothing list. Break the character down into foundational garments first — shirts, pants, jackets, shoes — then identify secondary pieces like scarves or belts.
Color coordination drives every decision here. If your character wears a navy blue jacket over a white shirt, securing those two pieces delivers immediate recognition before you’ve added a single accessory.
Rank items by visual impact. Signature garments that define silhouette take priority over minor details. Layering techniques help you approximate complex looks using simpler separates — a vest over a long-sleeve shirt can replicate structured uniform designs effectively.
Once your ranked list exists, cross-reference it against your existing wardrobe before purchasing anything additional.
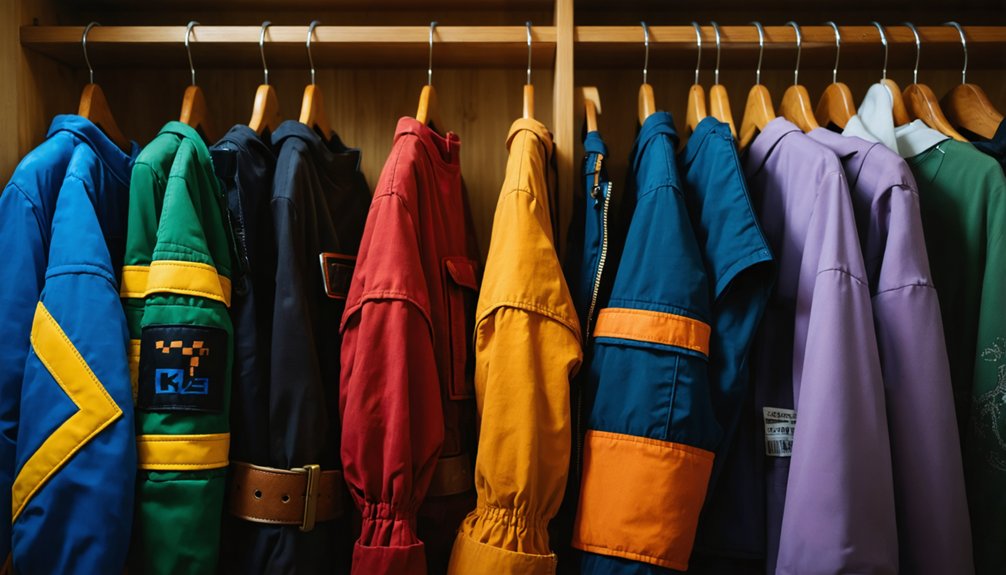
Shop Your Closet Before You Spend a Dime
Before spending a single dollar, raid your existing wardrobe for base pieces that match your character’s core color palette and silhouette.
Character versatility often means everyday clothing already mirrors current costuming trends more closely than you’d expect.
Systematically evaluate what you own by checking for:
- Solid-colored basics: neutral or bold shirts, pants, and jackets that anchor your character’s foundation layers
- Texture matches: denim, knit, or cotton fabrics that replicate your character’s material aesthetic
- Silhouette alignment: oversized, fitted, or structured pieces that mirror the character’s proportional design
- Adaptable accessories: belts, scarves, and boots already sitting unused in your closet
Cross-reference each piece against your reference images before purchasing anything.
You’ll frequently discover your wardrobe covers sixty to seventy percent of the costume already.
What to Look for at Thrift Stores and Yard Sales
Once your closet inventory reveals the gaps, thrift stores and yard sales become your most cost-effective sourcing ground for filling them.
Prioritize thrift store finds like bedsheets and cotton garments, which yield essential fabrics for cutting and reshaping. You’ll discover yard sale treasures including denim, polyester blends, and structured jackets that match your character’s silhouette precisely.
Focus your search on color matching first—grab items whose hue aligns with your reference material before considering texture.
Hunt for unique patterns featuring stripes, geometric shapes, or bold graphics that reduce your customization workload.
Exploit seasonal sales when inventory turns over rapidly, exposing hidden gems buried beneath newer donations.
Always inspect seams, fabric weight, and stretch before purchasing, since budget materials must still withstand active convention wear.
How to Modify Regular Clothes to Match a Character’s Look
Transforming thrifted basics into recognizable character pieces hinges on strategic modification techniques that add specificity without sacrificing wearability.
Costume layering and intentional fabric combinations reveal complexity without specialized garments.
Apply these targeted techniques:
- Fabric appliqués and shaped cutouts attach character-specific symbols using fabric glue or hand stitching onto base garments.
- Fabric paint detailing recreates insignias, stripes, and trim patterns directly onto existing clothing surfaces.
- Sewn or glued trim adds dimensional texture along hems, collars, and cuffs for visual distinction.
- LED trim and battery-powered lighting deliver high-impact finishing details that elevate otherwise simple pieces.
Before permanently attaching anything, sketch decoration placement onto paper first.
Lay components flat, visualize the assembled silhouette, then secure embellishments using safety pins during trial fittings before committing to final attachment methods.
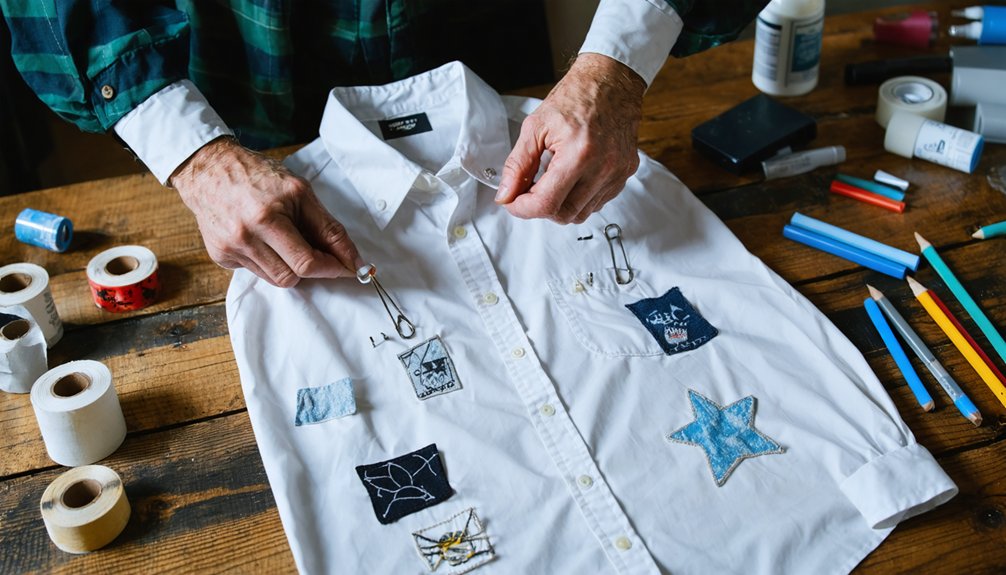
Use Fabric Paint and Appliqués to Add Character Details
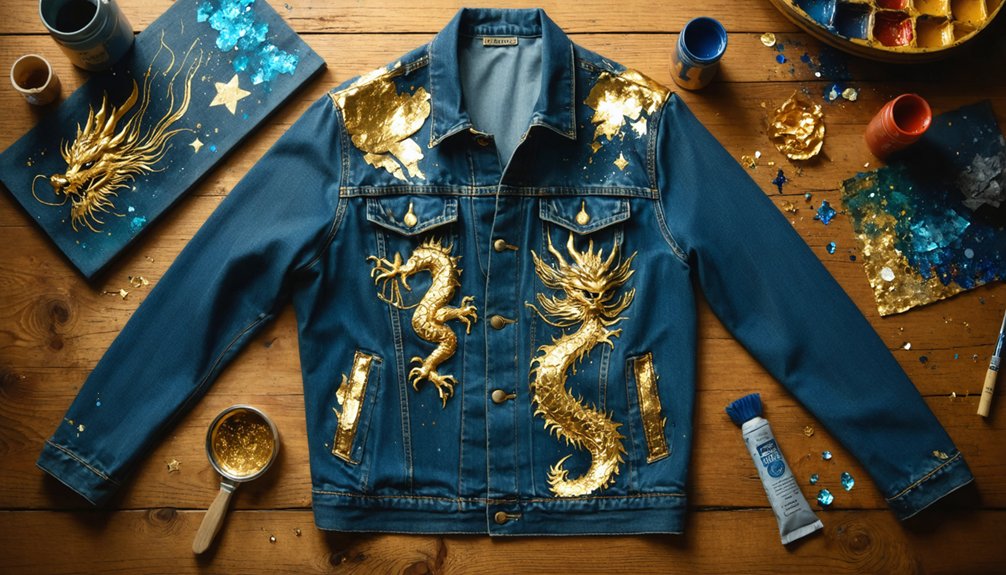
Fabric paint and appliqués give plain thrifted garments the character-specific markings that make a cosplay instantly recognizable. Before applying anything, sketch your decoration placement directly onto the fabric using tailor’s chalk, ensuring accurate positioning.
Select fabric paint matching your character colors precisely, then apply thin, deliberate layers to prevent cracking during wear.
For appliqués, cut felt or cotton scraps into character-specific shapes — stars, symbols, insignias — using a rotary cutter and mat for clean edges. Attach pieces using fabric glue for temporary fittings, then secure permanently with hand stitching along the perimeter.
These fabric techniques transform basic garments into costume-quality pieces without purchasing specialized materials. Always allow paint to cure completely before wearing, and heat-set appliqués with an iron to maximize durability throughout extended convention wear.
How to Make Accessories From Felt, Foam, and Craft Supplies
With your garments detailed and decorated, handmade accessories complete the character silhouette using the same budget-conscious materials already on your workbench.
Felt accessories, foam crafts, and basic craft supplies transform simple techniques into recognizable character themes without expensive specialty tools.
- Headbands and ear pieces: Cut felt shapes, attach them with hot glue onto plain headbands using easy assembly methods.
- Belts and cuffs: Layer craft foam strips, secure with elastic, and add painted details reinforcing DIY methods.
- Badges and emblems: Trace character insignias onto foam, cut precisely, paint, then pin onto garments using creative ideas.
- Weapon props: Stack multiple foam layers, shape with scissors, seal with acrylic paint for budget materials that photograph convincingly.
Basic tools—scissors, hot glue, and acrylic paint—execute these techniques efficiently across all accessory types.
Wigs, Makeup, and Hair Tricks That Sell the Look
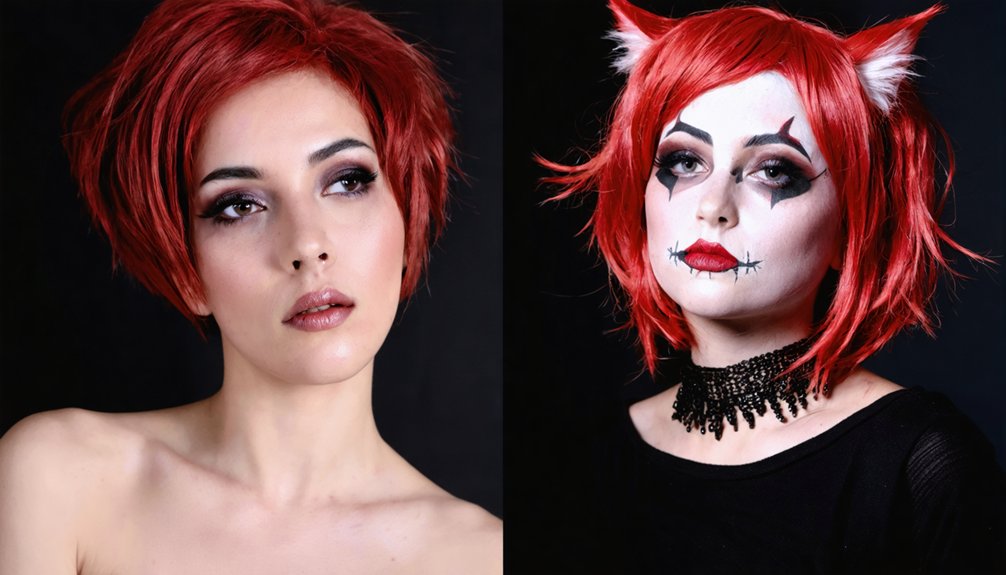
Once your outfit’s assembled, a well-chosen wig and precise character makeup transform a closet cosplay into a convincing, complete look.
Match your wig’s color, cut, and texture to reference images of your character, and use heat-safe styling tools to shape synthetic fibers into the correct silhouette.
Layer character-accurate makeup details—sharp eyeliner, specific blush placement, or bold lip color—to replicate facial features that make your chosen character instantly recognizable.
Wig Selection and Styling
When your natural hair doesn’t match a character’s silhouette or color, a wig becomes the single most transformative closet-cosplay tool available.
Prioritizing accurate wig colors and wig styles over brand recognition yields better character reads than expensive wig brands with poor construction.
- Select synthetic fibers for bold wig textures; heat-resistant options allow curling iron adjustments.
- Use wig accessories like bobby pins, wig caps, and adjustable straps to secure placement during active wear.
- Practice wig maintenance by detangling gently with wide-tooth combs, working from ends upward.
- Store pieces properly; wig storage on a foam head preserves shape between conventions.
Consistent wig care extends costume longevity greatly. Treat each piece as a fabric-based technical component requiring deliberate handling, not an afterthought.
Character Makeup Techniques
Makeup transforms a closet cosplay from a loose approximation into a convincing character portrait, bridging the gap between assembled clothing and authentic character identity.
Study reference images carefully, identifying character colors present in eyeshadow, lip shades, and skin tones. Replicate those exact hues using drugstore cosmetics, matching pigments precisely to on-screen palettes.
Bold eyeliner recreates animated eye shapes, while contouring reshapes facial structure toward character-specific features. You’ll want to apply colored contacts strategically, reinforcing distinctive eye colors that anchor recognition.
For makeup styles requiring unconventional colors—blues, purples, greens—theatrical greasepaint delivers opaque, lasting coverage.
Practice applications beforehand, testing wear duration across extended convention hours. Seal finished looks with setting spray, preventing smudging against costume fabric throughout the event.
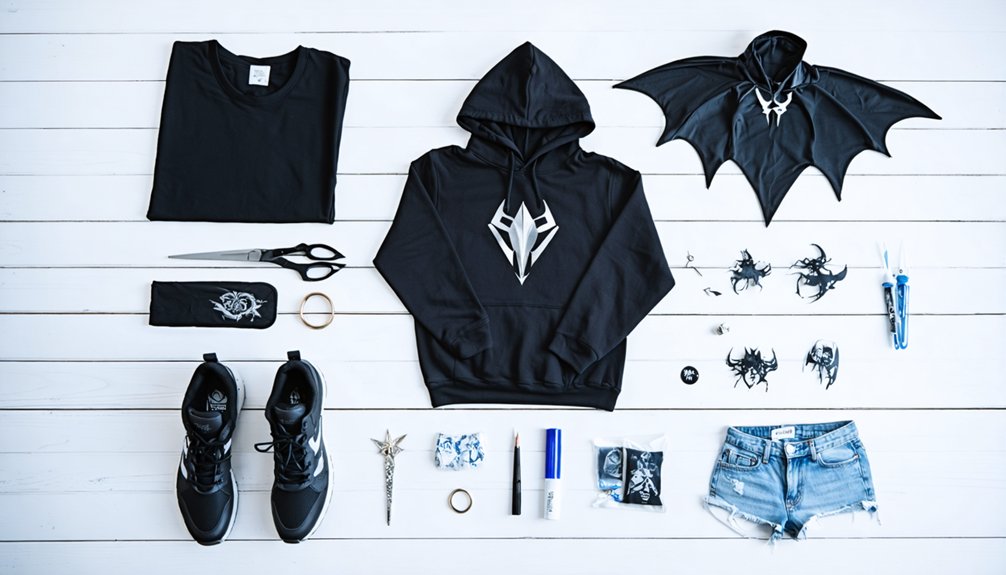
How to Lay Out and Assemble the Full Outfit Before the Event
Before heading to your event, lay every clothing piece and accessory flat on a bed or clean floor surface to visualize the full costume as a cohesive unit.
Outfit visualization techniques reveal gaps, mismatched tones, or missing components before you’re committed. Costume layering strategies become clearer when pieces are physically stacked and arranged by wear order.
Use this pre-assembly checklist:
- Check fabric alignment — confirm patterns, textures, and colors coordinate across all layers
- Test attachment points — verify fabric glue, safety pins, and stitching hold firmly under movement
- Sequence your layers — arrange base garments beneath jackets, cuffs, and accessories in dress order
- Photograph the flat layout — reference this image while dressing to maintain accurate component placement
Last-Minute Fixes That Keep Your Cosplay Together All Day
Even the most carefully assembled closet cosplay can fail mid-event when fabric tape loosens, seams split, or accessories detach.
So you’ll want to pack an emergency repair kit containing safety pins, spare fabric tape, a needle and thread in matching colors, and small binder clips before you leave home.
When something breaks on-site, safety pins are your fastest structural fix, capable of re-securing hems, closing gaps in layered pieces, and reattaching felt or foam accessories in seconds.
Knowing which quick repairs each kit item handles — tape for lightweight fabric adhesion, pins for structural holds, thread for load-bearing seams — lets you triage damage efficiently without leaving the convention floor.
Emergency Repair Kit Essentials
A 10-piece emergency repair kit tucked into a small pouch can save your cosplay from unraveling mid-event. Pack your travel essentials strategically, focusing on portable tools that handle emergency alterations without bulk.
Your emergency sewing stitch kit should include:
- Safety pins in multiple sizes for instant structural fixes and temporary hemming
- Iron-on tape strips pre-cut for rapid fabric bonding without needles
- Fabric patches matching your costume’s primary colors for tear coverage
- Quick adhesive fabric glue in a mini tube for non-porous material repairs
A compact multi-tool handles snipped threads and loose embellishments efficiently.
Store everything in a labeled zipper pouch weighing under two ounces. You’ll tackle wardrobe failures confidently, keeping your costume convention-ready throughout the entire event.
Quick Fixes On-Site
When your hem tears loose mid-convention, reaching for your safety pins before panicking saves both time and your costume’s structural integrity.
Quick fixes demand methodical thinking: assess the damage, identify the appropriate repair material, then execute.
On site solutions include pressing fabric tape firmly against separated seams, using safety pins angled inward to hide hardware within fabric layers, and applying fabric glue for lightweight embellishments that’ve detached.
Emergency adjustments require steady hands and clean surfaces, even in crowded hallways.
Last minute touches like re-securing loose trim or smoothing wrinkled appliqués restore your costume’s polished appearance instantly.
Rapid repairs work best when your emergency kit stays accessible throughout the event.
Urgent modifications executed confidently prevent minor wardrobe failures from escalating into costume-ending disasters that derail your entire convention experience.
Frequently Asked Questions
Can I Cosplay a Character From a Video Game I’ve Never Played?
You can absolutely cosplay any character without playing their game. Research visual references online, study their signature fabrics and colors, then apply your creative interpretation. Character familiarity develops through imagery, not gameplay experience.
How Do I Keep My Cosplay From Falling Apart in Hot Weather?
Use heat resistant materials like cotton and felt to boost costume durability tips in action. You’ll want fabric glue over tape, reinforce seams with small stitches, and secure accessories with safety pins to prevent warping or separation.
Are There Age Restrictions for Wearing Cosplay at Public Conventions?
Over 40% of conventions welcome all ages! You’ll find cosplay etiquette supports age inclusivity broadly, though some events restrict adult-themed costumes. Always check your specific convention’s guidelines before assembling fabric-intensive, character-accurate outfits for attendance.
Can Two People Coordinate Closet Cosplays as a Matching Duo Costume?
You can absolutely coordinate closet cosplays as a duo! Focus on matching themes through color coordination, selecting complementary fabrics and garments that mirror each character’s palette, ensuring both outfits share recognizable signature elements for cohesive, innovative visual impact.
How Do I Protect My Modified Clothing Items During Transportation to Events?
Pack your modified pieces using these clothing storage travel tips: fold delicates in acid-free tissue, hang structured items in garment bags, and secure fragile fabric embellishments with bubble wrap to prevent crushing, shifting, or damage during transit.
References
- https://www.diy.org/challenges/put-together-a-fashion-cosplay
- https://rosieq.substack.com/p/unlocking-closet-cosplay-transform
- https://sartorialmagazine.com/fashion-1/2021/10/29/the-art-of-subtle-dress-up-constructing-a-casual-cosplay-for-any-occasion
- https://www.arrowsewing.com/blog/cosplay-101
- https://www.youtube.com/watch?v=VrDbvfsHx1Q
- https://guides.mysapl.org/cosplay/closet
- https://www.youtube.com/shorts/eX9YuszgqRY