To weather and distress cosplay costumes, you’ll use tools like sandpaper, scissors, and cheese graters to physically break down fabric at high-friction zones like knees, elbows, and cuffs. Tea staining ages fabric naturally, while diluted acrylics simulate mud, sweat, and ash. Advanced techniques include sun fading, blowtorch passes, and terrain dragging for unpredictable damage. Always test methods on scrap fabric first to protect structural seams. There’s much more to uncover ahead.
Key Takeaways
- Use scissors, sandpaper, or a cheese grater to physically distress fabric at high-wear areas like knees, elbows, and collars.
- Brew strong black or oolong tea to selectively stain fabric, focusing on lower hems and friction-prone zones.
- Mix diluted acrylic paints in yellow-brown, dark brown, or gray tones to simulate sweat, mud, and ash effects.
- Advanced techniques like sandblasting, sun exposure, and brief blowtorch passes create authentic, deeply textured weathering on synthetic materials.
- Always test every weathering technique on scrap fabric first to avoid permanently damaging structural seams or fibers.
Why Weathering Makes Cosplay Costumes Look Real
When you look at a cosplay costume that lacks any signs of wear, it often reads as too pristine, breaking the illusion of a character who’s lived through battles, adventures, or harsh environments.
Weathering addresses realism factors by embedding visual storytelling directly into your design choices. Strategically placed distress signals character authenticity, communicating narrative immersion without a single spoken word.
Audience perception shifts dramatically when costumes reflect historical accuracy and earned damage. A mud-splattered hem or frayed collar triggers emotional connection, making viewers believe the character exists beyond the screen or page.
You’re fundamentally encoding a backstory into fabric, stitching, and texture.
Every deliberate mark you add reinforces the world your character inhabits, transforming a manufactured garment into convincing, battle-tested attire that commands attention on any convention floor.
The Distressing Tools Every Cosplay Weathering Kit Needs
Building a reliable weathering kit starts with understanding which tools create which effects, so you’ll want to stock a range of items suited for different distressing tasks.
For essential tools, gather scissors, a cheese grater, sandpaper, metal files, and a sharp knife. Each serves distinct distressing techniques: scissors cut diagonal tears, while cheese graters roughen fabric edges convincingly.
Sandpaper and metal files target high-friction zones like collars, wrists, and knees, abrading fibers gradually for realistic wear. A hammer lets you pound durable materials against hard surfaces, breaking down fabric structure organically.
Always test every tool on scrap pieces before touching your main costume. This prevents accidental seam damage and helps you calibrate pressure, ensuring controlled, intentional results across every distressed surface.
How to Tea Stain Cosplay Fabric for Realistic Aging
To brew tea for fabric aging, steep several bags in boiling water for 10–15 minutes until you’ve got a dark, concentrated solution.
Submerge your fabric or selectively apply the tea using a sponge, focusing stains on lower hems and high-wear areas to mimic realistic dirt accumulation and splash patterns.
Once you’ve achieved the desired depth of color, rinse the fabric in cold water without soap to lock the stains in permanently.
Brewing the Perfect Tea
Brewing a strong tea base is how you’ll achieve that authentic, aged look on lighter cosplay fabrics. Select robust tea varieties like black or oolong, as their deep flavor profiles translate directly into richer fabric pigmentation.
Avoid herbal blends, since lighter botanicals produce insufficient staining intensity.
For brewing methods, steep four to six bags per liter of boiling water, extending steeping time to fifteen to twenty minutes for maximum tannin concentration.
Skip tea accessories like infusers that restrict saturation.
Store your brewed solution in sealed containers, maintaining potency for repeated applications. This concentrated approach mirrors tea rituals practiced across various cultures, honoring the cultural significance of patience in technique.
Your fabric absorbs deeper, more realistic weathering tones with each extended soak.
Applying Stains Realistically
With your concentrated tea solution ready, submerge the lighter fabric sections fully, letting them soak for thirty to sixty minutes to build an even base tone.
For realistic aging, focus your stain application on the lower garment halves, mimicking puddle splash patterns and ground-level dirt accumulation.
Work blotchy, irregular patterns into mid-sections using a saturated sponge or brush, avoiding uniform coverage that reads as artificial. Concentrate darker deposits around knees, hems, and seam junctions where grime naturally collects.
Once satisfied with placement, rinse exclusively with cold water — no soap — locking the discoloration permanently into the fibers.
Layer multiple dips for deeper saturation on heavily trafficked zones. This controlled, methodical stain application transforms clean fabric into convincingly worn material that communicates genuine character history.
Setting Stains Permanently
Once the tea staining reaches your desired depth and placement, rinse the fabric thoroughly under cold water — never warm or hot — to halt further dye migration and lock the discoloration into the fibers.
Skip soap entirely; detergents strip tannins before they’ve bonded properly, undermining stain permanence. Wring gently, then air-dry flat to prevent color pooling at hemlines.
Fabric compatibility directly affects how well stains set. Natural fibers like cotton and linen absorb tannins aggressively, producing rich, lasting tones.
Synthetics resist uptake, often requiring extended soak times or a mordant like alum to improve adhesion. Once dry, avoid washing the costume repeatedly — each cycle gradually lifts the weathered effect, shortening the lifespan of your distressing work.
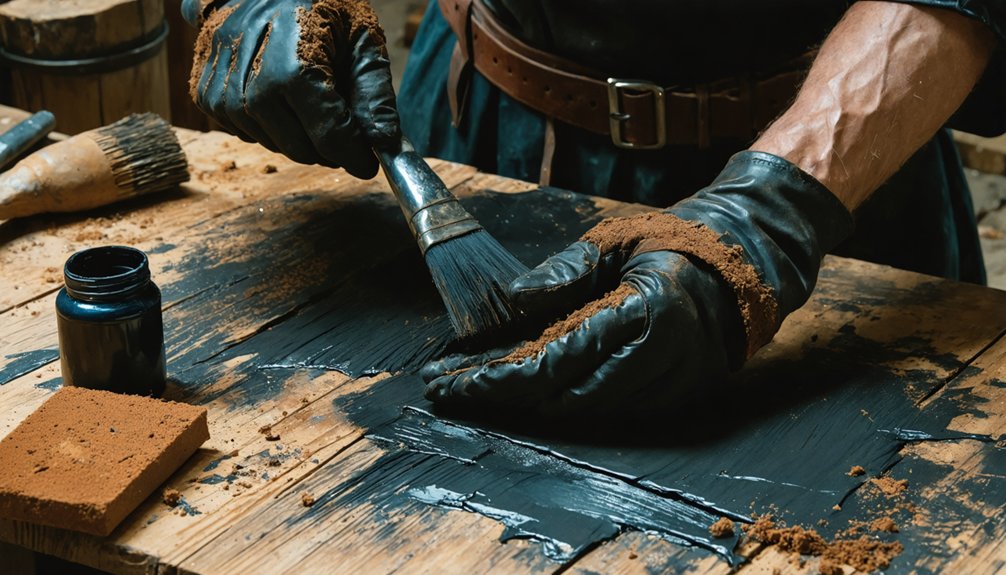
Paint and Dye Tricks for Sweat, Mud, and Ash Effects
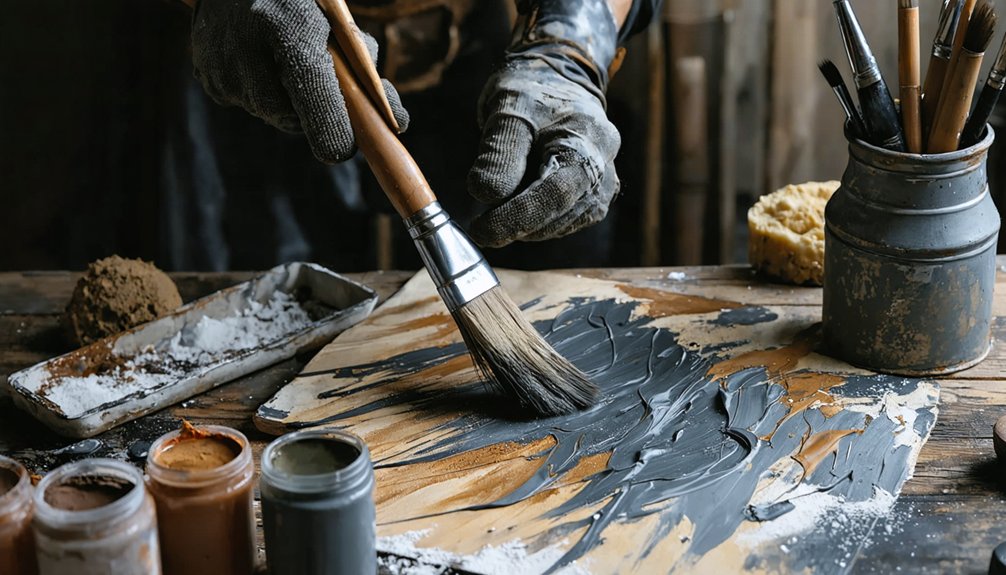
To simulate sweat stains, mud splatter, and ash residue on your costume, mix a few drops of acrylic paint into a water-filled spray bottle and apply it to high-wear zones like collars, armpits, and knees.
Layering thin coats achieves realistic pigment fading and texture contrast.
- Use yellow-brown tones for sweat simulation under arms and collar edges.
- Apply dark brown in uneven strokes for convincing mud layering.
- Blend gray and white pigments for ash application on fabric surfaces.
- Wear gloves while color blending to distribute pigment evenly.
- Allow 2–6 hours drying time before adding additional weathering layers.
Undiluted pigments require extended drying; always test mixtures on scrap fabric first.
Weather High-Wear Areas Like Knees, Cuffs, and Collars
Focus your weathering efforts on friction-prone zones like knees, elbows, cuffs, and collar edges, where repeated contact naturally degrades fabric first.
You’ll want to scrape these areas with sandpaper or a cheese grater to simulate wear, then layer diluted acrylic paint or tea staining to mimic accumulated grime.
For sweat and dirt realism, target cavities like underarms and the backs of knees with blotchy, concentrated pigment applications that reflect how body heat and movement deposit stains.
Targeting Friction-Prone Zones
When weathering a costume, you’ll want to direct most of your distressing efforts toward friction-prone zones — knees, cuffs, elbows, collars, and hem edges — since these areas accumulate the most realistic wear in real-world use.
Accurate friction patterns and wear simulation demand precise, localized distressing rather than uniform aging across the entire garment.
Target these zones strategically:
- Knees and elbows: Sand in circular motions to replicate repeated bending stress
- Collar edges: Scrape with a file or knife for contact-based fabric breakdown
- Cuffs: Use sandpaper along seam borders to mimic sleeve friction
- Hem edges: Grate against rough surfaces for ground-contact degradation
- Underarms: Apply diluted pigment to simulate sweat-driven dirt accumulation
Concentrate distressing intensity here before treating secondary costume areas.
Simulating Sweat And Dirt
Beyond physical distressing, you’ll need to layer in chemical aging — sweat stains, dirt buildup, and grime accumulation — to make high-wear zones read as authentically lived-in.
For sweat simulation, mix diluted acrylic paint into a spray bottle and target underarms, collar edges, and behind-knee cavities. Yellow-brown tones mimic dried perspiration convincingly.
For dirt texture, blend diluted pigments or candy colors into a thin wash, then wipe selectively across knees, cuffs, and lower hems. Apply in thin, buildable layers rather than saturating the fabric at once.
Use gloved fingers to push pigment into fabric weaves, replicating embedded grime. Allow each layer two to six hours of drying time before evaluating depth. Concentrated staining around high-friction points reinforces the illusion of prolonged, organic wear.
Physical Distressing Methods That Actually Look Worn
Physical distressing transforms a costume from freshly sewn to convincingly battle-worn, and the tools you choose make all the difference.
Textile aging through fabric manipulation requires strategic abrasion targeting high-friction zones like knees, elbows, and collar edges.
Key physical distressing techniques:
- Scissors: Cut diagonal slashes for authentic torn edges
- Cheese grater: Drag across fabric edges to simulate rough, gradual wear
- Sandpaper or metal files: Scrape collars, wrists, and knees for friction-paled surfaces
- Hammer or rock: Beat durable materials against hard surfaces for organic damage
- Sandblaster: Rapidly erode fabric for advanced, uniform weathering effects
Always test each tool on scrap fabric first to protect structural seams.
Work progressively, building damage gradually rather than over-distressing in one pass.
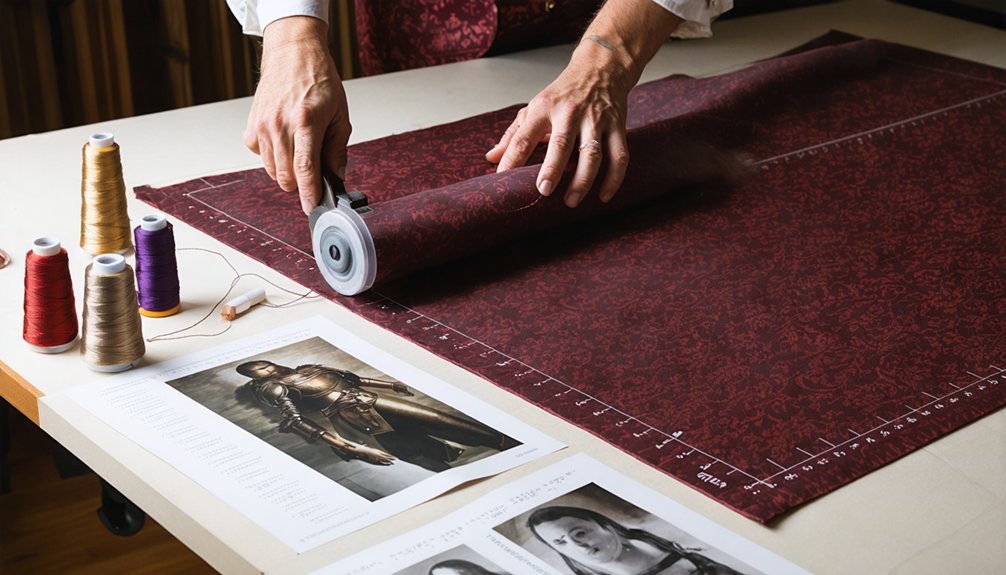
Weather Cosplay Without Wrecking the Seams
Achieving weathering balance requires targeting high-wear zones—knees, elbows, hems—while leaving seam allowances untouched.
For distressing finesse, apply tea stains or diluted acrylics with a brush rather than soaking entire sections, giving you precise control.
Fabric longevity depends on restraint. Over-distressing weakens fibers until seams carry impossible tension and split under movement.
Always test each technique on scrap fabric first, then work methodically toward the final piece.
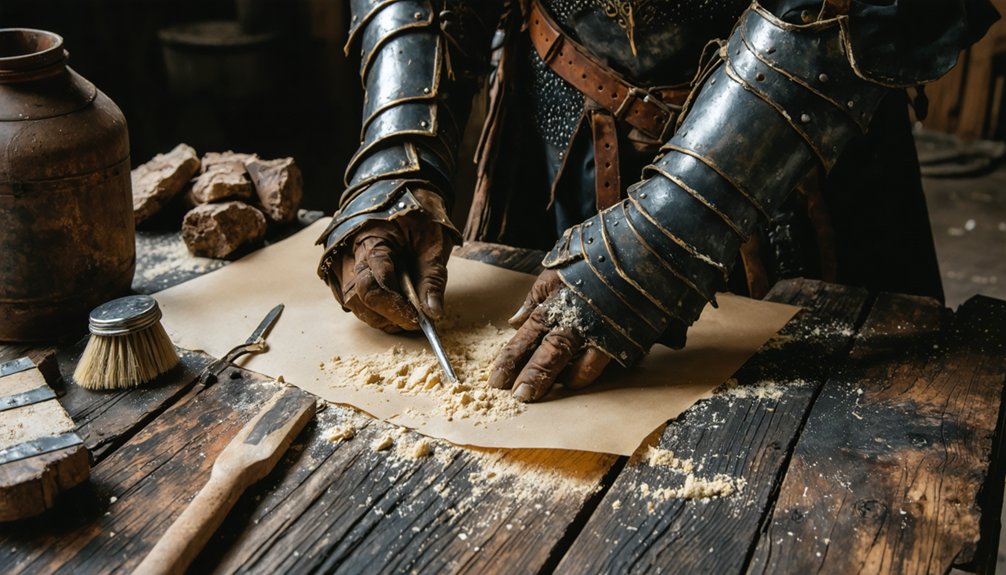
Advanced Techniques for Heavily Distressed Cosplay
When you’re ready to push distressing beyond standard scraping and staining, heavy-duty methods deliver results that look genuinely brutal.
Advanced aging demands precision—you’re accelerating wear patterns that normally take years while preserving structural integrity.
Advanced aging is controlled destruction—replicating decades of wear in hours while keeping every critical stitch intact.
Deploy these distressing strategies for maximum impact:
- Sandblasting erodes fabric surfaces rapidly, creating authentic fabric erosion without manual effort.
- Sun exposure produces natural fading on targeted zones, mimicking prolonged environmental damage.
- Organic materials like plaster and dust embed permanently, adding textural depth.
- Blowtorch charring creates realistic burn effects on durable synthetics—keep passes brief.
- Rolling or dragging costumes across rough terrain generates convincing, unpredictable damage.
Layer these techniques sequentially rather than simultaneously.
Test each method on scrap material first, ensuring you don’t compromise load-bearing seams while achieving that devastated, battle-worn aesthetic.
How to Fix Weathering Mistakes on Cosplay Costumes
Even the most experienced costumers make weathering mistakes, but most are fixable if you act before treatments fully cure.
For fixing fabric that’s over-distressed, reinforce torn edges with fabric glue or iron-on patches before patching tears becomes impossible.
When removing stains that spread beyond intended zones, dab cold water immediately or use diluted rubbing alcohol on synthetic materials.
If you’ve lost too much pigment, focus on restoring color by applying thin acrylic layers over faded sections.
Balancing weathering across the entire costume prevents isolated, unrealistic damage clusters — step back periodically to assess visual consistency.
Finally, enhancing durability on repaired sections means sealing edges with fray-check solution and testing flexibility before wearing.
Document each correction technique so you’ll replicate successful fixes on future builds.
Frequently Asked Questions
Can Weathering Techniques Work on Synthetic Fabrics Like Polyester or Spandex?
Yes, distressing techniques work on synthetics, but fabric compatibility matters. You’ll find polyester resists tea staining, while spandex warps under heat. Prioritize sandpaper abrasion and diluted acrylics for effective, innovative weathering without compromising structural integrity.
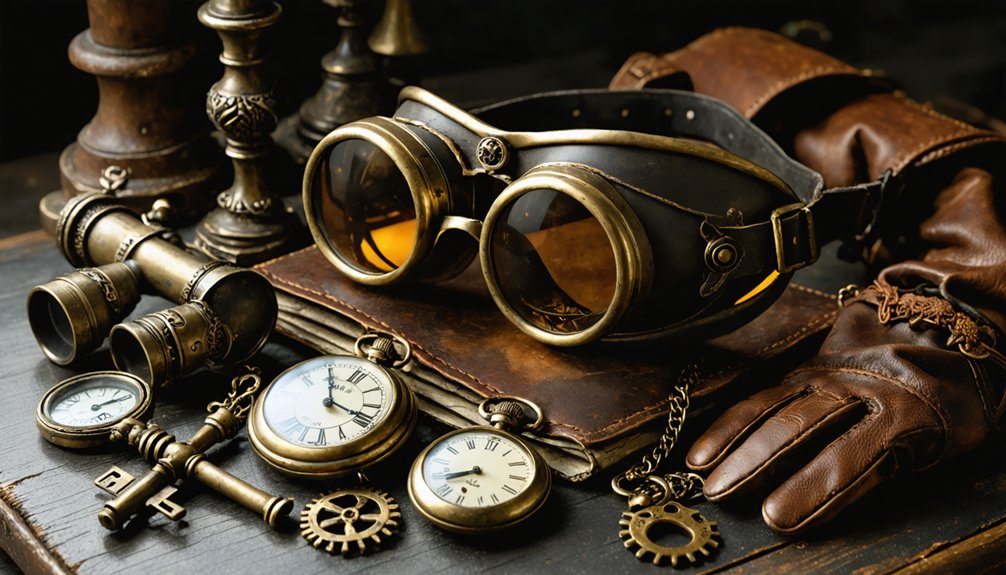
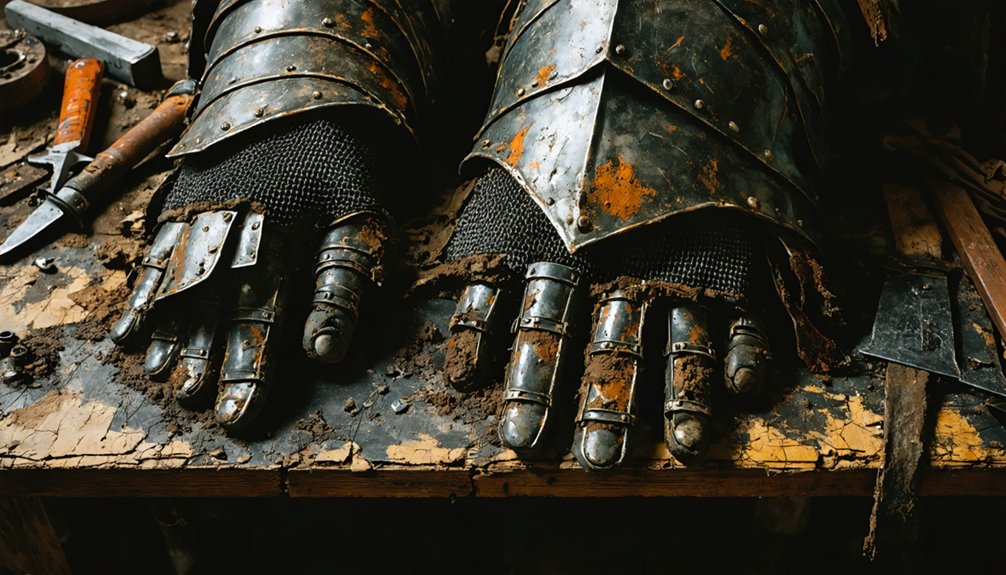
How Do You Weather Cosplay Accessories Like Belts, Bags, and Shoes?
Like a blacksmith tempering steel, you’ll age accessory materials through layered techniques: sandpaper leather belts, tea-stain canvas bags, and paint-weather shoe soles using diluted acrylics, targeting high-wear zones for authentic aging techniques.
Is Weathered Cosplay Appropriate for Competitions or Judged Convention Events?
Weathered cosplay can absolutely excel in competitions. You’ll need to align your techniques with judges’ preferences and competition standards, demonstrating intentional craftsmanship. Make certain your distressing enhances character authenticity rather than appearing accidental or structurally compromising your costume’s integrity.
How Do You Store Heavily Weathered Costumes Without Worsening the Damage?
Store your heavily weathered costume using breathable garment bags for ideal costume preservation. You’ll want to avoid plastic, as it traps moisture. Implement acid-free tissue paper as storage solutions to cushion distressed areas, preventing further structural deterioration.
Can Weathering Products Cause Skin Irritation During Long Convention Wear?
Yes, weathering products can absolutely wreck your skin’s comfort! You’ll want to test for skin sensitivity before conventions. Acrylic paints and dyes risk long term effects, so seal all weathered surfaces with fabric-safe barrier sprays.
References
- https://www.youtube.com/watch?v=441dTpuPFIQ
- https://www.youtube.com/watch?v=IbTP3eL3AGI
- https://www.youtube.com/watch?v=37PexFLuaX0
- https://juliechantal.com/en/blogs/crafting/cosplay-weathering
- https://www.youtube.com/watch?v=zY3-mzJmWek
- https://sleycosplay.wordpress.com/2020/03/21/how-to-weathering-fabric-for-cosplay/