To master crafting costume accessories, you’ll need reliable tools like a heat gun, Dremel rotary tool, and sharp box cutter paired with the right materials like EVA foam and breathable fabrics. Start with cardboard patterns, test mock-ups before cutting, and use precision shaping and carving techniques to build realistic textures. Balance visual impact with lightweight comfort for all-day wear. Keep exploring, and you’ll uncover every technique needed to elevate your builds.
Key Takeaways
- EVA foam is ideal for large costume builds due to its durability, lightweight properties, and compatibility with adhesives, paints, and sealers.
- Use a sharp box cutter for clean foam cuts, applying steady, deliberate force and tilting the blade for beveled edges.
- Master core sewing techniques like hemming, seam binding, and pressing, using durable materials such as rayon and cotton for longevity.
- Position heavier costume elements near the center of gravity to improve balance, reduce body strain, and enhance wearability.
- A Dremel rotary tool and heat gun create realistic surface textures, carved details, and battle-worn effects on foam props.
What Tools Do You Need to Build Costume Accessories?
Whether you’re crafting foam armor or assembling a prop weapon, having the right tools determines the quality and efficiency of your build. Your essential toolkit includes a reliable sewing machine, fabric scissors, seam ripper, measuring tape, heat gun, Dremel rotary tool, and a sharp box cutter.
Proper workspace setup and tool organization reduce wasted time during tight project timelines. Budget planning helps you prioritize tool upgrades strategically, starting with high-impact items before investing further.
Always practice safety precautions when operating heat guns or rotary tools. Collaborative projects accelerate skill development by exposing you to diverse techniques.
Regular maintenance routines keep blades sharp and machines calibrated. Let each completed build fuel your creative inspiration and push your craftsmanship further.
Choose the Right Materials for Your Foam and Fabric Build
Selecting the right materials determines how well your finished costume holds up under stage lights, event wear, or photography conditions. EVA foam delivers excellent foam durability while remaining lightweight enough for proper weight distribution across large builds.
Choose fabrics rated for fabric breathability to prevent overheating during extended wear, particularly when considering seasonal suitability for summer conventions or winter productions.
Breathable fabrics prevent dangerous overheating during extended wear, making seasonal suitability essential for both summer conventions and winter productions.
Test swatches for color fastness before committing to full-scale cuts — dyes shift dramatically under harsh lighting. Evaluate texture compatibility between foam base layers and fabric overlays to guarantee adhesives bond cleanly.
Explore finish options including matte sealers, metallic paints, and gloss coatings to achieve your desired visual effect. Apply layering techniques strategically, combining rigid foam underlayers with flexible fabric exteriors for costumes that move naturally and photograph crisply.
Build Patterns That Fit Before You Cut Anything
Before you cut a single piece of EVA foam or fabric, you’ll need accurate patterns built from strong cardboard paper — your foundational blueprint for everything that follows.
Trace your measurements directly onto cardboard, then cut main structural pieces first using sharp leather scissors. Add markings like fold lines and alignment notches afterward for precision.
Once your cardboard template looks correct, apply mock up techniques by transferring the pattern to inexpensive fabric. Wear or assemble the mock-up to identify fit issues immediately.
This stage reveals where pattern adjustments are necessary — whether that’s widening curves, reducing seam allowances, or repositioning attachment points. Document every change directly on your cardboard pattern before touching your final materials.
This disciplined process eliminates costly mistakes downstream.
Cut EVA Foam Like a Pro Every Time
To cut EVA foam cleanly, you’ll need a super sharp box cutter blade — a dull blade drags and tears the material instead of slicing through it.
Push the blade with steady, deliberate force to achieve straight, controlled cuts that don’t waver or compress the foam’s edge.
For angled shapes, tilt the blade outward along the pattern’s edge first, then make a final inward cut following the outline to produce clean beveled surfaces that lock together seamlessly.
Choosing The Right Blade
When cutting EVA foam, the blade you choose makes or breaks every clean edge and precise detail in your build.
Different blade types handle foam density differently, so matching the right tool to your material is critical.
Follow these blade selection and blade maintenance essentials:
- Box cutter blades deliver straight, forceful cuts through dense EVA foam cleanly.
- Snap-off blades let you expose fresh edges instantly, maintaining sharpness throughout long sessions.
- Scalpel or craft knife blades excel at intricate detail work and tight pattern curves.
- Replace dull blades immediately — dragging a worn edge tears foam fibers instead of slicing them.
Always store blades in a dry case to prevent corrosion and extend their usable lifespan between projects.
Mastering Clean Straight Cuts
Straight cuts in EVA foam demand a combination of blade pressure, body mechanics, and surface control working together.
You’re not dragging the blade — you’re pushing it deliberately through the material in one committed stroke. Hesitation creates jagged edges that compromise foam accuracy and waste material.
Position your cutting surface on a stable, flat table. Align your cardboard pattern firmly against the foam, then lock your wrist and drive the blade forward using your shoulder.
These cutting techniques require full blade depth on the first pass. Never saw back and forth.
Keep your elbow tucked, your eye directly above the cut line, and your non-dominant hand pressing the pattern flat.
Consistent pressure equals consistently clean results every single time.
Shaping Foam With Angles
Angled cuts transform flat EVA foam into dimensional armor pieces, beveled edges, and layered surfaces that read as sculpted rather than assembled.
Foam angle techniques require deliberate blade control throughout every stroke.
Apply these foam shaping methods precisely:
- Tilt your blade outward against the pattern edge for initial bevel cuts.
- Follow with an inward tilt, tracing the outline to complete the angled wedge.
- Maintain consistent blade pressure — wavering creates uneven bevels that won’t align properly.
- Test angles on scrap foam before committing to final pieces.
Your blade angle directly determines the finished profile’s sharpness and depth.
Steeper tilts produce dramatic ridges; shallow tilts create subtle shifts.
Master both, and flat sheets become convincing three-dimensional costume components.
Shape and Carve Foam for Realistic Texture
Once you’ve cut your EVA foam pieces with precision, you can carve realistic textures into the surface using a Dremel rotary tool with a flex shaft or a soldering iron for finer detail work.
Tilt your blade at calculated angles to create beveled edges, then use a heat gun to melt shrink wrap or garbage bags directly onto the foam surface, producing convincing wrinkled or weathered effects.
Mastering these three techniques — precision cutting, surface carving, and heat shaping — transforms flat foam pieces into visually dynamic, three-dimensional costume accessories.
Cutting Foam With Precision
Cutting EVA foam with precision starts with a super sharp box cutter blade — dull blades drag and tear, ruining clean edges. Master these foam cutting precision techniques for professional results:
- Blade Selection: Replace blades frequently; sharpness directly controls cut quality.
- Straight Cuts: Push the blade through foam using firm, consistent force.
- Cutting Angles: Tilt the blade outward for beveled edges, then adjust inward following your pattern outline for refined shaping methods.
- Texture Carving: Use a Dremel rotary tool or soldering iron to carve realistic surface details after base cuts are complete.
You’ll achieve cleaner foam cutting results by working deliberately, letting blade sharpness — not pressure — guide each precise, controlled stroke.
Carving Realistic Foam Textures
With clean foam cuts in place, the real character work begins — shaping and carving surface textures that make props and armor look lived-in, organic, or stone-like.
Attach a flex shaft to your Dremel rotary tool for better maneuver control during foam detailing techniques. Carve grooves, scales, cracks, or stone patterns directly into EVA foam using varying bit sizes and pressure levels. Deeper passes create dramatic shadows; lighter passes define subtle surface variation.
Layer complexity through texture layering methods — start with broad structural lines, then refine with fine detail work. A soldering iron burns precise, clean edges into foam surfaces, adding versatility your Dremel can’t always achieve alone.
Heat-activate finished surfaces briefly with a heat gun to slightly melt and harden carved details, locking texture definition permanently into place.
Heat Shaping Foam Surfaces
Heat shaping releases three distinct stages of EVA foam transformation — softening, forming, and hardening — each requiring controlled heat gun passes at the right distance and duration.
You’ll achieve superior foam surface finishes by mastering efficient heating techniques that prevent scorching while maximizing material flexibility.
Follow these critical steps:
- Hold the heat gun 3–4 inches from the foam surface.
- Move in consistent circular passes until the foam becomes pliable.
- Press curved tools or molds immediately against softened areas.
- Hold firm pressure for 15–20 seconds until hardening completes.
Watch the foam’s color shift — slight darkening signals peak malleability.
Work quickly between heating and forming stages. Layering multiple heat passes builds dimensional surface details that replicate organic textures like scales or bark convincingly.
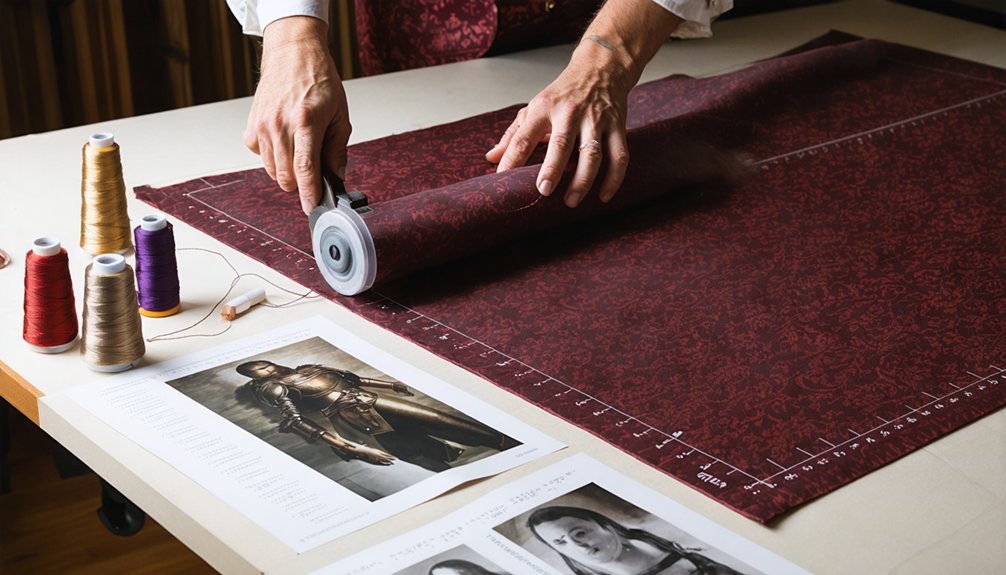
Sew Clean, Professional-Looking Costume Accessories
Achieving clean, professional-looking costume accessories starts with choosing the right fabrics — durable materials like rayon and cotton hold their shape and withstand repeated wear.
You’ll want to master core sewing techniques like hemming, seam binding, and precise pressing to refine every edge. Use a reliable sewing machine for uniformity across repeated elements, then switch to hand sewing for intricate, delicate details that demand precision.
Stabilization materials reinforce structural components like stiffened collars or cuffs, keeping your design intentional and sharp. Fabric finishes matter enormously — a well-pressed seam reads as polished under stage lighting or event conditions.
Add embellishments like appliqué or embroidery strategically to build texture without bulk. Every stitch should serve a visual purpose, elevating your accessory from handmade to professionally crafted.
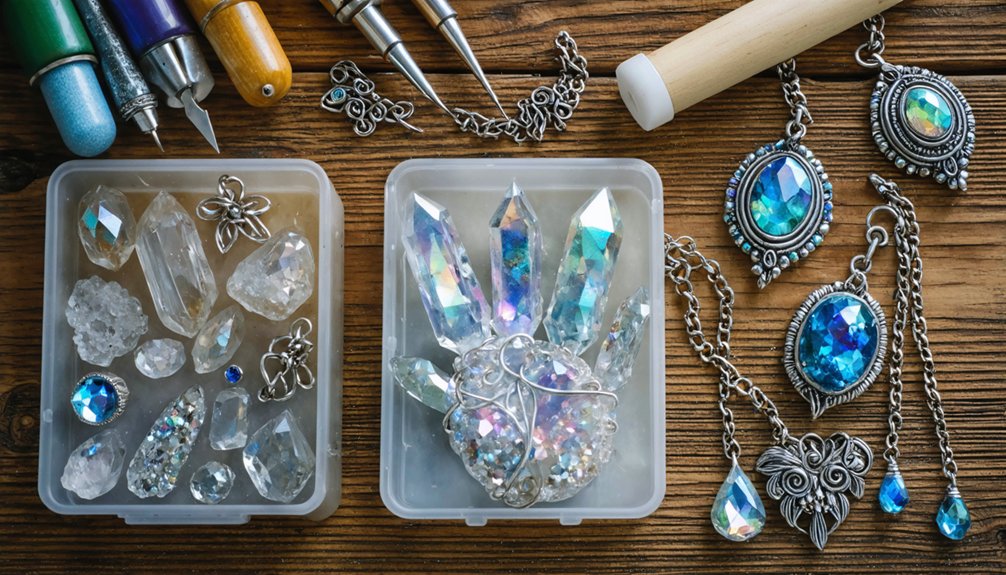
Embellishments That Make Your Costume Stand Out
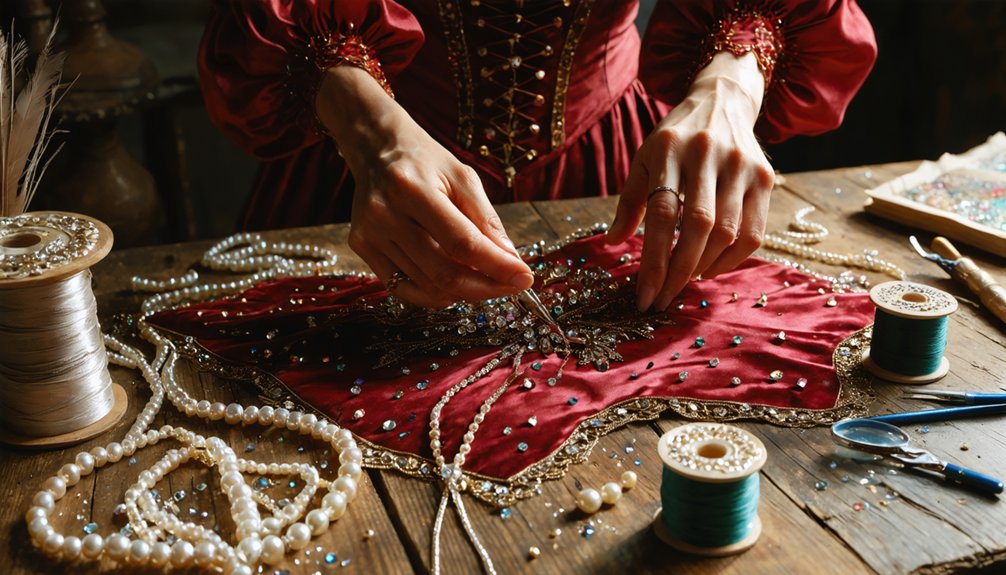
Embellishments transform a functional costume accessory into a visually compelling piece that reads clearly from a distance.
Embellishments elevate a basic costume piece into a bold, character-defining statement that commands attention across any stage.
You’ll elevate your work by selecting embellishment ideas that match your character’s visual language precisely.
Apply these techniques strategically:
- Beading techniques — Stitch seed beads along edges to create light-catching detail on evening or stage pieces.
- Embroidery patterns — Use dense satin stitches to build intricate thread textures directly onto fabric surfaces.
- Appliqué methods — Layer cut fabric shapes onto base materials for bold dimensional contrast.
- Vintage modifications — Repurpose thrifted jewelry or hardware, reshaping existing pieces into period-accurate accents.
Each method targets a specific visual effect.
You’re building readable, layered detail that communicates character identity instantly, keeping materials lightweight without sacrificing visual impact.
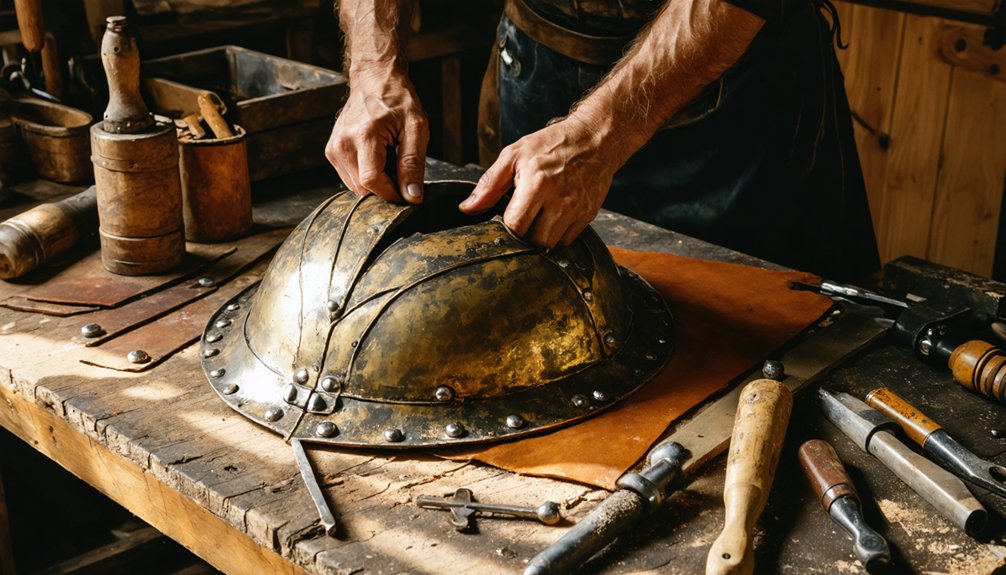
Build Character Props and Costume Weapons on a Budget
Character props and costume weapons don’t require expensive materials to look convincing on stage or at an event. You can achieve character-driven designs using cardboard, EVA foam, and basic paint.
Cut foam with a super sharp box cutter, pushing the blade through with controlled force for clean, straight edges. Tilt the blade inward along pattern outlines to create beveled weapon edges. Use a Dremel rotary tool to carve surface textures, adding realistic detail to swords or shields.
Apply heat gun techniques to shrink wrap, generating battle-worn wrinkle effects across surfaces. Budget-friendly techniques like dry-brushing metallic paint over base coats produce striking visual depth.
Repurpose PVC pipes as structural cores inside larger props, keeping builds lightweight yet durable.
How to Heat-Shape Thermoplastic Costume Pieces Without Warping
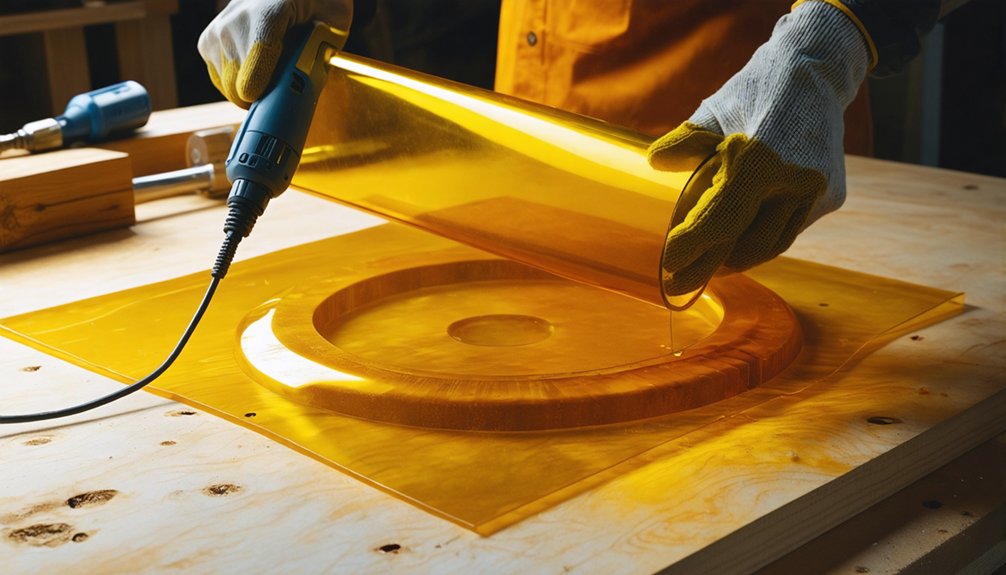
When heat-shaping thermoplastic costume pieces, you’ll want to use a heat gun in steady, sweeping passes rather than holding it stationary, which prevents localized overheating and uneven warping.
Keep the gun moving at a consistent 6-to-8-inch distance from the surface, watching for the material to shift from rigid to pliable — that visual cue tells you it’s ready to form without stressing the plastic.
Once you’ve shaped the piece, hold it firmly against your form or mold until it cools completely, because releasing pressure too early causes the material to spring back or distort.
Controlled Heat Application Methods
Controlled heat application separates a cleanly shaped thermoplastic piece from a warped, unusable one. You’ll achieve professional results by managing temperature control and heat distribution precisely throughout every stage.
Follow these critical methods:
- Move your heat gun continuously — never hold it stationary; circular passes distribute heat evenly across the surface.
- Maintain a 6-inch distance — closer positioning concentrates heat unevenly, triggering warping along thin edges.
- Work in sections — heating smaller zones gives you better temperature control before shaping.
- Use a flat surface immediately — press freshly heated thermoplastic against a smooth board to lock uniform shape while cooling.
You’ll notice how deliberate heat distribution eliminates bubbling and distortion, producing crisp, structured pieces that hold their intended form consistently.
Preventing Thermoplastic Warping Techniques
Warping happens the moment uneven heat stress locks into your thermoplastic before you’ve shaped it intentionally. To counter this, apply heat uniformly using a heat gun in slow, circular passes rather than concentrating heat on single zones.
Once you’ve formed your piece, press it flat against heat resistance materials like silicone mats or wooden boards, holding firm pressure during thermoplastic cooling techniques until the material solidifies completely.
Work symmetrically on curved pieces — heat both sides alternately, maintaining balanced temperature distribution. Use clamps or custom cardboard jigs to lock complex shapes while cooling.
Never rush cooling by exposing hot thermoplastic to cold air blasts; that temperature shock reintroduces warping stress. Instead, allow gradual ambient cooling for clean, stable, production-quality results every time.
Keep Costume Accessories Lightweight for All-Day Wear
Keeping your costume accessories lightweight starts with smart material choices—EVA foam, thin thermoplastics, and hollow PVC pipe skeletons replace heavy solid materials without sacrificing structural integrity.
Lightweight layering and ergonomic designs distribute weight evenly, reducing fatigue during extended wear.
Prioritize these four techniques:
- Hollow construction — carve interior foam sections using a Dremel, eliminating unnecessary mass
- Thin thermoplastic shells — heat-form lightweight sheets over molds instead of casting solid pieces
- Strategic weight distribution — position heavier elements closest to your body’s center of gravity
- Minimal hardware — replace metal clasps and connectors with reinforced fabric ties or magnetic closures
These approaches let you wear ambitious, elaborate accessories comfortably throughout full convention days without compromising visual impact.
Frequently Asked Questions
How Do You Safely Store Finished Costume Accessories Between Convention Events?
Like a treasure chest protecting gems, you’ll preserve your accessories using smart accessory organization: wrap foam pieces in acid-free tissue, box delicate embellishments separately, and implement layered storage solutions with labeled, stackable containers preventing damage between events.
Can Costume Accessories Be Repaired Quickly if They Break During an Event?
Yes, you can execute emergency repairs swiftly using a heat gun for foam reattachment or hand-sewing tears instantly. Keep quick fixes handy: spare EVA foam scraps, needle, thread, and super glue tackle most mid-event breakdowns effectively.
What Beginner Mistakes Should Be Avoided When Starting Your First Costume Build?
Like a ship without a compass, you’ll drift without proper budget planning and smart fabric choices. Avoid flimsy materials, skipping mock-ups, and underestimating costs—they’ll sink your first build before it launches.
How Do You Accurately Measure Body Proportions for Wearable Costume Accessories?
Use a flexible measuring tape to capture precise body measurements at key points—bust, waist, hips, and limb lengths. Apply proportion techniques by cross-referencing these numbers against your pattern pieces, ensuring wearable accessories fit correctly and move naturally.
Which Adhesives Bond EVA Foam and Fabric Together Most Permanently?
Like an unbreakable bond forged in steel, contact cement delivers the strongest adhesive techniques for EVA foam and fabric. You’ll apply strong adhesives to both surfaces, let them tack, then press firmly together permanently.
References
- https://www.youtube.com/watch?v=xXjssMwKRZg
- https://makezine.com/article/craft/cosplay-props/cosplay-pro-tips/
- https://modaknits.com/what-techniques-are-used-in-fashion-and-costume-design/
- https://www.arrowsewing.com/blog/cosplay-101
- https://www.youtube.com/watch?v=nJQR69MlX70
- https://www.morphsuits.com/blog/costume-accessories/
- https://kylarmack.com/blogs/news/a-guide-to-theater-costumes-and-jewelry
- https://www.studiosuits.com/blogs/articles/the-art-of-costume-design-exploring-the-creative-process