Building a Nightwing cosplay starts with choosing between a classic lycra-spandex bodysuit or an EVA foam armored build based on your skill level and budget. You’ll need to select the right fabric, apply at least three coats of fabric paint for the logo, and craft a thermoplastic mask fitted to your exact face dimensions. Secure every attachment point properly to prevent shifting during wear. Each phase directly impacts your finished costume’s convention-floor impact.
Key Takeaways
- Choose between classic lycra-spandex or armored EVA foam designs based on your skill level, budget, and intended convention use.
- Select true black fabric with precise blue striping for classic builds, testing samples before purchasing full yardage.
- Paint the Nightwing logo using a secured pin-template, applying at least three coats with complete drying between layers.
- Cut the mask from thermoplastic or craft foam, adjusting eye spacing to fit your face and securing with elastic cord.
- Craft lightweight escrima sticks from PVC pipe or foam-padded dowels, and reinforce all Velcro and elastic attachments securely.
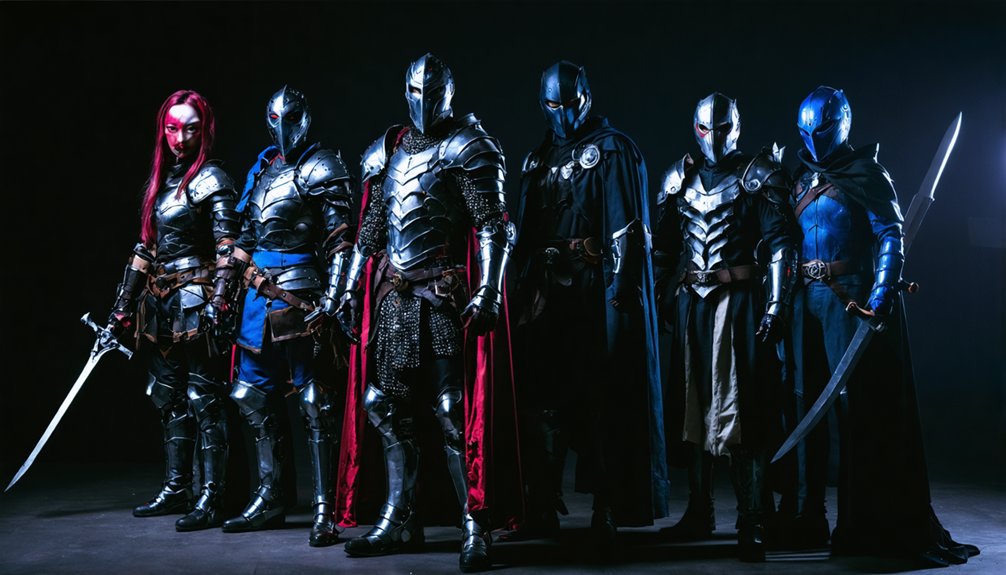
Classic vs. Armored: Which Nightwing Design Should You Build?
Choosing between Nightwing’s classic blue-striped suit and a modern armored design determines every material, technique, and construction decision that follows.
Classic design benefits include simplified construction using lycra-spandex blends, fabric paint application, and minimal foam work, making it ideal for first-time builders prioritizing mobility and comic accuracy. You’ll spend more time on precise logo placement than structural fabrication.
Armored style advantages deliver visual impact through EVA foam layering, heat-formed shoulder pads, and Arkham Knight-inspired tactical elements that photograph dramatically under convention lighting.
However, you’re committing to contact cement bonding, foam sculpting, and longer build timelines.
Your skill level, budget, and intended use should drive this decision. Both paths demand precision—just applied toward fundamentally different construction disciplines.
Choose Your Nightwing Bodysuit Fabric for Comfort and Impact
Once you’ve locked in your design direction, fabric selection becomes the next decision that shapes everything from construction difficulty to how your finished costume moves and photographs.
Lycra-spandex blends deliver superior fabric breathability alongside full-range stretch, making them ideal for extended convention wear and dynamic action shots.
Polyester mixes generate photogenic shine under artificial lighting and convincingly replicate armor plating, though they’re heavier and punish measurement errors severely.
Your color selection must align with your chosen design variant. Classic Dick Grayson builds demand true black with precise blue striping, while Arkham-inspired interpretations typically require deeper charcoal tones paired with muted blue accents.
Black sun-tight suits establish the foundational base for either direction.
Prioritize fabric samples before committing to full yardage purchases.
Paint the Nightwing Logo and Suit Details Without Bleeding Edges
Before applying any fabric paint, you’ll need to secure your pin-template alignment to guarantee accurate logo placement across the torso and shoulder areas. This foundation step determines whether your logo application techniques produce clean, professional results or blurred, amateur-looking edges.
Apply minimum three coats across torso and back sections, allowing complete drying between each layer. Rushing this process causes color bleeding that’s nearly impossible to correct on fabric.
Patience is essential—apply at least three coats, fully drying each layer to prevent irreversible color bleeding.
For edge sealing methods, maintain firm brush pressure along template boundaries while pulling strokes inward toward the logo’s center rather than outward. This directional technique prevents paint from wicking beneath template edges.
The logo design should flow continuously from shoulder areas down through the arm sections, creating unified visual cohesion that photographs sharply under convention lighting conditions.
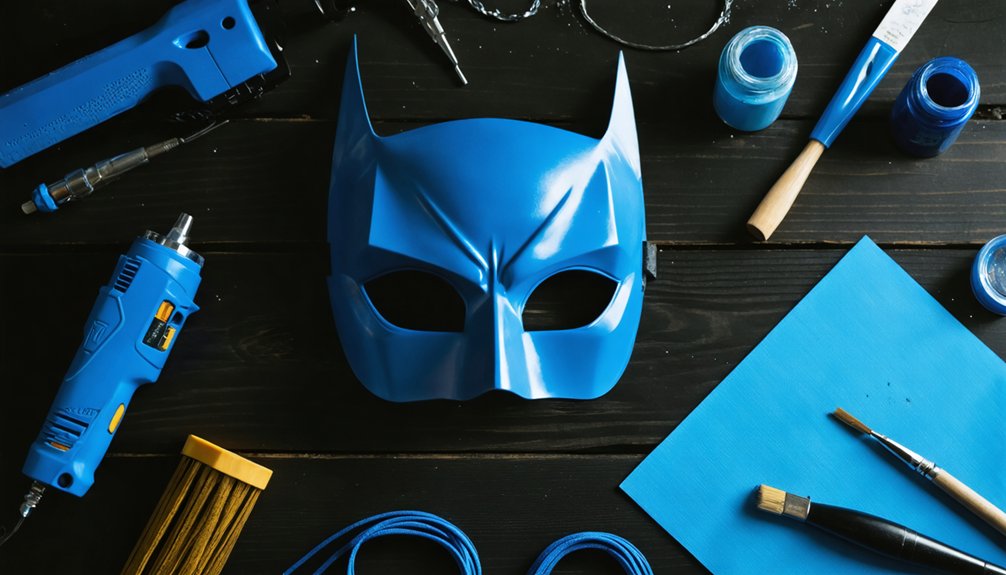
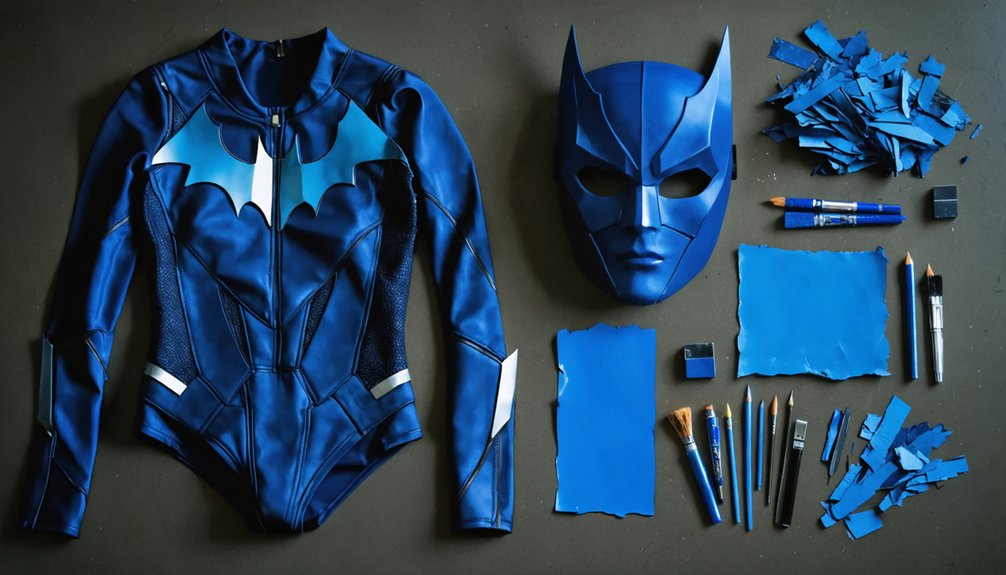
Make a Nightwing Mask That Actually Fits Your Face
Your mask serves as the single most important recognition element of the entire Nightwing costume, so getting the fit right determines whether viewers instantly identify the character or second-guess it.
Start by sourcing templates through Google image searches or hand-drawing variations based on your preferred Nightwing design iteration.
Print the template and test mask fitting techniques against your actual face before committing to final materials. Face shape considerations matter greatly here—wider faces require adjusted eye cutout spacing, while narrower faces need scaled-down templates to prevent gaps along the cheekbones.
Cut your final mask from thermoplastic or craft foam, then heat-form it directly against your face for a precise contour.
Secure the mask using elastic cord sized specifically to your head circumference, eliminating shifting during extended convention wear.
Shape Nightwing Foam Armor That Looks Like the Real Thing
With your mask complete, it’s time to build foam armor that commands attention.
Score 2mm EVA foam with a razor blade using controlled half-cuts, then apply heat to coax the material into organic muscle definition shapes.
For curved shoulder pads, cut 5mm craft foam, bevel the edges, and work a heat gun across the surface in smooth passes until the piece holds its contoured form permanently.
Foam Cutting Techniques
Achieving organic muscle definition in Nightwing’s foam armor starts with a razor blade technique: score a half-cut through 2mm EVA craft foam, then apply heat to coax the material into curved, body-contoured shapes.
This foam cutting method demands precision tools and a steady hand—inconsistent depth creates uneven bends that compromise the armor’s final silhouette.
For shoulder pads, switch to 5mm craft foam and apply your heat gun in controlled passes, forming beveled edges that mirror Arkham Knight’s tactical aesthetic.
Use contact cement to bond seamed pieces, keeping transitions smooth and aligned. Hot glue secures accent details where cement isn’t practical.
Every cut angle directly affects how light interacts with finished panels, so measure twice, cut once, and test heat application on scrap material first.
Shaping Curved Armor Pieces
Once your foam pieces are scored and ready, shaping them into realistic curved armor requires deliberate heat gun technique rather than brute force.
Hold the heat gun six inches from 5mm craft foam, moving continuously until the material becomes pliable, roughly eight to ten seconds.
For shoulder pad shaping techniques, press heated foam firmly against a rounded surface like a bowl or your knee, holding it steady for thirty seconds while it cools. This locks the curve permanently.
Beveled edges require additional targeted heat application along each edge separately before forming.
When working with curved armor sections, layer multiple shaped pieces using contact cement, aligning seams precisely to create seamless transitions that mirror professional-grade armor construction without visible gaps or distortion.
Add Escrima Sticks, Belts, and Boots That Finish the Look
Accessories transform a decent Nightwing suit into a convincing, screen-accurate costume that stands out on a convention floor.
Lightweight replica escrima sticks crafted from PVC pipe or foam-padded dowels deliver authenticity without straining your carrying capacity during extended convention hours. Sand edges smooth, prime surfaces, then apply matte black paint for a tactical, finished appearance.
For belt choices, select structured utility belts with defined pouches that complement your suit’s armored or spandex aesthetic. Avoid flimsy costume belts that sag under accessories.
Boot styles should prioritize function alongside visual accuracy. Tactical lace-up boots in matte black photograph exceptionally well and support hours of standing.
Follow these accessory tips: custom-size each element to your build, because proportional accessories elevate overall costume cohesion instantly.
Avoid These Nightwing Cosplay Mistakes That Ruin the Finished Look
Getting the accessories right brings you close to a finished costume, but common construction and assembly errors can undermine every hour of careful work you’ve put in.
Poor mask fitting ranks among the most damaging mistakes—a loose or misaligned mask shifts during wear and destroys design authenticity instantly. Always print and test templates before cutting final materials.
A poorly fitted mask shifts during wear—destroying design authenticity in an instant and undermining every hour of construction work.
Skipping fabric paint coats produces uneven opacity that photographs badly under convention lighting. Rushing foam heat-forming creates warped shoulder pads that gap at seams rather than conforming smoothly.
Applying contact cement without aligning seams first leaves visible shifts across armor panels. Under-reinforced Velcro and elastic attachments allow thigh guards to slide during movement.
Each skipped step compounds visually, producing a costume that reads as incomplete rather than purposefully constructed.
Frequently Asked Questions
How Much Does a Complete Nightwing Cosplay Costume Typically Cost to Build?
You’ll spend anywhere from $50 to $500 building a complete costume. Your cost breakdown hinges on sourcing materials wisely—lycra-spandex, EVA foam, fabric paint, and accessories can either drain your wallet or stretch your budget brilliantly.
Can Beginners Build a Nightwing Costume Without Prior Sewing Experience?
You don’t need beginner sewing skills to build a Nightwing costume. Purchase a pre-made black spandex base suit, then focus on costume modifications like attaching EVA foam armor pieces using contact cement and hot glue.
How Long Does Completing a Full Nightwing Cosplay Build Usually Take?
Spoiler alert: it won’t happen overnight. Expect two to four weeks, as fabric choices and color accuracy demand meticulous attention. You’ll refine foam armor, apply paint layers, and perfect every technical detail systematically.
Where Can Nightwing Cosplay Materials Be Purchased Online or Locally?
You’ll find fabric sources like Spandex World online, while retailers like Amazon stock EVA foam. Local shops and cosplay communities offer hands-on material selection, ensuring you’re sourcing precise lycra-spandex blends and craft foam efficiently.
How Do You Safely Store and Transport a Finished Nightwing Costume?
Like armor protecting a hero, your costume care demands respect. Store your Nightwing suit using breathable garment bags and rigid containers as storage solutions, keeping foam pieces separate to prevent compression damage during transport.
References
- https://www.youtube.com/watch?v=Wn9JRc9_-VU
- https://www.youtube.com/watch?v=3Bvl1BTh_OY
- https://northpennnow.com/news/2025/sep/30/nightwing-cosplay-buying-guide-5-proven-tips-for-the-perfect-fit/
- https://www.therpf.com/forums/threads/nightwing-cosplay-where-to-start.304088/