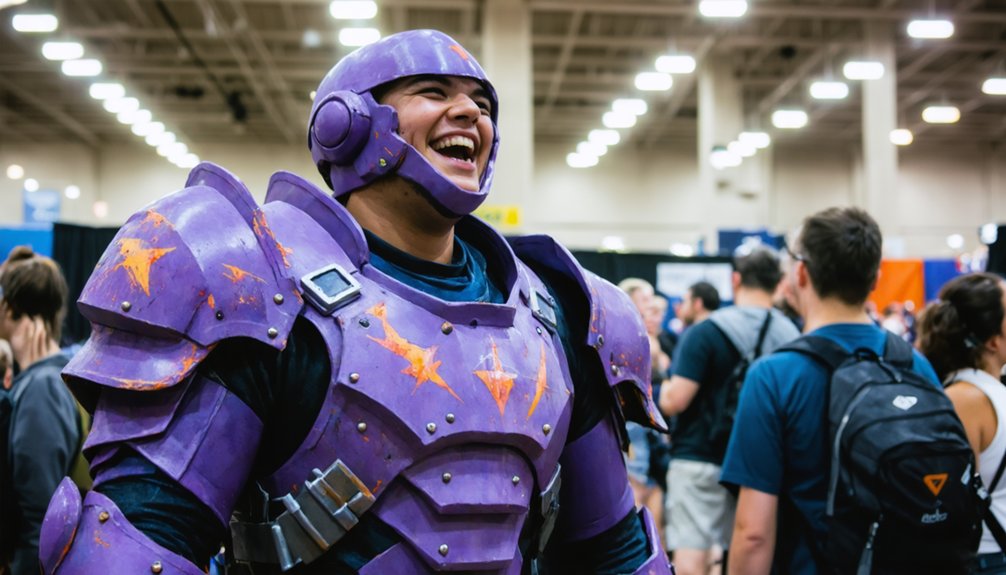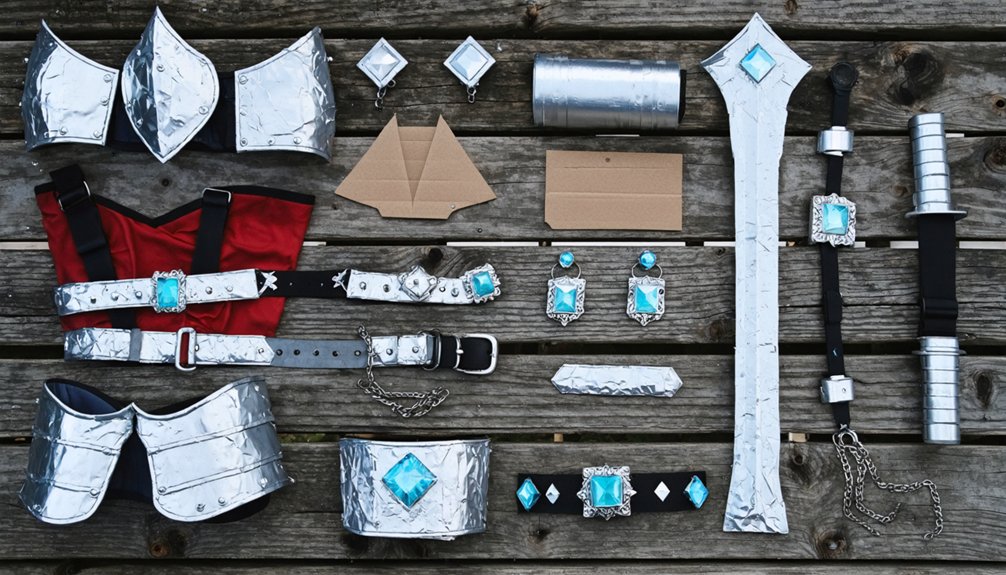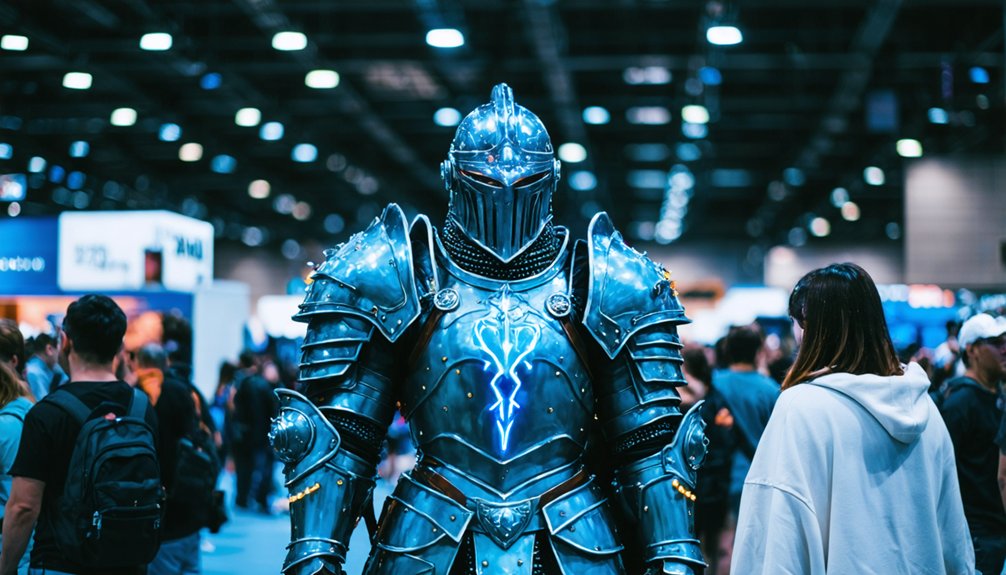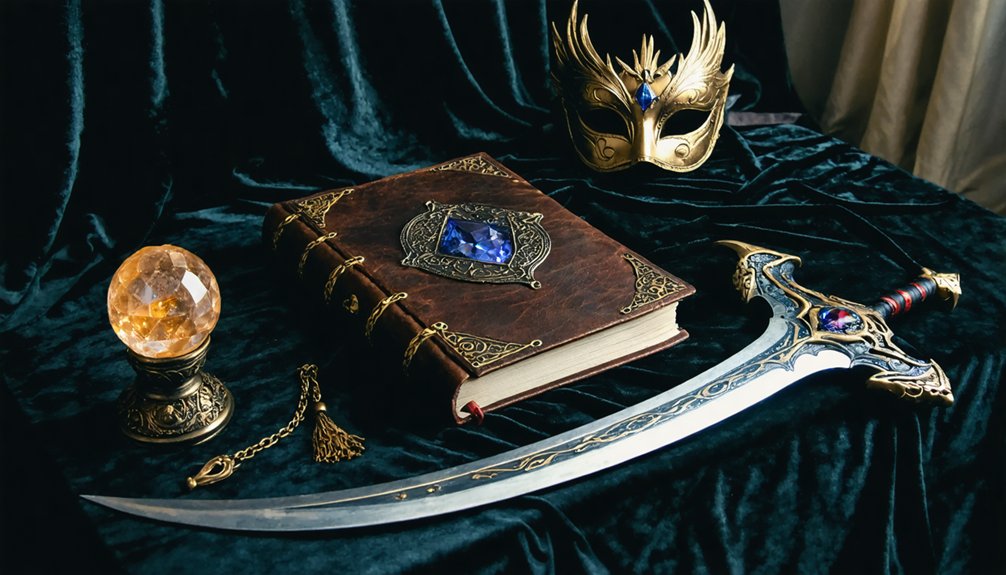
Your best cosplay props for event photography aren’t just accessories—they’re storytelling anchors that transform costumes into characters. Bold comic speech bubbles like “POW!” or “BOOM!” deliver instant visual impact, while weapons and shields create dynamic depth when angled diagonally. Capes add kinetic energy mid-billow, and masks demand strategic lighting to avoid looking flat. Choose props with strong textures, proper scale, and color coordination with your costume. Stick around, and you’ll discover exactly how to make every prop shine.
Key Takeaways
- Comic-inspired props like bold speech bubbles (“POW!” or “BOOM!”) made from reinforced foam create immediate visual impact in event photography.
- Weapons and shields angled diagonally and extended outward add depth and drama without obscuring the cosplayer’s facial expressions.
- Capes and flowing fabric props capture kinetic energy when shot mid-billow using fast shutter speeds from low camera angles.
- Props with bold textures and finishes interact better with lighting, enhancing detail and creating more visually compelling event photographs.
- Color-coordinated props and costumes improve visual cohesion, making compositions more striking and narrative-driven in event photography settings.
Why Cosplay Props Make or Break Event Photos
When you step into a cosplay shoot, your props aren’t just accessories—they’re the visual anchors that transform a costume into a character. A flimsy sword or poorly matched shield instantly breaks immersion, while a well-crafted prop with solid cosplay prop durability commands attention and survives high-energy action shots.
Every detail matters technically—texture, scale, and finish all interact with your lighting setup to either elevate or flatten your imagery.
Texture, scale, and finish aren’t minor details—they’re the technical variables that make or break your entire lighting setup.
Costume color coordination is equally critical. A prop that clashes with your costume’s palette fragments the viewer’s eye, destroying visual cohesion. Conversely, intentionally matched tones create a unified, dynamic composition that reads powerfully on camera.
Your props dictate posing possibilities, depth, and storytelling. Choose them strategically, and they’ll define every compelling frame you capture.
Comic Props That Read Clearly in Event Photography
Because event photography demands instant visual impact, comic-inspired props are your strongest storytelling tools in a crowded shoot. Bold speech bubbles screaming “POW!” or “BOOM!” translate instantly across wide-angle frames, cutting through visual noise with vibrant color that cameras love.
Choose props built for prop durability — reinforced foam boards or laminated prints withstand hours of handling without warping or fading under harsh event lighting. Pair your speech bubbles with graphic comic-style sunglasses or vintage-styled capes to layer visual depth into every shot.
Position props deliberately: keep them angled toward your light source so bold graphic designs pop rather than flatten. Lunge forward, hold that bubble mid-swing, and let dynamic movement amplify the comic aesthetic. Your props should scream energy before viewers read a single caption.
How Masks and Capes Behave Differently on Camera
When you strap on a mask, you’re trading facial depth for a flat surface that the camera reads as a single plane, so lighting angles become critical to avoid a lifeless, mannequin effect.
Your cape, however, behaves like a living element—catch it mid-billow and you’ve instantly injected kinetic energy into an otherwise static frame. Push your lighting setup to graze across both surfaces, because that raking light exposes the texture contrast between a rigid mask and flowing fabric in ways flat, frontal light completely destroys.
Masks Flatten Facial Depth
Masks and capes behave like opposites on camera — one flattens, the other flows. When you wear a mask, it eliminates the natural contours that light uses to define your face. Suddenly, your facial expression disappears, and the mask design becomes the dominant visual element. That’s not a flaw — it’s a technical reality you can exploit creatively.
To counter flattening, you’ll want directional lighting hitting the mask at sharp angles, carving out shadow and dimension artificially. Position your light source low or to the side, forcing depth back into an otherwise two-dimensional surface.
Tilt your head slightly to introduce geometry. Choose mask designs with raised textures or bold graphic patterns — they catch light dramatically and transform flat surfaces into dynamic focal points your camera absolutely loves.
Capes Create Motion Drama
Capes behave like liquid fabric on camera — they flow, billow, and trail in ways that inject immediate kinetic energy into an otherwise static frame. Unlike masks, which anchor expression to a fixed surface, capes’ motion transforms your entire silhouette into a dynamic element. You’re not just wearing a prop; you’re wielding one.
To maximize prop flow, time your shutter release at peak extension — that split second when fabric fully unfurls before gravity reclaims it. Use a fast shutter speed (1/500s or higher) to freeze dramatic arcs sharply.
Alternatively, dial down to 1/100s for intentional motion blur that amplifies velocity.
Position yourself against contrasting backgrounds so the cape’s edges read cleanly. Low angles amplify its scale, making every sweep feel monumental and cinematic.
Lighting Reveals Texture Differences
Shine a light on a mask and it bounces back hard — glossy surfaces catch specular highlights that define edges and create dramatic contrast. Capes absorb light differently, producing soft shadow play across fabric folds. That texture contrast transforms your shot entirely.
Here’s how to maximize both:
- Position rim lights at 45-degree angles behind your subject to separate mask edges from the background.
- Use incandescent bulbs for capes — warmer tones reveal fabric depth and dimensional folds beautifully.
- Switch to compact fluorescent bulbs for masks — colder light sharpens glossy surface reflections and intensifies shadow play.
- Test low-angle lighting to amplify texture contrast between rigid mask materials and flowing cape textiles simultaneously.
Your lighting setup literally rewrites how each prop communicates on camera.
Best Lighting Setups for Cosplay Event Photography
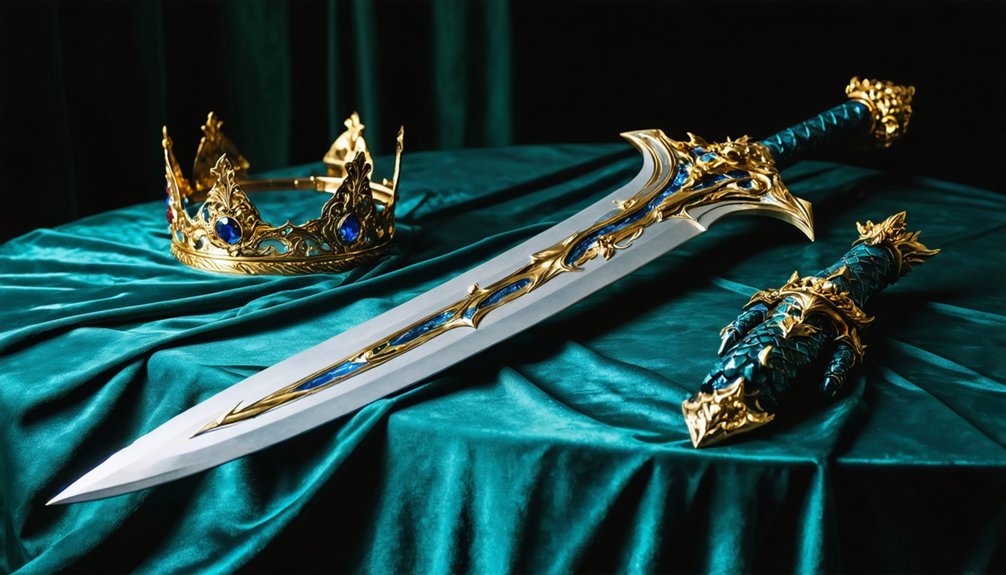
You don’t need expensive studio gear — can lights from your local hardware store run just $5–$10 each and deliver surprisingly powerful results.
Swap in compact fluorescent bulbs for crisp, cold tones that make vibrant costume colors pop, or use incandescent bulbs to pull out warm texture details in fabric and props.
Set up four lights strategically to create a rim effect that wraps your subject in definition and floods the frame with balanced, dynamic illumination.
Hardware Store Light Options
Why spend a fortune on studio gear when hardware store lights cost just $5–$10 each? You’ll achieve stunning cosplay photography with these affordable lighting accessories while preserving your budget for prop durability upgrades.
Here’s how to maximize hardware store lights:
- Clamp them strategically — Secure lights to shelves or stands for stable, adjustable positioning during shoots.
- Mix bulb types — Combine incandescent bulbs for warm detail illumination with compact fluorescent bulbs for cooler dramatic tones.
- Build a four-light setup — Create rim lighting effects that make costumes and props visually pop.
- Experiment with angles — Reposition lights dynamically to eliminate harsh shadows on intricate prop details.
You’re fundamentally building a professional-grade studio setup without professional-grade costs — pure innovation on a tight budget.
Bulb Types And Tones
Once you’ve locked in your hardware store lights, the bulb you screw in transforms everything — color, mood, and detail all shift dramatically based on your choice. Compact fluorescent bulbs push colder, bluish tones that make neon accents on sci-fi costumes absolutely electric. They sharpen edge details and intensify bold color contrasts across reflective surfaces like armor plating or metallic accessories.
Switch to incandescent bulbs, and you’ll instantly inject warmth — skin tones glow naturally, and fantasy or period costumes gain rich, textured dimension. Mixing both bulb types within your four-light setup lets you control directional temperature with precision, sculpting light exactly where drama needs it most.
Test each combination deliberately, review your shots critically, and you’ll dial in a signature look that elevates every cosplay capture.
Four-Light Rim Effects
Four lights change everything about how your cosplay reads on camera — and when you arrange them strategically, you’ll sculpt dimension that flat, single-source setups simply can’t deliver. Your props arrangement and costume accessories gain sharp definition, separating you from the background with professional-grade impact.
Here’s your four-light rim setup breakdown:
- Key light — Position at 45 degrees to illuminate your primary costume accessories and facial features.
- Fill light — Place opposite the key to soften harsh shadows across your props arrangement.
- Rim light one — Set behind your left shoulder, carving your silhouette.
- Rim light two — Mirror it on the right, creating that electric, comic-inspired glow that makes cosplay photography genuinely electric.
Each light earns its place deliberately.
Dynamic Cosplay Poses That Bring Props to Life
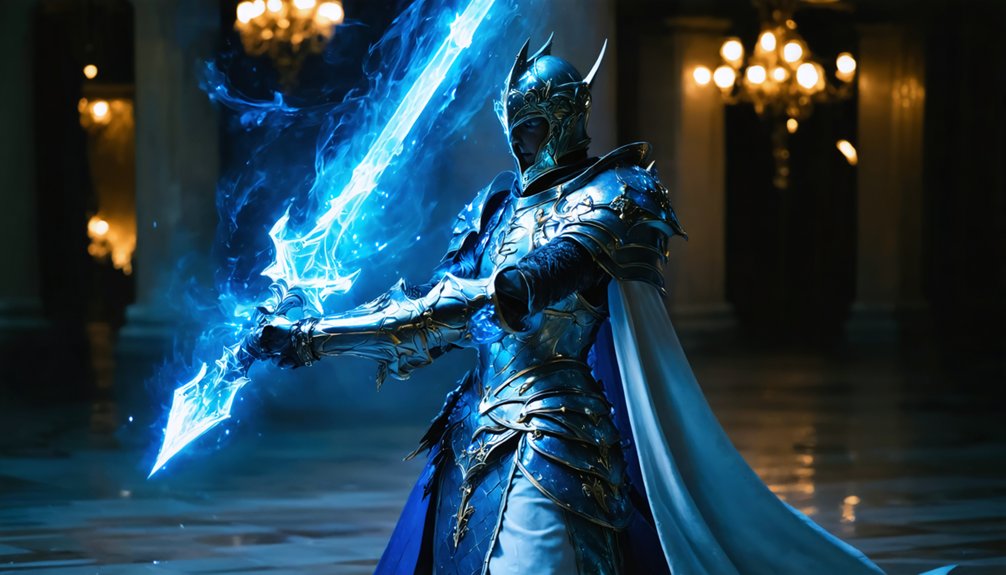
When you nail a dynamic pose, your props transform from accessories into storytelling tools that leap off the screen. Lunge forward aggressively while holding your weapon mid-swing, instantly amplifying the action’s intensity. Turn your body away from the camera, then glance back sharply — it creates irresistible tension.
Strategic angles matter enormously. Use low camera positions to magnify weapons, leveraging perspective for a larger-than-life effect. Confirm prop durability before attempting high-energy poses; a fragile piece won’t survive repeated lunges or swings during a shoot.
Color coordination between your costume and props reinforces visual cohesion, making every frame pop with intentional artistry. Practice variations in front of a mirror first, testing facial expressions alongside body positioning. Then shoot timer-based test shots to review and refine your execution.
How to Position Props Without Hiding Your Face
Positioning props strategically separates a mesmerizing cosplay shot from one where your face disappears behind foam and fabric. Mastering prop positioning keeps your face visibility front and center while amplifying your character’s power.
- Angle weapons diagonally — tilt swords or staffs across your body rather than vertically in front of your face.
- Use low camera angles — shooting upward magnifies props while naturally revealing your full facial expression above them.
- Extend props outward — push shields or oversized items sideways, creating depth without blocking your features.
- Layer cloaks behind you — drape flowing fabric backward so movement frames your face instead of consuming it.
These techniques guarantee your expression drives the story, transforming props into powerful supporting elements rather than unwanted obstacles.
Character Gestures That Match Your Cosplay Style
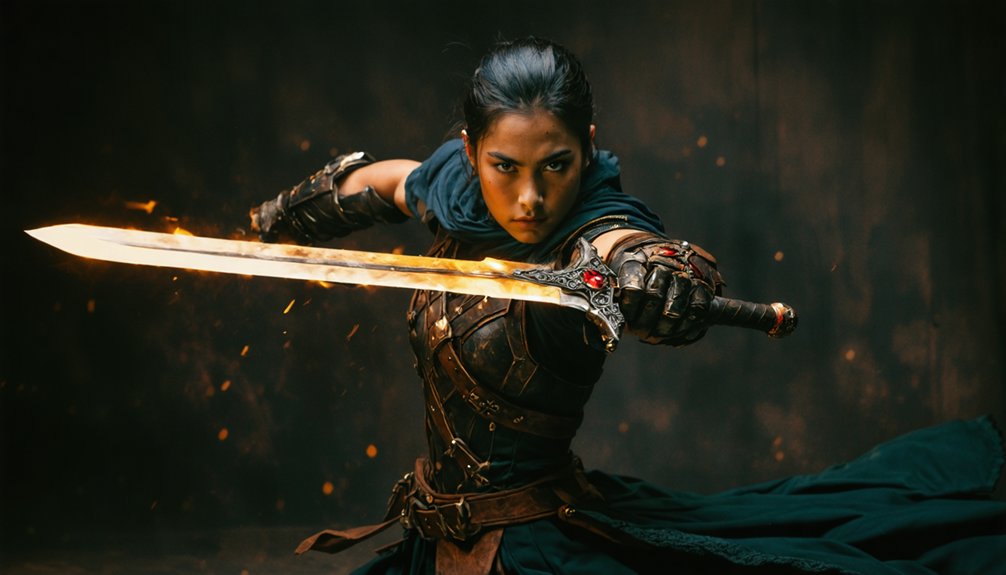
Matching your gestures to your character’s essence transforms a costume into a living, breathing persona. You’re not just wearing a costume — you’re embodying a personality through deliberate movement and expression.
A costume becomes a character the moment your gestures, posture, and expression move with genuine intention.
For regal characters like Princess Serenity, deploy expressive hand gestures with flowing, graceful arm movements paired with a straight back and softly relaxed shoulders. A subtle head tilt combined with arms positioned at your hips instantly communicates elegance and authority.
Facial expression calibration matters enormously here. Practice shy, innocent looks for delicate characters or sharp, intense stares for warriors. Stand before a mirror and systematically test expression variations until each feels instinctive.
Action-driven characters demand forward lunges and dynamic arm positioning, while nature-inspired characters photograph beautifully in outdoor settings that amplify their organic energy. Your body language completes the story your costume begins.
Low Angles and Perspective Tricks for Bigger Impact
Beyond mastering gesture and expression, your camera’s physical position reveals another layer of visual storytelling. Low angles manipulate depth perception, transforming props and costumes into cinematic powerhouses. You’ll create striking optical illusions that make subjects appear larger, stronger, and more commanding.
- Crouch below weapon props — shooting upward magnifies blades, staffs, or hammers dramatically against the sky.
- Position capes mid-billow — low angles catch flowing fabric expansively, amplifying movement and scale.
- Angle toward props first — let foreground items dominate the frame while your subject commands the background.
- Leverage wide-angle lenses — they intensify perspective distortion, pushing depth perception into overdrive for larger-than-life results.
Experiment aggressively with these techniques. Your cosplay photography will instantly gain professional-grade visual impact.
How to Rehearse Cosplay Poses Before the Event
Before the event, rehearsing your poses transforms nervous energy into confident muscle memory. Stand in front of a mirror and experiment with every angle — tilt your head, shift your weight, and test dramatic stances that complement your costume’s character.
Rehearsing poses before the event transforms nervous energy into confident, camera-ready muscle memory.
Practice your facial expressions relentlessly; subtle shifts between fierce, playful, and stoic looks dramatically elevate your final shots.
Master prop handling by carrying or wielding your prop in multiple ways, discovering which grip feels natural yet visually striking. Use your phone’s timer to shoot test shots, then review them critically — identifying awkward wrist positions or blocked focal points.
Adjust your posture, refine your inclination angles, and repeat. This technical rehearsal process builds precision, so when the event arrives, you’re delivering dynamic, camera-ready performances effortlessly.
Frequently Asked Questions
What Materials Are Most Durable for Cosplay Props at Outdoor Events?
For prop durability, you’ll want EVA foam, Worbla, or PVC—they’re lightweight yet resilient! Material selection matters outdoors; these options resist weather, handle rough handling enthusiastically, and keep your cosplay looking strikingly sharp throughout any dynamic event photography session!
Can Cosplay Props Be Transported Safely Without Damage During Travel?
Imagine your vibrant props arriving flawless! You can transport cosplay props safely—use padded cases for prop storage and follow smart transportation tips like wrapping delicate pieces, securing capes, and disassembling larger items to prevent damage during travel.
Are There Weight Limits for Props Allowed Inside Convention Venues?
Most venues enforce prop weight restrictions and prop size limitations, so you’ll want to check specific convention rules beforehand! Lightweight materials like foam keep your builds convention-approved while delivering stunning visual impact for dynamic event photography!
How Do You Protect Props From Weather During Outdoor Event Photography?
Protect your props with weatherproof coatings that’ll shield against moisture and UV damage! You’ll want smart storage solutions like sealed cases between shoots. Embrace innovative materials, wrap delicate pieces, and you’re ready for any outdoor photography adventure!
What Budget Range Should Beginners Expect When Purchasing Cosplay Props?
You’ll spend everything imagining epic setups, but cosplay prop pricing stays surprisingly affordable! For beginner budget planning, you’re looking at $5–$10 lighting essentials from hardware stores, keeping your creative investment minimal while maximizing stunning, innovative event photography results dramatically!
References
- https://kingprops.com/blogs/news/top-10-must-have-photo-booth-props-for-every-event
- https://www.youtube.com/watch?v=pLz1WCVv1DA
- https://www.deviantart.com/zelda006/art/Cosplay-Photography-Guide-Must-Have-Props-1191428565