You can build convincing cyberpunk props using EVA foam, basic hand tools, and thrift store materials. Start with 6mm HD foam for carved armor panels, then seal everything with Plasti Dip before painting. Use dry-brushed metallics, acrylic washes, and stippled grime to nail that battle-worn aesthetic. Add LED strips and strategic greebles for authentic tech detail. Master these core techniques first, and the more advanced builds you’re about to discover will come together fast.
Key Takeaways
- Use EVA foam and 6mm HD foam to build modular cyberpunk props like arm panels and tech pistols with durability and flexibility.
- Apply Plasti Dip as a base coat to create a paint-receptive, flexible skin that allows embedded mechanical details for realism.
- Reference Cyberpunk 2077 character designs for prop silhouettes, ensuring authentic aesthetic accuracy in your builds.
- Integrate small LED strips into props for dynamic lighting effects that enhance the cyberpunk aesthetic significantly.
- Achieve a battle-worn finish by combining acrylic washes, dry-brushed metallic tones, and stippled grime textures strategically.
Thrift Store Finds for Your Cyberpunk Costume Base

Thrift stores are your best starting point for building a cyberpunk costume base without breaking the bank. Hunt for thrift store jackets with structured shoulders, sharp collars, or asymmetrical cuts that already carry that dystopian edge.
Layer vintage clothing strategically — worn denim under a beaten leather jacket creates immediate visual depth and textural contrast. You’re building costume layering through deliberate material stacking, not random accumulation.
Grab belts, boots, and hats that you can modify with paint and hand tools for custom cyberpunk accessories. Motorcycle gloves instantly sharpen the aesthetic and add functional grittiness.
Use elastic cord or leather scraps to attach additional straps and components directly to your thrifted base. Every piece you select should serve both visual and structural purpose within your final costume design.
Best DIY Cyberpunk Props to Build as a Beginner
Once you’ve built your costume base, foam props are where beginner cyberpunk builds really take shape.
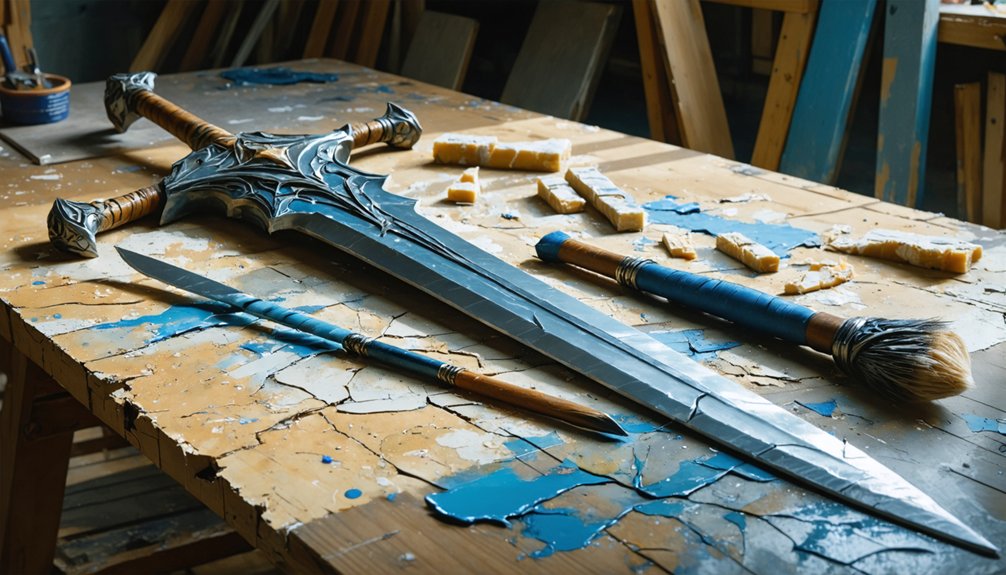
Start with EVA foam dowels and 6mm HD foam to construct modular designs like arm panels, shoulder guards, or a tech pistol.
Apply Plasti Dip for weathering effects that mimic battle-worn surfaces, then layer color palettes using an acid brush for precision depth.
Reference character inspirations from Cyberpunk 2077 to guide your prop silhouettes and proportions.
Integrate prop lighting by punching clean holes with an awl and threading small LED strips through.
Combine upcycled accessories and thrifted textiles with foam elements using double-sided tape or Pros-Aide for secure, low-profile attachment.
Layering techniques—paint, texture, and greebles—transform basic foam cuts into convincing, high-detail cyberpunk hardware.
Which Foam Materials Work Best for Cyberpunk Props?
For cyberpunk props, you’ll want to work primarily with EVA foam dowels for fine details and 6mm HD foam for textured blocks and cut-down shapes.
Meanwhile, foam board from your local craft store gives you a reliable rigid base.
Once you’ve shaped your pieces with an X-ACTO knife or rotary tool, hit them with a heat gun to harden the surface and knock back any rough edges before sanding smooth.
Finishing with Plasti Dip gives your foam that gritty, industrial tech texture that sells the cyberpunk aesthetic instantly.
Best Foam Types
When building cyberpunk props, three foam materials consistently outperform the rest: EVA foam dowels, 6mm HD foam, and foam board. Each delivers distinct advantages based on your build’s demands.
EVA foam dowels excel in foam durability and foam flexibility, bending without cracking under stress — perfect for cylindrical details and barrel accents. Their foam density holds paint cleanly, sharpening foam aesthetics on finished pieces.
6mm HD foam offers tight foam textures ideal for cut-down blocks, panel lines, and layered surface details. It carves precisely with an X-ACTO knife and responds well to heat gun shaping.
Foam board handles structural bases where rigidity matters. Stack it with HD foam layers to build depth, contrast flat planes against curved EVA elements, and create visually complex, mechanically convincing cyberpunk props.
Foam Finishing Techniques
Finishing foam transforms raw cuts into convincing cyberpunk hardware, and your material choice determines which techniques actually stick.
Start your foam sealing techniques with Plasti Dip, spraying thin coats over EVA foam to build a flexible, paint-receptive skin that resists cracking. Heat your foam surface lightly beforehand using a heat gun to close open cells and improve adhesion.
For texture layering methods, press styrene scraps, greebles, or foam offcuts into partially dried Plasti Dip to embed mechanical detail directly into the surface.
Follow with acrylic washes using an acid brush, pushing paint into recesses to highlight depth. Finish with drybrushing metallic tones over raised edges, selling the worn-tech aesthetic.
Each layer compounds visual complexity without adding significant weight.
Free Templates and Blueprints to Plan Your Build
Planning your build starts with a solid blueprint, and sksprops.com/templates offers free downloadable patterns that take the guesswork out of prop scaling and shaping. These digital downloads provide precise layout strategies for cutting foam, positioning greebles, and aligning structural elements accurately.
Use printable patterns directly on EVA foam or foam board by taping sheets together and tracing outlines with a white marker. Blueprint customization becomes straightforward when you scale templates in any PDF viewer before printing. Adjust dimensions to match your body proportions or specific prop measurements.
Supplement these free design resources with geometric drafting templates and a speed square for clean angular cuts. Combining multiple design resources lets you layer detail complexity across your build efficiently, keeping every panel symmetrical and intentional.
Essential Tools for Clean Cyberpunk Prop Cuts and Details

Once you’ve got your blueprints ready, the right cutting tools make all the difference — an X-ACTO knife handles precise foam lines while a rotary tool carves out recessed details and beveled edges that give props their gritty, mechanical look.
You’ll also want a heat gun to shape curves and sandpaper to smooth surfaces before painting, both essential for achieving clean, professional finishes on EVA foam builds.
Before any cut, use a speed square or geometric drafting template to mark accurate angles with a white marker, keeping your geometry tight and your panel lines sharp.
Cutting Tools That Matter
Whether you’re slicing through EVA foam or trimming styrene sheets, the right cutting tools make the difference between clean, sharp edges and ragged, uneven cuts that ruin a prop’s finish.
Your X-ACTO knife handles intricate cutting techniques on thin foam layers, while a rotary tool grinds bevels and etches surface details into harder materials like styrene. Use a speed square to guide straight cuts, eliminating drift that distorts your prop’s geometry.
Tool maintenance directly impacts cut quality. Replace X-ACTO blades frequently — dull blades tear foam rather than slice it. Keep your rotary tool’s bits clean and debris-free for consistent performance.
A white marker lets you pre-map cut lines visually before committing, saving material and sharpening your overall build accuracy.
Shaping and Detailing Essentials
Cutting gives you clean edges, but shaping turns flat foam into convincing three-dimensional hardware. Your rotary tool handles aggressive shaping techniques — carving channels, beveling edges, and hollowing recesses that make props read as mechanical components.
Apply heat from your gun to bend EVA foam into curved panels without cracking. For foam sculpting, use sandpaper to refine contours after heat-forming, working from coarse to fine grit.
Detailing methods include pressing an awl or center punch into foam surfaces to create bolt holes and panel indentations. Texture application comes next — Plasti Dip brushed or stippled onto foam mimics industrial surfaces convincingly.
During prop assembly, layer your textured pieces using contact cement, ensuring each component aligns precisely before committing. Tight seams and deliberate surface variation define professional-quality cyberpunk builds.
Measuring for Precise Cuts
Accurate measurements separate amateur builds from polished props, so before you score a single line, grab your speed square and geometric drafting template.
These precision tools lock in consistent angles and eliminate guesswork across repeated foam cuts.
Apply these measuring techniques before every cut:
- Mark cut lines using a white marker against your speed square’s edge, keeping strokes thin and deliberate for zero drift.
- Verify angles with your geometric drafting template, especially on beveled armor panels where misalignment shows immediately.
- Double-check foam thickness using calipers before scoring, since 6mm HD foam can vary slightly between sheets.
Transfer measurements directly onto foam surfaces, never eyeballing distances.
Your finished cyberpunk prop’s crisp geometry depends entirely on disciplined pre-cut planning.
Paint and Texture Tricks for a Gritty Cyberpunk Finish

A few key techniques can transform plain foam and fabric into battle-worn cyberpunk surfaces that look like they’ve survived a dystopian street brawl.
Start with paint layering — apply dark base coats first, then build metallic finishes using dry-brushed silver or copper over raised edges.
Texture techniques like stippling with a torn sponge create convincing grime application across flat panels.
You’ll want strong color contrasts — deep blacks against electric blues or acid greens — to amplify that neon-soaked aesthetic.
For weathering effects, drag sandpaper across dried paint layers to reveal convincing wear.
An acid brush delivers precise detail highlights along beveled edges and mechanical joints.
Finally, control light reflections by sealing matte surfaces selectively, leaving metallic zones glossy to simulate functional tech components.
How to Finish Cyberpunk Foam Props With Greebles and Lights
Greebles and embedded lights are what separate a flat foam prop from something that looks pulled straight out of a dystopian megacity. Scrap greeble techniques using offcut foam, spare screws, and found objects build prop layering that sells authenticity through texture integration.
- Modular components: Glue greebles in clustered zones, mixing styrene strips with foam blocks for aesthetic cohesion across your design inspiration.
- Lighting effects: Recess LED strips or single diodes beneath translucent styrene panels, balancing functionality with thematic elements like glowing circuitry or power cores.
- Color schemes: Hit greebled sections with dark washes, then dry-brush metallic tones to unify each modular zone.
You’re not decorating—you’re engineering visual complexity that makes every surface demand a second look.
Build a Cyberpunk Tech Shotgun in One Day

Building a foam-based cyberpunk tech shotgun in a single day is achievable if you break the process into fast, sequential stages.
Start your one day build by cutting your EVA foam body panels using free blueprints from sksprops.com/templates. Use an X-ACTO knife for clean edges and a rotary tool to carve mechanical recesses that reinforce authentic tech shotgun mechanics.
Apply Plasti Dip over shaped foam to create rigid, textured surfaces resembling industrial hardware. Layer styrene sheet panels along the barrel for structural rigidity.
Punch mounting holes with an awl, then attach strap points using elastic cord. Finish with dry-brushed metallic paint, adding scrap greebles to high-visibility zones.
Your completed prop communicates functional complexity without requiring multiple build sessions.
Frequently Asked Questions
Can Cyberpunk Props Be Safely Displayed at All Convention Venues?
No, you can’t display cyberpunk props at all venues. Always check each convention’s guidelines beforehand, as prop safety rules vary — some restrict realistic weapons, sharp edges, or oversized builds, so confirm compliance before attending.
How Do You Store Large Foam Props Without Damaging Them?
Store large foam props vertically in climate-controlled spaces to guarantee ideal foam protection. You’ll want to wrap them in breathable fabric, avoiding plastic. Use padded hooks or custom foam stands for safe, damage-free prop storage.
Are There Cyberpunk Cosplay Communities for Beginners to Join Online?
Yes, you’ll find thriving beginner resources online — Reddit’s r/cosplay and Discord servers connect you directly with experienced makers. Immerse yourself in community events like TwitchCon meetups, where you’ll discover cyberpunk builders sharing foam techniques and innovative prop-making workflows.
What Is the Average Total Cost of a Full Cyberpunk Costume?
You’ll spend $50–$300 total with smart cost breakdown strategies. Hit thrift stores for clothing foundations, source free blueprint templates, and use budget tips like EVA foam and Plasti Dip for striking, tech-forward visual results.
How Do You Transport Fragile Cyberpunk Props to Conventions Safely?
Coincidentally, foam—your build material—doubles as your best transport solution. For prop packing, wrap fragile pieces in EVA foam scraps, secure straps with elastic cord, and use rigid foam board-lined cases to absorb convention floor impacts effectively.
References
- https://www.youtube.com/watch?v=FpJiCXB0Wyc
- https://www.youtube.com/watch?v=ELPTerVIM_M
- https://www.punishedprops.com/2018/11/16/one-day-build-cyberpunk-2077-inspired-costume-how-to/
- https://www.youtube.com/watch?v=VXiXc8KBdSc
- https://www.youtube.com/shorts/Cf9bXuimhoU
- https://www.youtube.com/playlist?list=PLKkAjHV6rbUdd0wRzuUjuZxyvGIQr73jK