Coordinate your group’s makeup styles before the event by establishing unified color palettes and technical approaches that complement each character. You’ll need to master foundation matching, strategic contouring for character definition, and eyebrow transformation techniques using brow glue and concealer. Apply eyeshadow primer before dramatic eye effects, use cool-toned contours in natural shadow zones, and lock everything with translucent powder and setting spray. Test your complete looks under convention lighting conditions together, and the detailed guide below reveals advanced techniques for seamless character transformation.
Key Takeaways
- Coordinate makeup styles with your group after character assignments to ensure visual consistency and cohesive storytelling across the ensemble.
- Prepare skin thoroughly with cleansing, moisturizing, and primer, then lock makeup with setting powder and spray for all-day wear.
- Transform eyebrows using brow glue and concealer, then redraw them higher to match your character’s distinctive facial features.
- Apply strategic contouring based on character references, using cool-toned powders in natural shadow zones for dramatic definition.
- Create bold eye effects with primer, dark eyeshadows, sharp winged eyeliner, and dramatic lashes to match character intensity.
Coordinate Your Character Makeup Styles Early
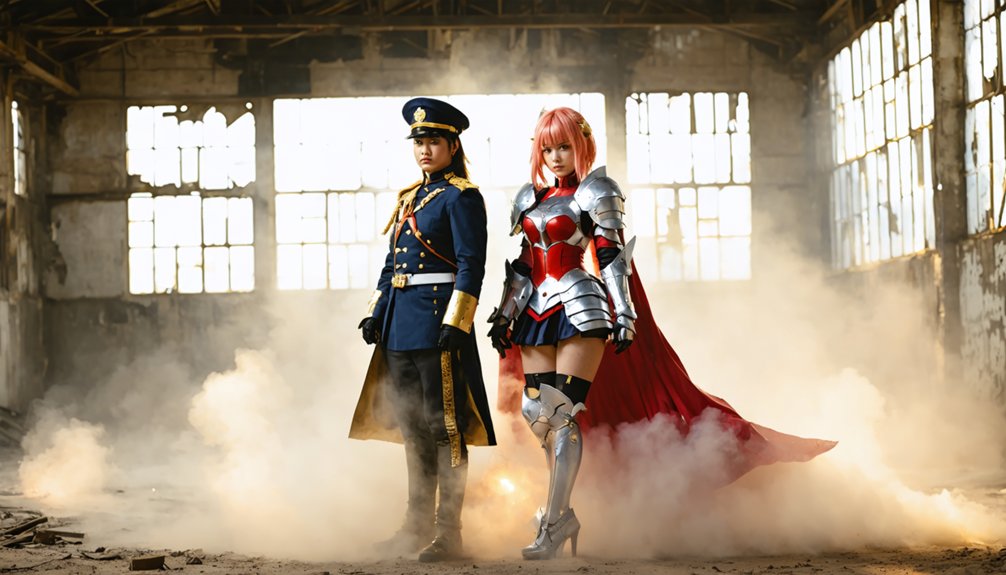
Before you apply a single stroke of foundation, establish a unified visual strategy with your cosplay group. Coordinate makeup styles immediately after character assignments to guarantee technical consistency across your ensemble.
Share role-specific tutorials that address each character’s distinctive features—whether that’s Sailor Moon’s soft, doe-eyed aesthetic or Sailor Mars’s sharper contours.
Align makeup with costume designs by matching color intensity, undertones, and stylistic elements. If your group’s wearing bold, saturated costumes, amplify pigmentation in your makeup application. Conversely, pastel palettes require softer blending techniques and lighter product buildups.
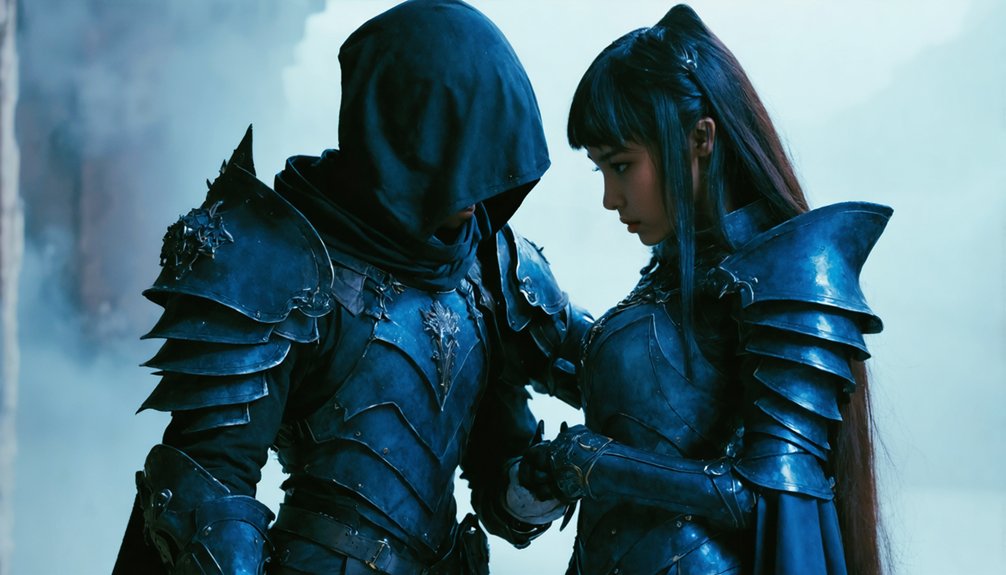
Create a shared reference board documenting each member’s planned techniques, product selections, and color schemes. This ensures your group presents cohesive visual storytelling rather than disconnected interpretations. Schedule test runs where everyone applies their looks simultaneously, identifying inconsistencies before event day.
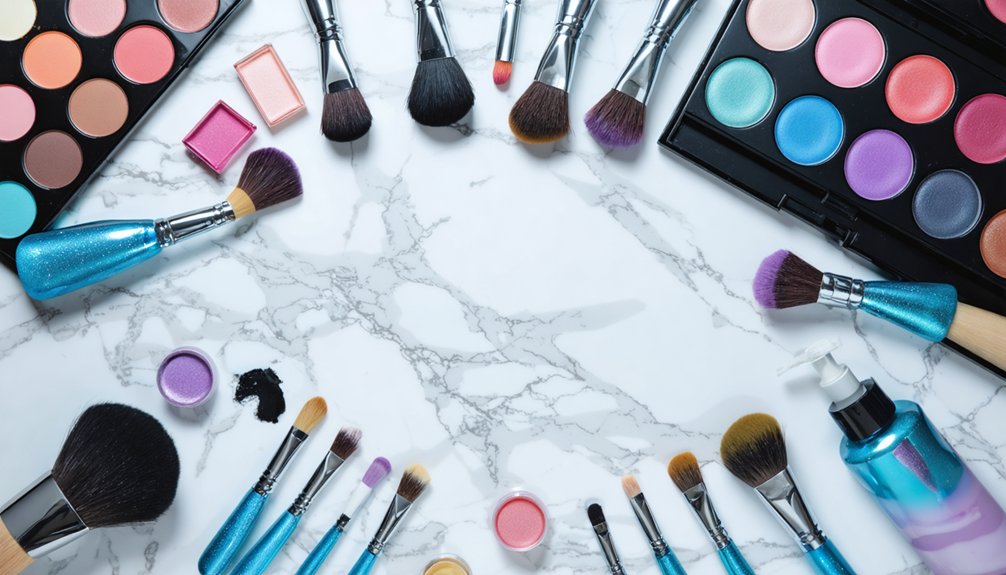
Master Essential Skin Preparation Techniques
When executing group cosplay makeup, proper skin preparation determines whether your foundation survives a twelve-hour convention or breaks down within the first panel. Implement a thorough cleansing routine immediately before application—washing hands and face within minutes prevents bacterial recontamination that compromises makeup integrity. For outdoor events, wet wipes provide effective alternatives when water access isn’t available.
Achieve appropriate moisturization levels matching your skin type. Oily complexions require matte formulations, while dry skin demands hydrating bases. Well-moisturized epidermis creates the supple canvas necessary for seamless foundation gliding and color distribution.
Execute exfoliation 24-48 hours pre-event, followed by intensive moisturization to eliminate texture irregularities. Apply translucent setting powder during foundation’s tacky stage, then lock everything with setting spray. This layered approach withstands environmental factors throughout extended wear periods.
Perfect Eyebrow Transformation Methods
Eyebrow transformation represents the most challenging aspect of character-accurate cosplay makeup, particularly when recreating anime or fantasy characters with unconventional brow colors and placements. Begin by cleansing thoroughly, then apply brow glue like Got2B Glued with a fine brush, pressing flat with cotton swabs. After 1-2 minutes, dust translucent powder to set.
Product application methods require full-coverage concealer and foundation for seamless coverage. For dark brows, pat primer-like products to achieve light white-grey tones within minutes.
Color selection techniques involve matching eyeshadow to your wig using light patting motions with angled brushes. Liquid lipsticks from Colourpop, NYX, or Freeset provide superior staying power when applied with spoolies. Draw new brow shapes higher on your forehead, then seal with setting spray for extended wear during group performances.
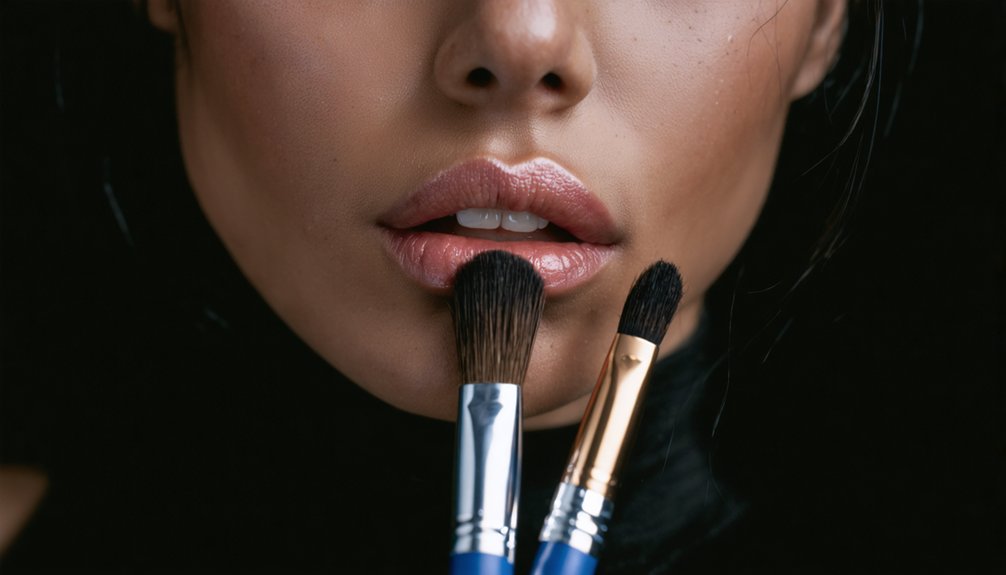
Apply Strategic Contouring for Character Definition
Strategic contouring reshapes your facial structure to match your character’s defining features—whether that’s sharp jawlines, pronounced cheekbones, or slimmed nose bridges. You’ll use cool-toned contour powders in natural shadow zones (temples, hollows of cheeks, jawline) and blend passages heavily with angled brushes to eliminate harsh edges that photograph poorly.
Lock everything with translucent setting powder like Coty Airspun to withstand convention lighting and extended wear periods.
Match Character Facial Structure
Character-accurate contouring requires mapping facial shadows directly from reference images rather than following generic makeup tutorials. Custom character facial feature mapping begins where brows meet your nose bridge, extending around the tip for definition.
Apply shadows under your lower lip and along your jawline to create angular structure matching your character’s bone structure. Sculpting with cream contours offers beginners easier placement control—select cool-toned browns with grey undertones to mimic natural shadows, avoiding orange-based bronzers. Set cream products with powder contours using an angled brush for precision.
Extend contouring under your chin to define neck structure, and create natural shadows beneath wigs. Counter contours with highlighter on your T-zone and under-eye triangle, using patting motions for photographic coverage. This systematic approach guarantees character-specific features translate effectively in group cosplay photography.
Blend for Natural Transitions
While seamless blending works for everyday makeup, cosplay contouring demands controlled shifts that preserve defined edges under photography lighting. You’ll need to blend skillfully along cheekbones, jawline, and nose sides without over-diffusing product—excessive blending creates naturalistic softness that disappears under stage lights and camera flashes.
Apply cream-based contours in matte formulas for non-organic anime aesthetics. Strategic placement includes nose bridge, brow bone, chin dimple, and jawline to construct angular character features. Minimize texturized appearance by using eyeshadow primer before contouring, ensuring products like NYX adhere throughout extended wear without smudging.
Retain visible edges where contour meets highlight—this intentional definition reads correctly in photoshoots. Position eyebrows closer together for facial narrowing effects, mimicking drag techniques. Avoid eyeshadow for structural work; dedicated contour products deliver sharper character-specific results without aging your base features.
Set With Translucent Powder
After establishing your contour’s defined edges, lock everything down with translucent powder to prevent shifting during marathon convention days. This powder fixation technique guarantees your cream products won’t crease under hot convention lights while maintaining ideal skin luminosity for photography.
Use an angled brush to pat—not sweep—powder precisely over contoured areas: jawline, cheekbones, nose bridge, and brow-nose junction. Apply non-orange-toned formulas that won’t alter your carefully matched shadow tones. The matte finish photographs superior to dewy looks, absorbing excess oil for flawless shots.
Post-powder application, strategically highlight your T-zone, under-eyes, and chin to restore dimension. This layering creates exaggerated animated features that’ll photograph with natural shadow effects, ensuring your character definition remains sharp throughout extended wear periods.
Enhance Eyes With Dramatic Effects
Because cosplay eye makeup serves as the focal point of character transformation, mastering dramatic enhancement techniques becomes essential for achieving professional results. Start by applying eyeshadow primer, then fill lids with dark smoky shades using Jumbo Eye Pencil in Black Bean. Employ liquid or gel eyeliner for sharp winged lines on your upper lash line, ensuring no space exists between your waterline and shadow.
Draw C-shapes around eyes from brow to cheekbone, blending seamlessly. Accentuate inner corners with iridescent highlights like Silver Lining for dimensional pop effects. Add feathered lashes to open eyes and create volume—thicker styles amplify dramatic character portrayals. Consider colored contacts matching your character’s specifications.
For advanced detailing, use face paint for textured effects or create graphic liner after eyeshadow application completes your transformation.
Utilize Advanced Lip and Nose Shaping Hacks
Transform your character’s facial proportions by mastering lip concealing and nose contouring techniques that’ll create dimension under convention lighting. Precise lip edging starts with foundation-based coverage, preventing the dryness concealer causes. Apply long-wear lip liner like Maybelline Superstay Ink Crayon after completing other makeup steps, extending lines outward for exaggerated animated proportions.
Foundation-first lip coverage prevents dryness while strategic liner placement beyond natural borders achieves those bold, animation-inspired proportions under harsh convention lights.
For carefully blended nose shaping, implement this strategic approach:
- Apply contour powder several shades darker along nose sides for slimmer profiles
- Highlight bridge and T-zone using finger-blending for photogenic dimension
- Layer powder-based products over cream formulas for convention-proof longevity
Utilize waterproof eyeliner sticks for sharp definition and NYX Jumbo pencils for dimensional blending. Lock shapes with setting powder, ensuring your sculpted features photograph flawlessly under varied lighting conditions throughout extended wear periods.
Practice Techniques Together Before the Event
Schedule full-face practice sessions 2-4 weeks before your event, allocating 2-4 hours per session to match convention duration and refine your timing for each application layer.
Conduct these rehearsals under lighting conditions that replicate your venue—test makeup under natural light, camera flash, and harsh indoor fluorescents to identify coverage gaps and adjust contour visibility accordingly.
Document each session with multi-angle selfies to assess blend lines, symmetry, and photographic finish, then rotate feedback within your group to guarantee uniform character accuracy.
Schedule Regular Practice Sessions
When coordinating group cosplay makeup, structured practice sessions become non-negotiable for achieving cohesive, professional results. Implement rehearsal timeline management by scheduling sessions 2-4 weeks before your event, allocating 1-2 hours per complete application cycle. You’ll build consistency through repetition by integrating weekly practices into your existing prep calendar.
Essential Practice Parameters:
- Muscle Memory Development – Execute base application 5-10 repetitions per session to achieve seamless coverage
- Endurance Testing – Extend sessions to 8-hour durations, simulating convention wear conditions
- Synchronization Drills – Coordinate simultaneous application across team members for matching aesthetics
Track your progression by measuring time reductions from initial 2-hour applications down to 45-minute executions. Document coverage consistency across 10+ sessions through systematic photography. This data-driven approach guarantees your team achieves performance-ready transformations.
Test Under Similar Lighting
Your rehearsal schedule means nothing if your makeup collapses under venue lighting conditions. Implement lighting environment simulation during practice sessions using LED strips or adjustable panels like the Nanlite Halo series. Test makeup applications under varied color temperatures—shifting from daylight to tungsten settings—to verify consistent color accuracy across all team members.
Fluorescent office lights create pale appearances, while dim convention halls intensify bronzer application errors. Set up battery-powered LED strips replicating your event’s specific lighting spectrum. Use face charts to document which shades maintain integrity under simulated conditions, noting required adjustments for asymmetry or color distortion.
Practice with diffused lighting through sanded plastic panels to mimic venue glow effects. Circulate among team members, checking individual applications for uniformity. This technical verification prevents over-bronzing, uneven tones, and intensity mismatches that only reveal themselves under event illumination.
Test Makeup Under Convention Lighting Conditions
Before finalizing your group cosplay makeup design, replicate the exact lighting conditions you’ll encounter at the convention venue. Fluorescent and LED fixtures (4800-5000K) dominate most convention halls, creating color shifts that alter your carefully matched foundations and contours. Accurate lighting simulation prevents washout under harsh overhead beams and guarantees consistent color rendering across your entire group.
Implement these testing protocols:
- Source venue specifications: Contact organizers for Kelvin ratings and fixture types (fluorescent, LED, tungsten)
- Build a test rig: Install adjustable LED panels replicating convention temperatures, positioning lights overhead and at eye level
- Document adjustments: Photograph makeup under test conditions, noting which pigments require intensification or substitution
This technical approach eliminates surprises, ensuring your group’s makeup translates flawlessly from preparation space to main stage photography.
Frequently Asked Questions
How Do You Remove Stubborn Brow Glue Without Damaging Skin?
You’ll need a gentle adhesive remover applied via makeup wipe application using circular motions. Soak the area for 1-2 minutes, then wipe strategically. This oil-based technique emulsifies stubborn glue without compromising your skin’s integrity.
What’s the Best Way to Transport Makeup Supplies to Conventions?
Pack like a puzzle master: use airline-approved containers with TSA-compliant sizes for liquids. Secure storage solutions include hard-shell cases with foam inserts, labeled compartments for brushes, and carry-on repair kits protecting delicate supplies from checked baggage mishaps.
How Long Does Group Cosplay Makeup Typically Take to Apply?
Group cosplay makeup application time ranges from 30-45 minutes per person when using shared makeup kits. You’ll expedite the process by booking multiple artists simultaneously, allowing parallel applications that drastically reduce your group’s total preparation duration.
Which Makeup Brands Offer the Best Value for Cosplay Groups?
You’ll find e.l.f. and Wet n Wild deliver exceptional value—both under $10 per product. These brands provide affordable makeup palettes and long lasting color cosmetics that’ll outfit your entire squad without breaking budget, maintaining professional-grade pigmentation throughout conventions.
How Do You Fix Makeup Emergencies During Convention Hours?
You’ll need blotting strips and setting powder for quick makeup touch ups between panels. Pack makeup remover wipes for complete resets, while keeping makeup intact requires primer reapplication and strategic powder layering throughout convention hours.