Building a convincing samurai armor cosplay replica starts with studying the historical silhouette—kabuto, do, sode, and kusazuri included. You’ll need accurate chest and waist measurements, the right materials like EVA foam or pleather, and traditional reverse-shingle lacing techniques. Don’t skip helmet and shoulder guard precision, weathered paint finishes, or proper storage practices. Each decision compounds into either authenticity or amateur work. Master these seven focused tips, and you’ll uncover exactly how disciplined builders separate credible replicas from costumes.
Key Takeaways
- Study historical samurai armor components like the kabuto, do, sode, and kusazuri to maintain an authentic, accurate silhouette throughout your build.
- Measure your chest and waist carefully, adding allowances for padding to ensure each torso plate aligns proportionally.
- Use EVA foam for lightweight, shapeable plates; apply heat to curve and bevel edges for clean, professional joins.
- Overlap plates bottom to top like reverse shingles, lacing them uniformly with paracord or waxed cord reinforced by eyelets.
- Apply a matte black base coat, dry-brush metallic highlights, then seal with a topcoat for a durable, realistic finish.
Study the Samurai Armor Silhouette Before You Build
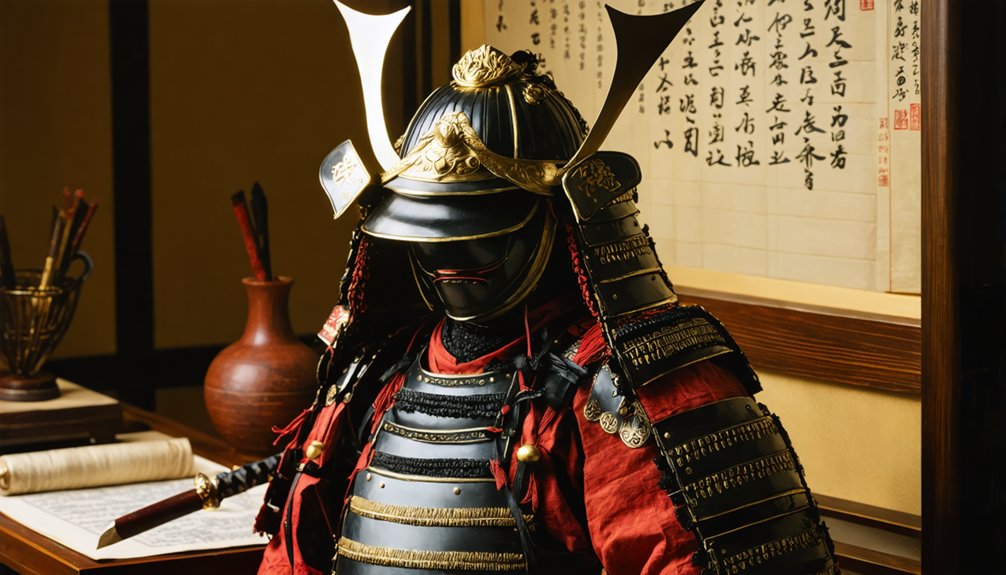
Before cutting a single piece of foam or fabric, study the historical silhouette of samurai armor until you can identify its core components on sight.
Before touching your materials, study samurai armor until its core components feel instinctive.
Historical accuracy isn’t optional if you want a replica that reads as authentically Japanese rather than generically fantastical.
Run a silhouette comparison between reference images of period armor and modern cosplay builds to spot where most replicas fall short.
Focus on the *kabuto* helmet, *do* chest cuirass, *sode* shoulder guards, and *kusazuri* skirt panels. These elements define the layered, segmented profile that makes samurai armor immediately recognizable.
One-piece fantasy styling collapses that visual language entirely.
Internalize the overlapping, reverse-shingle construction before you design anything, and your build starts with a structural and aesthetic advantage most cosplayers skip.
Measure Your Chest and Waist for a Proper Armor Fit
Accurate measurements determine whether your armor sits, moves, and breaks visually the way period examples do. Before cutting a single foam panel, measure your chest at its widest point and your natural waist, then add allowance for the underrobe or padding you’ll wear beneath. That buffer directly affects armor flexibility, letting lames overlap and shift without binding as you move.
Divide your torso measurements into horizontal sections matching the *do* plate count you’ve chosen. Trace your body outline against a T-shirt template to capture your actual contours rather than assuming standard sizing.
Historical accuracy demands that each plate tier aligns proportionally, replicating the graduated overlap seen in period construction. Poorly fitted torso sections collapse that visual logic immediately, undermining everything else you’ve built.
EVA Foam, Cardboard, or Pleather: Choose Your Samurai Armor Materials
When it comes to material selection, EVA foam is your strongest all-around choice—it’s lightweight, inexpensive, and shapes easily with heat to mimic the curved, layered plates of traditional armor.
If you’re just starting out, cardboard offers a low-cost way to test templates and practice cutting before committing to better materials.
For surface realism, wrap your plates in pleather to simulate the lacquered or leather-faced look of historical Japanese armor without adding excessive weight.
EVA Foam Benefits
EVA foam has earned its place as the go-to material for samurai armor cosplay because it delivers a rare combination of light weight, workability, and durability. When you’re pursuing historical accuracy in your replica, material versatility becomes essential, and EVA foam meets that demand directly.
You can heat it to curve shoulder guards, bevel edges for cleaner plate joins, and score surfaces to simulate lacing channels or layered lames. It accepts contact cement reliably, holds metallic paint without cracking, and won’t fatigue your body during extended wear.
Unlike cardboard, it resists moisture and maintains its shape through repeated conventions. Its density range also gives you options — thinner sheets for small detail work, thicker cuts for structural chest plates and helmet components.
Cardboard For Beginners
Not every builder starts with EVA foam, and cardboard gives you a legitimate entry point if you’re testing patterns before committing to costlier materials. Material durability isn’t cardboard’s strength, but its accessibility lets you refine shapes that honor the cultural significance of layered samurai construction before you cut anything permanent.
Use cardboard strategically by following these practices:
- Score and bend panels to simulate the curved docuirass profile
- Layer corrugated sheets for added rigidity on shoulder and helmet sections
- Test lacing hole placement before transferring patterns to final materials
- Seal surfaces with white glue to improve paint adhesion and edge stability
- Treat finished cardboard pieces as disposable prototypes, not wearable final builds
Cardboard accelerates your learning curve without wasting premium materials on early mistakes.
Pleather Surface Simulation
Pleather gives your armor plates the leather-wrapped finish that historical samurai construction actually used, and it’s one of the more effective ways to elevate foam or cardboard builds beyond their raw material appearance.
Wrap cut pieces tightly before gluing, pulling the pleather smooth to eliminate bubbling across curved surfaces. Fabric texture matters here — finer grain reads more authentically at close range, while heavy embossed patterns can distort the armor’s proportions visually.
Color matching between your pleather, lacing cord, and painted accents keeps the build cohesive rather than piecemeal. Black and deep brown are historically grounded choices, though lacquered reds also appear in period examples.
Secure edges underneath each plate using contact cement for a clean, seamless finish that holds through extended convention wear.
Layer and Lace Your Samurai Armor Plates the Traditional Way
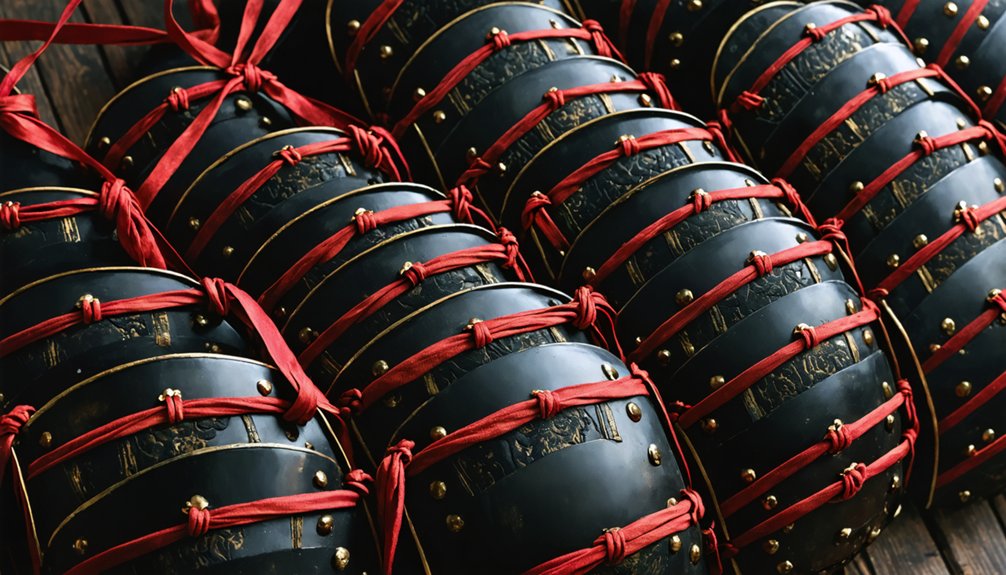
Once you’ve chosen your materials, assemble your chest plates by overlapping them from the bottom up, like reverse shingles, so each row covers the lacing of the row below.
Drill or punch your lacing holes in consistent positions across every plate, then reinforce each hole with an eyelet to prevent tearing under stress.
Run your lacing in a single, uniform direction across all rows, since inconsistent cord patterns immediately break the historical credibility of the build.
Overlapping Plates Like Shingles
Traditional samurai armor achieves its distinctive silhouette through overlapping horizontal plates assembled like reverse shingles—each row layering over the one below it rather than above. Replicating this structure correctly transforms a generic costume into a historically coherent build.
Follow these construction priorities:
- Space lacing holes evenly so rows stay horizontally aligned under movement
- Use paracord or waxed cord for material durability through repeated wear and transport
- Apply consistent knot techniques at each junction to prevent shifting or unraveling
- Overlap each plate by at least one-third to maintain structural integrity and visual rhythm
- Reinforce eyelet holes with metal grommets wherever tension concentrates
Getting this layered logic right before finishing means your armor moves convincingly, reads authentically, and holds together when it matters most.
Lacing Holes And Eyelets
Lacing holes and eyelets are the structural backbone of any convincing samurai armor build, and getting them right determines whether your plates move as a unified system or shift and buckle under wear.
Punch holes at consistent intervals across every horizontal plate, then align them precisely before committing to your lace pattern. Misalignment throws off the visual rhythm and weakens the connection between segments.
Apply eyelet reinforcement at every hole, particularly along shoulder attachments and helmet anchor points, where stress concentrates during movement. Metal eyelets prevent foam or cardboard from tearing under tension, extending the armor’s lifespan markedly.
Run your cord in a single, uniform direction throughout the build. Consistent lacing direction unifies the entire set visually, signaling deliberate construction rather than improvisation.
Consistent Lacing Direction Matters
Whether you’re building a single chest plate or a full suit, the direction you run your lacing cord must stay uniform across every segment. Inconsistent lacing breaks visual cohesion and undermines historical accuracy immediately.
Keep these principles consistent throughout your build:
- Run every cord from bottom to top across all horizontal plate rows
- Match lacing color to your armor’s overall color coordination scheme
- Alternate tension evenly so plates overlap like reverse shingles
- Secure each terminal knot on the interior-facing side to hide bulk
- Cross-reference reference images regularly to verify directional consistency
Uniform lacing isn’t decorative preference — it’s structural logic refined across centuries of Japanese armor-making. Your replica communicates craftsmanship through repetition and discipline.
Every cord running the same direction tells viewers you understood the system, not just the surface appearance.
Build Your Helmet and Shoulder Guards for Maximum Visual Impact
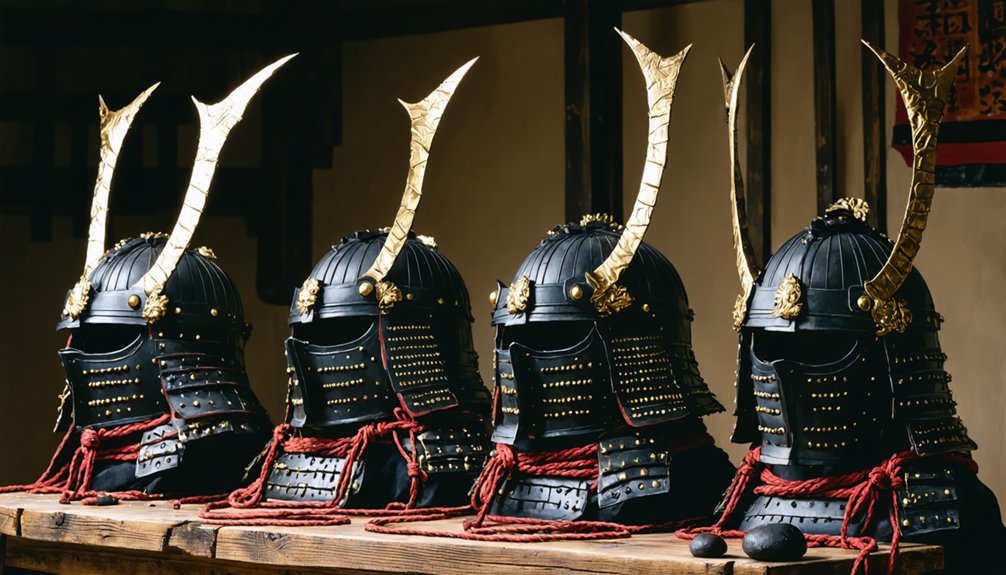
The kabuto helmet and sode shoulder guards carry the most visual weight in any samurai armor build, so getting them right will define your entire costume. Transfer your helmet design patterns precisely onto foam, then bevel every edge before joining pieces — clean joins are non-negotiable.
The kabuto and sode define your build — get them wrong and nothing else will save it.
Add crests, side flaps, and decorative trim to push recognition beyond generic fantasy territory.
For shoulder articulation, curve each sode panel to follow your shoulder’s natural line and reinforce every attachment point with eyelets. Weak connections will shift during wear and undermine the armor’s visual coherence.
Study historical reference images to ensure proportions stay accurate rather than exaggerated.
Detail work here consistently separates a convincing replica from a basic costume, so invest your most precise effort into these two components first.
Paint and Weather Your Samurai Armor for an Authentic Finish
Once your armor is fully assembled, follow the standard sequence — cut, form, drill, paint — to maintain control over your final result. Selecting a historically accurate color palette elevates your replica beyond generic fantasy styling.
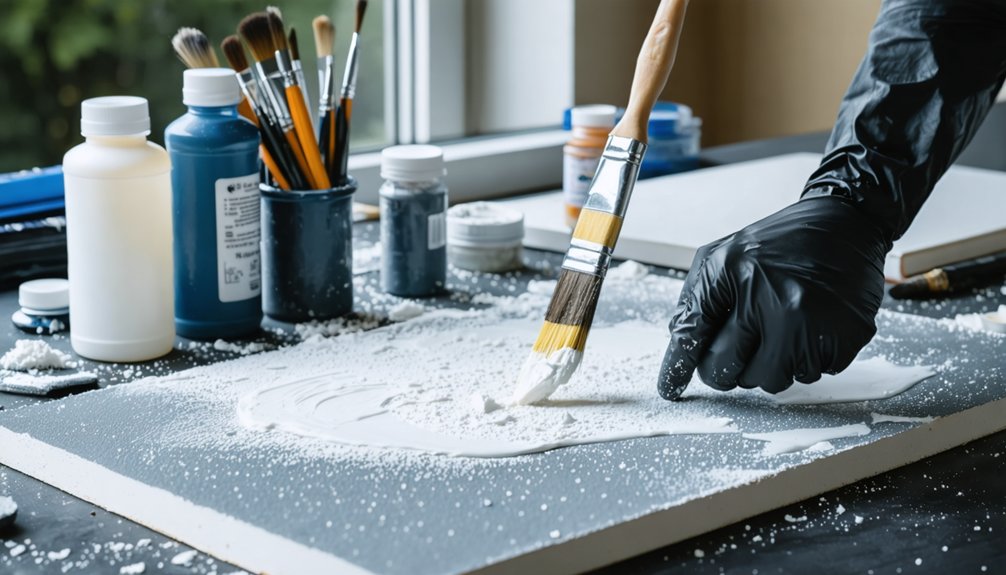
- Apply a matte black base coat before layering metallic acrylics
- Use dry-brushing to highlight raised edges and simulate worn metal
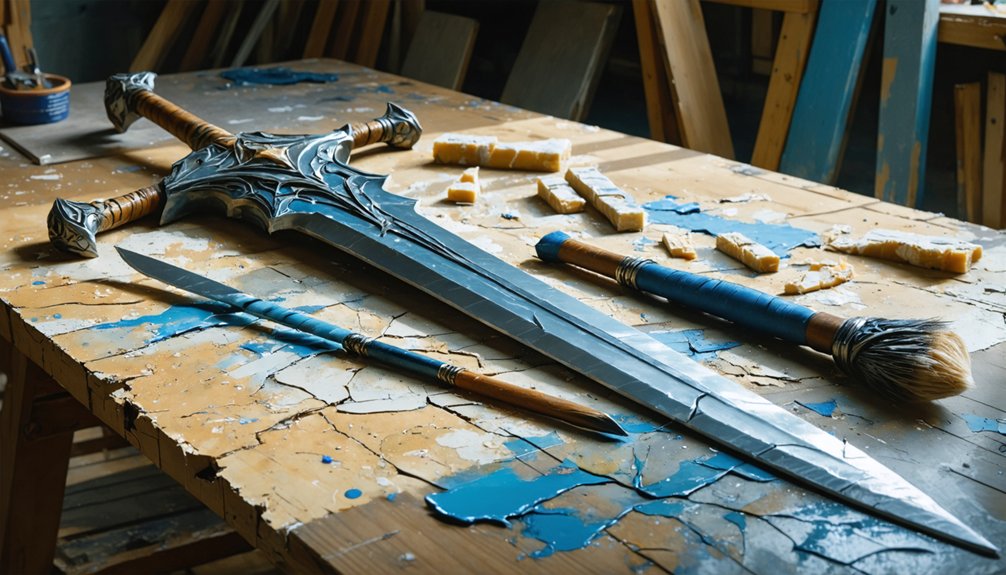
- Add rust streaks or battle damage to reinforce historical accuracy
- Seal all painted surfaces with a matte or satin topcoat for durability
- Protect lacing and wrapped seams before spraying any weathering agents
Store your finished armor flat or on a shaped form to preserve structural integrity. Hidden fasteners and clean edge wraps signal craftsmanship.
Weathering done with restraint reads as battle-worn rather than damaged — that distinction matters enormously to informed audiences.
Store and Maintain Your Replica to Protect the Build
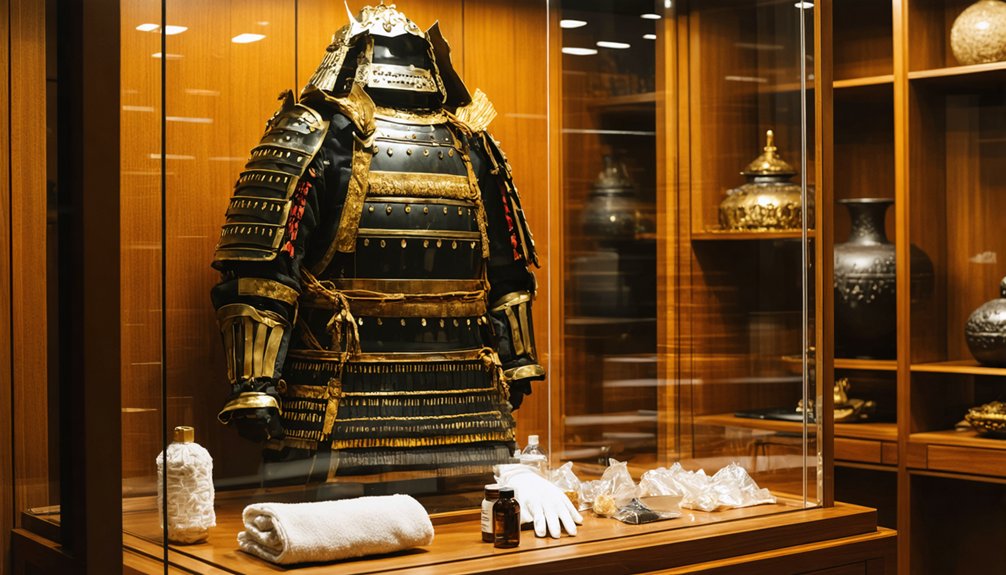
Proper storage directly determines how long your finished replica holds its shape, finish, and structural integrity. After each wear, inspect every laced section, painted surface, and adhesive joint before packing anything away.
Proper storage protects your replica’s shape, finish, and integrity long after the last wear.
For cleaning techniques, use a soft dry cloth on painted foam surfaces and avoid moisture, which weakens contact cement bonds over time. Spot-clean faux leather edging with a damp cloth only when necessary.
For storage solutions, keep each armor piece separated using breathable cloth bags or padded compartments inside a rigid container. Never stack heavy components directly on top of delicate lacing or crested helmets.
Store in a cool, dry environment away from direct sunlight, which fades metallic finishes rapidly. Consistent maintenance protects your build’s historical proportions, structural layering, and long-term wearability.
Frequently Asked Questions
Can Samurai Armor Cosplay Replicas Be Worn Comfortably in Hot Weather?
You can wear samurai armor replicas comfortably in hot weather if you choose breathable materials like EVA foam and layer cooling fabrics underneath. They’ll reduce heat buildup while maintaining historically-informed silhouettes and innovative construction integrity.
Are There Copyright Concerns When Replicating Specific Samurai Armor Designs?
While it seems complex, you’ll find historical samurai armor designs are largely public domain. Focus on historical accuracy and cultural significance — just avoid directly copying modern artists’ or game designers’ specific interpretations without permission.
How Much Does a Full Samurai Armor Cosplay Replica Typically Cost?
You’ll spend $100–$500 for a DIY build prioritizing material durability with EVA foam, or $1,000+ for commissioned replicas where historical accuracy and innovative construction techniques genuinely elevate your costume’s authenticity and visual impact.
Can Children Safely Wear Samurai Armor Cosplay Replicas at Events?
Like a seedling beneath towering oak, child safety demands lightweight EVA foam replicas. You’ll guarantee costume suitability by choosing breathable, soft-edged builds that fit snugly, letting children honor samurai tradition comfortably and safely at events.
Where Can Beginners Buy Pre-Cut Samurai Armor Pattern Templates Online?
You’ll find pre-cut samurai armor pattern templates on Etsy, Payhip, and DeviantArt. Prioritize sellers emphasizing historical accuracy in their designs, and cross-reference material selection guides to guarantee templates suit your chosen EVA foam or pleather.
References
- https://www.reddit.com/r/LARP/comments/sdt6la/how_to_do_a_very_good_samurai_armor/
- https://www.instructables.com/Samurai-Homemade-Armor/
- https://www.youtube.com/watch?v=RKZtH0WLgbw
- https://www.youtube.com/watch?v=eDyf9BqBueE
- https://starstruckpanda.com/samurai-armor-replicas-for-cosplay/
- https://www.wikihow.com/Make-Samurai-Armor
- https://www.instructables.com/Samurai-Costume/
- https://www.crazecosplay.com/blogs/questions/how-to-make-samurai-armor-cosplay
- https://www.youtube.com/watch?v=MjXLu4_mO5Y