Execute dynamic three-quarters angles with your chin tilted down toward the photographer’s shoulder while maintaining direct lens contact. Layer strategic arm placement—hands-on-hips with retracted elbows or diagonal 45-degree extensions—to create negative space that defines your silhouette. Position props using rule-of-thirds composition, extending weapons forward for depth while keeping oversized accessories offset. Manipulate camera height deliberately: shoot low for commanding authority or elevated for vulnerability. Vocalize emotions during capture to authenticate intense expressions that match your character’s narrative essence. Master these technical fundamentals to uncover advanced posing methodology.
Key Takeaways
- Experiment with unconventional camera angles—shoot from below for powerful characters or above for vulnerable personas to shape perception.
- Create dynamic motion shots by freezing mid-jump, spinning capes, or capturing hand signs while exhaling for authentic character expression.
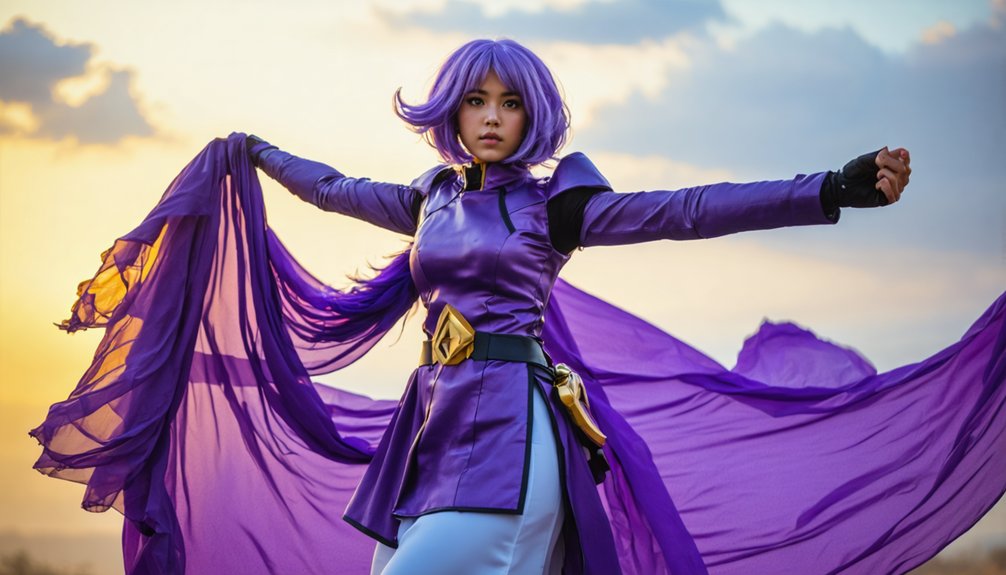
- Utilize strategic negative space by positioning arms at 45-degree angles downward or behind the body for enhanced visual separation.
- Match facial expressions to character archetype: piercing stares for warriors, serene looks for healers, controlled chaos with wide eyes.
- Position props using rule-of-thirds and extend weapons forward for depth while keeping oversized accessories aside to maintain visibility.
Mastering Head Positioning and Angles for Character Impact
While professional photographers obsess over lighting and composition, head positioning remains the single most critical element that separates amateur cosplay shots from portfolio-worthy character portraits. You’ll achieve ideal jawline definition by pushing your head forward while tilting your chin down—this technique minimizes neck width and creates sharper facial geometry.
For dynamic facial expressions, point your nose toward the photographer’s shoulder while maintaining direct eye contact with the lens. Female characters demand chin-up positioning for confidence projection, while dipping down creates that coveted femme fatale aesthetic.
Master the three-quarters body angle with complementary head turns to maximize lighting effects across your features. Test multiple angles during each shoot—your character’s mask or signature prop deserves strategic head placement that showcases both simultaneously without obstruction.
Expressing Emotion Through Authentic Facial Expressions
Head positioning creates the foundation, but your facial expression delivers the character’s soul to camera. Mastering character persona demands authentic emotion—avoid expressionless defaults, forced duck faces, or bug-eyed over-rotation that destroys credibility.
Authentic emotion breathes life into cosplay photography—expressionless faces and exaggerated poses kill character credibility before the shutter clicks.
Study your source material to nail contrasting emotional ranges:
- Match intensity levels: Deploy piercing stares for warriors, serene expressions for healers
- Practice mirror work: Test expressions matching your face shape and character requirements
- Execute technical adjustments: Bite your lip with wide eyes for controlled chaos; chin down with eyes up for intensity
- Vocalize for authenticity: Force emotions through sound—yell to capture genuine ferocity
Direct your eyes strategically: engage the lens directly, angle 45 degrees off-axis, or fix on distant points. Roll shoulders back while adjusting chin position to enhance your expression’s impact and achieve portfolio-worthy shots.
Strategic Arm and Body Placement Techniques
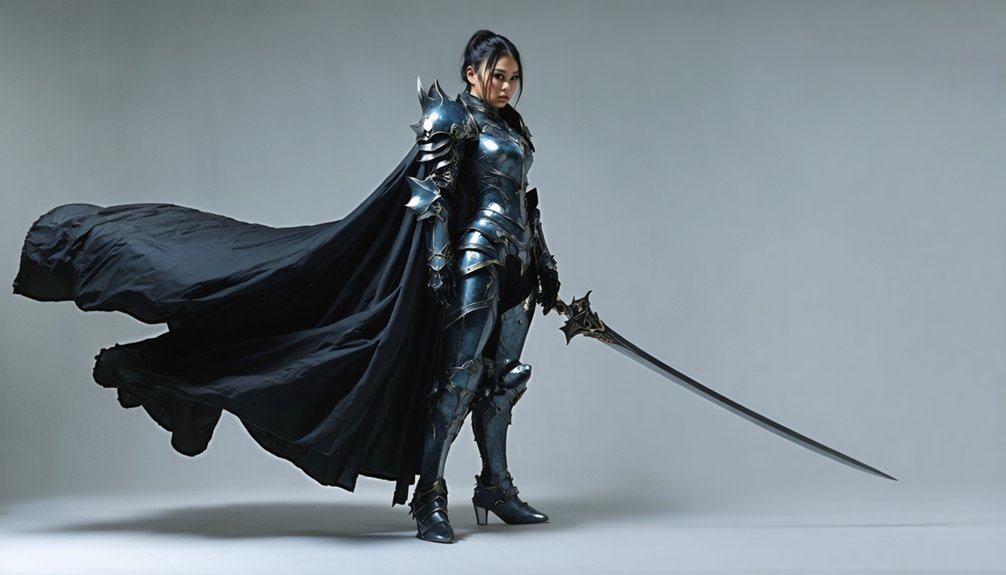
Your arm and body placement directly influences the professional quality of your portfolio shots by controlling visual weight distribution and character authenticity. Master the hands-on-hips power stance to establish dominant character traits, maintain limb separation from your torso to preserve clean silhouettes against any background, and execute character-specific action gestures that photographers recognize as signature poses.
These fundamental techniques transform static portraits into dynamic portfolio pieces that demonstrate your understanding of dimensional composition and character embodiment.
Hands-on-Hips Power Stance
Because wrist positioning forms the foundation of professional hand-on-hip execution, you’ll need to abandon the instinctive forward bend that plagues amateur portfolio work. Master these hand positioning techniques:
- Reverse wrist placement on hip bone (never waist) with fingers elevated slightly above pelvic structure
- Side-hand visibility with subtle finger articulation—eliminating palm or dorsal exposure
- Elbow retraction that enhances dimensional depth while maintaining limb presence within frame
- Quarter-turn body orientation with asymmetrical body weight distribution on rear leg
This configuration generates essential negative space around your torso while establishing the coveted broad-shoulder-to-narrow-waist gradient. Execute light contact rather than full grip—your fingertips should graze, not clutch. Combined with front leg flexion and forward shoulder depression, you’ll achieve the elongated silhouette that transforms standard character documentation into portfolio-grade imagery.
Limb Separation for Silhouettes
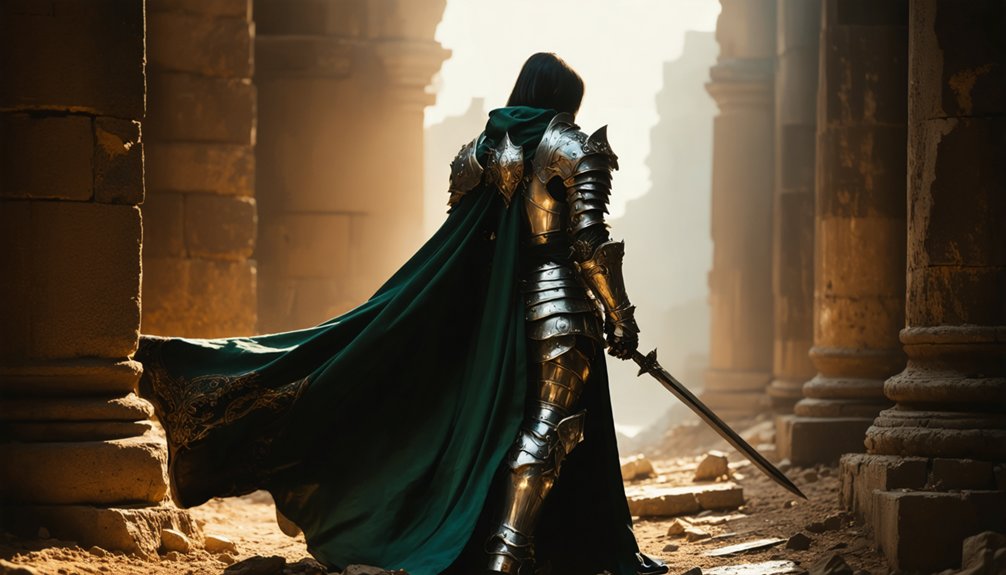
Strategic limb separation distinguishes professional silhouette work from amateur shadow documentation, particularly when backlit conditions compress your costume’s dimensional details into pure outline. Position arms diagonally downward at 45-degree angles—this limb rotation technique creates definitive negative space between torso and appendages.
Extend arms outward when holding props like staffs or railings, establishing motivated positioning that reads cleanly against high-contrast backgrounds. Place arms behind your body to enhance the separation illusion through strategic layering. Form a T-shape configuration: horizontal shoulder line intersecting vertical torso centerline. This enhanced silhouette posing maintains readable anatomy even in complete backlighting.
Leverage 45-degree key lighting to cast opposing shadows that slim your profile while defining limb edges. Experiment with mirror rehearsal, rotating body angles until you’ve identified ideal separation points for your specific costume architecture.
Character-Specific Action Gestures
Character-specific action gestures transform static costume presentation into narrative-driven portfolio pieces when you anchor arm and body placement to recognizable personality archetypes. Strategic poise and body language differentiate amateur portfolios from professional character studies through deliberate movement capture.
Execute these technical frameworks for dynamic gesture documentation:
- Freeze mid-motion hand signs while exhaling completely—slow-motion execution prevents blur while maintaining natural hand gestures that authenticate character identity
- Position one arm at 45-degree extension toward focal props, creating depth planes that guide viewer attention through compositional layers
- Twist torso 30 degrees from hip line during over-shoulder angles, maximizing facial visibility while elongating spine structure
- Articulate fingers through costume interaction—adjusting gloves, manipulating wig elements, or gripping signature weapons—to simulate authentic character behavior patterns
This methodology transforms presentation into performance documentation.
Wielding Props Without Compromising Composition
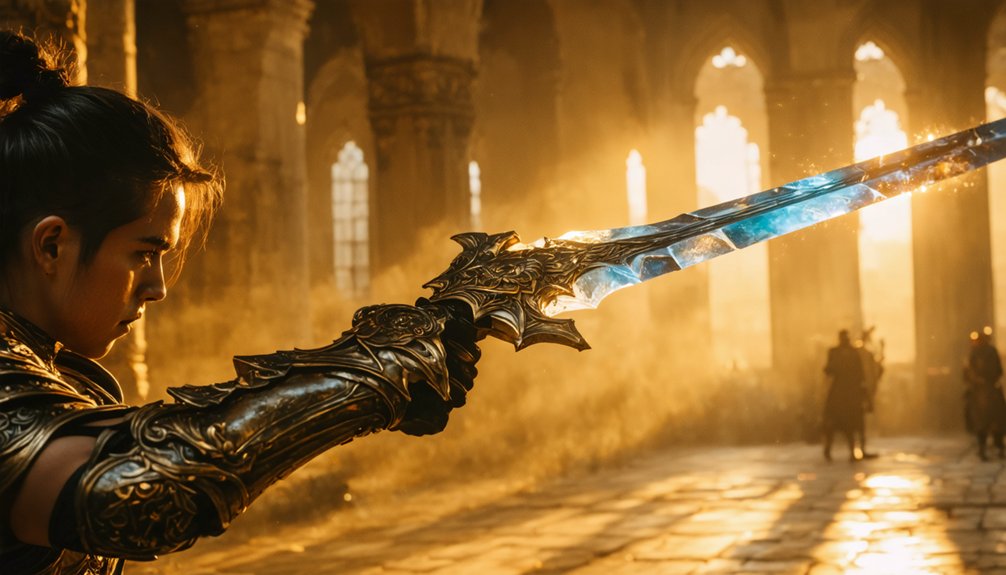
Every successful cosplay photograph hinges on the delicate balance between prop prominence and subject visibility. Master prop display techniques by extending weapons forward to create compositional depth while maintaining rule-of-thirds alignment. Position oversized accessories downward or aside, preserving your prominence through strategic depth-of-field manipulation that softly blurs peripheral elements.
Integrate dynamic movement through timed cape spins or mid-jump captures, ensuring motion remains sharp rather than disruptive. Scale props relative to your frame—fairy characters demand delicate accessories, while armor-heavy builds support substantial pieces.
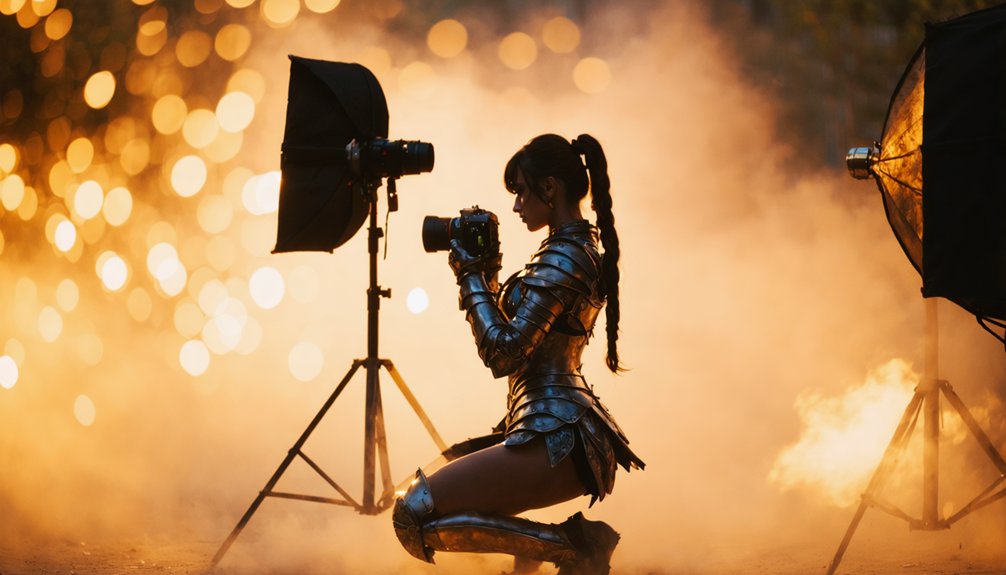
Adapt lighting for reflective materials using off-camera flash for dramatic highlights or golden hour diffusion for balanced illumination. Between shoots, implement efficient prop storage solutions that protect investment pieces while streamlining workflow. Eliminate background distractions through precise timing, letting environmental storytelling amplify character authenticity without compositional compromise.
Camera Perspective Tricks for Height and Presence
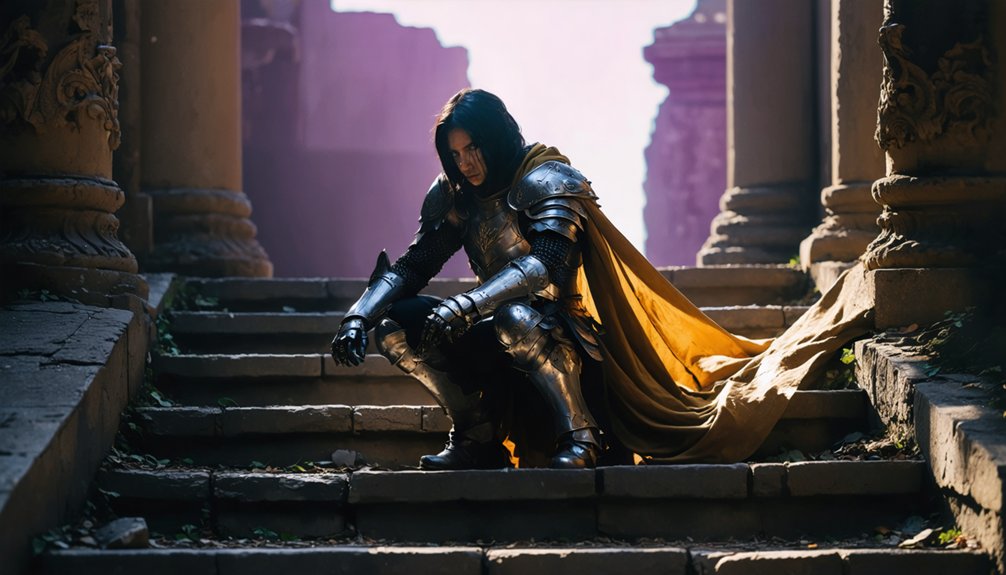
When you adjust camera height relative to your subject, you fundamentally alter perceived stature and commanding presence within the frame. Camera placement techniques directly influence how viewers perceive character authority—position below eye level for imposing heroes, above for vulnerable personas.
Camera height shapes power dynamics—shoot upward to amplify authority, downward to convey vulnerability and emotional accessibility.
Essential perspective strategies:
- Low-angle positioning: Lay on ground for extreme upward shots that maximize height illusion and dramatic impact
- Lens selection: Deploy 35mm f/1.8 for subject emphasis or 24-70mm f/2.8 for environmental scale
- Depth control: Utilize f/2.8 or faster apertures to isolate subjects through selective focus
- Lighting considerations: Combine directional light with perspective angles to reinforce dimensional depth
Experiment extensively with multiple angles per pose—portfolio differentiation emerges from unconventional viewpoints that competitors overlook. Match perspective to character archetypes: superheroes demand elevation dominance, while supporting characters benefit from sympathetic downward framing.
Creating Motion and Energy in Static Shots
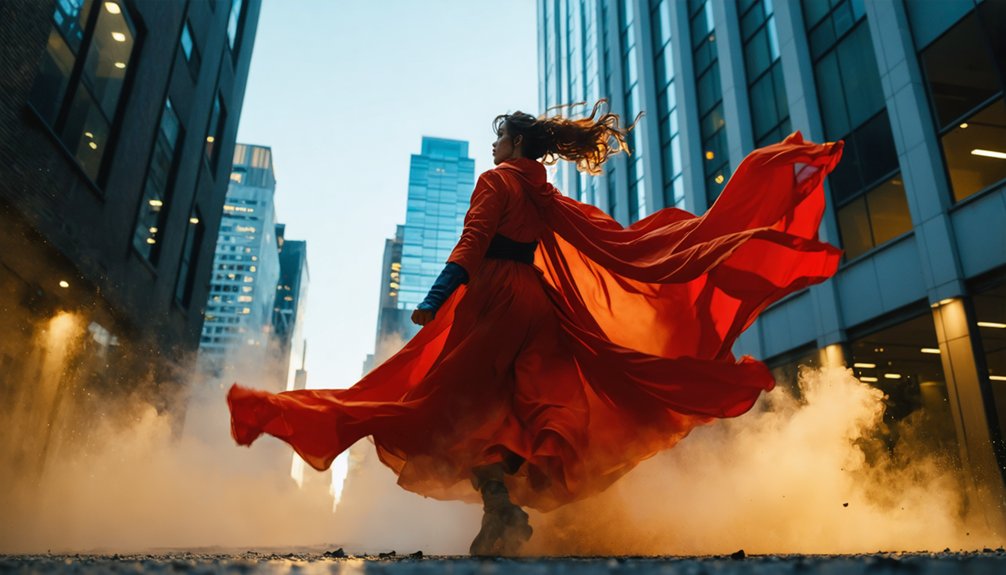
Motion-frozen captures require precise shutter timing to arrest dynamic actions at peak intensity—whether that’s mid-punch, mid-jump, or weapon mid-swing. You’ll achieve professional kinetic energy by incorporating fabric manipulation techniques: flowing capes captured with wind machines, skirt twirls frozen at full extension, or ribbon props swung through frame during exposure.
Hair dynamics amplify this effect when you shoot with fans positioned strategically to create directional flow that guides viewer eye movement through your composition.
Freeze Action Mid-Movement
Freezing action mid-movement transforms dynamic cosplay performances into sharp, energy-filled images that showcase both character authenticity and technical mastery. Your technical approach determines whether dynamic composition captures genuine character energy or produces motion blur techniques gone wrong.
Essential freeze-action protocol:
- Activate continuous focus mode before addressing shutter speed—this tracking foundation prevents focus lag during jumps and sweeps
- Set shutter priority at minimum 1/250s for walking subjects, escalating to 1/500s+ for descent phases where velocity peaks
- Deploy fast-duration flash to lock subject sharpness while eliminating ambient light dependency
- Shoot multiple frames per sequence through peak-to-descent motion cycles for prime selection
Balance ISO against available light—lower values in bright conditions preserve portfolio-grade sharpness. Your 85mm or 105mm focal length isolates the frozen subject through calculated depth-of-field compression.
Fabric and Hair Dynamics
Dynamic fabric and hair elements inject perceived motion into static cosplay frames through calculated manipulation before the shutter fires. You’ll enhance cape flow and waterfall tail pieces by implementing supporting boning structures—plastic spiral boning for movement-heavy designs or flat steel for maximum rigidity. Cut boning 2cm shorter than garment length and insert into channels within your lining.
Stabilize sheer fabrics using organza bases or tulle strips for pronounced fold definition.
When incorporating wind simulation on set, position industrial fans at varying angles to create directional turbulence effects. Three-point lighting with white diffusion fabric umbrellas produces soft shadows emphasizing fabric texture, while rim lights accentuate contours. For dramatic edge definition, eliminate modifiers for hard shadows.
Plan your concept beforehand—strategic lighting modifiers transform motion energy in portfolio-worthy static compositions.
Group Formation Strategies for Multi-Character Shoots
When orchestrating multi-character cosplay shoots, you’ll need to establish a structured recruitment framework before addressing formation logistics. Leverage Instagram stories for dynamic participant scaling, then synchronize costume coordination through shared budgets and centralized planning documents. Your formation hierarchy directly impacts portfolio quality:
- Primary captures: Execute full-group compositions during peak energy states, maximizing collective presence
- Secondary arrangements: Shift to duos and trios with character-complementary positioning near relevant environmental elements
- Tertiary isolations: Conclude with individual portraits maintaining cohesive aesthetic continuity
- Reference integration: Source pose matrices from canonical screenshots, ensuring authentic character relationships
Implement lighting positioning strategies that accommodate multiple subjects—wide apertures isolate formations from cluttered backgrounds while reflectors balance shadow distribution. Rotate photographer roles and systematically archive abundant captures per configuration, enabling selective curation for portfolio-grade deliverables.
Drawing Inspiration From Source Material References
Your formation strategies depend on accurate character interpretation, which requires systematic reference analysis before coordinating any group shoot.
Mine promotional artwork and box art for dynamic poses that communicate character essence through specific angles and expressions. Concept art reveals nuanced stances that enhance environmental storytelling, while in-game screenshots provide event-specific poses unavailable in standard materials.
Screen caps from source media deliver thorough/exhaustive/detailed angle variations essential for replicating lighting setups authentically. Publishers like Blizzard release resource packs deconstructing key poses and armor details.
Behind-the-scenes photography captures true color values under natural lighting, bypassing post-production grading. When considering fan art, secure artist permission and provide proper credit.
Organize references through dedicated Pinterest boards and Instagram folders, categorizing by character for efficient shoot preparation and portfolio-quality execution.
Frequently Asked Questions
How Do I Prevent Costume Wrinkles From Showing in Photographs?
Like polished glass reflecting perfection, you’ll eliminate costume wrinkles by using soft, frontal lighting with diffusion panels. Always iron costumes before shoots and steam clean fabric thoroughly. Position subjects away from backdrops, utilizing shallow depth-of-field for portfolio-quality results.
What Lighting Setups Work Best for Indoor Cosplay Photography Sessions?
You’ll achieve ideal results by balancing ambient lighting with portable lighting setups—position speedlights at 45-degree angles, use RGB LED panels for character-accurate color temperatures, and employ V-flats to maximize light control for portfolio-worthy shots.
How Can I Edit Photos to Match My Character’s World?
Ironically, perfect costume accessories coordination means nothing without proper post-processing. You’ll composite virtual background settings using layer masking, apply character-specific color grading through LUTs, and enhance atmospheric effects with blend modes—transforming raw captures into portfolio-worthy narrative pieces.
What Camera Settings Should Photographers Use for Action Cosplay Shots?
You’ll need a high shutter speed of 1/500-1/1000 second to freeze dynamic movement, paired with low aperture settings like f/1.8-f/2.8 for ideal light intake. Boost ISO to 400-1000 for fast-paced sequences without motion blur.
How Do I Stay Comfortable During Long Photography Sessions in Costume?
Marathon sessions demand endurance—you’ll maintain hydration with electrolyte drinks, take periodic breaks every 45-60 minutes to decompress, and communicate discomfort immediately. Smart pacing preserves your performance quality while building portfolio-worthy expressions that’ll showcase your cosplay’s full potential.