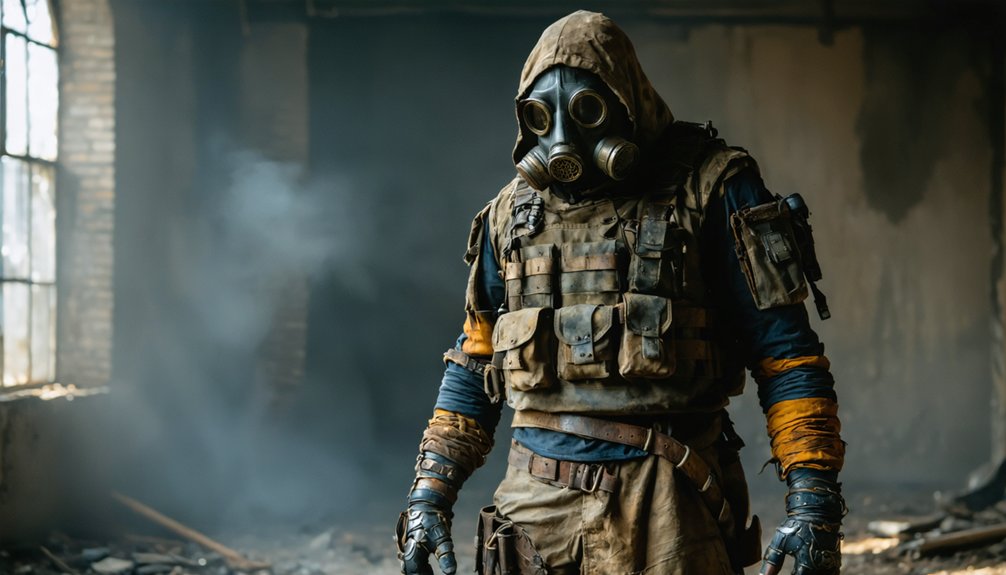
For post-apocalyptic sci-fi cosplay, you’ll need distressed clothing bases like military jackets or coveralls, layered with surplus belts, buckles, and weathered patches. Prioritize functional fabrics over pristine sets, and add improvised weapon props like pipes, wrenches, or fireman axes for genre credibility. Tea-stained insignias, salt-streak details, and dry-brushed acrylic paint transform fresh gear into something authentically worn. Every piece should tell your character’s survival story — and there’s much more to unpack here.
Key Takeaways
- Choose practical base clothing like military jackets, coveralls, or hiking pants that convey survival history and withstand outdoor wear.
- Source distressed gear from army surplus stores, flea markets, and online shops for authentic, budget-friendly accessories.
- Select genre-recognizable props like baseball bats, fireman axes, or katanas for cyberpunk builds to enhance thematic authenticity.
- Apply weathering techniques like dry-brushing acrylic paint, sandpaper distressing, and diluted black wash for realistic aged effects.
- Ensure thematic consistency by layering mismatched insignias, patched repairs, and sun-bleached fabrics that reflect your character’s survival backstory.
How to Match Your Gear to the Event Before You Buy Anything
Why spend hours distressing a Fallout-style vault suit only to show up at a casual zombie LARP where half the attendees are wearing ripped hoodies and plastic machetes?
Before purchasing a single buckle or prop weapon, research your event’s specific tone, ruleset, and realism expectations. Event themes dictate whether you’re building a gritty 200-year wasteland survivor aesthetic or a sleek sci-fi technician loadout.
Gear functionality matters equally — a katana looks sharp at cyberpunk events but reads as out-of-place at a Fallout-inspired festival.
Check organizer guidelines, browse attendee photos from previous years, and lurk RPF forums for insider context. Match your investment to the event’s strictness level.
Buying smart upfront prevents expensive, time-consuming rebuilds later.
Best Clothing Bases for a Post-Apocalyptic Survivor or Technician
Once you’ve matched your gear to the event, your next move is selecting the right clothing base, since everything else layers on top of it.
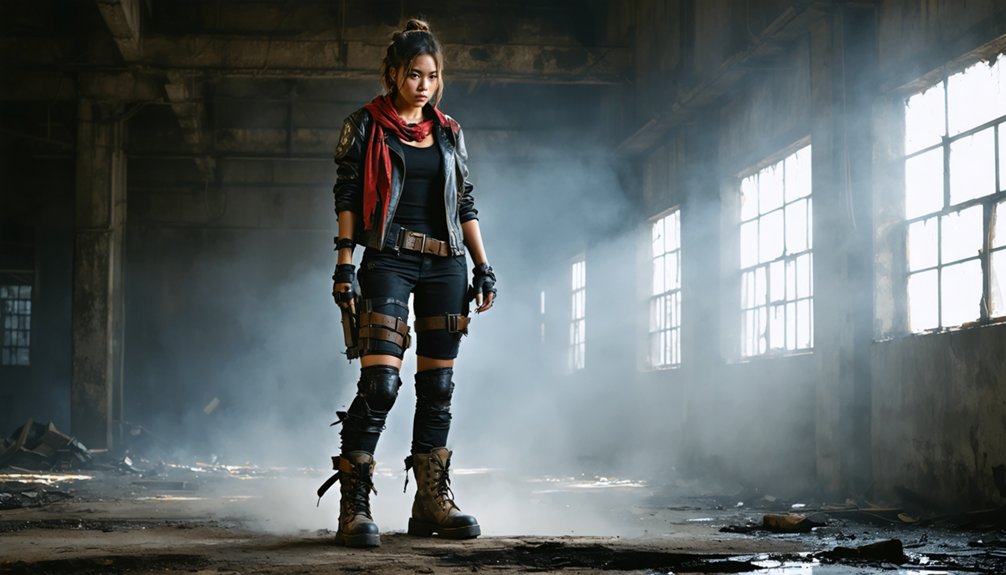
For a survivor build, you’ll want practical outdoor clothing — think hiking pants, worn military jackets, or rugged field gear that already carries a battle-hardened aesthetic.
If you’re playing a technician role, coveralls or jumpsuits are your go-to, giving you that instantly recognizable sci-fi mechanic silhouette without requiring extensive modification.
Practical Outdoor Clothing Choices
When building your post-apocalyptic survivor or technician costume, the clothing base you choose sets the tone for everything else layered on top.
Prioritize functional fabrics that withstand wear while projecting authenticity. Layering techniques elevate simple pieces into complex, believable looks.
Consider these foundational options:
- Practical outdoor gear — hiking pants, cargo trousers, and weatherproof jackets deliver immediate post-apocalyptic credibility.
- Coveralls and jumpsuits — single-piece designs nail the sci-fi technician aesthetic while simplifying your layering techniques.
- Used military clothing — distressed, worn pieces from army surplus cut costs without sacrificing realism.
Avoid purchasing pristine, full new sets. Distressed functional fabrics communicate survival history your character has lived through.
Each scuff, tear, and faded patch tells a story before you add a single accessory.
Coveralls for Technician Roles
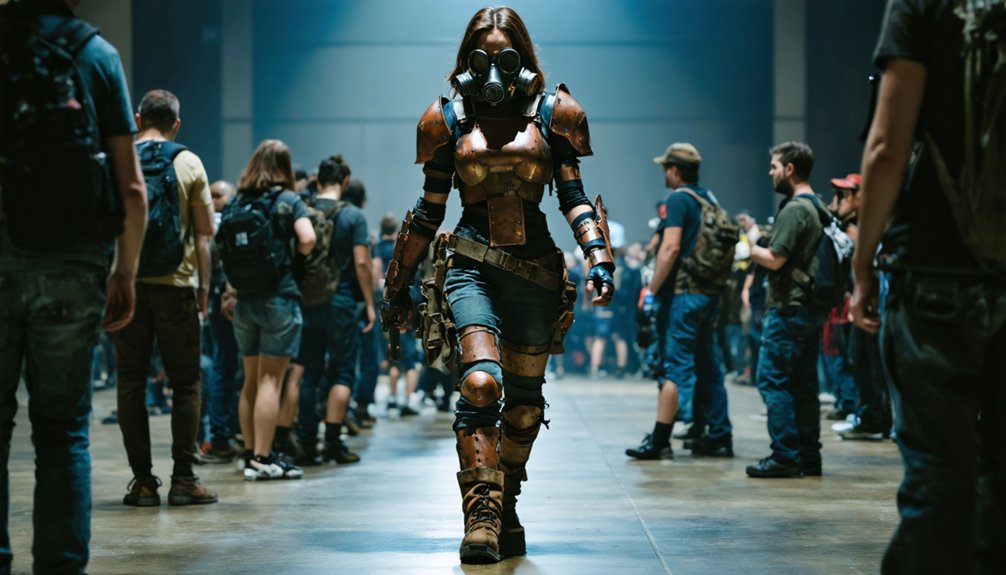
Whether you’re building a grease-stained mechanic from a collapsed civilization or a radiation-suit technician patching together reactor cores, coveralls and jumpsuits deliver an unmatched foundation for the role.
Coverall variations range from single-color utilitarian designs to multi-pocket tactical configurations, giving you precise control over your character’s function and aesthetic. Opt for used industrial coveralls, then distress them with strategically applied paint, burns, or tears to telegraph a hard-lived timeline.
Layer technician accessories like tool harnesses, wrist-mounted diagnostic panels, magnetic clip pouches, and LED indicator patches to push authenticity deeper. Choose darker colorways for a gritty underground engineer or faded orange for a decommissioned nuclear worker.
Every added detail communicates deliberate worldbuilding, transforming basic workwear into a fully realized sci-fi technician identity.
Where to Source Authentic Post-Apocalyptic Cosplay Gear
Finding authentic post-apocalyptic cosplay gear boils down to three reliable hunting grounds: army surplus stores, flea markets, and online bulk suppliers. Each source serves a distinct purpose in building costume authenticity without destroying your budget.
- Army surplus stores stock belts, buckles, and distressed gear perfect for wasteland aesthetics.
- Flea markets offer cheap pins, insignia, and trader items that add lived-in character.
- Online shopping enables bulk sourcing of realistic accessories at reduced per-unit costs.
You’ll want to skip pristine, full new army sets entirely. Instead, prioritize distressed used pieces that reinforce your DIY techniques and post-apo vibe.
Budget sourcing works best when you layer items strategically across these three channels, letting each source fill specific gaps in your overall costume build.
Must-Have Weapon Props for Any Wasteland Build
Weapon props separate a convincing wasteland build from a forgettable Halloween costume, so you’ll want to choose each piece with both visual impact and practical safety in mind.
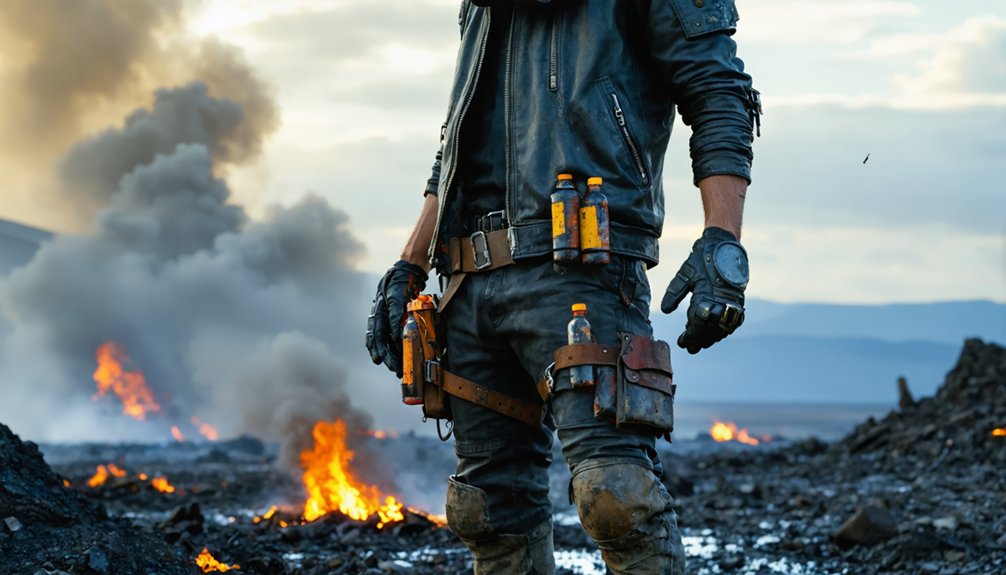
Improvised weapons like pipes, wrenches, and scavenged tools instantly communicate survival ingenuity while remaining budget-friendly. Classic options — baseball bats, fireman axes, and combat knives — carry immediate genre recognition across zombie and post-apocalyptic events alike.
For cyberpunk-adjacent builds, a katana sharpens your aesthetic considerably. Crafting shields from trash can lids adds textural authenticity without significant cost.
Safety considerations demand you prioritize well-constructed props; flimsy materials flex unpredictably during active LARP scenarios, creating real injury risks. Inspect every prop’s structural integrity before any event, because a convincing build means nothing if it compromises your safety or someone else’s.
How to Distress and Finish Gear So It Looks Lived-In
To distress fabric effectively, drag coarse sandpaper across stress points like knees, elbows, and collar edges.
Then follow up with a wire brush to fray fibers and simulate years of hard wear.
You’ll add realistic weathering by dry-brushing raw umber and burnt sienna acrylic paint into creases.
Then sealing the effect with a matte finish spray to lock in grime without making surfaces look plasticky.
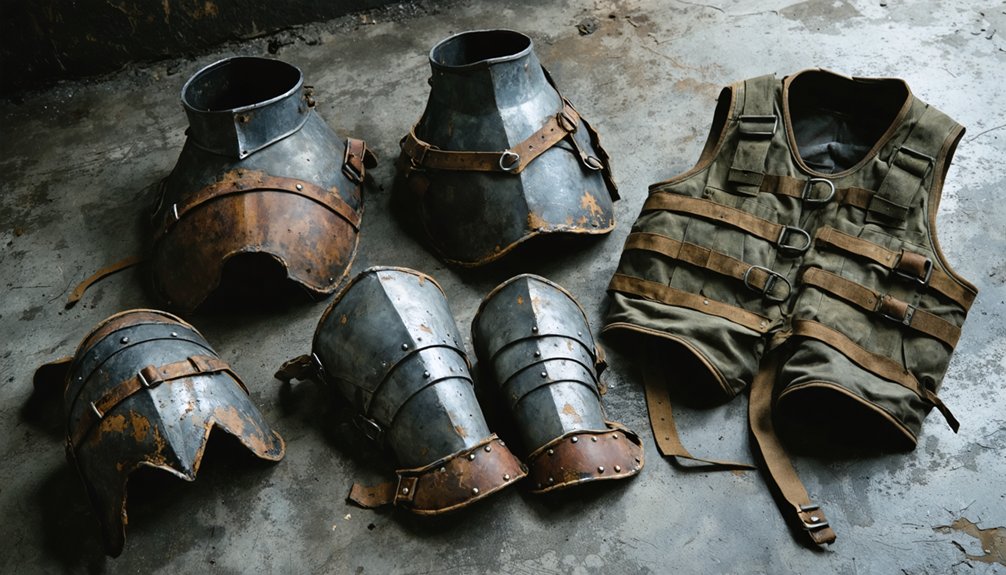
Finish with aged details by attaching tarnished buckles, scratched insignia, and tea-stained patches that tell a visual story of survival rather than a costume rack.
Distressing Fabric Effectively
Distressing your gear transforms pristine thrift-store finds into convincing post-apocalyptic survivorwear, and the techniques you use will depend heavily on the fabric type and the story you want your costume to tell.
Strategic fabric treatments break down synthetic and natural fibers differently, so identify your material first.
Core distressing techniques include:
- Sandpaper abrasion — drag medium-grit sandpaper along stress points like knees, elbows, and collar edges to simulate genuine wear
- Bleach spotting — dilute bleach creates uneven fading that mimics chemical exposure or sun damage
- Controlled burning — briefly singe fabric edges with a lighter for frayed, scorched detailing; work carefully near synthetic blends
Layer these methods rather than applying one aggressively.
Subtlety reads more authentically than overdone destruction.
Adding Realistic Weathering
Weathering moves beyond fabric distressing into the finishing layer that convinces onlookers your gear has genuinely survived a collapsed civilization.
You’re building visual history into every surface through deliberate weathering techniques that simulate years of exposure.
Start with dry-brushing metallic paint along edges, buckles, and raised seams — this mimics genuine wear patterns.
Mix brown, black, and rust-toned acrylic washes, then stipple them into recessed areas, replicating accumulated grime.
Aging materials becomes convincing when you layer effects rather than apply single coats.
Seal leather pieces with matte finishes to eliminate artificial shine.
Spray diluted bleach selectively onto fabric for sun-fade simulation.
Add functional scratches using sandpaper on metal props.
Salt streaks replicate dried sweat authentically.
Each technique compounds into cohesive, battle-tested realism your audience will immediately recognize.
Finishing With Aged Details
Aged details separate convincing post-apocalyptic gear from obvious costume pieces, so you’ll want to treat every surface as a canvas for manufactured history.
Layering techniques transform fresh materials into vintage materials that read as decades-worn.
- Dry-brush raw umber and burnt sienna acrylics onto edges, simulating oxidation and grime accumulation.
- Score leather straps with sandpaper, then rub petroleum jelly into creases to replicate authentic wear patterns.
- Apply diluted black wash over aged accessories, wiping selectively to emphasize recessed areas and hardware.
Focus final passes on high-contact zones — buckles, grips, and collar edges wear fastest in real survival scenarios.
Seal everything with matte varnish; glossy finishes destroy believability instantly. Your goal isn’t damage — it’s earned deterioration that tells a specific, credible story.
What Separates Convincing Post-Apocalyptic Cosplay From Generic Costume Builds
What makes a post-apocalyptic build feel lived-in rather than store-bought comes down to intentional distressing, sourcing, and layering of details that generic costumes skip entirely.
You’re building character motivation into every scratched buckle, every rust-stained hem, every mismatched insignia pulled from a flea market bin.
Generic builds ignore thematic consistency — they present clean lines and uniform color where survival logic demands patched repairs, sun-bleached fabric, and improvised modifications.
You should source used army pieces over fresh sets, distress materials deliberately, and layer functional-looking gear that implies a history.
Tools and weapons props need authenticity too — a pipe wrench or fireman’s axe communicates survival context instantly.
Every component you choose must justify its existence within your character’s world, not just fill visual space.
Where Post-Apo Builders Find Build Ideas That Actually Work
Building a convincing post-apo kit solves half the problem — knowing where to pull your next idea solves the other half.
You’re not starting from scratch when strong communities already document what works.
Tap into these proven sources:
- RPF forums — builders share work-in-progress photos that break down post apocalyptic aesthetics into actionable construction steps.
- Wasteland Weekend documentation — real event builds demonstrate how practical functionality drives material choices, not just visual flair.
- YouTube build guides — detailed supply breakdowns show you exactly where sourcing decisions succeed or collapse under scrutiny.
Cross-referencing these platforms reveals patterns: distressed layering, improvised hardware, and genre-matched gear consistently outperform purely decorative approaches.
You’ll spot what separates functional cosplay from theatrical fluff fast — and that distinction defines your entire build trajectory.
Frequently Asked Questions
How Much Should a Beginner Budget for a Complete Post-Apocalyptic Cosplay Build?
Why overspend when creativity thrives on a budget? You’ll need roughly $50–$150 for a solid build. Focus your cost breakdown on essential materials: used army clothing, surplus gear, and flea market finds for authentic distressed aesthetics.
Can Post-Apocalyptic Cosplay Gear Double as Functional Outdoor Survival Equipment?
Yes, your post-apocalyptic cosplay gear can double as functional survival gear! Army surplus belts, distressed coveralls, and quality tools feature a functional design that’s genuinely useful outdoors, blending immersive aesthetics with real-world preparedness seamlessly.
Are There Specific Safety Regulations for Weapon Props at Cosplay Conventions?
Yes, conventions enforce strict safety measures for cosplay weapons. You’ll need to check each event’s prop policies—blades must be blunted, materials non-metallic, and staff-inspected. Innovative builders craft convincing yet compliant designs using foam or lightweight composites.
How Do You Store and Maintain Distressed Cosplay Gear Between Events?
Like battle-worn armor, store your gear in breathable bags, away from moisture. For cosplay maintenance tips, you’ll clean distressed finishes gently. These distressed storage solutions preserve authenticity, keeping textures intact between events without compromising that rugged post-apocalyptic aesthetic.
What Post-Apocalyptic Cosplay Communities Exist for Beginners Seeking Feedback?
You’ll find thriving community forums like RPF and Wasteland Weekend groups where you can share work-in-progress builds. These spaces offer beginner tips, detailed critiques, and innovative feedback to help you refine your post-apocalyptic cosplay effectively.
References
- https://www.youtube.com/watch?v=z0xCFtDdZVQ
- https://artisansdazure.com/pages/sci-fi-post-apocalyptic
- https://www.youtube.com/watch?v=N1IkWyWZyVc
- https://www.youtube.com/watch?v=va4uVMemzpE
- https://www.therpf.com/forums/threads/post-apocalyptic-gear.291322/