You can transform any basic synthetic wig into a screen-accurate character piece by combining smart prep work, the right tools, and controlled technique. Start by soaking fibers in fabric softener, then steam out the factory shape for a clean styling slate. Use sharp shears, heat protectants, and perm rods for precise cuts and lasting curls. Finish with freeze spray to lock your character’s silhouette in place. There’s much more to uncover if you keep going.
Key Takeaways
- Soak wig fibers overnight in fabric softener and water to eliminate factory stiffness and create a smoother styling base.
- Conduct strand tests before heat styling to determine synthetic fiber tolerance and prevent irreversible melting damage.
- Use sharp shears, razors, and multiple comb sizes to achieve precise cuts and character-specific silhouettes.
- Steam styled sections wrapped around perm rods to create lasting curls without direct heat contact on fibers.
- Lock finished styles using got2b Glued Freeze Spray and carry travel hairspray for quick convention touch-ups.
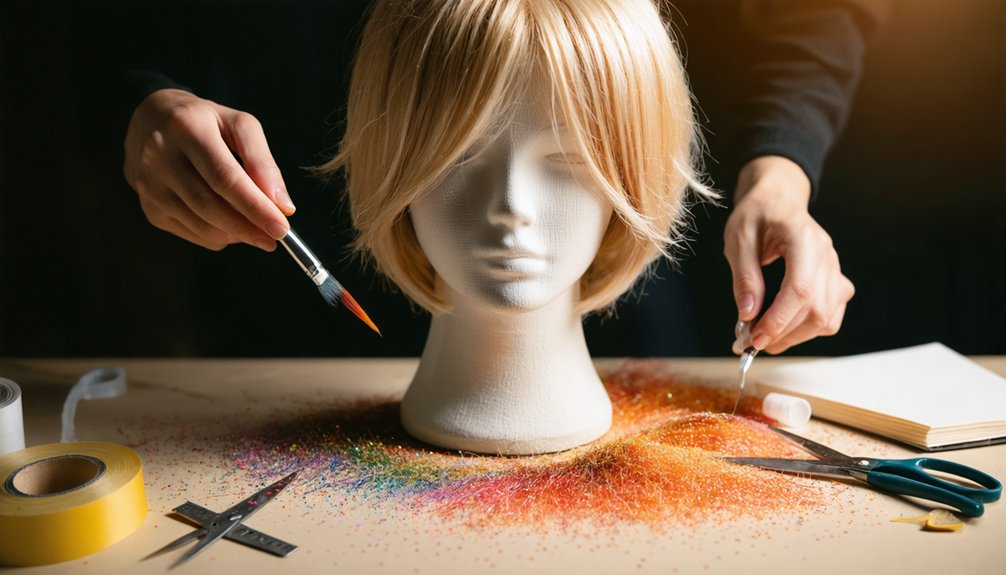
Prep Your Cosplay Wig for a Styling Blank Canvas
Before you pick up a single styling tool, three preparation steps will transform your wig from a stiff, lifeless mass into a workable blank canvas.
First, soak the fibers overnight in water mixed with a fabric softener cap — this softens synthetic strands markedly and is essential fiber care.
Second, steam the wig thoroughly to strip its factory-set shape, giving you a neutral foundation for your character’s specific silhouette.
Third, apply a light silicone spray mist before combing to lubricate fibers and prevent snapping during detangling.
Mount your wig securely on a wig head with side and front pins before beginning any work.
These wig maintenance fundamentals eliminate resistance before it starts, letting your creative vision drive every subsequent styling decision rather than fighting damaged, uncooperative fibers.
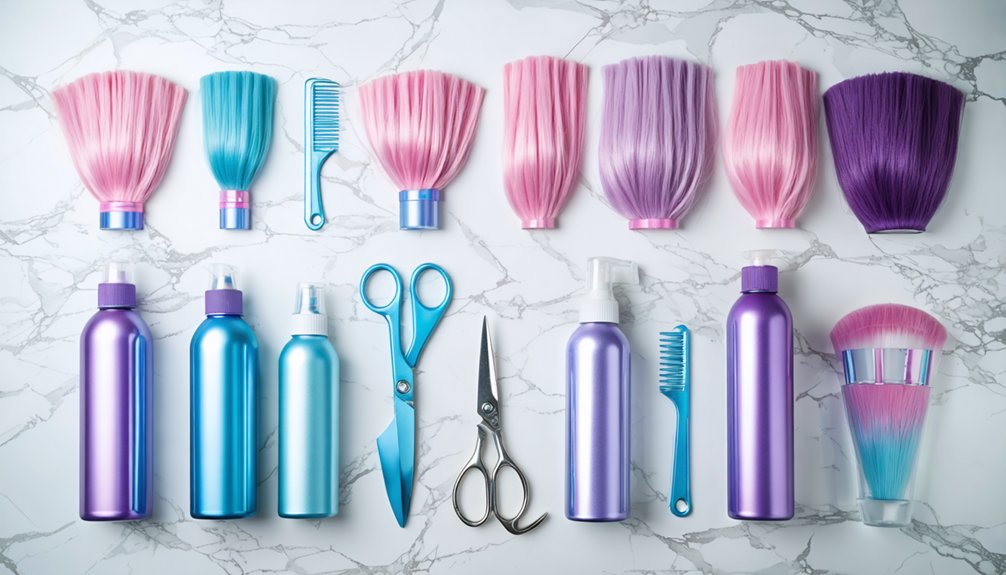
Tools Every Cosplay Wig Stylist Actually Needs
With your wig prepped and ready, the right tools will determine whether your styling session flows smoothly or dissolves into frustration. For precise wig care, you’ll need sharp shears, multiple comb sizes — rat tail, fine tooth, wide tooth, and medium tooth — plus a stable wig head with pins.
Heat styling demands a flat iron with adjustable settings, a hairdryer, a steamer, and a crimping iron for texture variety. Always perform a strand test before committing to heat on any section.
For color blending and advanced character builds, keep alligator clips nearby to isolate sections while you work. A foam roller set and perm rods round out your toolkit, giving you cold-set options when heat simply isn’t appropriate for delicate synthetic fibers.
Cut and Texture Your Cosplay Wig With Precision
Shaping a wig into a screen-accurate cut separates a passable cosplay from a genuinely convincing one, and the difference almost always comes down to discipline with the shears.
Start small — trim conservatively, check constantly, and never assume you can undo an aggressive cut. Sharp shears are non-negotiable; dull blades crush synthetic fibers instead of slicing them cleanly.
For texture techniques, crimp sections before your final trim, then break apart those waves using a teasing brush. This creates organic, sporadic volume rather than uniform bulk. A razor adds irregular edge definition where shears feel too blunt.
Wig layering reveals dimensional structure — build depth by removing interior weight while preserving exterior shape.
Each character’s silhouette demands a specific approach, so study reference images obsessively before committing to any cut.
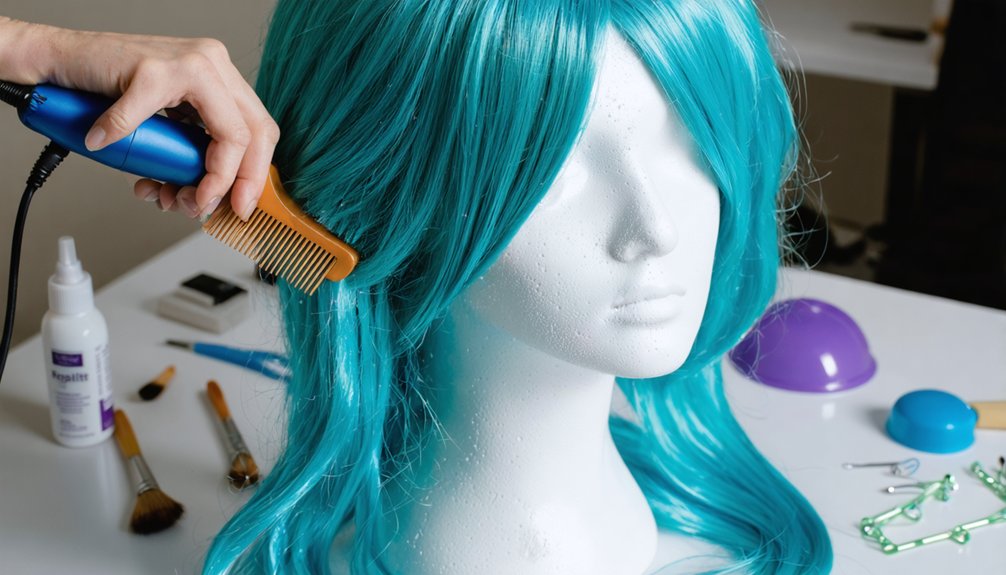
Apply Heat to Cosplay Wigs Without Melting the Fibers
Heat transforms a synthetic wig, but it also destroys one the moment you lose focus. Before touching any iron to the fibers, apply heat protectants directly to each section you’re working on.
Sectioning techniques matter enormously here — clip everything away except the strand you’re actively styling.
Always run a strand test first. Synthetic fibers respond differently to temperature, so set your flat iron low and increase gradually. Work in small sections, moving the iron steadily rather than holding it stationary.
Steamers offer a gentler alternative, releasing shape without direct contact.
For curls, wrap sections around perm rods, hit them with steam, then let them cool completely before removing. Patience during cooling locks the style permanently into the fibers, giving your character’s look lasting integrity.
Lock In Your Cosplay Wig Style for Convention Wear
Every hour at a convention tests your wig’s styling in ways your bedroom mirror never will — crowded halls, body heat, and constant movement conspire to unravel even the most carefully shaped look.
Smart wig maintenance tips start before you leave home.
- Pin styled sections directly onto your wig form, then steam to permanently set the shape.
- Use got2b Glued Blasting Freeze Spray for gravity-defying spikes that won’t surrender to humidity.
- Carry travel-sized hairspray for quick touch-ups between panels — one of the biggest styling mistakes to avoid is leaving home without it.
- Rub a fabric softener sheet lightly over flyaways to instantly tame static caused by synthetic fibers.
Lock your character’s silhouette in before the day starts, not during it.
Frequently Asked Questions
Can You Combine Multiple Wigs to Achieve Layered Cosplay Looks?
Yes, you can combine multiple wigs using wig layering techniques and color blending methods! Attach pieces along the hairline with silicone glue, blend colors seamlessly, and create widow’s peaks with wefts for innovative, character-focused cosplay transformations.
How Do You Create a Widow’s Peak on a Cosplay Wig?
You’ll craft a widow’s peak by attaching hair wefts or lace front pieces along the hairline using tacky glue, perfecting wig styling and hair texture to authentically capture your character’s distinctive, innovative look.
What Glue Works Best for Adding Hair Along a Wig’s Hairline?
For hairline blending, you’ll want tacky or silicone-based wig adhesive. Apply it carefully along the hairline, securing extra hair wefts to craft your character’s perfect edge, creating seamless, innovative results that’ll elevate your cosplay transformation dramatically.
How Does Ventilating Allow for Custom Additions to Cosplay Wigs?
Ventilating lets you weave wefts with precise, personalized placement, pushing wig customization further by threading individual strands through the cap using a hook or needle, perfectly matching your character’s unique hair texture with creative control.
Which Styling Rods Create the Most Structured Curls in Wigs?
You’ll achieve the most structured curls using perm rods, where curling techniques and rod materials directly impact definition. Smaller diameter rods create tighter, character-focused coils, letting you innovate your cosplay wig’s texture with precision and lasting hold.
References
- https://morojowig.com/blogs/news/mastering-the-art-of-cosplay-wig-styling-your-ultimate-guide
- https://www.thepopverse.com/cosplay-wig-wigs-cheap-tips-tricks
- https://www.youtube.com/watch?v=9JHvSeK5_cU
- https://www.youtube.com/watch?v=XgMyqx_KQ1w
- https://www.youtube.com/watch?v=KfKHOOMYiZc
- https://wigs101.com/10-tips-for-wig-noobs
- https://www.epiccosplay.com/pages/wigs