Stunning cosplay photography comes down to seven deliberate secrets you can’t afford to skip. Always secure consent before shooting, then scout thematic backgrounds that reinforce each character’s world. Position your subject using natural light—golden hour and open shade beat harsh midday sun every time. Choose angles that reflect personality, collaborate on authentic poses, shoot in bursts for maximum variety, and edit images to match the character’s visual universe. Keep going to master each secret completely.
Key Takeaways
- Always obtain explicit consent before shooting, discussing preferred poses, angles, and boundaries to build trust and capture authentic expressions.
- Scout thematic locations that complement costumes, using textured walls and doorways to create immersive, character-appropriate backdrops.
- Shoot during golden hour for warm, cinematic lighting, or use open shade to avoid harsh midday sun on costumes.
- Apply low angles to amplify powerful characters and high angles to convey vulnerability, letting personality guide your perspective.
- Collaborate on dynamic poses, use burst shooting, and edit images to match the character’s unique visual aesthetic.
Ask Permission Before You Pick Up the Camera
Before you raise your camera at a convention, you need one thing from the cosplayer in front of you: explicit permission. Consent importance isn’t a formality—it’s the operational foundation of ethical cosplay photography. Without it, you’re undermining both trust and your professional credibility.
Explicit permission isn’t optional—it’s the single non-negotiable foundation every ethical cosplay photographer must secure before shooting.
Approach cosplayers directly, state your intent clearly, and confirm they’re ready before shooting. Respectful communication means discussing preferred angles, character-specific poses, and personal boundaries before a single frame fires.
Carry contact cards so they can receive their images afterward.
Never misrepresent your status or claim convention affiliations you don’t hold. Confirm costume adjustments and prop placement are complete before you begin.
This structured approach transforms a random encounter into a collaborative, purposeful creative session.
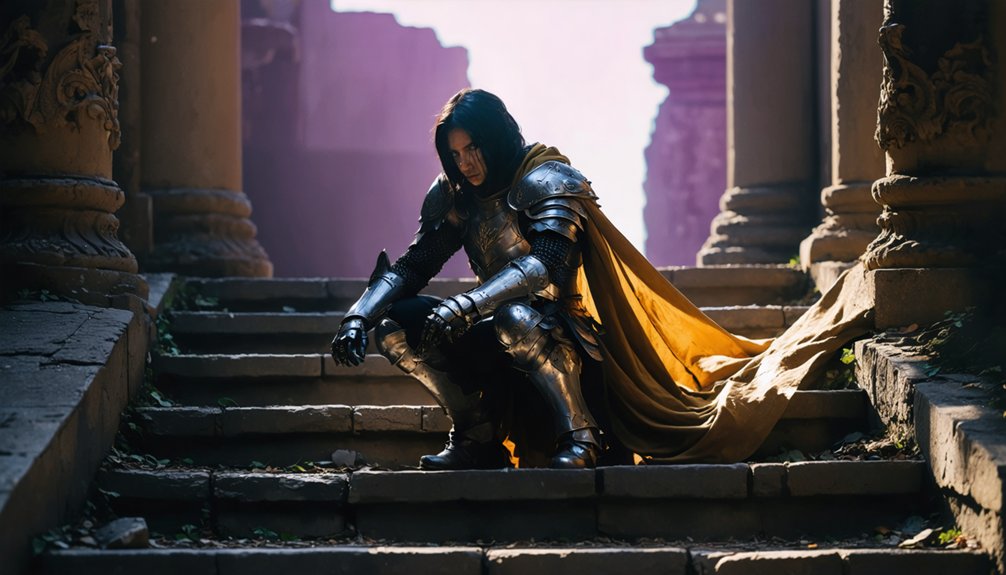
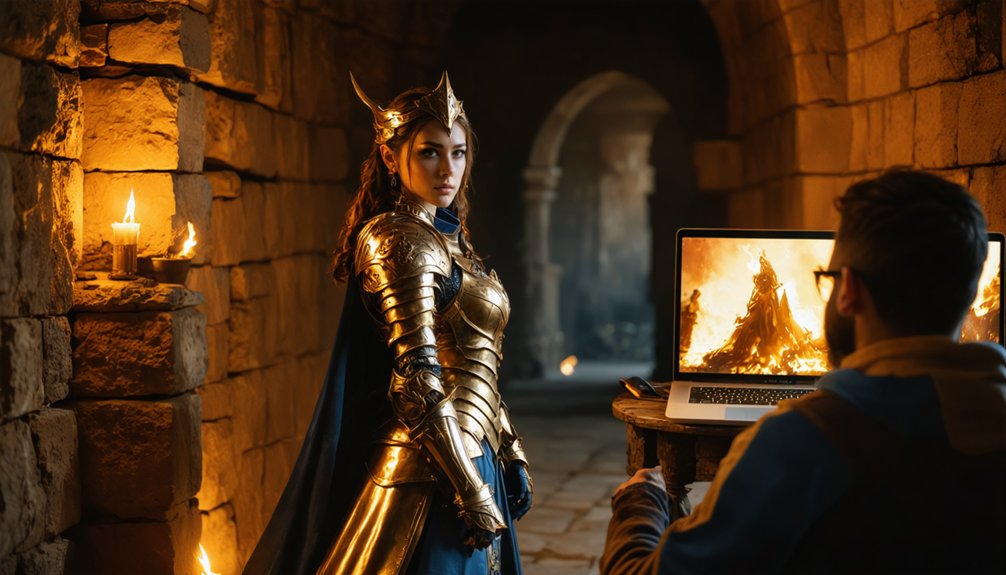
Find Cosplay Backgrounds That Reinforce the Character
Where you place your cosplayer determines whether the image feels like a snapshot or a scene. Prioritize location scouting before shooting begins, identifying thematic environments that mirror your subject’s character settings. A stone archway, industrial corridor, or sunlit courtyard each contribute distinct narrative elements that elevate visual storytelling beyond simple portraiture.
Seek immersive backdrops that provide context enhancement without overwhelming the costume. You want the environment working with your subject, not competing against it. Doorways, textured walls, and architectural geometry all support atmosphere creation while maintaining subject clarity.
Shooting on location reduces heavy compositing in post-processing, since strong surroundings already reinforce character authenticity. Move laterally, explore angles, and assess how light interacts with each setting.
Every deliberate background choice tightens your image’s narrative logic and transforms cosplay captures into compelling, cinematic work.
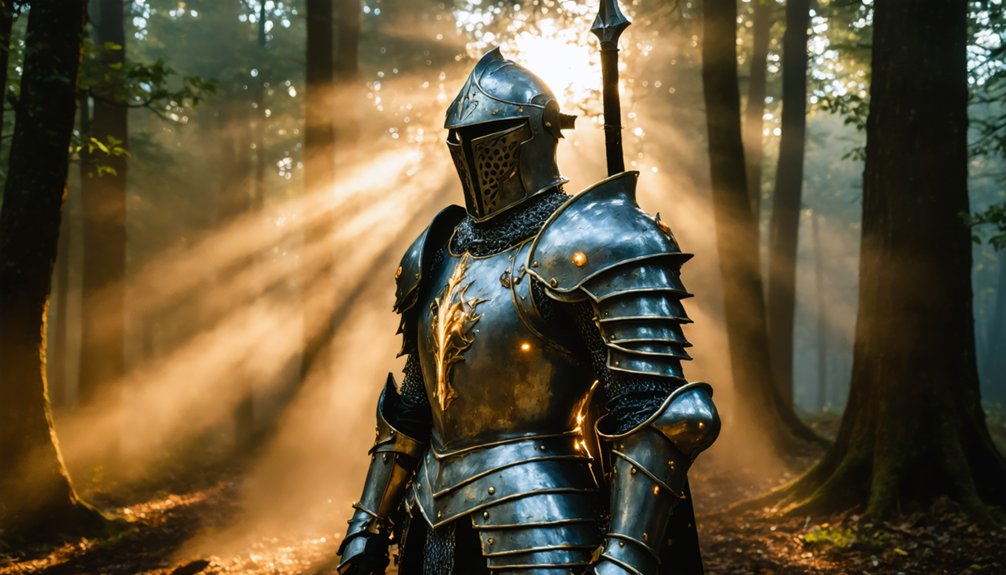
Use Natural Light to Make Cosplay Photos Pop
Natural light transforms cosplay photography when you understand how to position your subject relative to its source.
Mastering your subject’s position relative to natural light is the foundation of transformative cosplay photography.
Outdoor settings during golden hour produce warm, cinematic tones that dramatically elevate mood enhancement without additional gear. Soft shadows define costume textures and facial structure with precision that artificial ambient lighting rarely replicates.
- Leverage reflective surfaces — use metallic props, light-colored walls, or portable reflectors to redirect natural light into shadowed areas, preserving detail across the full costume.
- Avoid harsh midday sun — position your cosplayer in open shade to maintain soft shadows while retaining color accuracy.
- Apply window lighting indoors — doorway or window setups replicate outdoor quality, giving you reliable lighting techniques when conventions restrict exterior access.
Master these strategies, and you’ll consistently produce visually compelling, character-authentic portraits.
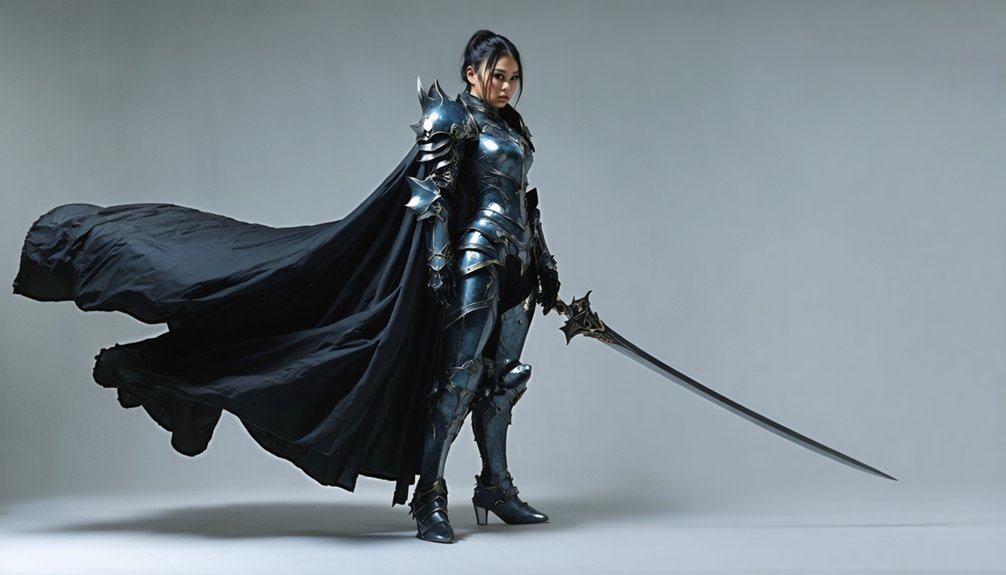
Pick Angles That Bring Cosplay Characters to Life
Lighting sets the foundation, but the angle you choose determines whether a character commands the frame or simply occupies it. Drop low for superhero builds and dominant archetypes — that upward perspective amplifies scale and authority instantly. Shift high for fragile or emotionally complex characters, using the downward tilt to communicate vulnerability.
Neither approach works in isolation, so move laterally to locate stronger backgrounds and cleaner light before committing to your shot.
Dynamic perspectives transform static cosplay portraits into scenes that feel pulled directly from source material. Centered, straight-on framing rarely achieves character immersion; instead, slight off-axis positioning adds dimension and visual tension.
Let the character’s personality dictate your angle choices rather than defaulting to convenience. Intentional camera placement is where technical precision meets storytelling vision.
Direct Poses That Feel True to the Character
Posing direction separates a forgettable snapshot from a frame that feels ripped from the source material. Your cosplayer understands their character deeply, so collaborate rather than dictate.
Build character authenticity by referencing source poses and encouraging natural movement over rigid stances. Introduce pose variations to avoid repetitive framing and reveal stronger emotional range across the set.
- Defer to the cosplayer’s knowledge — they’ll instinctively nail signature gestures and expressions you won’t find in any reference sheet.
- Introduce movement prompts — ask them to step forward, draw a weapon, or look away, then capture mid-action frames.
- Keep props readable — position large items so they complement rather than obscure the costume and face.
Strong posing transforms technical execution into genuine visual storytelling.
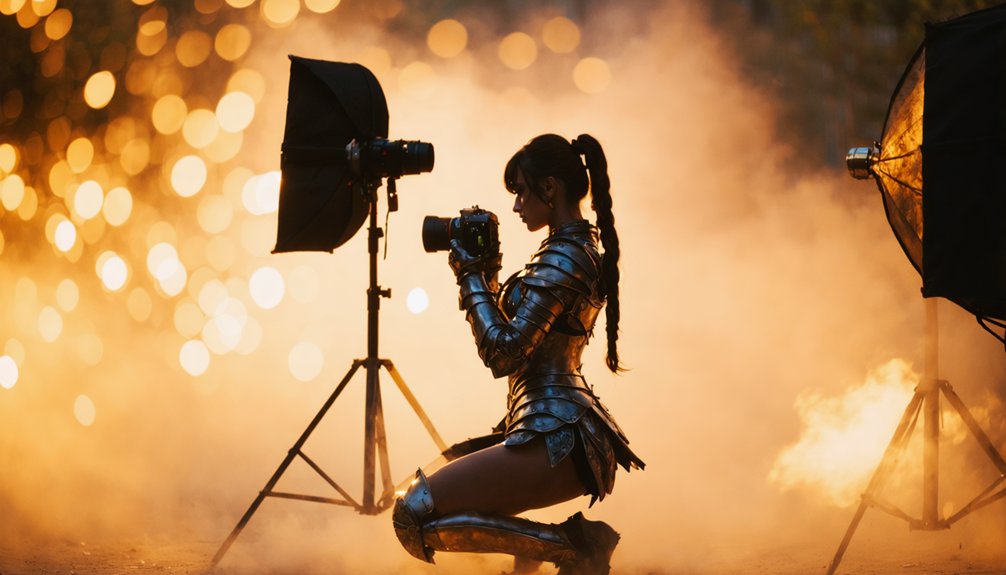
Shoot More Frames Than You Think You Need
Even when everything looks right in the viewfinder, a single frame rarely captures peak expression, sharpest focus, and ideal gesture simultaneously.
Shoot in bursts during dynamic movements and character interaction to maximize frame variety. Timing techniques matter enormously — trigger your shutter slightly before expressive gestures peak, not after. You’ll capture candid moments that feel genuinely alive rather than stiff and rehearsed.
Use extended shooting sessions for lighting experimentation across different angles and creative compositions without pressure.
Review sequences afterward to identify micro-expressions, shifts in poses, and subtle costume details that single shots consistently miss.
Volume shooting isn’t laziness — it’s deliberate precision. More raw material gives your editing workflow stronger candidates, reducing compromise during selection and producing final images that authentically represent both your technical skill and the cosplayer’s character.
Edit Cosplay Photos to Match the Character’s World
Strong frames from a full shooting session only fulfill their potential when your editing choices match the visual world the character actually inhabits.
Color grading, thematic overlays, and atmospheric effects should reinforce character context rather than apply generic styles.
- Match color grading to the source material — dark fantasy characters demand desaturated, cooler tones; vibrant anime characters need punchy, saturated palettes that honor narrative elements.
- Incorporate atmospheric effects strategically — magical glows, weather overlays, and cinematic light leaks deepen visual storytelling without overwhelming costume details.
- Use targeted editing techniques — sharpen costume details selectively, lift shadow detail on textured fabrics, and use masking to control where enhancements land.
Your editing workflow isn’t finishing work — it’s active world-building that transforms technically solid shots into fully realized character portraits.
Frequently Asked Questions
How Do You Handle Cosplayers Who Become Uncomfortable Mid-Shoot?
When you notice discomfort, stop immediately and prioritize emotional support over capturing shots. Your photographer communication should shift toward checking boundaries, adjusting poses collaboratively, and confirming consent before you resume, ensuring the cosplayer’s comfort drives every creative decision forward.
Avoid sharing raw files directly; you’re setting editing expectations upfront. Raw file ethics demand you deliver polished, character-matched edits that showcase your vision, craftsmanship, and innovative post-processing skills rather than unfinished, unrepresentative image data.
Can Color Gels Work Effectively Under Standard Convention Fluorescent Lighting?
Yes, you can use color gels effectively under fluorescent lighting by applying color theory to counteract green casts. These lighting techniques let you craft cinematic, visionary atmospheres that’ll transform convention floors into character-specific, immersive environments.
How Do Large Props Affect Background Separation and Depth Blur?
Large props can disrupt depth blur when they’re too far from your subject. Prioritize prop positioning close to the cosplayer’s body, maximizing background contrast and letting your aperture naturally isolate them from environmental clutter.
What Contact-Sharing Methods Work Best in Crowded Convention Environments?
Coincidentally, when crowds peak, connections matter most—carry business cards and display your social media handle visibly on your badge. You’ll exchange contacts faster, capture consent efficiently, and build a collaborative network that transforms chaotic convention floors into creative opportunities.
References
- https://www.youtube.com/watch?v=Ufi7YtEMihc
- https://jtokucostume.com/9-cosplay-photography-tips-and-tricks/
- https://www.lancereis.com/photography-tips-for-beginners/7-key-elements-to-a-viral-cosplay-photo
- https://nerdalertnews.net/an-introverts-guide-to-cosplay-photography/
- https://www.reddit.com/r/photography/comments/6gzoga/advice_for_shooting_cosplayersmodels/
- https://www.spekture.com/how-to-improve-your-cosplay-photography-in-4-easy-steps/
- https://aliceincosplayland.com/2013/05/posing-basics-for-cosplay.html
- https://fstoppers.com/lifestyle/quick-tips-improve-your-cosplay-convention-photos-192081
- https://www.skywingknights.com/photography/12-tips-tricks-for-official-photographers-at-public-cosplay-photo-shoots/
- https://www.facebook.com/groups/thatotherkatsuconfbgroup/posts/9797726253587585/