To nail cosplay photos, you’ll want to plan poses in advance using reference screenshots and promotional art. Avoid standing square to the camera by rotating your torso 30-45 degrees. Keep elbows lifted, bend your joints deliberately, and form triangles with your arms to build depth. Match your facial expressions and gaze to your character’s emotional tone. Practice handling props naturally at home first. Each tip below breaks down exactly how to execute these techniques.
Key Takeaways
- Research your character’s signature poses using screenshots and gameplay videos to accurately capture their movement style and emotional tone.
- Rotate your torso 30-45 degrees and shift your hips to create dynamic, dimensional silhouettes instead of standing square to the camera.
- Bend elbows, wrists, and knees deliberately while separating limbs from your torso to enhance silhouette clarity and visual energy.
- Use intentional eye contact and match facial expressions to your character’s emotions, avoiding blank stares that undermine your poses.
- Practice prop handling repeatedly at home to ensure natural, organic placement that strengthens your overall character representation.
Plan Your Cosplay Poses Before the Shoot
Before stepping in front of a camera, research your character’s signature stances by pulling screenshots, promotional art, and in-game footage. Thorough gesture study sharpens your understanding of character expression and informs smarter pose selection.
Limit your initial set to three or four options to maintain consistency during action capture.
Sketch each pose beforehand to map silhouette design, line of action, and prop integration. Drawing clarifies dynamic posture, hand placement, and angle variety before you commit them to camera. This visual storytelling approach removes guesswork and tightens your execution on shoot day.
Sketching poses in advance maps your silhouette, sharpens prop placement, and eliminates costly guesswork on shoot day.
Use movement exploration to test shifts between poses so you can transition naturally without breaking momentum. Reference “best of” gameplay videos for source-accurate inspiration that keeps every pose grounded in the character’s established visual language.
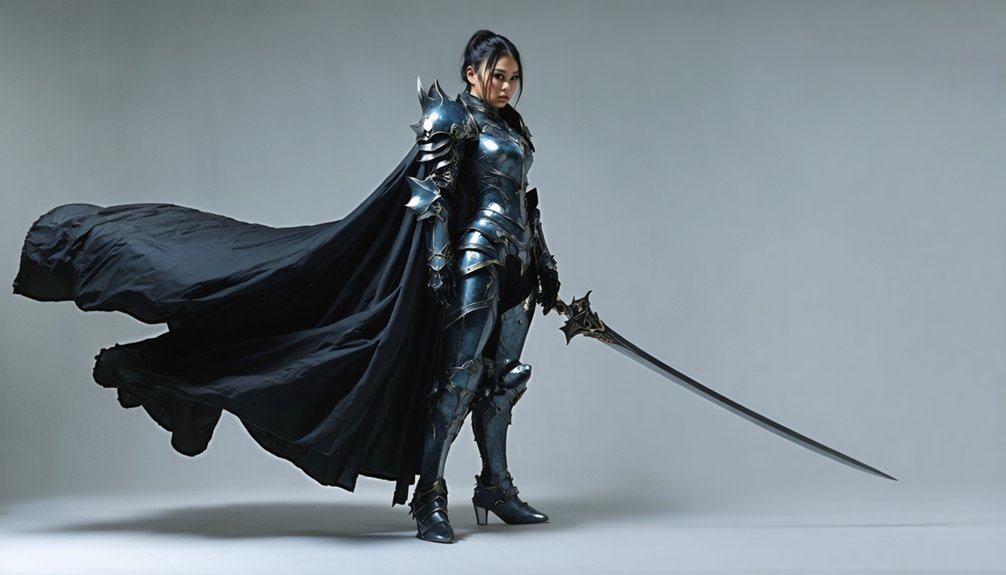
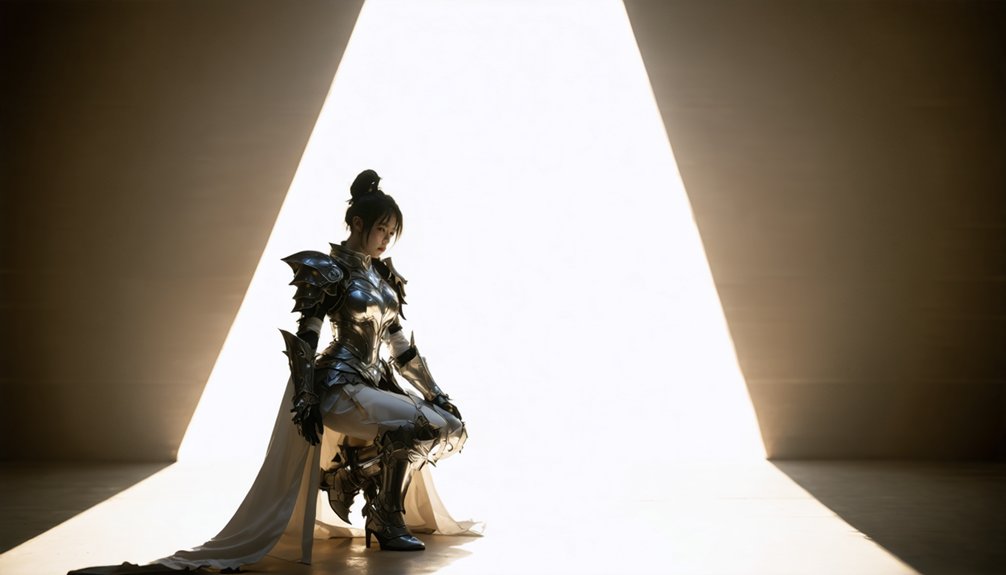
Stand at an Angle to Avoid Flat Cosplay Photos
Standing square to the camera flattens your costume and collapses depth, so rotate your torso roughly 45 degrees and shift your hips to one side.
Your best working angles fall between a three-quarter turn and a slight profile, depending on which side of your costume reads strongest.
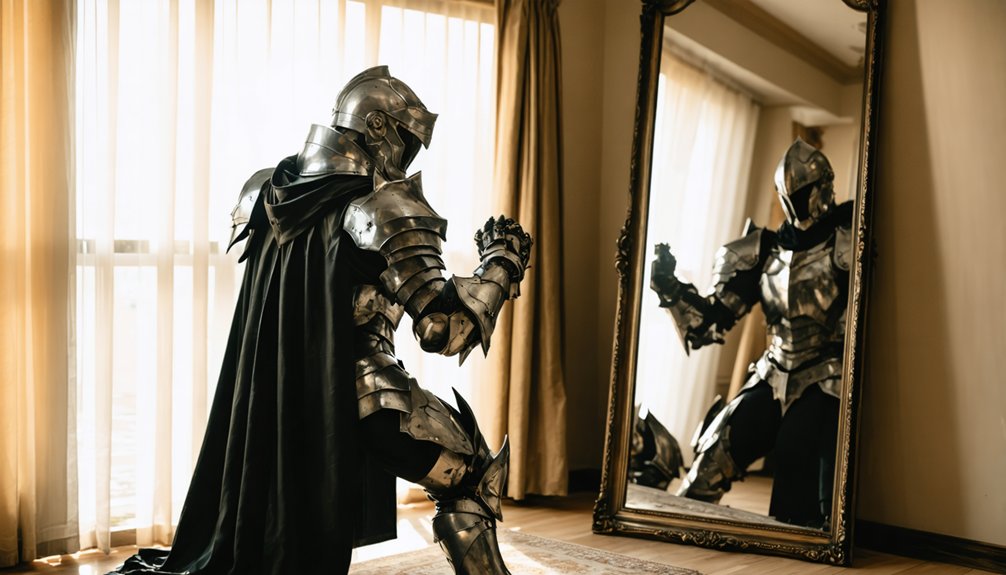
Practice each angle in a mirror and confirm it with test selfies before your shoot or convention day.
Why Angles Beat Straight
When you face the camera head-on, your body compresses into a flat, two-dimensional shape that loses depth and visual interest. Angling your body introduces dimension, sharpens your silhouette, and reveals angle variety that elevates dynamic poses instantly.
Rotate 30–45 degrees from the lens to restructure your body’s visual plane:
- Turn your shoulders at an angle to the camera while keeping your face directed toward the lens.
- Shift your hips opposite to your shoulders to create a natural torso twist.
- Position your front foot pointed slightly forward to extend your body’s diagonal line.
- Angle your arms away from your torso to separate limbs from your core and define your silhouette clearly.
Small rotations produce dramatically stronger frames.
Best Body Angles
Shifting your body at a 30–45 degree angle to the camera is one of the simplest corrections you can make to eliminate flat, compressed cosplay photos.
Turn your torso away from the lens, then rotate your head back toward it. This diagonal alignment creates dynamic silhouettes that convey depth, dimension, and visual interest immediately.
Place your weight on your back leg to introduce a natural bend through the hip and knee, generating a stronger pose line.
Keep your elbows lifted and separated from your torso to open the frame and improve readability.
Layer expressive gestures — raised arms, extended props, angled hands — on top of this base angle to amplify character intent.
Every joint you bend and every degree you rotate adds structural complexity the camera rewards.
Practicing Your Angle
Angling your body consistently requires deliberate, repeated practice before it becomes automatic in a shoot or convention setting. Use mirror practice and test selfies for posture assessment and silhouette refinement before arriving on location.
- Angle exploration – Test 30°, 45°, and 60° body rotations in a mirror to identify your strongest silhouette.
- Expression control – Match facial expression to character tone while holding each angle; avoid a neutral default.
- Hand positioning – Rehearse active hand placement simultaneously with body angles to build muscle memory.
- Dynamic movement – Enter each pose from a standing position using slow, controlled shifts to simulate real shoot conditions.
Maintain a focused gaze during every practice repetition to train eye direction alongside body angle simultaneously.
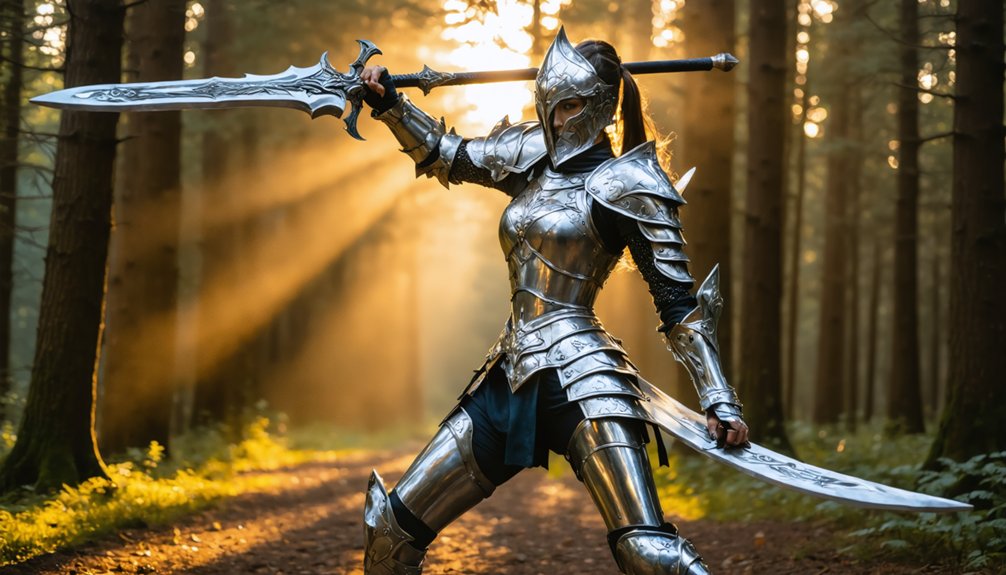
Use Your Hands and Arms to Build Better Lines
Your hands and arms are among the most powerful tools for creating strong pose geometry, so never let them hang dead at your sides.
Keep elbows lifted away from your torso to open up the silhouette, and angle props to the side rather than pointing them straight at the lens to preserve depth.
Use relaxed, slightly open hands with clear directional intent to sharpen the pose’s visual lines without introducing tension into the frame.
Keep Hands Active Always
Dead arms kill a pose. When your hands hang limp at your sides, the entire frame loses energy. Expressive hands and deliberate finger placements transform static stances into dynamic, character-driven shots.
Prioritize hand visibility in every pose you build.
Apply these hand dynamics principles:
- Activate gesture variety — shift between pointing, gripping, or reaching to maintain visual interest across multiple shots.
- Control finger placements — avoid tense, clenched fists; keep fingers relaxed, slightly separated, and directionally intentional.
- Use active gestures purposefully — each hand movement should reinforce character personality, not default to neutral.
- Maximize prop interaction — grip, angle, or extend props deliberately to strengthen hand positioning and add compositional depth.
Your hands are always on camera. Make them work.
Angle Props For Depth
Once your hands are active and purposeful, the next step is putting them to work on your props.
Prop positioning directly controls how much depth your image contains. Pointing a weapon, staff, or shield straight at the lens collapses dimensional space and flattens your layered composition. Instead, rotate the prop 30 to 45 degrees off-axis to create dynamic angles that push the eye through the frame.
Angle your prop toward a deliberate focal point — either into the scene or diagonally across your body — to reinforce visual storytelling.
Strong prop interaction also supports silhouette emphasis by keeping the prop’s silhouette readable against your costume. Tilting and layering props intentionally produces depth enhancement that transforms a static shot into a spatially compelling image.
Create Space With Elbows
Pressing your elbows outward from your torso is one of the fastest corrections you can make to a flat, lifeless pose. Proper elbow placement breaks the straight vertical line your body creates, enabling silhouette enhancement that reads clearly on camera.
Arm extension doesn’t require dramatic movement — even subtle outward pressure transforms your dynamic posture instantly.
Follow these four execution points:
- Pull elbows away from your ribcage to create visible negative space between your arms and body.
- Bend at least one elbow to introduce angular structure and visual depth.
- Avoid locking joints — soft bends produce cleaner, more intentional lines.
- Check your silhouette in a mirror before shooting to confirm separation reads correctly.
Angle Your Head and Chin to Sharpen Your Jawline
Tilting your chin slightly forward and upward tightens the jawline and eliminates the soft shadow that forms under the chin in flat, straight-on shots. This jawline enhancement technique works because it creates contrast between your jaw and neck, producing a cleaner silhouette on camera.
Avoid keeping your head perfectly straight. Instead, angle your nose slightly left or right while applying the chin push to add dimensional depth. Head tilting should stay subtle — sharp lateral tilts read as unnatural and distract from the character you’re portraying.
Direct your gaze toward the lens or just above the photographer’s shoulder to maintain intentional eye contact. Match your expression to the character’s emotion. A technically correct chin angle combined with a blank stare undermines the entire pose.
Bend Your Joints and Use Triangles to Add Depth
Straight limbs and locked joints flatten a pose and remove the visual tension that makes cosplay photos compelling.
Joint flexibility transforms rigid stances into dynamic shapes, while triangular composition creates structured visual pathways that guide the viewer’s eye.
Apply these four techniques immediately:
- Bend elbows, wrists, and knees at deliberate angles to eliminate stiff, mannequin-like lines.
- Form triangles by positioning your arms away from your torso, creating negative space between limbs and body.
- Shift your weight onto one leg, bending the opposite knee to generate an asymmetrical base.
- Angle props and weapons diagonally to reinforce triangular composition and add directional energy.
Stack these elements together, and your silhouette reads with immediate clarity and depth.
Use Character-Accurate Movement to Make Poses Look Natural
Even the most technically refined pose falls flat if the movement behind it doesn’t match the character you’re embodying. Character movement isn’t decorative — it’s structural. Study how your character walks, fights, or reacts, then reverse-engineer those behaviors into expressive stances you can reproduce on demand.
Prioritize gesture consistency across every shot. If your character’s action authenticity depends on aggressive forward momentum, your fluid changes between poses should reflect that energy.
Don’t reset to neutral between frames — carry the character essence through each shift.
Dynamic expressions reinforce natural poses more than static facial setups ever will. Match your eye direction, jaw tension, and shoulder angle to the emotional state of the scene.
When character movement drives the body before the camera fires, the result reads as genuine rather than performed.
Practice These Cosplay Posing Tips at Home First
Home practice is where posing technique solidifies before the pressure of a shoot or convention. Use mirror practice to audit silhouette, costume fit, and expression control in real time. Test camera angles with selfies to confirm how dynamic movement and prop interaction translate on screen.
- Character Study – Pull reference screenshots and replicate signature stances, refining pose adjustments until execution feels automatic.
- Expression Control – Hold each expression for ten seconds in a mirror to build muscle memory and confidence building.
- Lighting Techniques – Use a lamp or ring light at home to identify which angles flatter your costume’s design details.
- Prop Interaction – Practice handling props repeatedly so placement feels natural, not staged, during the actual shoot.
Frequently Asked Questions
How Many Poses Should a Beginner Cosplayer Prepare for a Convention?
Prepare three to four poses maximum. You’ll build confidence building faster by mastering fewer options thoroughly. Select poses that showcase distinct character expressions, ensuring you’ve drilled each one until execution feels instinctive and photo-ready.
Can Posing Techniques Differ Based on the Character’s Gender Presentation?
Yes, posing techniques absolutely shift with gender expression. You’ll adjust pose fluidity, weight distribution, and emotional portrayal to match character dynamics—softer bent joints for feminine characters, sharper angular stances for masculine ones, ensuring authentic representation every time.
Should Cosplayers Coordinate Poses When Photographed Together in a Group?
Perfectly planned posespower group dynamics—you should absolutely coordinate them. Mix standing, crouching, and reaching positions to build pose variety, vary levels intentionally, create visual triangles, and guarantee each cosplayer’s silhouette remains distinct and readable within the frame.
Does Costume Material or Stiffness Affect Which Poses Are Physically Possible?
Yes, costume material directly creates pose limitations. If your fabric flexibility is low, you’ll avoid deep bends or wide stances. Test your range before shooting, then select poses that your costume’s stiffness physically allows.
How Do Outdoor Lighting Conditions Change Which Poses Photograph Most Effectively?
Strike while the iron’s hot during golden hour—you’ll maximize warm color temperature and soft natural light. Face your light source, use shadow effects to define angles, and avoid flat overhead midday light that kills pose depth.
References
- https://aliceincosplayland.com/2013/05/posing-basics-for-cosplay.html
- https://www.lyricalvillaincosplay.com/post/cosplay-photography-posing-basics
- https://socksycosplay.home.blog/2019/04/15/go-to-poses-for-cosplay-modeling/
- https://www.nerdcaliber.com/better-cosplay-poses/
- https://cosplayadvice.com/posing-in-cosplay/
- https://capturingcosplay.com/10-posing-tips/
- https://www.glitteringmoonlight.com/blogging-center/art-of-cosplay-posing/
- https://www.youtube.com/watch?v=F4bxCtRPTK8
- https://rogersenpai.com/cosplay-poses-and-tips/
- https://www.youtube.com/watch?v=hgeYCPRMGlM