When designing plus-size costumes, you’ll want to start with fabrics that are 125 GSM or higher for structure and durability. Choose vertical or diagonal stripes to elongate your silhouette, and place bold details near your neckline to lift the eye upward. Build in adjustable straps, elastic backs, and modular pieces so your costume moves with your body confidently. These foundational tips are just the beginning of what you can do to create a truly stunning fit.
Key Takeaways
- Choose fabrics with 125 GSM or higher to ensure durability, structure, and shape retention throughout wear.
- Sew a mock-up first to test fit, then transfer all adjustments onto your final pattern before cutting.
- Use vertical or diagonal stripes strategically to elongate the frame and create a balanced, flattering silhouette.
- Layer sheer fabrics like chiffon or lace over structured bases to add dimension without adding bulk.
- Build modular costume pieces with adjustable straps, elastic backs, and detachable panels for flexible, comfortable fitting.
Choose Fabrics That Move With Your Plus-Size Body
When designing a plus-size costume, the fabric you choose can make or break how it looks and feels in motion. Prioritize materials with 125 GSM or higher for fabric durability and long-term structure. These heavier weights hold their shape without sagging or stretching out over time.
The right fabric doesn’t just cover your body — it carries your costume through every movement.
For movement flexibility, layer chiffon, mesh, or lace over structured bases. These lightweight materials flow naturally with your body, creating visual depth without adding bulk.
Under rigid costume elements, knit or jersey blends conform comfortably to your curves, so you’re never fighting your outfit mid-performance.
Skip heavy, non-stretch fabrics across the torso entirely. Your costume should amplify your movement, not restrict it.
When you choose the right fabric, you’re not just dressing your body — you’re designing with it.
Start With the Right Structural Foundation for Your Frame
Fabric sets the tone, but structure keeps everything in place. Before adding fabric texture or pattern complexity, you need a solid foundation that supports your specific frame. Start with a full-coverage bra if you’re large-chested — it anchors everything above.
Layer compression shapewear or stretch belts underneath detailed costume pieces to smooth progressions between sections.
For skirts, wide elastic waistbands distribute weight evenly without digging in. If you’re recreating historical silhouettes, a crinolette or petticoat adds shape without bulking up your waist.
Think modular — separating your costume into individual pieces gives you more control over fit.
Your foundation isn’t just functional; it’s strategic. Get it right, and every decorative layer above it performs exactly as it should.
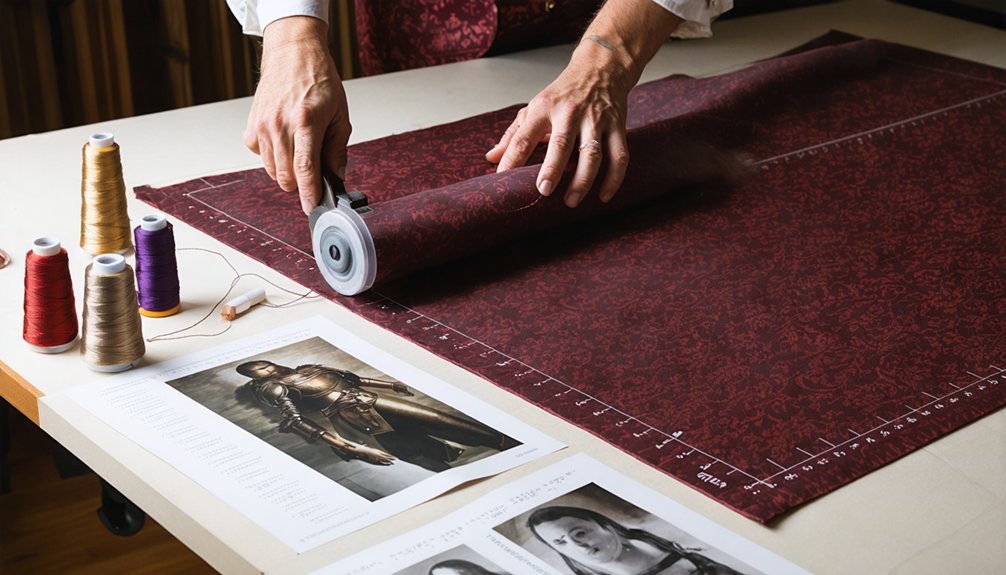
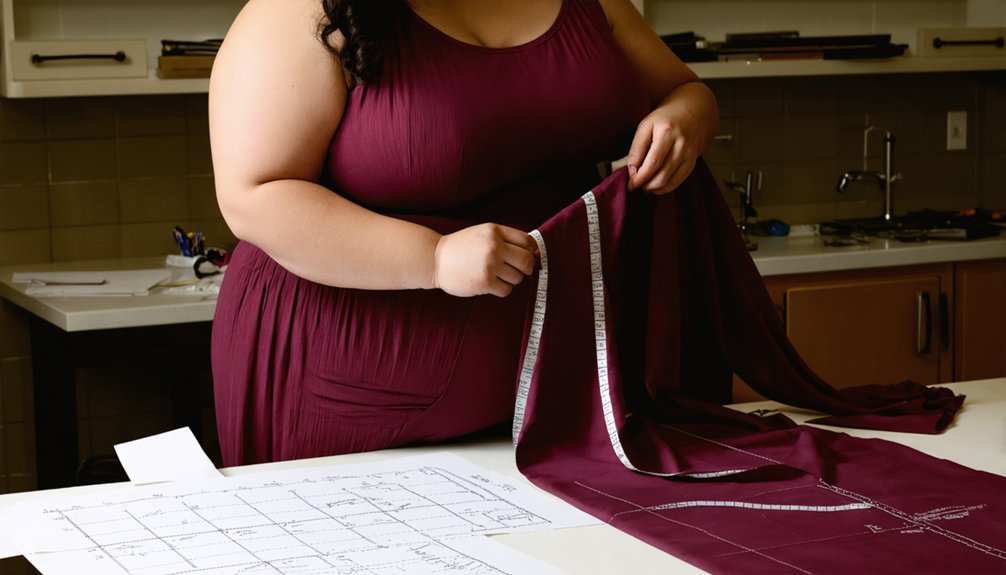
Adjust Your Pattern Before You Cut Anything
Before you cut into your actual fabric, sew a mock-up using inexpensive material so you can test the fit directly on your body.
Pin the mock-up at the waist, mark your cut lines about 2–3 inches from the center front, and adjust for your unique curves without any pressure or waste.
Once the fit feels right, trace all the grain lines, boning channels, and notches from the pinned mock-up onto your new pattern so nothing gets lost in translation.
Mock-Up Fitting First
Creating a mock-up before cutting into your final fabric is one of the smartest moves you can make, especially when fitting a plus-size costume. Use inexpensive muslin or a similar stand-in material to test your pattern’s fit without risking your good fabric.
Pin the mock-up at the waist, mark cut lines 2–3 inches from center front, and trace all grain lines, boning channels, and notches onto your updated pattern.
This process also informs better fabric care decisions later—once you know exactly how your costume fits and moves, you’ll store it more intentionally during costume storage.
A well-fitted mock-up saves time, reduces waste, and gives you the confidence to cut your final fabric knowing every seam is working *for* your body.
Transfer Pattern Markings
Once your mock-up fits the way you want it to, it’s time to transfer every marking from the pinned fabric onto your updated pattern before a single cut touches your final material. Trace grain lines, boning channels, and notches carefully onto fresh pattern paper, capturing every adjustment you’ve made for your unique shape.
Your curves deserve precision, not guesswork. Label each piece clearly, noting the date, fabric care requirements, and any fit notes specific to your body. This documentation transforms your pattern into a reusable asset.
Invest in proper pattern storage — flat folders or tubes protect your work from damage and keep your pieces ready for future builds. You’ve done the hard fitting work, so preserve it with the same intention you’d give your finest costume fabric.
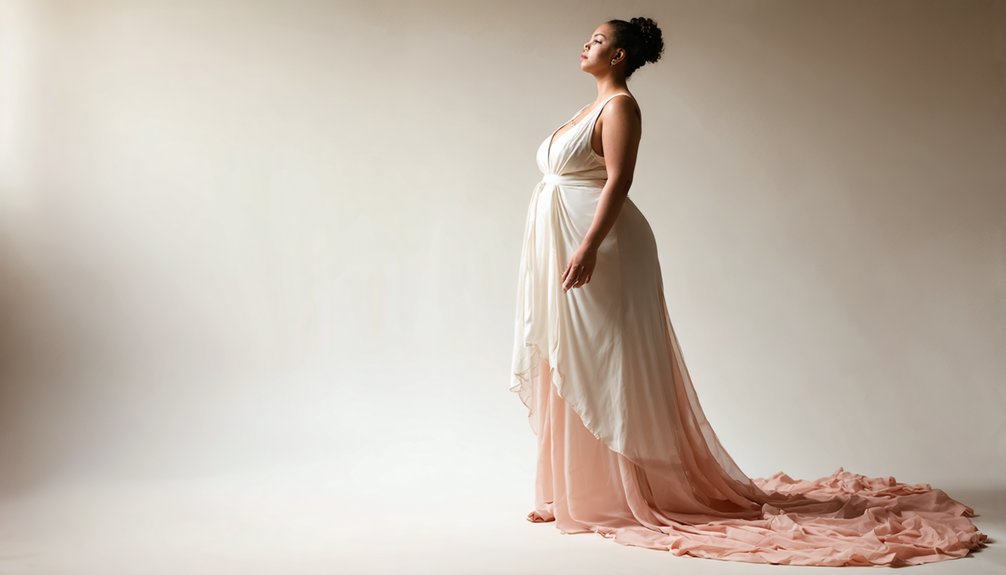
Use Vertical and Diagonal Stripes to Lengthen Your Silhouette
Vertical stripes draw the eye upward and create the illusion of added height, making them a powerful tool in your costume design arsenal.
Diagonal lines work similarly, cutting across the body in ways that slim and elongate your silhouette with visual precision.
You’ll maximize these effects by placing vertical stripes along the bodice’s center front and using diagonal patterns on panels where you want to redirect attention.
Stripe Patterns Enhance Height
When you choose stripe patterns strategically, they can completely transform how your silhouette reads to the eye. Vertical and diagonal lines in your fabric pattern naturally guide the gaze upward and downward, creating the visual impression of added height and a leaner frame.
This technique works especially well when you’re layering over structural support pieces like corsets or bodices, since the stripes reinforce the elongated lines those foundations already create.
Diagonal stripes add dynamic movement to your costume while still maintaining that lengthening effect. Whether you’re working with bold contrasting tones or subtle tonal variations, the direction of the pattern does the visual heavy lifting.
You don’t need to sacrifice creativity—stripes can be theatrical, expressive, and deeply flattering all at once.
Diagonal Lines Slim Silhouettes
Here’s how to make diagonal lines work powerfully in your designs:
- Choose bias-cut panels that angle across the torso, naturally elongating your frame without restrictive structure.
- Apply pattern adjustments using diagonal seam placements at the bodice to create a tapered, dynamic silhouette.
- Prioritize fabric selection with subtle diagonal prints or woven textures that guide the eye intentionally upward and across.
Your body deserves design strategies that celebrate every curve while giving you complete creative confidence.
Strategic Placement Maximizes Effect
Placement transforms how stripes work for your body—vertical lines draw the eye upward along your frame, while diagonal stripes guide attention across curves in ways that naturally elongate your silhouette. Where you position these elements matters as much as the stripes themselves.
Use color blocking strategically by placing darker, vertically striped panels along your sides and lighter tones at the center front. This combination creates a slimming column effect while keeping the overall look bold and intentional.
Pattern mixing lets you layer textured fabrics with striped underlays, adding dimension without visual chaos.
Avoid placing wide horizontal breaks across your hips or thighs. Instead, direct stripes toward your strongest features—your waist, décolletage, or legs—so every design choice actively celebrates your shape.
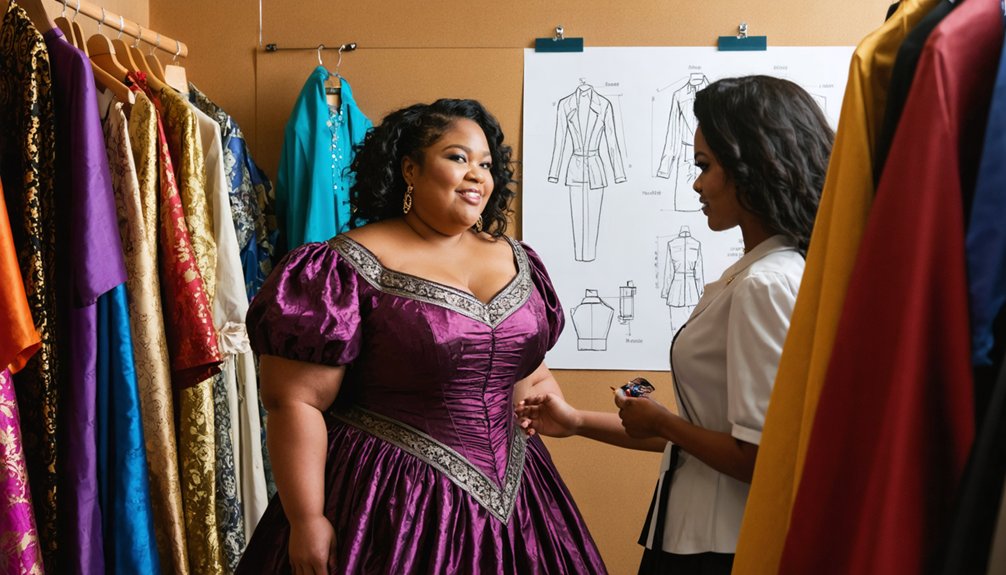
Where to Place Details for a Balanced Plus-Size Silhouette
Detail placement can make or break how a costume reads on the body, so knowing where to focus embellishments, seams, and accents is essential for a balanced plus-size silhouette. You’ll create powerful visual harmony by using color blocking to separate and define zones strategically. Thoughtful accessory placement draws the eye exactly where you want it, celebrating your shape with intention.
- Place V-shaped belts at the skirt’s top edge to taper your waistline and create elegant definition.
- Use drapes over the midsection to add flowing movement while softening that area artistically.
- Position embellishments and bold accents on your upper body or neckline to lift the eye upward naturally.
Own your design choices—your silhouette deserves details that highlight your best features confidently.
Layer Sheer Fabrics to Add Depth Without Adding Visual Weight
When building depth into your costume, reach for lightweight sheers like chiffon, lace, or mesh to create visual dimension without piling on bulk.
You can layer these fabrics strategically over solid base pieces, letting transparency work in your favor by hinting at the silhouette beneath rather than concealing it.
Strike the right balance by adjusting how many sheer layers you stack, giving you full control over coverage while keeping the overall look effortless and intentional.
Choosing Lightweight Sheer Fabrics
Sheer fabrics like chiffon, lace, and mesh give you three powerful tools for building visual depth without adding bulk or weight to your silhouette. Smart fabric care keeps these delicate layers performance-ready, while intentional color coordination lets you control how light interacts with your design.
- Chiffon drapes fluidly, creating soft movement that flatters every curve without clinging.
- Lace adds intricate texture and dimension, making overlays feel intentional rather than concealing.
- Mesh offers structure-friendly stretch, ideal for layering over fitted base pieces.
You’re not hiding your body—you’re framing it with dimension and artistry. Choose lightweight sheers that complement your base colors, wash easily, and respond beautifully to movement.
Your costume should celebrate your silhouette, not compete with it.
Layering for Visual Depth
Once you’ve chosen your lightweight sheers, layering them strategically reveals a whole new level of visual sophistication. Stack chiffon, lace, or mesh over contrasting base fabrics to create dimension that flatters without adding visual weight.
Color blocking through layered panels lets you define zones of your silhouette intentionally, drawing the eye exactly where you want it. Pattern mixing works beautifully here too — pair a subtle floral mesh over a geometric base to generate striking depth without bulk.
Position sheer overlays over the midsection to soften and artistically frame your curves rather than conceal them. Each transparent layer interacts with light differently, giving your costume a dynamic, multidimensional quality that celebrates your body’s unique shape with every movement you make.
Balancing Transparency and Coverage
Balancing transparency and coverage is less about hiding your body and more about framing it with intention. Layer sheer fabrics strategically using color blocking and texture contrast to create dimension that flatters rather than overwhelms.
- Place mesh or chiffon overlays on areas you want to highlight, letting your silhouette show through with visual intention rather than full exposure.
- Use texture contrast—pairing opaque structured panels against sheer sections—to guide the eye exactly where you want attention.
- Apply color blocking beneath sheer layers to create depth, making lighter zones appear forward while darker zones recede naturally.
You’re not concealing yourself—you’re designing a visual experience. Transparency, used deliberately, becomes a powerful tool that celebrates your shape while maintaining the coverage you prefer.
Build Adjustability and Comfort Into Plus-Size Costumes From the Start
When designing plus-size costumes, you’ll save yourself significant frustration by building adjustability in from the very beginning rather than retrofitting it later. Incorporate adjustable straps, elastic backs, and side zips to create a cleaner outer silhouette without compromising comfort or fit.
Breathable linings keep wearers comfortable during extended performances, making them a non-negotiable foundation choice.
Size up initially and modify later—taking in fabric is far easier than forcing a closure shut. Separate your design into modular pieces rather than committing to a single-unit construction, giving you greater flexibility across different body dimensions.
Choose washable, low-maintenance details that hold up over time. These intentional choices don’t limit creativity; they amplify it by ensuring every wearer feels confident, supported, and completely at home in their costume.
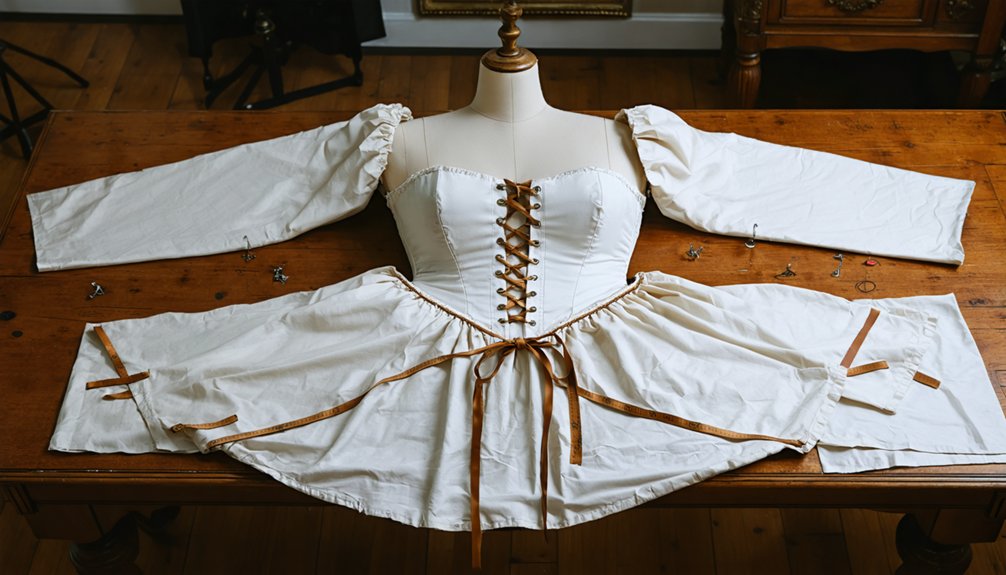
Break Your Plus-Size Costume Into Modular Pieces
Separating your costume into modular pieces takes the adjustability principle one step further by giving you genuine fit control at every section of the body. Modular construction lets you mix, swap, and resize individual components without overhauling the entire look.
Layering techniques become more precise when each piece operates independently, letting you tailor fit exactly where your body needs it most.
- Design your bodice, skirt, and sleeves as separate units so you can size each one independently
- Use hooks, snaps, or detachable panels to connect modules cleanly without bulk
- Swap decorative overlays or accent pieces between costumes to refresh your look efficiently
You’re not working around your shape—you’re designing intelligently for it. Modular thinking puts creative power directly in your hands.
Stop Using Standard Sizes: Scale to Your Own Measurements
Standard sizes weren’t built for your body—they were built for an average that doesn’t represent most people. So stop chasing them. Instead, take your actual bust, waist, and hip measurements and use those numbers as your design blueprint.
When you scale patterns to your real dimensions, you’re not just improving fit—you’re preserving pattern symmetry across every seam and panel. That precision directly impacts fabric durability, ensuring stress points don’t pull, tear, or distort under movement.
Customize hem widths, sleeve lengths, and structural elements like corsets and hoops to match your proportions, not a size chart’s assumptions. Your body isn’t the problem to solve—the outdated sizing system is.
Designing to your measurements puts creative control exactly where it belongs: with you.
Fix Fit Problems at the Zipper, Waist, and Hem First
Fit problems don’t appear randomly—they cluster at three key points: the zipper, waist, and hem. Tackling these areas first saves time and preserves fabric durability through repeated wear and alterations.
Pattern alteration becomes far more manageable when you isolate each problem zone rather than reworking the entire costume.
- Zipper: Switch to side zips or elastic-back panels for cleaner closures that won’t gap or strain.
- Waist: Apply darts or V-shaped belt placements to define your natural curve without creating bulk.
- Hem: Customize lengths to your actual proportions—standard sizing rarely accounts for height variation.
You’re not fixing flaws; you’re engineering a costume that genuinely fits your body. Prioritize these three points, and everything else falls into place naturally.
Frequently Asked Questions
How Do I Choose the Right Costume Color for My Skin Tone?
Hit the ground running by identifying your skin undertones first! You’ll create stunning color contrast when you match warm tones with earthy hues or cool undertones with jewel tones, empowering your unique beauty confidently.
Can I Create a Plus-Size Costume on a Tight Budget Effectively?
Yes, you can! Embrace budget-friendly materials like jersey blends and stretch knits, and use DIY costume hacks such as sizing up thrifted pieces and modifying them to flatter your unique curves beautifully and affordably.
What Accessories Best Complement Plus-Size Costume Designs Overall?
Like a crown completing royalty, statement accessories and statement jewelry elevate your plus-size costume. You’ll want V-shaped belts, bold necklaces, and open-front capes—they frame your silhouette beautifully, drawing eyes exactly where you want them.
How Do I Style Plus-Size Costumes for Outdoor Performance Conditions?
Choose weatherproof fabrics that move with your curves and embrace fabric layering to adapt to changing conditions. You’ll stay comfortable, confident, and performance-ready while showcasing your bold, innovative style under any outdoor environment.
Which Sewing Machines Handle Thick Plus-Size Costume Fabrics Best?
Like a steadfast anchor, heavy-duty machines like Juki or Singer Heavy Duty conquer fabric thickness effortlessly. You’ll find their machine durability transforms your boldest plus-size visions into reality, empowering every stitch you make.
References
- https://www.sparklybelly.com/plus-size/
- https://www.morphsuits.com/blog/adult-plus-size-halloween-costumes/
- https://www.youtube.com/watch?v=8HTnyITFkdw
- https://thecurvyfashionista.com/plus-size-cosplay/
- https://www.morphsuits.com/blog/best-costumes-for-plus-size-people/
- https://darefashionusa.com/blogs/news/cosplay-looks-that-flatter-every-curve
- https://www.wooplus.com/blog/plus-size-style-ideas/
- https://thecurvyfashionista.com/plus-size-halloween-costume-tips/
- https://www.facebook.com/groups/1117785451582894/posts/24831605413107565/
- https://www.auscosplay.com/blogs/posts/tips-for-choosing-custom-plus-size-cos-outfit