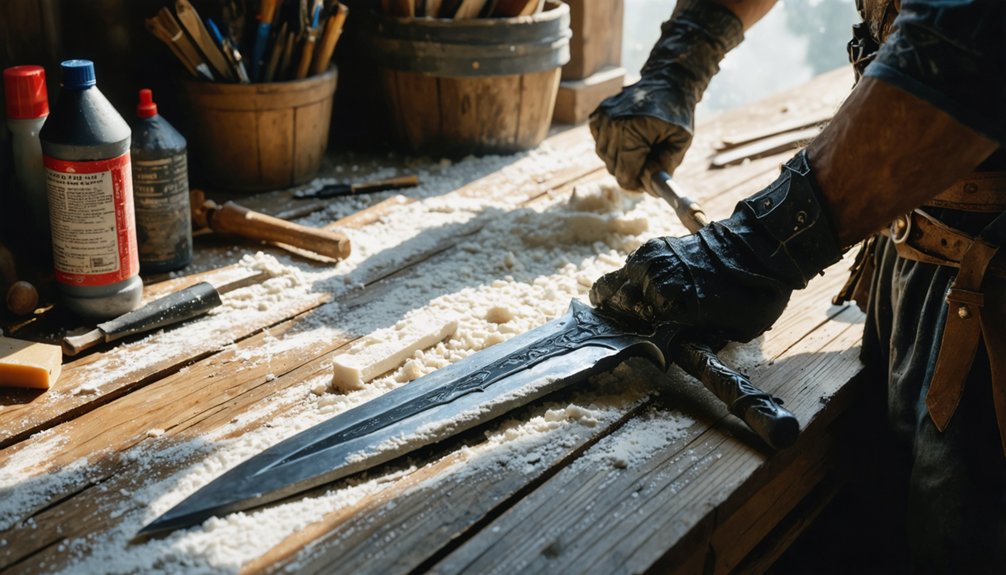
For the best LARP foam weapon tutorials, you’ll want to start with Instructables’ “DIY Foam Weaponry” for its structured 9-step process, then reference Nerdist’s sword tutorial for material and finishing guidance. Medievalware’s guide covers templates and decorative finishing, while LarpMix’s video walks you through core insertion and foam shaping. Combining these resources gives you a complete foundation covering EVA foam selection, core placement, edge chamfering, and Plasti-Dip sealing—and there’s much more to uncover ahead.
Key Takeaways
- Instructables’ “DIY Foam Weaponry” offers a structured 9-step process ideal for beginners building their first LARP weapon.
- Medievalware’s comprehensive guide provides templates and decorative finishing techniques for historically accurate foam weapon construction.
- Nerdist’s sword tutorial covers essential material selection and finishing guidance to ensure durable, event-legal weapons.
- LarpMix’s video tutorial focuses specifically on core insertion and foam shaping, two critical foundational construction skills.
- Combining multiple tutorials balances historical accuracy, design flexibility, and progressive skill development for first-time builders.
Why Building Your Own LARP Foam Weapon Is Worth It
Building your own LARP foam weapon gives you direct control over 3 critical factors: material quality, weapon geometry, and structural integrity. When you source your own EVA foam, rigid core, and contact cement, you eliminate the compromises that come with mass-produced alternatives.
Building your own LARP weapon means controlling material quality, geometry, and structural integrity — no manufacturer compromises.
You also gain precision over design decisions that store-bought weapons can’t offer. You can apply color theory to achieve historically accurate paint layering, shifting between base tones and weathering effects to match a specific period aesthetic.
You control edge chamfering, blade profile, and core placement from the start.
Custom builds let you match weapon weight and balance to your combat style. The result is a structurally sound, event-legal weapon built to your specifications rather than a manufacturer’s lowest production cost.
Foam, Cores, and Adhesives: What to Buy First
Before you cut a single piece of foam, you’ll need to choose a core material—fiberglass rod offers the best stiffness-to-weight ratio for swords, while PVC works as a cheaper, more flexible alternative.
Pair your core with EVA or LD45 foam, both of which compress safely on impact and hold shape through repeated use.
For adhesive, contact cement or DAP glue bonds foam layers securely without breaking down under the flex stress a weapon takes during combat.
Core Material Options
When you’re ready to start your first foam weapon build, three core material categories determine the quality of your finished piece: foam, structural cores, and adhesives. Your core selection directly impacts material durability and core flexibility, so choose carefully.
Fiberglass rods deliver superior rigidity with minimal weight, making them ideal for swords and spears. PVC pipe offers a budget-friendly alternative with acceptable core flexibility for shorter weapons like daggers or batons.
Both options require a snug fit inside your foam layers to prevent dangerous loosening during combat.
Avoid using wooden dowels. They splinter under stress and compromise structural integrity over time. For most beginner builds, a fiberglass rod paired with EVA foam and contact cement produces the most reliable combination of material durability, control, and long-term performance.
Foam And Adhesive Pairing
Once your core material is selected, the foam and adhesive you pair with it will determine how well every layer bonds, holds shape, and survives repeated impact. EVA foam and LD45 foam are the two standard choices, each offering different density and compression responses.
For historical accuracy in blade geometry, EVA’s consistent cell structure makes it easier to chamfer and profile clean edges.
Contact cement and DAP glue both cure flexible, which matters when your weapon flexes mid-strike. Apply adhesive to both surfaces, let it tack, then press firmly.
Cost considerations favor contact cement in bulk quantities if you’re building multiple weapons.
Avoid standard craft glue entirely — it fails under repeated stress.
Match foam density to the weapon section: denser foam for handles, lighter foam for blade flats.
The Best LARP Foam Weapon Tutorials for Beginners
Once you’ve gathered your materials, you’re ready to follow a structured build process using one of several well-documented beginner tutorials.
Sources like Instructables’ “DIY Foam Weaponry,” Nerdist’s sword tutorial, and LarpMix’s foam sword video each walk you through core insertion, foam layering, guard attachment, handle wrapping, and pommel sealing in clear, repeatable steps.
Comparing these sources helps you match a tutorial’s format and material recommendations to what you’ve already purchased.
Top Beginner Tutorial Sources
Finding the right tutorial can make the difference between a clean first build and a frustrating pile of miscut foam, so it’s worth knowing which sources consistently deliver clear, beginner-friendly instruction.
Instructables’ “DIY Foam Weaponry” breaks the process into nine structured steps covering blade, guard, handle, and pommel construction.
Nerdist’s sword tutorial adds material recommendations and finishing guidance that support both embellishment techniques and historical accuracy.
Medievalware’s guide walks you through template making, foam layering, and decorative finishing in logical sequence.
LarpMix’s video demonstrates blade shaping, grip creation, and Plasti Dip application visually.
YouTube tutorials remain valuable for seeing core insertion and foam shaping in real time.
Each source prioritizes a different strength, so cross-referencing two or three gives you the most complete foundation.
Key Build Steps Explained
Most beginner tutorials break the build into five core stages: cutting, gluing, shaping, handle wrapping, and pommel finishing. Each stage builds directly on the last, so skipping steps compromises structural integrity and safe weapon geometry.
- Cut foam layers using a traced template to match your intended blade profile.
- Glue layers around your fiberglass or PVC core using contact cement for a firm, lasting bond.
- Shape and chamfer edges to round surfaces and eliminate hard angles before your first combat stance test.
- Wrap the handle with grip tape or rope, then seal the pommel completely to prevent core exposure.
Align your finishing coat and color choices with your costume coordination plan before applying Plasti Dip or latex as your final protective layer.
Which Tutorial Should a First-Time Builder Follow?
If you’re building your first foam weapon, Instructables’ “DIY Foam Weaponry” is the strongest starting point because its 9-step structure walks you through blade construction, guard placement, handle wrapping, and pommel finishing in a logical sequence that’s easy to follow without prior experience.
It balances historical accuracy with flexibility for custom designs, letting you adapt proportions without losing structural integrity.
Once you’ve completed one build, Medievalware’s foam weapon guide expands your technique with template-driven shaping and decorative finishing that supports more advanced custom designs.
Medievalware’s foam weapon guide builds on your first project with template-driven shaping and decorative finishing for advanced designs.
LarpMix’s video tutorial works well alongside either source, showing core insertion and foam layering in real time.
Pair any of these with Nerdist’s material recommendations, and you’ll have a complete, technically sound foundation for every weapon you build afterward.
How to Build a LARP Foam Sword From Scratch
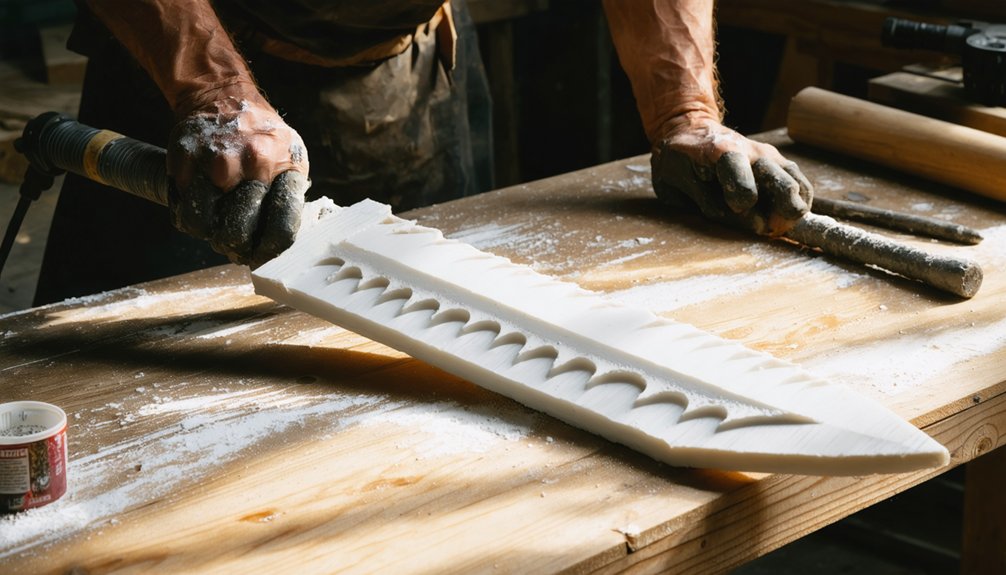
Building a LARP foam sword from scratch follows a consistent sequence: cut your foam, assemble around a rigid core, shape the blade geometry, wrap the handle, and seal the finished weapon. Cost effective options like EVA foam and PVC cores keep your budget manageable without sacrificing structural integrity.
Follow these four critical steps:
- Cut foam layers using a traced template that reflects your target blade profile and historical accuracy requirements.
- Bond layers around the core using contact cement, ensuring a snug, centered fit.
- Chamfer and round all edges to produce safe, compliant geometry.
- Seal the finished surface with Plasti Dip or latex to lock in paint and extend durability.
Each step builds directly on the last, so precision early prevents compounding errors later.
How to Finish and Seal Your Foam Weapon Properly
Sealing your foam weapon correctly determines how long the paint holds and how well the surface resists wear during use. Before applying any coating, confirm your foam density is appropriate — LD45 or EVA foam holds sealant better than softer variants.
Apply Plasti Dip in thin, even layers, allowing full drying time between coats. Two to three coats build adequate protection without stiffening the blade.
For a cosplay costume piece requiring cleaner aesthetics, follow Plasti Dip with acrylic paint, then finish with a flexible clear coat.
Avoid rigid sealants that crack under impact stress. Pay close attention to the pommel and tip — these high-contact points fail first.
Proper sealing directly extends usable lifespan and maintains structural integrity through repeated event use.
How to Paint a Foam LARP Weapon That Actually Lasts
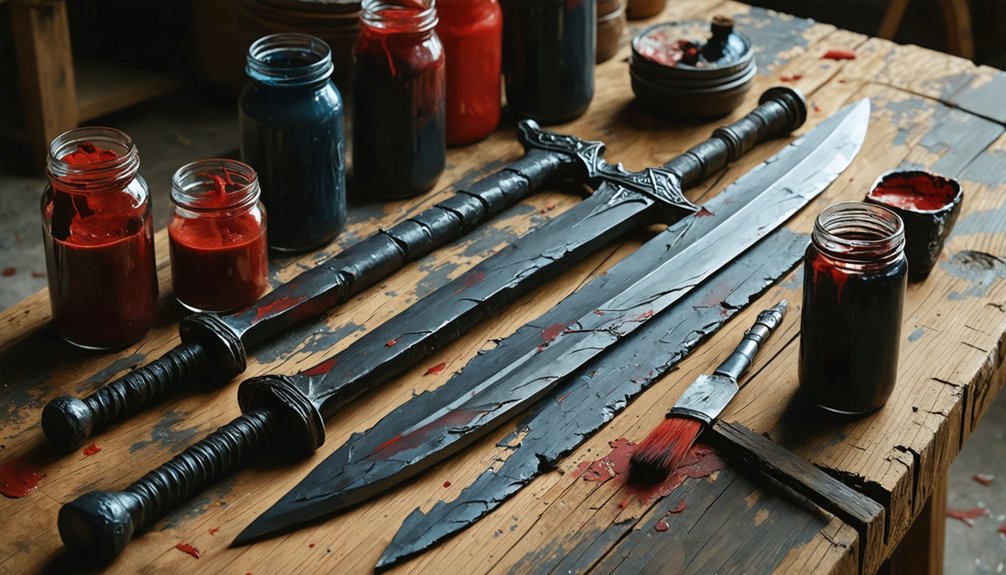
Once your sealant layers are dry and cured, paint adhesion depends entirely on surface prep and product compatibility. Use flexible acrylic paints formulated for foam or rubber substrates—standard craft acrylics crack under repeated flex stress.
Follow this sequence for durable results:
- Apply a thin base coat and let it fully cure before layering additional colors.
- Use color blending during mid-coat stages to create realistic gradients and tonal depth.
- Lock finished paint layers under a weatherproof coating rated for flexible materials.
- Test flex points by gently bending the weapon—cracking indicates incompatible products or insufficient sealant.
Avoid aerosol lacquers containing acetone, which degrades EVA foam rapidly. Your weatherproof coating doubles as a UV barrier, extending color vibrancy through outdoor event exposure.
How to Make Your LARP Weapon Safe and Event-Legal
A finished weapon that looks great means nothing if it fails a safety check at the gate, so understanding event-legal standards before you finalize your build saves you from rebuilding on-site.
Most events require foam thickness minimums at strike surfaces, no exposed core ends, and rounded tips with no rigid protrusions. Verify your specific event’s ruleset early, since standards vary between systems.
While color theory shapes your aesthetic choices and historical accuracy informs your design, neither matters if your blade fails a compression test. Keep pommel ends fully sealed, confirm your core doesn’t extend through foam layers, and check that all edges are chamfered rather than sharp.
Carry your event’s weapon standards checklist during your final build review to catch compliance issues before inspection day.
Frequently Asked Questions
How Long Does a Foam LARP Weapon Typically Last Before Needing Replacement?
“You reap what you sow” — your foam durability directly impacts replacement frequency. Seal your weapon properly, and you’ll extend its lifespan to 2–3 years of active LARP use before replacing worn layers.
Can Children Safely Use Foam Weapons Built With Fiberglass Cores?
You shouldn’t use fiberglass cores for child safety reasons—fiberglass can splinter dangerously if cracked. Prioritize material safety by choosing flexible PVC or foam-only cores instead, considerably reducing injury risk during active play.
What Is the Average Cost to Build a Foam LARP Weapon?
Breaking the bank isn’t necessary—you’ll typically spend $20–$50 building a foam LARP weapon. Prioritizing foam safety and weapon customization, you’re investing in core materials, EVA foam, adhesives, and protective coatings for a durable, personalized build.
Are Homemade Foam Weapons Accepted at All LARP Events Worldwide?
Not all LARP events accept homemade weapons—you’ll need to verify each event’s foam safety standards before attending. Your crafting techniques must meet their specific inspection criteria, so always contact organizers beforehand to confirm compliance requirements.
How Do You Store Foam Weapons to Prevent Warping or Damage?
Store your foam weapons flat or hang them vertically to prevent warping. Effective weapon maintenance relies on cool, dry environments. Apply proven storage techniques: avoid compression, use padded bags, and keep weapons away from direct sunlight.
References
- https://www.youtube.com/watch?v=iUoKFNaHVaY
- https://www.instructables.com/DIY-Foam-Weaponry/
- https://www.youtube.com/watch?v=yztL49IE3mA
- https://nerdist.com/article/diy-building-your-own-larp-sword/
- https://www.reddit.com/r/LARP/comments/1zb5zi/foam_weapons_tutorials/
- https://www.youtube.com/watch?v=B9hT8gZRG1Q
- https://www.reddit.com/r/LARP/comments/781gqh/beginner_foamsmithing/
- https://www.youtube.com/watch?v=6MLcuxZpGyk
- https://www.medievalware.com/blog/make-foam-weapons-larp/
- https://www.youtube.com/watch?v=Dx2NPQaFczA