For cosplay green screen photography, you’ll want to wear bold reds, blues, or blacks to avoid accidental keying issues. Keep your background wrinkle-free, evenly lit with two diffused lights, and physically separate yourself from the screen to minimize spill. Lock your camera’s white balance, ISO, and focus, then shoot at 50% IRE exposure. In post, use zone keying and precise masking to recover costume details. Stick around to master every technique in depth.
Key Takeaways
- Avoid green tones in your cosplay; choose bold reds, blues, blacks, or purples for clean chroma keying and professional composites.
- Iron your green screen smooth and hang it taut, eliminating wrinkles that create uneven color zones and keying problems.
- Light the green screen symmetrically with two diffused lights, matching power output and color temperature for consistent, uniform exposure.
- Lock camera settings including white balance, ISO, and focus, using zebra patterns to achieve 50% IRE on the green screen.
- Use zone keying and Hue/Saturation tools in post, recovering lost costume detail with a brush for precise background removal.
Pick Cosplay Colors That Won’t Disappear on Camera
When planning your cosplay for a green screen shoot, color selection can make or break your final composite. Smart costume selection means choosing colors that sit opposite green on the color wheel — think bold reds, deep blacks, striking purples, or vivid blues. These high color contrast choices ensure the chroma key software distinguishes you from the background without accidentally erasing parts of your costume.
You’ll want to eliminate any green tones entirely, including props and accessories. Even subtle green hues can trigger the key, leaving invisible gaps in your final image.
This isn’t just about avoiding green — it’s about engineering a visual separation that gives you crisp, clean edges. Choose deliberately, and your composite will look professionally seamless right from the start.
Set Up Your Green Screen for Cosplay Shoots
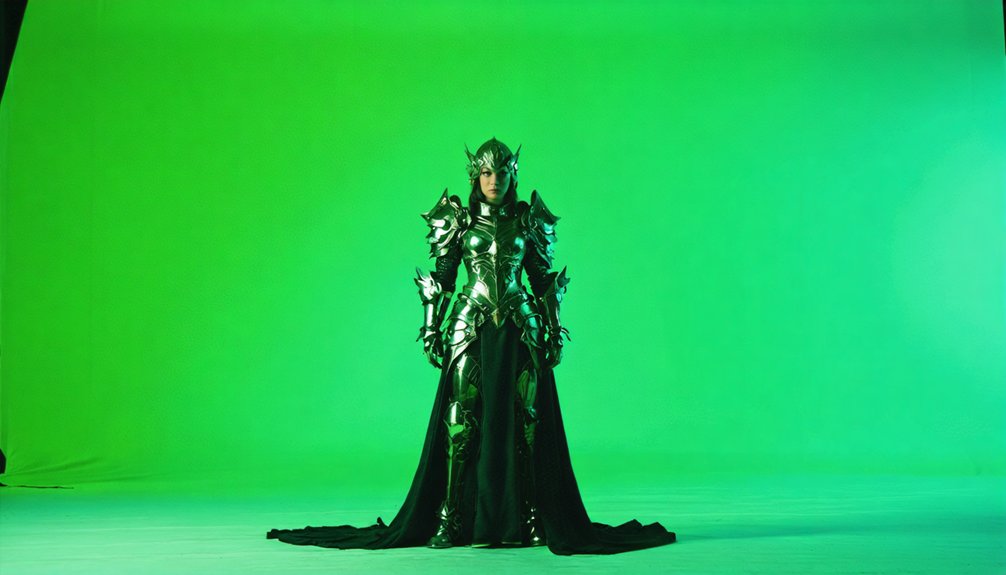
Before anything touches the set, iron or steam your green screen fabric until it’s completely smooth — wrinkles create uneven color zones that sabotage your chroma key before you’ve even pressed record. Your background materials need to be taut, evenly hung, and free from creases that fragment your key into a patchwork nightmare.
Wrinkles are the silent saboteur of chroma key — iron your green screen before anything else touches the set.
Next, separate your cosplayer physically from the screen. This distance eliminates green spill bleeding onto costume edges — a critical step that preserves intricate detailing in your composite.
For lighting accessories, position two equally powered, fully diffused lights one meter back on either side of the screen. Matched power ensures uniform exposure across the entire surface.
Wrap barn doors with black material to block stray light from contaminating either the screen or your subject. Precision here pays dividends in post.
Light Your Green Screen Evenly Every Time
Even lighting is the backbone of a clean chroma key, so you’ll want to lock in a setup that kills hotspots and shadow pockets before your cosplayer steps on set.
Place two lights one meter back on either side of your screen, matching their power output and diffusing both fully. These symmetrical lighting patterns eliminate uneven exposure that destroys your key in post.
Keep your color temperature consistent across every fixture—mixing daylight and tungsten creates green variations that confuse keying software.
Wrap barn doors with black material to block stray light from contaminating the screen or spilling onto your subject.
Position your subject lights in front of the background, preventing shadows from falling behind them.
Aim for 50% IRE on your green screen using zebra patterns for precision exposure confirmation.
Camera Settings for Green Screen Cosplay Shoots
Nailing your camera settings transforms a chaotic shoot into a compositor’s dream, so lock every automatic function out immediately—manual white balance, manual focus, and manual ISO prevent the erratic brightness and color shifts that tank a key in post.
Dial your shutter to 1/48 for static camera angles, bumping to 1/100 for dynamic action.
Dial your shutter to 1/48 for static shots, pushing to 1/100 when dynamic action demands sharper motion control.
Target 50% IRE on your green screen using zebra patterns, keeping it two stops darker than your subject.
Prioritize these non-negotiables:
- Aperture: High f-numbers keep your full subject razor-sharp, eliminating soft edges that resist keying
- Lens choices: Avoid wide-angle distortion near frame edges; mid-range primes deliver cleaner color separation
- Format: Shoot Log only if grading; otherwise REC709 keeps colors compositor-ready immediately
Remove the Green Background Without Ruining Your Costume
Once your camera settings are locked and your footage is clean, the real puzzle begins—pulling that green background without shredding your costume’s edges. Zone keying is your secret weapon here. Mask each body part separately using rough selections, giving you surgical control over tricky areas like flowing capes or intricate armor pieces.
For color spill creeping onto your costume’s edges, target green hues directly using the Hue and Saturation tool and desaturate them aggressively. Then switch to the Magic Wand to eliminate remaining background chunks.
Edge refinement comes next—use a Brush tool with white to recover lost costume detail and black to trim any lingering green fringe. Clip an Exposure adjustment layer to your subject layer for seamless integration with your replacement background.
Frequently Asked Questions
Can I Use a Blue Screen Instead of Green for Cosplay?
Yes, you can absolutely use a blue screen! It’s perfect for costume compatibility when your cosplay features green elements. Blue offers excellent color contrast, letting you key out backgrounds creatively without risking invisible props or suit details!
What Software Is Best for Green Screen Cosplay Post-Production Editing?
You’ll love using Adobe Photoshop or After Effects for your cosplay edits! They’re perfect for refining your lighting setup and applying precise color correction, giving you innovative, professional-quality composites that’ll make your cosplay photography truly stand out!
How Do I Match My Cosplay Subject to a New Background?
Matching your subject to a new background is everything! Examine highlights and shadows for lighting consistency, then add an Exposure adjustment layer. Fine-tune color temperature and lower green saturation. Nail costume preparation beforehand to guarantee seamless, jaw-dropping integration.
Can I Shoot Green Screen Cosplay Photography Outdoors Successfully?
You can absolutely shoot outdoors! Prioritize lighting consistency by overcast days for even exposure. Nail your costume preparation by avoiding green tones, and manually lock white balance to prevent shifting light from ruining your chroma key!
How Do I Handle Reflective or Metallic Costumes During Green Screen Shoots?
Like mirrors in a funhouse, reflective surfaces can distort your key! Metallic costumes bounce green spill unpredictably, so you’ll want to position your lights carefully, maximize subject-to-screen distance, and use polarizing filters to tame unwanted reflections.
References
- https://www.youtube.com/watch?v=4kfFggpdpis
- https://www.reddit.com/r/photography/comments/rhsdpp/first_time_using_green_screen/
- https://www.peerspace.com/resources/green-screen-tips/
- http://danmears.tv/green-screen/
- https://www.youtube.com/watch?v=TW-GRKzEze4
- https://www.youtube.com/watch?v=i2IS0Y_b6sU
- https://www.youtube.com/watch?v=VHgk0HLuzhI