Styling a cosplay wig correctly starts long before you pick up a curling iron or pair of scissors. Mount your wig on a foam head for stability, test fibers for heat resistance, and always work from the bottom up when detangling. Trim gradually, shape fibers while warm, then lock the style with hairspray after cooling. Secure the wig with bobby pins and manage flyaways for a polished finish. Keep going to master every technique in detail.
Key Takeaways
- Test wig fibers for heat resistance before styling to avoid damage or melting during the shaping process.
- Use low heat initially, gradually shaping fibers until pliable, then let cool completely before releasing.
- Detangle knots by loosening with fingers first, then brushing upward with a wide-tooth comb to prevent fiber stress.
- Secure wigs with bobby pins and hairspray along edges to control flyaways and prevent shifting during wear.
- Blend lace fronts seamlessly by trimming carefully, matching foundation to lace, and using accessories to conceal edges.
Gather the Right Tools Before Styling Your Cosplay Wig
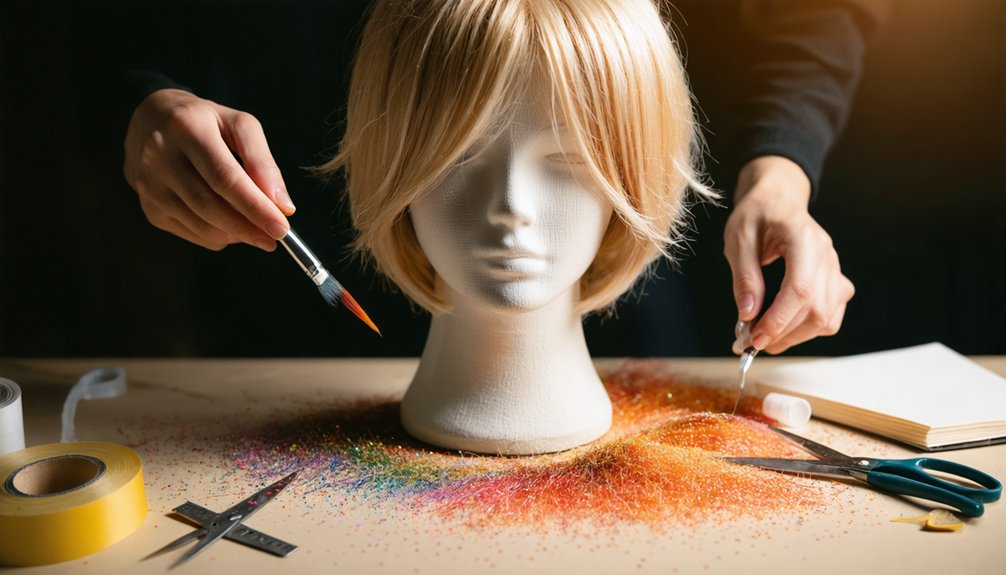
Before diving into any styling work, you’ll need to gather a few essential tools to get the job done right. Start with an inexpensive styrofoam wig head from a craft store or Amazon, mounted on a tripod for stable, hands-free styling.
A styrofoam wig head mounted on a tripod is your first and most essential investment before styling begins.
Mark eye and eyebrow positions on the head to guide accurate color matching and accessory selection for your character’s look.
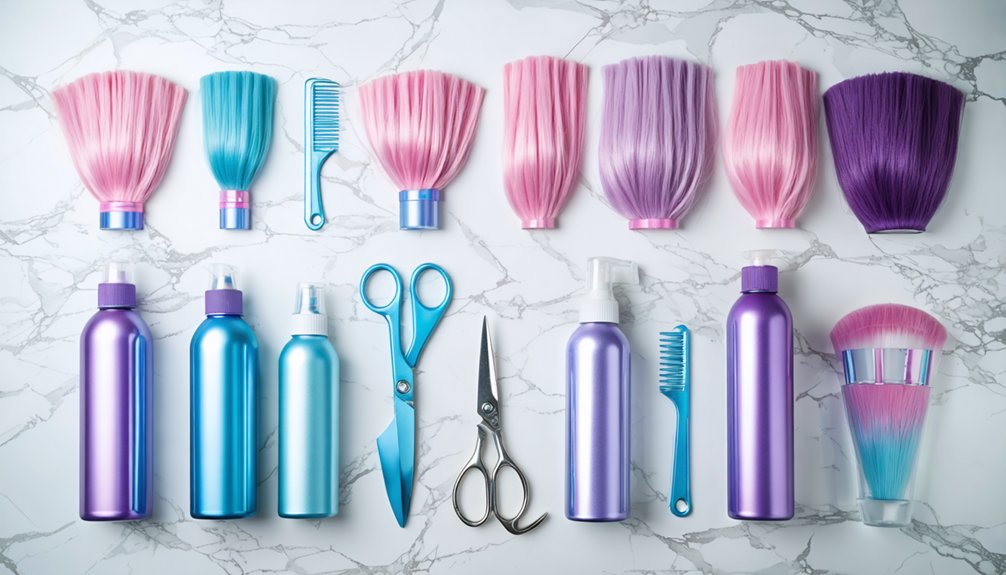
Stock up on Got2Be hairspray, a steamer, teasing comb, shearing scissors, and sectioning clips. A hairdryer on high heat works alongside the steamer to make fibers pliable for shaping.
Having everything organized before you start prevents interruptions mid-process and protects the wig’s integrity. Proper tool preparation directly impacts your final results, so don’t skip this foundational step.
Check If Your Cosplay Wig Can Handle Heat
Knowing your wig’s heat tolerance upfront saves you from accidentally melting or frizzing the fibers beyond repair. Before committing to any heated styling that supports your color matching goals or defines zones for accessory placement, check the wig’s label or product listing for heat-resistance ratings.
If that information isn’t available, test a small section at the back using low heat. Watch how the fibers respond — synthetic non-heat-resistant fibers will shrivel or clump immediately. Heat-resistant fibers will remain pliable and manageable.
Once you’ve confirmed heat tolerance, you can confidently use a hairdryer or steamer to reshape the wig. If the fibers fail the test, stick to non-heat methods like steaming at a safe distance or finger-styling to achieve your desired look without damage.
Prep Your Cosplay Wig Before Applying Any Heat
Before applying any heat to your cosplay wig, test a small section in the back to confirm its heat resistance.
Next, brush out all existing knots by starting from the bottom and working upward, using your fingers to pull apart larger tangles first.
Finally, gather your essential tools—hairspray, a steamer, a teasing comb, shearing scissors, and clips—so you’re fully equipped before styling begins.
Test Fiber Heat Resistance
Whether your wig fibers are heat-resistant isn’t something you want to discover mid-styling. Applying heat to incompatible fibers ruins fiber texture instantly and makes fiber dyeing impossible afterward. Always verify heat resistance before committing to any styled look.
Test a small back section first:
- Melt or shrivel? Stop immediately — these fibers can’t handle heat tools.
- Retain shape after cooling? You’ve confirmed heat compatibility for styling.
- Feel stiff or brittle? Reduce heat intensity before continuing further.
- Show discoloration? The fiber texture is compromised — avoid additional heat entirely.
This quick test saves your wig from irreversible damage. Skipping it risks destroying hours of preparation.
A 60-second check in an inconspicuous section keeps your cosplay wig intact and your styling options open.
Brush Out Existing Knots
Tangled fibers and heat styling don’t mix — applying heat to knotted strands locks those knots in permanently, making them nearly impossible to remove afterward. Before any heat touches your wig, address the fiber texture thoroughly. Start by using your fingers to pull apart larger knot clusters, working gently to avoid stretching or snapping the fibers.
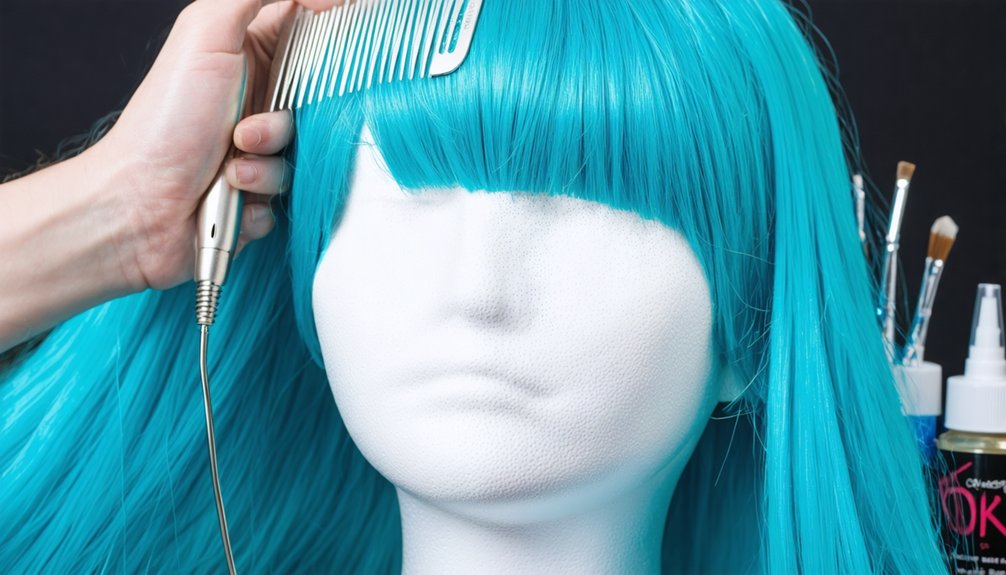
Once you’ve loosened the major tangles, grab a wide-tooth comb or teasing comb and brush from the bottom upward, gradually working toward the roots. This method protects color blending across multi-toned fibers, preventing uneven stress that distorts how shades sit together.
Rushing this step damages the fiber texture and compromises your final style. Take your time — smooth, unknotted fibers respond far more precisely to heat shaping and hold their styled form longer.
Gather Essential Styling Tools
Having the right tools ready before you start saves time and prevents mid-session improvisation that throws off your results. For historical cosplay accuracy and seamless makeup coordination, your toolkit defines your outcome.
Gather these essentials before touching your wig:
- Got2Be hairspray — locks styled shapes precisely without stiffness that ruins period-accurate silhouettes
- Steamer and teasing comb — creates volume and texture that elevates your character’s authenticity
- Shearing scissors and clips — enables controlled, confident cuts that transform a generic wig into something extraordinary
- Styrofoam head mounted on a tripod — gives you stable, hands-free access so every section gets equal attention
Mark eye and eyebrow positions on your wig head to align styling with your makeup coordination plan before committing to any cuts or heat work.
Cut and Trim Cosplay Wig Fibers Without Ruining Them
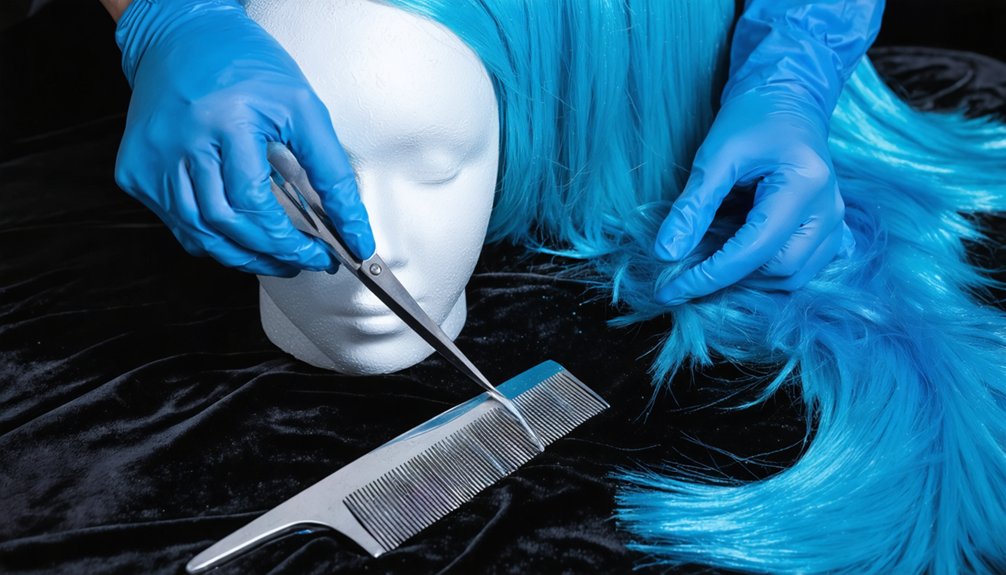
Cutting and trimming your cosplay wig fibers takes a careful hand, but you’ll get clean results if you follow a few key rules. Advanced cutting techniques start with one simple principle: only cut at connection points like elastic, lace, or netting, never through the fibers themselves.
Use small scissors and trim gradually, removing less than you think you need at first. Point your scissors upward while cutting to avoid a chunky, unnatural finish. When trimming bangs, hold the hair slightly above your target line before cutting for added control.
Creative color mixing across multiple wig pieces requires seamless blending, so trim fibers near join sections carefully. Work slowly, assess frequently, and you’ll achieve precise, professional-looking results that hold up under cosplay conditions.
Shape and Set Your Wig to Match the Character
Once your wig fibers are trimmed and blended, shaping them to match your character’s silhouette comes down to heat, tension, and timing. Heat fibers until pliable, hold them in position, then let them cool completely before releasing.
Spritz hairspray after cooling to lock the shape. Confirm color matching between accessories and wig tones before finalizing accessory placement.
- Watch your character come to life as each styled section locks into its signature shape
- Feel the precision of pinning braids and buns exactly where they belong
- Experience the satisfaction of flyaways surrendering to steam and hairspray
- Trust the process as heat and tension transform flat fibers into a bold, recognizable silhouette
Consistency between cooling time and hairspray application determines whether your final shape holds through an entire convention day.
Put the Wig On and Keep It Secure All Day

Before putting on your wig, flatten your natural hair as smoothly as possible against your head to create an even base.
Slide the wig on from the back first, aligning it at both the front and back hairlines, then secure it with bobby pins tucked under the wig cap if it lacks built-in combs.
Throughout the day, keep hairspray handy to tame flyaways, and use a washable glue stick to lay wig fibers over your sideburns for a seamless, polished look.
Flattening Hair Before Application
Flattening your natural hair as smooth and close to your head as possible is the most critical step before wig application. Poor preparation compromises your entire cosplay look, so don’t skip this. Maintaining hair moisture and scalp health during this process keeps your natural hair protected beneath the wig.
- Braid or cornrow your hair flat against your scalp for maximum compression.
- Use a wig cap that matches your skin tone to eliminate visible bumps.
- Secure loose sections with bobby pins before capping to prevent shifting.
- Avoid heavy products that compromise scalp health or trap excessive hair moisture, causing discomfort.
Once your hair sits completely flat, hold your wig from the front and slide it backward, aligning both the front and back hairlines precisely before fully pulling it into position.
Securing the Wig Properly
With your hair completely flat and your wig aligned at both hairlines, securing it properly keeps everything locked in place through hours of convention wear. If your wig lacks built-in combs, push bobby pins underneath the wig cap directly into your natural hair for a firm hold.
For lace fronts, apply wig glue or tape near the hairline, then slide the lace forward gently to avoid distortion.
Accessory integration strengthens your overall security — strategically placed hairpins beneath decorative pieces anchor the wig while enhancing your character’s look.
When wig color matching requires layering multiple pieces, secure each join with pins to prevent shifting and maintain seamless blending.
Once everything’s locked in, spritz hairspray along the edges to control flyaways and reinforce your hold throughout the day.
Managing Flyaways All Day
Once your wig is secured, flyaways become your main ongoing battle throughout the day. Smart flyaway control keeps your cosplay looking intentional, not chaotic. Use hair spray strategically—light, targeted bursts tame rebellious fibers without weighing them down or creating stiffness.
Keep these essentials working for you all day:
- Carry a travel-size hair spray to quickly address flyaways between convention panels without dismantling your look
- Use a washable glue stick along your sideburns to lay wig fibers flat and eliminate visible natural hair
- Steam stubborn flyaways before events to permanently train fibers into position
- Hairpin strategically to anchor shifting sections before they visibly separate
Consistent flyaway control transforms an average cosplay wig into a character-accurate, polished presentation that holds up under convention lighting and photography all day.
Hide Flyaways and Lace Lines for a Flawless Finish
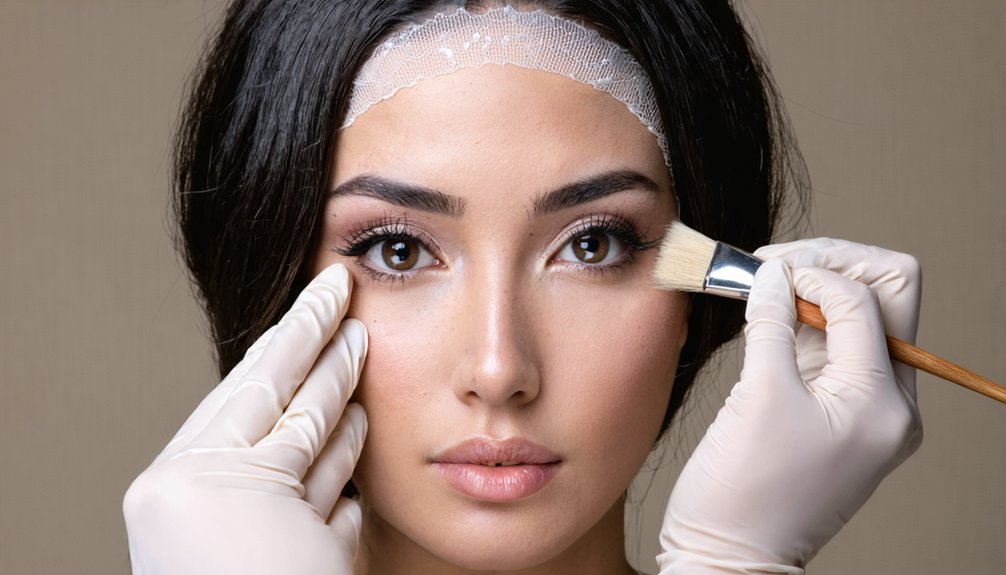
Achieving a flawless finish comes down to managing two common problem areas: flyaways and visible lace lines.
For flyaways, lightly spritz hairspray directly onto rebellious strands, pressing them down with your fingertips or a soft brush. A washable glue stick works surprisingly well for laying wig hair over sideburns, concealing your natural hair beneath.
For lace lines, trim the lace a few millimeters from the hairline for the most precise fit. Slide the lace forward gently rather than pulling it, which prevents distortion.
Color matching your foundation or concealer to the lace helps it disappear against your skin seamlessly.
Strategic accessory placement — headbands, decorative pins, or character-specific props — can also disguise imperfect edges while reinforcing your cosplay’s overall authenticity and visual polish.
Frequently Asked Questions
Can I Style a Cosplay Wig While It Is Still Wet?
Like Michelangelo waiting for marble to set, you shouldn’t style a wet wig. Let the wig material dry first, then apply styling techniques — heat, steam, and hairspray work best on dry fibers for lasting, precise results.
How Do I Store a Cosplay Wig After Styling It?
Store your styled wig on a wig head, away from your styling tools and heat sources. You’ll preserve its shape, prevent fiber damage, and keep it ready for your next innovative cosplay transformation.
How Long Does a Styled Cosplay Wig Typically Last Before Needing Restyling?
Like a fleeting dream, your styled wig’s lifespan varies! With proper wig maintenance, it’ll last 6–12 months before needing touch-ups. Your styling techniques and storage habits directly determine how long that perfect cosplay look endures.
Can I Reuse a Cosplay Wig for Multiple Different Characters?
You can reuse a cosplay wig across multiple characters by selecting versatile wig color options and adaptable wig material types. Restyle, recut, and reshape fibers carefully to transform one wig’s look innovatively for entirely different character portrayals.
What Is the Best Way to Clean a Cosplay Wig After Wearing?
Though wigs endure heavy wear, they’re delicate to clean. Gently hand-wash your wig using cool water and mild shampoo, considering your wig material. Don’t overwash; adjust cleaning frequency based on use to preserve fibers and maintain shape effectively.
References
- https://www.thepopverse.com/cosplay-wig-wigs-cheap-tips-tricks
- https://www.reddit.com/r/CosplayHelp/comments/1de0nw4/general_wig_styling_tips/
- https://www.youtube.com/watch?v=KfKHOOMYiZc
- https://www.youtube.com/watch?v=exgfWFYu_h0
- https://www.epiccosplay.com/pages/wigs
- https://www.youtube.com/watch?v=mQlJn0VkK9Q
- https://www.youtube.com/watch?v=lOVO2W_FYzo
- https://www.youtube.com/watch?v=1tFAxdso6iI