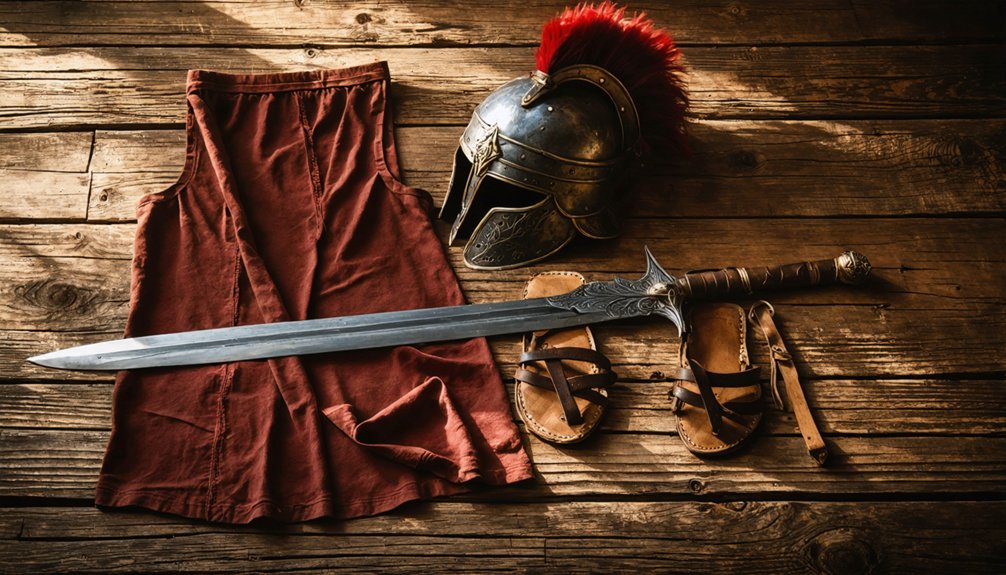
To make a Roman gladiator cosplay costume, you’ll start with a breathable cotton tunic, then build a faux leather war skirt using layered pointed straps and antique buckles. Shape your armor pieces from 6-7mm EVA foam, spray them silver, and weather them with brown and black shoe paint for a battle-worn finish. Complete the look with a cardboard-reinforced helmet, feathered crest, and bracer cuffs. Keep exploring to master every detail of your warrior build.
Key Takeaways
- Decide on a costume style—historical, fantasy, or modern—before sourcing materials, as this shapes every design and construction choice.
- Build a breathable cotton or linen tunic as the base layer, ensuring full range of movement for armor attachment.
- Craft armor pieces from 6–7mm EVA foam, then finish with silver spray paint and shoe paint for a battle-worn effect.
- Construct a war skirt from faux leather, attaching eight pointed straps front and back with antique-style belt buckles.
- Enhance authenticity with war paint, metallic weathering, a feathered helmet, bracers, gladiator sandals, and commanding body language.
Choose Your Gladiator Costume Style Before You Buy Anything
Before you spend a single dollar on fabric or foam, you’ll need to lock in your costume’s core identity — and that choice will drive every purchase you make afterward. Three distinct directions exist: historical accuracy, fantasy flair variations, or a sexy reinterpretation.
Before spending a single dollar, lock in your costume’s core identity — it will drive every purchase afterward.
Historical accuracy debates among cosplay communities often center on authentic armor silhouettes, muted earth tones, and period-correct materials. If that’s your lane, research Roman gladiatorial classes like the Murmillo or Thraex for precise design references.
Fantasy flair variations, however, give you creative license — exaggerated shoulder guards, dramatic color palettes, and hybrid aesthetics that prioritize visual impact over documentation.
Your base layer — a tunic or dress — anchors all three styles. Choose your direction first, then build your material list strategically around that singular vision.
Everything You Need to Build a Gladiator Costume
Your build starts with a tunic or dress as the essential base layer, so grab cheap cotton fabric that breathes well and cuts cleanly into the silhouette you need.
Stack your armor components on top — breastplates, shoulder guards, and shin protectors crafted from EVA foam or leather give you the structural authenticity that defines a true gladiator’s profile.
Lock everything together with the right footwear, whether strapped sandals or boots, then finish with shields, swords, helmets, belts, and cuffs to complete the full battle-ready kit.
Essential Base Layers
Whether you’re building a historically accurate gladiator costume or adding a fantasy twist, the tunic serves as your essential foundation.
For historical authenticity, select a simple linen or cotton tunic in earthy tones like off-white, brown, or rust red — colors that reflect Roman-era textile traditions. Keep the cut loose and knee-length for accurate silhouette.
For fantasy modifications, you can experiment with asymmetrical hemlines, darker colorways, or textured fabrics that amplify dramatic effect. Either direction works — what matters is establishing a clean, functional base before layering armor on top.
Your tunic must allow full-range movement since you’ll be attaching heavy EVA foam armor and leather components afterward.
Choose breathable cotton to prevent overheating, and avoid fabrics that bunch uncomfortably beneath structured breastplates and shoulder guards.
Armor And Accessories
Once the tunic is in place, you’re ready to build out the armor and accessories that transform a simple costume into a convincing gladiator.
For historical accuracy, source a breastplate, shoulder guards, and shin protectors — crafting them from 6 to 7mm EVA foam gives you lightweight, shapeable pieces you can paint with silver spray paint, then sponge with shoe paint to simulate battle wear.
Fantasy flair opens the door to exaggerated silhouettes, bold metallic finishes, and decorative feathers on your helmet.
Connect leather components using screws, rivets, or drawer pulls for structural integrity.
Complete the look with gladiator sandals or strapped boots, then layer in a shield, sword, belt, and studded cuffs.
Every accessory sharpens the character’s identity and elevates the overall cosplay impact.
Footwear And Final Details
With armor locked in place and accessories chosen, the last mile of your build comes down to what hits the ground and how the whole costume reads from head to toe. Gladiator footwear defines your silhouette — choose strapped sandals laced to the knee, leather boots, or wrapped cord footwear for maximum authenticity.
- Apply gold spray paint to metal buckles and costume embellishments for a unified metallic finish.
- Use war paint or metallic skin accents to push the battle-worn aesthetic beyond fabric and foam.
- Clip a gold-colored chain to your cape’s top edge using an alligator clip for structured drape.
Practice commanding stances. Gladiators were performers, and your body language is the final costume embellishment that no craft store carries.
Build the Tunic and War Skirt From Scratch
To build your tunic, cut a T-shirt along the bottom of one armhole straight across to the other, then sew the bottom portion back onto the whole shirt before removing the sleeves and neckband to achieve the classic gladiator silhouette.
For the skirt, choose cheap cotton fabric in a color that hides the lining, and cut it large enough to guarantee full mobility without reaching the knee.
Your war skirt’s belt starts as a brown faux leather strip cut 2 inches shorter than your waist measurement and 7 inches wide, with eight 3-inch straps — four front, four back — featuring pointed bottoms sewn every half inch for that layered, battle-worn look.
Tunic Assembly Basics
Building your gladiator tunic starts with a simple T-shirt hack: cut straight across the bottom of one armhole to the other, then sew that lower portion onto a full shirt to form the tunic body.
Next, strip the sleeves and neckband completely — this sculpts that signature silhouette whether you’re chasing historical accuracy or injecting fantasy flair.
- Choose lightweight cotton to maximize breathability and minimize sweat visibility during long convention hours.
- Cut generously wide — the skirt panel should never restrict movement or graze the knee.
- Select colors strategically — earthy tones like rust or sand conceal interior fabric seams naturally.
This construction method keeps your build modular, letting you swap panels or upgrade materials without dismantling the entire tunic from scratch.
War Skirt Construction
Once your tunic takes shape, the war skirt transforms the entire silhouette from plain garment to arena-ready armor.
Start by cutting a brown faux leather belt two inches shorter than your waist measurement and seven inches wide. Punch six vertical holes into both ends, then install grommets for leather cord lacing.
Next, cut eight straps matching your waist-to-knee length, each three inches wide with pointed bottoms. Sew four straps across the front and four across the back, layering each additional piece every half inch for authentic movement and depth.
Whether you’re chasing historical accuracy or injecting fantasy flair, large antique-style belt buckles mounted with screws or rivets on each side elevate the design dramatically.
This structural layering creates visual complexity while maintaining genuine gladiatorial character.
Craft Gladiator Armor With EVA Foam and Leather
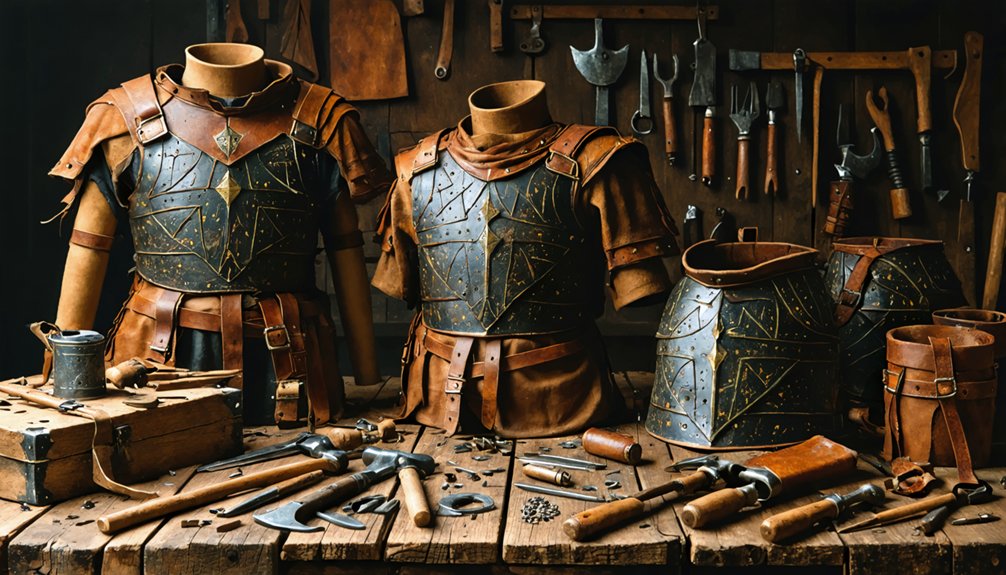
Crafting gladiator armor from EVA foam and leather gives your costume a battle-hardened authenticity that store-bought pieces simply can’t match. Whether you’re chasing historical accuracy or adding fantasy flair, EVA foam’s versatility lets you sculpt every detail precisely.
- Trace your helmet template onto 6-7mm thick EVA foam using a fine-tipped paint pen to prevent paint bleed-through during finishing stages.
- Cut a 12in x 17in foam sheet diagonally to produce elongated cheek guard strips that contour naturally against your face.
- Finish armor pieces with silver spray paint, then sponge shoe paint strategically to simulate authentic battle damage and weathered grit.
Connect leather shoulder pads and breastplates using screws or rivets for structural integrity. These techniques transform raw materials into warrior-grade equipment that commands attention.
Make a Gladiator Helmet That Holds Its Shape
A gladiator helmet that holds its shape starts with the right internal structure, so cut the upper part of a mannequin neck or use stiff cereal box cardboard to form your base pieces.
Draw two identical shapes for each component, ensuring symmetry before cutting.
For foam shaping, use 6 to 7 mm EVA foam, heating it carefully to curve around the helmet’s contours without cracking.
Trace patterns with a fine-tipped paint pen to preserve clean edges during painting.
Plan helmet ventilation by spacing metal eyelets along the sides, which also serve as ribbon attachment points for tightening the fit.
Thread ribbon through these holes to customize the structure.
Finish with gold or silver spray paint, then add feathers to the crest for dramatic visual impact.
Add Bracers, Belts, and Accessories to Your Gladiator Costume
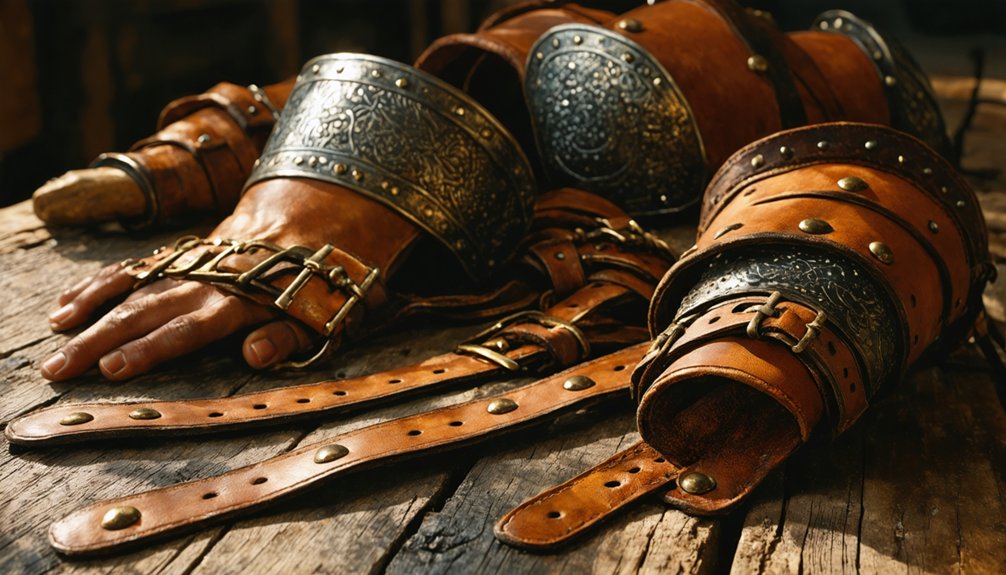
With your helmet complete, it’s time to build out the rest of your armor layer by layer. Bracers, belts, and accessories define whether you’re chasing historical accuracy or unleashing full fantasy flair.
- Bracers: Cut two identical cardboard shapes, punch metal eyelets along the edges, and thread ribbon through to tighten them around your forearms for a custom fit.
- War Skirt Belt: Cut brown faux leather 2 inches shorter than your waist, 7 inches wide, punch six vertical holes per end, add grommets, then lace with leather cord.
- Accessories: Attach eight pointed straps front and back, secure antique belt buckles using screws or rivets, and finish everything with gold spray paint for battle-worn metallic impact.
Paint and Weather Your Gladiator Costume for a Battle-Worn Finish
Once your armor pieces are assembled, it’s time to make them look like they’ve survived actual combat. Start with silver spray paint as your base coat across all EVA foam and leather components.
For historical accuracy, layer darker tones into recessed areas using a sponge to simulate grime and wear. Dab brown and black shoe paint along edges and raised surfaces to suggest dents and oxidation.
If you’re chasing fantasy flair, push contrast further — deepen shadows dramatically and add rust-orange streaks for a cinematic, otherworldly effect.
Use a dry-brushing technique with a stiff brush to drag lighter metallic paint across peaks, catching the light realistically.
Seal everything with a matte topcoat to lock in the weathering and prevent chipping during active wear.
Complete the Look With War Paint and Combat Stance
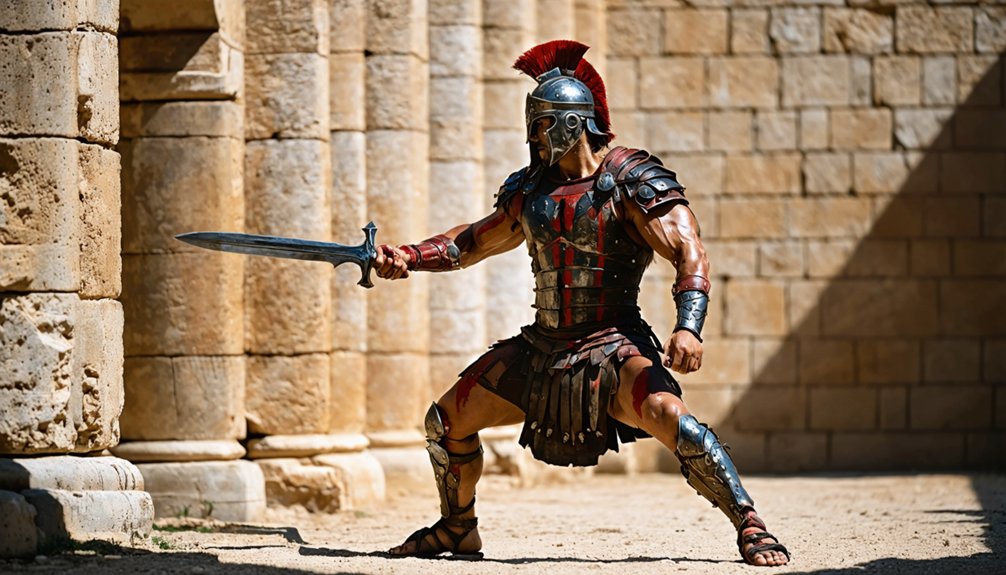
Your gladiator costume isn’t complete until you’ve addressed the two final details that separate a convincing warrior from a dressed-up civilian: war paint and physical presence. Modern interpretations push beyond basic face streaks — borrow from mythical creatures like serpents or phoenixes to create striking metallic patterns across your collarbone, arms, and cheekbones.
War paint and physical presence transform a gladiator costume from dressed-up to devastatingly convincing.
- Apply gold or copper metallic paint in jagged, asymmetrical strokes across exposed skin for authentic battle-worn texture.
- Layer darker shades beneath lighter metallics to create dimensional scarring effects that catch light dramatically.
- Practice three core stances: weapon raised, shield braced, and mid-strike freeze position.
Your posture communicates power before anyone examines your armor. Drop your shoulders back, widen your stance, and commit to the warrior’s gaze — controlled, fierce, and deliberate.
Frequently Asked Questions
How Much Does a Complete Gladiator Cosplay Costume Typically Cost to Make?
Budget-hack your build: you’ll spend $50–$150 total. Prioritizing historical accuracy with EVA foam, faux leather, and spray paint guarantees material durability without breaking the bank, keeping your gladiator cosplay impressively authentic and innovative.
Can Children Safely Wear EVA Foam Gladiator Armor for Costume Events?
Yes, your child can safely wear EVA foam gladiator armor at costume events! It’s lightweight and prioritizes child safety naturally. Guarantee foam durability by sealing edges, preventing sharp cuts, and securing all attachments firmly before they battle-charge the arena!
Where Can I Buy Pre-Made Gladiator Costume Pieces if DIY Fails?
You’ll find pre-made gladiator pieces at Spirit Halloween, Amazon, or Etsy, where sellers prioritize historical accuracy and diverse fabric choices, letting you innovate your cosplay with authentic breastplates, tunics, and sandals effortlessly.
How Do I Store and Preserve My Gladiator Costume After Halloween?
Contrary to belief, improper storage degrades costumes faster than use. For ideal costume maintenance, you’ll want to disassemble foam armor, store fabric flat, and apply leather conditioner. Use breathable garment bags as storage solutions to prevent moisture damage.
Are Gladiator Costumes Appropriate for All Cosplay Events and Conventions?
Gladiator costumes aren’t universally appropriate—you’ll need to contemplate historical accuracy and cultural sensitivity at each event. Research specific convention guidelines, adjust your design’s exposure level, and you’ll confidently navigate any cosplay environment innovatively.
References
- https://www.instructables.com/Spartacus-Roman-Centurion-Gladiator/
- https://www.youtube.com/watch?v=sVw33_mH14g
- https://chanylet1.wixsite.com/myarabianworld/post/diy-roman-gladiator-inspired-armor
- https://www.ehow.com/how_4479962_make-gladiator-costume.html
- https://creedleather.com/blogs/costume-guide/gladiator-costumes-for-cosplay-ultimate-style-guide