To craft authentic cosplay armor, you’ll start by selecting EVA foam in the right thickness—2mm to 6mm depending on the part—then take precise body measurements and build poster board templates before touching any foam. You’ll cut clean with a sharp utility knife, heat and shape each piece, and bond them with contact cement. Seal with PVA layers, paint, and weather for realism. The detailed steps ahead will sharpen every stage of your build.
Key Takeaways
- Use EVA foam in varying thicknesses, with higher-density foam for load-bearing sections to ensure structural integrity and shape retention.
- Take precise body measurements and create poster board templates before cutting foam to guarantee a custom, accurate fit.
- Apply heat evenly with a heat gun to shape foam, holding curves until cooled to permanently lock desired forms.
- Seal foam with 3–5 thin PVA layers, then paint and weather surfaces using a soldering iron for realistic detail.
- Secure armor using nylon harnesses, pivoting hinge rivets, Velcro strips, and neodymium magnets for comfort and quick removal.
Choose Your EVA Foam, Glue, and Tools First
Before you cut a single piece of foam, you’ll need to stock your workspace with the right materials. EVA foam is the industry-standard substrate for armor builds, available in 2mm, 3mm, 5mm, and 6mm thicknesses to suit structural and detail requirements.
EVA foam comes in multiple thicknesses — choose the right one before cutting a single piece.
Foam density directly impacts how pieces hold shape under heat and stress, so select higher-density sheets for load-bearing sections like chest plates and pauldrons.
For adhesive compatibility, contact cement remains the professional choice, bonding foam surfaces cleanly without degrading material integrity. If you’re working within a tighter budget, a 1:1 PVA-water mixture performs adequately for sealing layers.
Equip yourself with a heat gun, sharp cutting blades, and a rotary tool before starting. Proper material selection upfront eliminates costly mid-build corrections.
Pattern Your Armor to Fit Your Actual Body
With your materials staged and ready, accurate body measurement becomes your next foundation. Measure your head, chest, waist, arms, and legs precisely, since pattern accuracy directly determines how cleanly every subsequent build step executes. Skipping or estimating measurements compounds errors across every armor section.
Transfer your measurements onto poster board first, cutting and refining each template before committing to foam. Custom-fit templates account for your body’s unique contours rather than generic sizing. When patterning pieces like poleyns, trace each section twice onto foam to ensure symmetrical cuts.
Consider fabric texture when designing interior panel shapes, since reinforcing gauzy material over joined sections requires adequate surface area. Every template you refine now reduces correction time later, keeping your build efficient, precise, and structurally sound throughout full assembly.
Cut, Shape, and Assemble Your EVA Foam Armor
Once your templates are transferred to foam, cutting begins with a sharp utility knife pulled along each traced line in a single confident stroke—sawing motions tear foam edges and compromise fit. Foam density determines how aggressively your heat gun curves each piece; denser foam requires prolonged heat exposure before it becomes pliable. Hold shaped sections in exaggerated curves until they cool completely, locking the form permanently.
Adhesive types matter considerably at assembly. Contact cement remains the industry standard—apply thin coats to both mating surfaces, wait until tacky, then press firmly. Reserve hot glue exclusively for securing nylon straps and buckle hardware.
Once panels are joined, reinforce interior seams by gluing gauzy fabric across connection points. This distributes stress loads and prevents delamination during extended wear.
Seal, Paint, and Add Battle-Worn Weathering
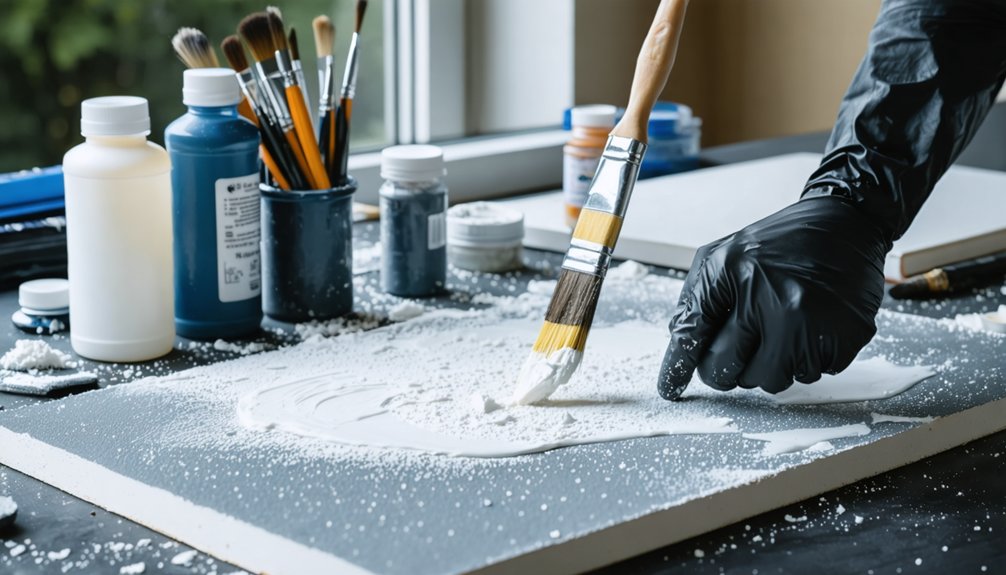
Sealing raw EVA foam locks its surface against paint absorption and creates the rigid shell that weathering effects require. Apply sealing techniques using 3–5 thin PVA layers, letting each coat dry fully before adding the next.
- Brush PVA glue in smooth, even strokes across all foam surfaces, building a semi-rigid shell layer by layer.
- Spray 2–3 paint coats within one hour, maintaining consistent distance to prevent drips or pooling.
- Burn controlled pits and scratches using a soldering iron or rotary tool, following marker-mapped damage zones.
- Press loosely woven cloth onto contact-cemented surfaces to embed realistic fabric texture into recessed areas.
Weathering methods like strategic scarring and heat distortion transform clean armor into convincingly battle-damaged, field-worn equipment.
Strap and Harness Your Armor So It Stays Put
Finished armor pieces need a reliable attachment system, or they’ll shift, sag, and ruin your presentation the moment you start moving. Build a dedicated undergarment harness for chest and back plates, using nylon straps with suspender-style connectors to maintain consistent harness tension across your torso.
A reliable attachment system keeps armor pieces from shifting or sagging the moment you start moving.
Calibrate strap length before final gluing to prevent uncomfortable binding during extended wear.
For smaller pieces like pauldrons and vambraces, use pivoting hinge rivets to connect articulated sections, then secure them with Velcro strips glued to the armor and sewn onto your costume base layer.
Incorporate strong neodymium magnets for magnetic attachment points on removable accent pieces, letting you swap components quickly between appearances.
Hot glue nylon buckles directly onto foam after ensuring surrounding painted surfaces are fully cured.
Frequently Asked Questions
How Long Does a Completed EVA Foam Armor Costume Typically Last?
Sure, it’ll last forever—if you never wear it. Realistically, your EVA foam durability spans 2–5 years with proper cosplay maintenance: store it carefully, reapply sealant layers, and avoid crushing it between conventions.
Can EVA Foam Armor Be Safely Worn in Outdoor Summer Heat?
You can wear EVA foam armor outdoors in summer, but you’ll risk softening due to limited heat resistance. Monitor material safety by avoiding prolonged direct sun exposure, as excessive heat can warp your carefully shaped pieces.
How Do You Store Finished Foam Armor Pieces Without Damaging Them?
Like fragile glass, your foam demands respect — store finished pieces in breathable garment bags, away from heat and humidity. Prioritize smart storage solutions and consistent armor maintenance by padding compartments with acid-free tissue to prevent crushing deformation.
Is EVA Foam Armor Suitable for Children to Wear Comfortably?
EVA foam armor’s lightweight, flexible properties make it excellent for child comfort. You’ll want to prioritize safety considerations by selecting thinner 2mm–3mm foam, rounding all edges, and securing straps snugly without restricting movement or circulation.
How Much Does Building a Full Foam Armor Costume Typically Cost?
You’ll spend $50–$300 on a full foam armor costume, depending on your cost estimation and material choices. EVA foam, contact cement, PVA glue, and paints represent your primary expenses, with premium tools increasing your budget considerably.
References
- https://www.famcut.com/blogs/tips-and-tricks/how-to-make-cosplay-armor
- https://www.youtube.com/watch?v=jXnlaMY7Tfs
- https://www.instructables.com/DIY-Knight-Armor-Costume-From-a-Floormat-and-Hot-G/
- https://www.wikihow.com/Make-Costume-Armor
- https://www.instructables.com/Creating-a-CostumeCosplay-from-EVA-Foam/
- https://www.youtube.com/watch?v=3ajOJivJisg