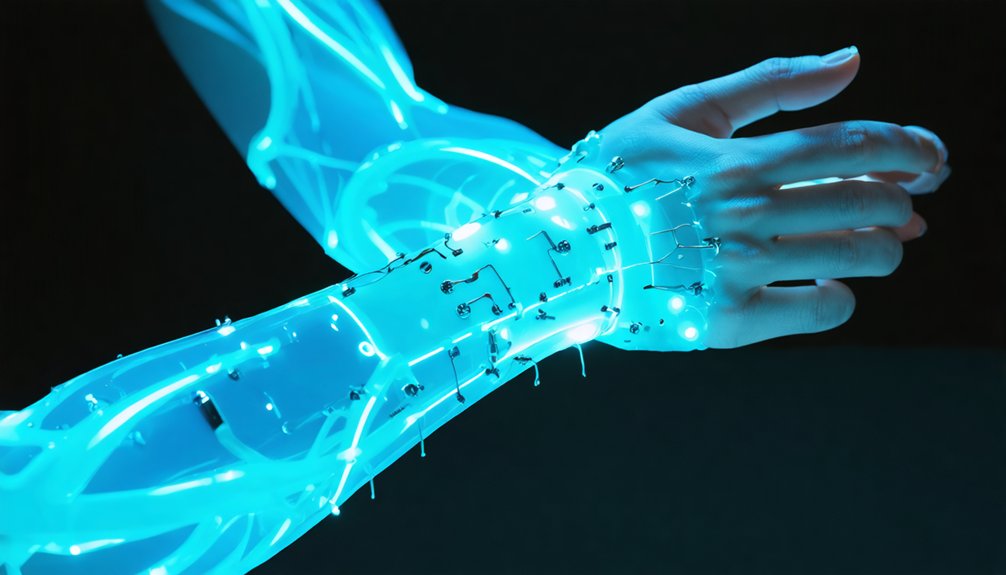
To master cyberpunk biohacking cosplay, you’ll need to lock your implant concept first—stealth, combat, or sensory—before touching a single material. Shape foam prosthetics with heat guns and rotary tools, then finish them with dry-brushed silver acrylics and gritty weathering washes. Integrate EL wire along seams, run parallel circuits for reliability, and seal every connection with heat-shrink tubing. Layer glitch overlays and chromatic aberration in post-production to push the build further. Stick around—there’s far more technical depth ahead.
Key Takeaways
- Lock your implant concept early—stealth, combat, or sensory—since this determines materials, lighting, and finishing techniques throughout the entire build.
- Shape foam prosthetics using scored V-grooves, heat guns, and rotary tools, then finish with dry-brushed silver acrylic for realistic metallic depth.
- Match EL wire color to your modification theme—blue for tech, green for bioware, red for combat—securing wires with Chicago screws and silicone seals.
- Layer grime and weathering using burnt umber, black, and sienna washes, alternating matte darks with semi-gloss metallics for authentic battle-worn cybernetic appearance.
- Import renders into After Effects, applying displacement-mapped grating, chromatic aberration, and glitch effects synced to movement for convincing post-production augmentation visuals.
Choose Your Biohacking Implant Concept Before You Build
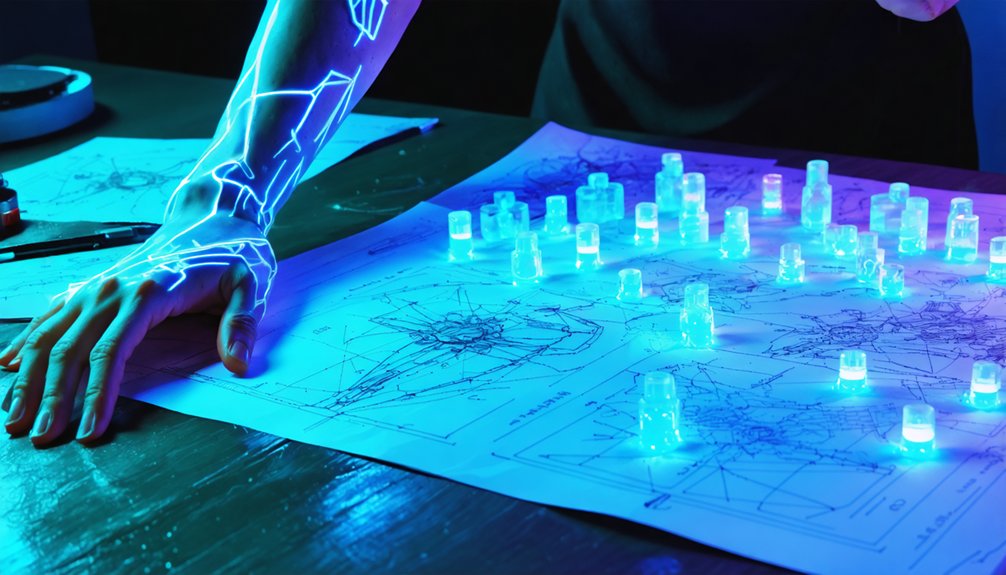
Before you cut a single piece of foam or fire up Cinema4D, lock down your implant concept. Your entire build hinges on this decision. Are you going for hidden storage compartments, a deployable forearm shotgun, or grafted animalistic traits like spider spines and extra eyelids? Each direction demands different fabrication approaches.
Implant customization isn’t cosmetic afterthought—it’s structural DNA for your costume. Biological enhancements like gills, squirrel flaps, or on-demand pigmentation shifts require organic shaping techniques, while combat-focused implants like shrapnel expellers need hard styrene plastic and precise armored zones.
Define your implant’s function first: stealth, combat, or sensory enhancement. That single choice dictates your materials, your VFX pipeline, and your finishing techniques. Concept clarity now prevents costly rebuilds later.
Build Your Cyberpunk Biohacking Base Look First
Once your implant concept is locked, build your base look before a single VFX layer or prosthetic gets added. Your foundation dictates how everything else performs under pressure and camera.
Your foundation dictates everything. Lock your implant concept before a single VFX layer or prosthetic touches the build.
Start with a black trench coat or form-fitting dark base — it anchors your digital anatomy without competing with implant details. Layer EL wire strategically along seams and joints to establish lighting integration points that’ll sync with your 3D overlays later.
Dark glasses over goggles keep the silhouette sharp and genre-accurate.
Add neon-colored accessories deliberately — not randomly. Every element should reinforce your implant narrative. A wireless headset with integrated lights signals tech-human fusion instantly.
Lock your base palette, your silhouette, and your light sources before touching foam, styrene, or any rendering software.
Shape Foam Prosthetics With Heat and Rotary Tools
With your base look locked, it’s time to cut, burn, and press foam into something that looks like it grew out of your body. Foam shaping starts with scored V-grooves — slice them in before you apply heat, and they’ll expand predictably under a heat gun, letting you curve prosthetics cleanly around facial contours.
Once your base shape holds, switch to rotary detailing. Spin rotary bits directly into the foam surface to carve textured, organic pockets that mimic subcutaneous implants or grafted tissue. Vary your pressure and speed to avoid uniform patterns — biological mods never look machine-stamped.
Finish with dry-brushed silver acrylic to pull metallic depth across raised edges, making every groove read as hardware fused permanently beneath compromised skin.
Paint Metallic and Weathered Finishes on Biohacking Pieces
Dry brush silver acrylic paint over your foam and styrene pieces using a stiff, nearly-dry bristle to pull sharp metallic highlights off raised edges while leaving recessed areas dark.
Layer washes of burnt umber, black, and raw sienna into grooves and surface textures to simulate grime, oxidation, and battle wear that makes your biohacking prosthetics look field-tested rather than factory-fresh.
Build depth by alternating thin paint layers—matte darks underneath, semi-gloss metallics on top—so the finished surface reads as complex, lived-in tech rather than flat costume material.
Dry Brushing Metallic Effects
Nailing the metallic, battle-worn look on your biohacking pieces comes down to one deceptively simple technique: dry brushing. Load silver acrylic onto your brush, wipe off most of it, then drag it across raised edges to build a convincing metallic patina fast.
Follow this sequence for maximum impact:
- Apply a flat black base coat to every surface, sealing the foam’s micro surface texture.
- Dry brush silver acrylic across ridges, edges, and embossed details using short, controlled strokes.
- Layer a darker wash into recessed grooves to deepen contrast and fake mechanical aging.
The result reads as genuine machined metal under stage lighting. You’re not painting—you’re engineering the illusion of wear directly into your prosthetic’s architecture.
Weathered Surface Detailing Techniques
Once your silver dry brush layer locks in, weathered detailing is where the piece stops looking like a prop and starts looking like salvage.
Hit recessed areas with a thinned black wash — let it pool naturally into grooves and rotary-pressed texture pits. That contrast sells depth and reinforces organic surface textures that mimic genuine bioware compatibility aesthetics.
Next, stipple burnt sienna around edges using a torn sponge. It reads as oxidized corrosion without screaming “painted foam.” Follow with selective chrome pen hits on raised ridges — these catch light differently than your dry brush layer, creating visual hierarchy.
Finally, seal everything with a matte varnish, then spot-apply gloss only on tech insets. That controlled sheen separates biological-looking zones from mechanical ones instantly.
Layering Paint For Depth
Metallic depth on biohacking pieces isn’t one coat — it’s a stacking sequence where each layer serves a structural role. You’re building a surface that reads as lived-in tech, not painted plastic.
Execute this texture layering sequence:
- Base coat — Apply flat black as your absorption layer, anchoring all color blending above it.
- Mid-tone metals — Brush gunmetal or dark silver over raised edges, letting recesses stay dark.
- Dry brush highlights — Hit the sharpest points with bright silver using minimal paint, simulating worn metal contact zones.
Each pass compounds visual complexity. You’re not decorating — you’re engineering a surface history. The contrast between dark valleys and bright peaks sells the biohacking aesthetic instantly and convincingly.
Which Bioware Grafts and Mods Translate Best to Cosplay?
When it comes to translating bioware grafts into cosplay, some mods hit harder than others. Start with animalistic grafts — squirrel flaps, extra eyelids, and spider spines give you immediate visual impact without overcomplicating your build. Foam and styrene plastic sculpt these details cleanly, especially when you’re working rotary bits into organic surface textures.
A cybernetic limb conversion reads instantly to any crowd — armor plating, exposed joint mechanics, and dry-brushed metallic finishes sell the illusion fast. Layer in a neural interface port at the temple or base of the skull using small styrene inserts, and your build gains technical credibility.
Prioritize mods that communicate function at a glance. If it doesn’t read from ten feet away, it’s not working hard enough.
Add EL Wire and Neon Accents to Your Biohacking Build
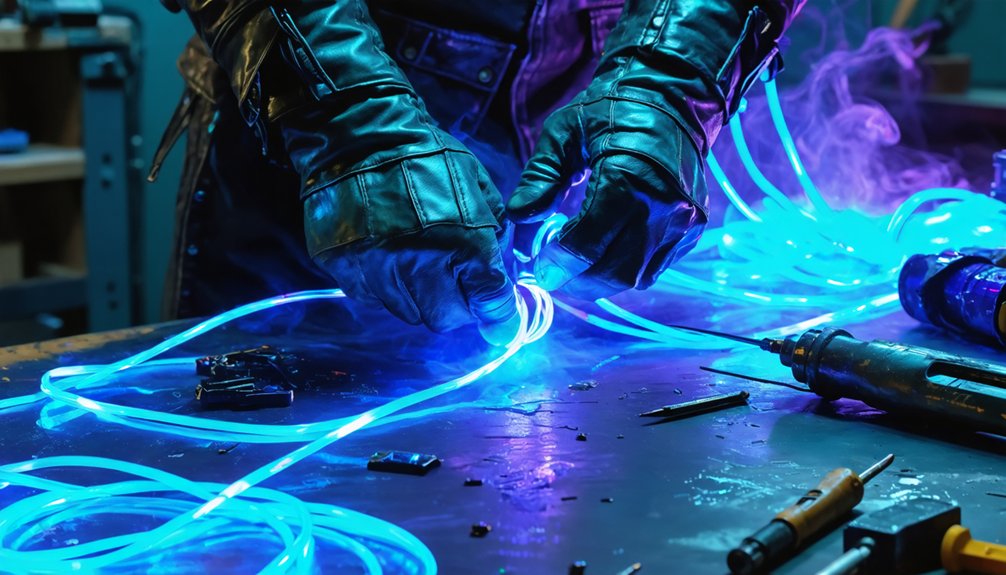
Pick your EL wire colors strategically—blue and cyan scream neural implant, while green pulses like active bioware coursing through a living circuit.
You’ll want to lock the wire down with fabric glue or small cable staples, routing it along seams and armor edges so it reinforces your build’s structure rather than fighting it.
Power everything through a centralized inverter pack tucked into a hidden compartment, keeping your battery load balanced and your neon accents running clean through a full convention day.
Choosing EL Wire Colors
EL wire color choice locks in your biohacking build’s visual identity before you add a single piece of foam or styrene. Your neon color combinations signal intent — cold surgical tech, toxic mutation, or raw street-level augmentation.
- Blue/White — Projects clinical precision, ideal for neural implant aesthetics and LED strip integration along spine rigs.
- Green/Yellow — Radiates toxic bioware contamination, perfect for Simic-inspired grafted animalistic trait builds.
- Red/Orange — Communicates combat-grade implants, amplifying shrapnel-defense shoulder armor and forearm weapon concealment zones.
Match your EL wire to your build’s core modification theme, then reinforce it through LED strip integration on modular foam panels.
Consistency across every element weaponizes your aesthetic into something undeniably cohesive.
Securing Wire to Costume
How you route and anchor EL wire determines whether your biohacking build looks engineered or thrown together. Use heat-resistant fabric tape as your primary wire securing method along high-movement zones like shoulders and elbows.
Stitch conductive pathways using a zigzag pattern for costume reinforcement that flexes without tearing wire casing.
Channel wire through pre-cut foam grooves to keep runs flush against the surface — no floating lines, no amateur staging.
At junction points, lock wire with small Chicago screws instead of glue alone. Glue fails under convention heat. Hardware doesn’t.
Seal exposed connection points with clear silicone to prevent shorts. Test full range of motion before finalizing.
Every route you run should look intentional, structural, and built for function as much as visual impact.
Powering Neon Accents
Neon accents don’t just illuminate your build — they signal intent. EL wire delivers energy efficient lighting that won’t drain your power source mid-convention. You’re not decorating; you’re engineering a statement.
Choose your neon color combinations strategically:
- Cyan + magenta — classic cyberpunk contrast that reads instantly under low light
- Green + amber — biohacking aesthetic suggesting organic mutation and bioluminescence
- White + ultraviolet — clinical, cold, and deeply unsettling on prosthetic surfaces
Wire your EL wire to a compact inverter battery tucked inside your costume’s interior panels. Run parallel circuits so one failure doesn’t kill your entire light system. Seal every connection with heat-shrink tubing — exposed joints flicker, and flickering breaks immersion fast.
Nail the Cyberpunk Biohacking Aesthetic on Any Budget
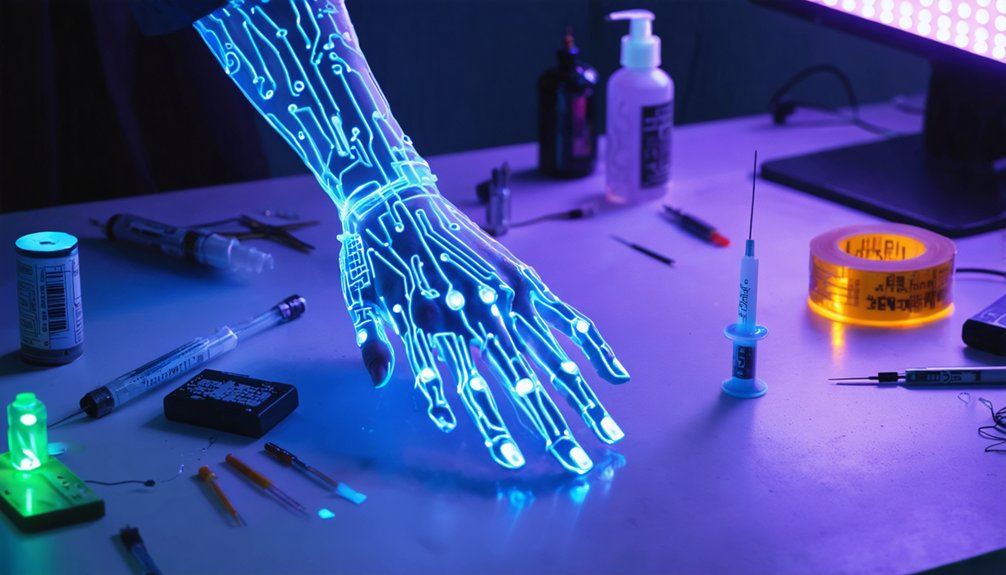
Pulling off a convincing cyberpunk biohacking look doesn’t require a massive budget — it requires smart material choices and layered technique.
Cyberpunk aesthetics aren’t gatekept by budget — they’re unlocked through material knowledge and deliberate technique.
Start with styrene plastic for facial prosthetics and scored foam for curved body panels. Heat-shape your foam using a heat gun, then carve surface detail with rotary bits for that organic, engineered texture.
Dry brush silver acrylic over everything to instantly achieve cybernetic aesthetics without expensive paints or tools.
Layer EL wire across seams to unify scattered elements and add visual intensity.
For costume durability, reinforce high-stress joints with contact cement and thin plastic backing.
Stack these techniques deliberately — biohacking visual language is built through detail density, not cost.
Your budget determines your materials, not your execution quality.
Apply Glitch Overlays and Grating Effects in Post
Once your footage is locked, glitch overlays and grating effects are what fuse scattered 3D elements into a unified cyberpunk aesthetic — and Cinema4D, Redshift, and After Effects give you the full pipeline to pull it off.
Stack your post workflow like this:
- Import Redshift renders into After Effects and apply displacement-mapped grating textures over neural interface zones.
- Layer glitch presets timed to bioelectric signal pulses — sync corruptions to movement for organic believability.
- Blend chromatic aberration and scan-line overlays to lock every 3D element into the live-action plate convincingly.
Your grating effects aren’t decorative — they’re structural. They signal malfunction, adaptation, and augmentation simultaneously.
Push contrast hard, break the image intentionally, and let the corruption tell the story your costume starts.
Frequently Asked Questions
Can Bodysculpting Voice Changes Be Replicated Through Cosplay Costume Modifications?
Like swapping a engine’s exhaust note, you can’t replicate bodysculpting voice changes through costume mods alone—but pair voice modulation tech with synthetic musculature prosthetics, and you’ll hack an convincing audiovisual transformation that hits differently.
What Tracking Markers Work Best for Filming Biohacking Cosplay VFX Content?
Use high-contrast tracking markers on your face for precise genetic modification overlays and neural interfaces alignment. They’ll lock your skin to 3D models flawlessly, ensuring your biohacking VFX stays razor-sharp during every dynamic shot you capture.
How Much Does a Basic Cyberpunk Biohacking Cosplay Typically Cost Overall?
Your chrome dream’s price tag starts around $50–$200. For smart budget planning and accurate cost estimation, you’ll invest in styrene plastics, EL wire, foam, and acrylic paints — each material a circuit in your cyberpunk identity’s blueprint.
Which Cinema4d Primitives Work Best for Rendering Modular Biohacking Implant Visuals?
Use Volume Builder primitives to fuse cybernetic implants seamlessly. You’ll stack spheres, cylinders, and capsules, letting the Volume Builder connect them organically, creating neural enhancements that look biologically integrated and devastatingly authentic in your Redshift renders.
Can Wireless Headsets Replace Custom-Built Cyberpunk Helmet Props for Conventions?
Over 60% of convention attendees prefer lightweight builds. Wireless headsets won’t fully replace custom helmets, but they’ll supercharge your look as instant wearable tech, delivering augmented reality vibes without fabrication headaches — fast, bold, and unmistakably cyberpunk.
References
- https://www.youtube.com/watch?v=U3fNhy8Z1yo
- https://www.youtube.com/watch?v=FpJiCXB0Wyc
- https://cyberpunk.fandom.com/wiki/Bodysculpting
- https://forums.giantitp.com/showthread.php?586777-Biohacking-Cybernetic-Implant-Ideas
- https://corecosplay.com/movies/best-cyberpunk-cosplay-ideas/
- https://cyberpunk.fandom.com/wiki/Bioware