To work with Worbla effectively, you’ll need a heat gun, sharp craft knife, cutting mat, and masking tape for pattern-making. Heat Worbla 2–3 inches from the source until it turns translucent and pliable, moving steadily to prevent bubbling. Cut pieces from tape-pressed templates, wrap over foam edge-by-edge, and fuse seams by pressing warm surfaces together. Finish with sanding, priming, and thin paint coats. The techniques ahead will sharpen every stage of your build.
Key Takeaways
- Heat Worbla with a heat gun held 2–3 inches away, watching for translucency to confirm it’s ready for shaping.
- Press masking tape onto your form to create accurate 3D templates before cutting Worbla pieces.
- Worbla bonds to itself when both surfaces are warm, eliminating the need for additional adhesives at seams.
- Reinforce joints by pressing thin Worbla strips over seams, then reheat and pinch smooth for clean transitions.
- Apply multiple thin paint coats, allowing full drying between each layer, to achieve a professional, polished finish.
The Worbla Starter Kit: What to Buy Before You Begin
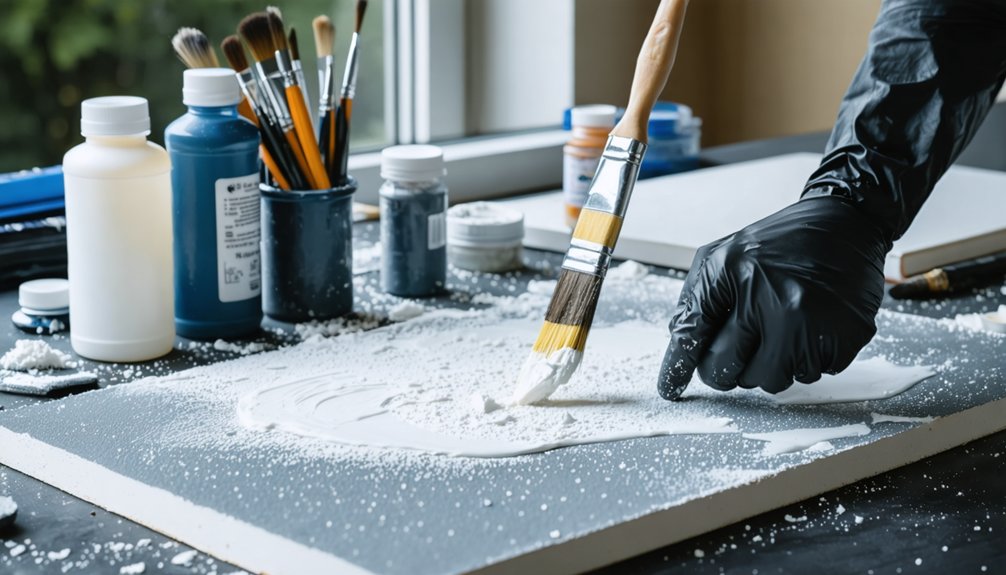
Before diving into your first Worbla project, you’ll need 5 core tools to set yourself up for success: a heat gun (or hair dryer as a budget alternative), a sharp craft knife or heavy-duty scissors, a cutting mat to protect your work surface, masking tape for pattern-making, and sandpaper for post-shaping surface prep.
Beyond tools, choose your Worbla color options strategically—black Worbla suits dark-painted builds, while natural-toned sheets work better under light finishes, reducing primer coats.
Stock acrylic primer and paint to complete your finishing workflow.
For Worbla storage tips, keep unused sheets flat in a cool, dry location away from direct sunlight, which can prematurely soften the material. Proper storage preserves flexibility and ensures consistent performance across multiple builds.
How to Heat Worbla to the Right Temperature Every Time
Once your tools and materials are ready, getting the heat application right becomes your first real skill to master. Control your Worbla temperature by holding a heat gun 2–3 inches from the surface, moving it steadily to distribute heat evenly. Within 1–2 minutes, you’ll notice the material shift slightly in color and become translucent—that’s your indicator it’s fully workable.
Avoid concentrating heat in one spot; uneven application causes bubbling. If bubbles appear, pierce them immediately with a pin and press the trapped air outward while the material remains warm. Heat gun techniques matter here—consistent motion prevents overheating and burning.
You can substitute a hair dryer at the same distance for gentler softening. Work fast once Worbla reaches peak pliability, as stiffening begins quickly.
Cutting and Fitting Worbla Pieces Before You Apply Heat
Accurate cutting and pattern preparation saves you significant rework later, so start by pressing masking tape directly onto your body part or form to capture the exact 3D shape you need. Peel the tape off carefully, then cut it into a flat template fitting your intended surface.
Trace this template onto your Worbla sheet during pattern tracing, adding ¼–½ inch seam allowance around every edge to guarantee full foam coverage once you apply heat. Use sharp scissors or a craft knife for clean cuts.
On curved sections, snip small notches into the edges beforehand so the material wraps smoothly without buckling later. Trim corners on flat pieces to prevent edge lumps during shaping.
Completing all cuts before heating keeps your workflow efficient and precise.
How to Wrap and Mold Worbla Over Foam Without Buckling
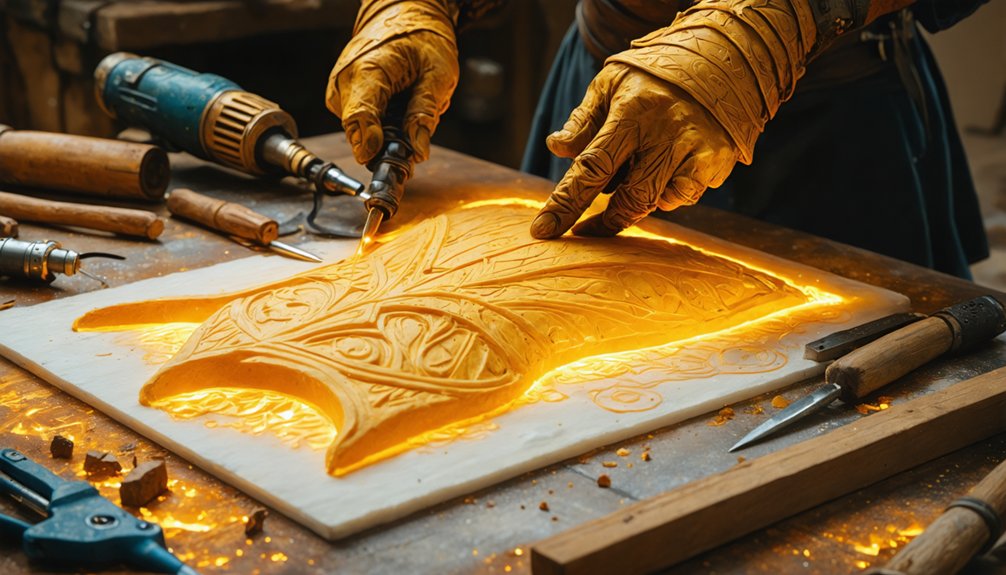
With your Worbla cut and notched, you’re ready to apply heat and begin wrapping. Heat the material evenly until it turns slightly translucent and becomes fully pliable.
Work one edge at a time, pressing each section firmly onto the foam before moving to the next. This sequential approach prevents buckling and maintains a flat, consistent surface texture across your piece.
Shape details using sculpting tools or your fingertips while the material remains warm. Focus on edge trimming to eliminate any overlapping ridges where sections meet, pressing seams flush before cooling locks them in place.
If bubbles form during heating, pierce them immediately and press outward. Once you’ve achieved the correct form, allow the piece to cool completely before sanding or applying primer.
Bonding and Joining Worbla So Seams Actually Hold
To bond Worbla pieces together, heat both surfaces until they’re pliable and translucent. Then press them firmly against each other — the thermoplastic fuses to itself without adhesives when joined warm-to-warm.
After the seam cools, reheat it directly to pinch and smooth the shift, eliminating visible ridges or gaps between sections.
For seams under stress, press an additional thin strip of warm Worbla over the joint line and smooth it flat to reinforce the bond and prevent separation during handling.
Bonding Warm Pieces Together
One of Worbla’s most useful properties is its self-adhesive quality when heated, which means you don’t need contact cement or hot glue to join pieces together. These adhesive alternatives simply aren’t necessary when you’re working with two warm surfaces.
Heat both edges you’re joining until they’re fully pliable, then press them firmly together and hold until the bond sets. The thermoplastic molecules fuse directly, creating a connection that’s often stronger than the surrounding material.
For seam reinforcement, reheat the joined area after it cools and pinch the transition smooth with your fingers or a sculpting tool. This eliminates visible gaps and distributes stress across a wider surface.
Work efficiently—you have a narrow window before the material stiffens and resists manipulation.
Smoothing And Reinforcing Seams
Bonding two pieces together is only half the work—what separates a clean build from a rough one is how well you treat those seams afterward. Once your joined pieces cool, reheat the seam line directly with your heat gun. As Worbla softens, pinch and press the connection zone firmly using your fingers or a sculpting tool.
This seam reinforcement technique eliminates visible gaps and structurally fuses both edges into a unified surface. For seam concealment, apply a thin strip of scrap Worbla over the join while both surfaces are warm, then blend the edges outward smoothly.
Work methodically along the entire seam rather than spot-treating. After cooling, sand any remaining ridges before priming. This two-step approach produces seamless, durable joints that hold up under regular cosplay handling.
How to Sand, Prime, and Paint Worbla for a Clean Finish
Once your shaped Worbla has cooled completely, sand any rough spots, ridges, or uneven edges using sandpaper to achieve a smooth base surface.
You’ll then need to apply a plastic-specific primer, which guarantees that your acrylic or spray paints bond properly to the material without peeling or chipping.
After the primer dries fully, paint your prop with your chosen finish, allowing complete drying time before adding any detail work, highlights, or textures.
Sanding Rough Worbla Surfaces
After your Worbla prop has fully hardened, use sandpaper to smooth out any uneven ridges, rough edges, or surface inconsistencies before moving on to finishing.
Effective sanding techniques begin with a coarser grit to address prominent texture irregularities, then progress to finer grits for a refined surface texture. Work in controlled, circular motions to avoid creating new grooves or uneven patches across the material.
Focus particularly on seam lines, joined edges, and areas where scrap pieces were merged, as these spots tend to retain the most visible imperfections. Don’t rush this stage — thorough sanding directly impacts how cleanly primer and paint adhere later.
Once the surface feels consistently smooth to the touch, you’re ready to move into priming.
Priming And Painting Worbla
Priming your Worbla prop is a critical step that determines how cleanly paint adheres and how professional the final finish looks. Without primer, acrylic and spray paints won’t bond effectively to the surface.
Follow these steps for ideal results:
- Apply a plastic-specific primer evenly across your cooled, sanded prop, ensuring full surface coverage before painting.
- Once primer dries completely, begin color blending using layered acrylic or spray paints to achieve dimensional, realistic effects.
- After your base coats dry, focus on texture adding through dry-brushing highlights or stippling shadows to create visual depth.
Working methodically through each layer prevents mistakes and builds a finish that looks intentional and refined. Allow full drying time between every coat to maintain crisp, clean results throughout your painting process.
Frequently Asked Questions
Can Worbla Be Safely Reheated and Reshaped After It Has Fully Hardened?
Yes, you can safely reheat hardened Worbla for reshaping, maximizing Worbla recycling potential. Simply reapply heat evenly, and it’ll regain malleability without compromising prop durability, making it an innovative, endlessly reworkable thermoplastic material.
How Do You Fix Bubbles That Form During the Heating Process?
Over 80% of crafters encounter air bubbles. Pierce them with a pin, then press outward while Worbla’s warm to eliminate surface imperfections. You’ll restore a smooth, flawless finish quickly before it stiffens.
Is a Hair Dryer an Effective Substitute When a Heat Gun Is Unavailable?
Yes, a hair dryer’s an effective alternative heating method for softening Worbla. Maintain the same 2–3 inch distance as safety precautions dictate, ensuring consistent, even heat distribution to achieve full malleability without risking bubbling or burning.
How Thick Should Merged Scrap Clumps Be for Even Reheating and Reuse?
When managing scrap clump thickness, you shouldn’t make merged pieces too thick, as reheating consistency suffers dramatically. Thick clumps heat unevenly, resisting proper reuse. Keep your merged scraps thin to guarantee uniform softening and ideal workability throughout.
What Should You Place Under Your Work Surface to Protect It During Construction?
Place scrap material or a heat resistant mat beneath your project for work surface protection. It’ll shield against heat, glue, and paint damage, keeping your workspace clean and ensuring uninterrupted, efficient prop construction throughout the entire process.
References
- https://www.youtube.com/watch?v=5UH6hXwp3Uc
- https://www.formx.eu/posts/worbla-thermoplastics-cosplay/
- https://cosplayadvice.com/worbla-101/
- https://www.youtube.com/watch?v=0yP4dNtj2uY
- https://www.youtube.com/watch?v=6-_Rm7OtIjU
- https://www.worbla.com/?cat=5
- https://www.mmoday.com/a-beginners-guide-to-using-worblander-for-prop-making/
- https://www.instructables.com/Introduction-to-Worbla/
- https://www.worbla.com/?cat=31
- https://www.scribd.com/document/730850543/ultimateguidetoworbla