Working with Worbla for cosplay starts with a reliable heat gun set between 150 and 180 degrees Fahrenheit to activate its self-adhesive thermoplastic core. You’ll cut cold sheets with sharp shears, layer it over EVA foam using the sandwich method, and sculpt warm scraps into detailed embellishments. It bonds to itself without glue, corrects easily with reheating, and finishes beautifully with primer or Mod Podge. There’s a complete technique-by-technique breakdown ahead that’ll sharpen every skill you need.
Key Takeaways
- Heat Worbla with a heat gun using consistent movement to soften it evenly before shaping armor pieces or costume components.
- Use the sandwich method by layering EVA foam between two Worbla sheets to create lightweight, durable armor panels.
- Cut Worbla while cold using sharp shears, scoring complex curves with an X-Acto blade for cleaner results.
- Sculpt decorative details using heated scrap pieces molded into ridges, borders, and raised elements on finished panels.
- Seal completed Worbla pieces with Mod Podge or flexible primer to create a smooth, cohesive surface for painting.
What Is Worbla and Why Cosplayers Love It
Worbla is a thermoplastic sheet material that transforms into a soft, fruit-leather-like substance when heated, making it one of the most versatile fabrication tools in a cosplayer’s workshop.
You’ll find its Worbla benefits immediately apparent: it’s self-adhesive when warm, reheatable for corrections, and compatible with foam cores for structural builds.
Compared to rigid alternatives, cosplay versatility is where it genuinely outperforms—you can stretch it into curves, layer it for thickness, and mash scraps into sculptable clay.
Material comparison matters here; Black Art, Finest Art, and FlameRed Art each suit different crafting techniques, from clean armor paneling to ornamental detailing.
Whether you’re building helmets, wings, or embossed emblems, Worbla adapts to your creative process rather than restricting it.
Tools and Materials You Need to Work With Worbla
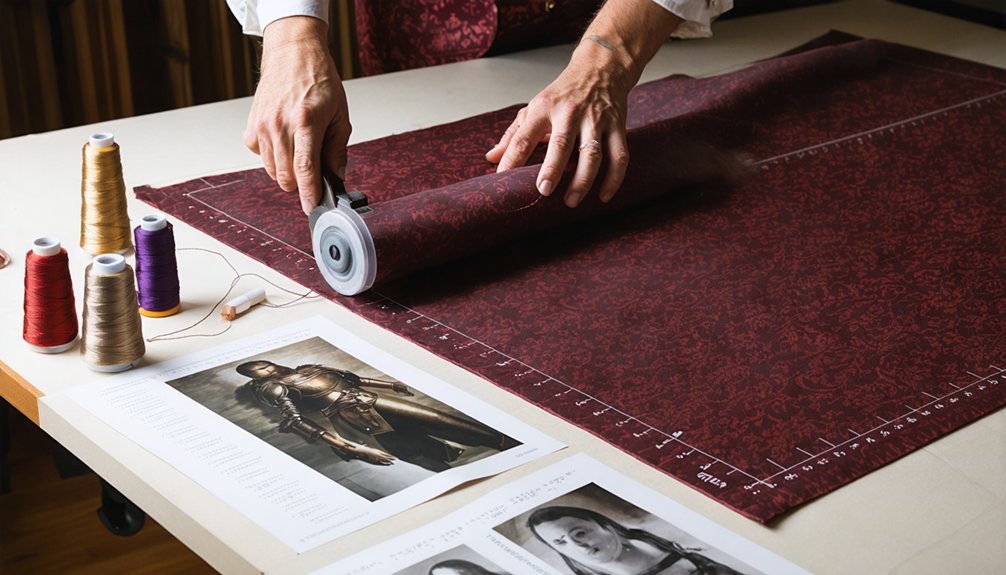
Getting the most out of Worbla starts before you ever pick up a heat gun—it starts with having the right tools on hand. For pattern templates, use poster board, masking tape, or digital methods to build accurate, test-ready shapes.
Strong shears, scissors, and an X-Acto blade give you precise cutting techniques for both foam bases and Worbla sheets. A reliable heat gun is your primary workhorse, softening material to a pliable, fruit-leather consistency ideal for shaping and layering methods like the foam sandwich approach.
Keep sculpting tools nearby for detailing warm scraps into emblems or ornamental elements. Markers, pencils, and EVA foam round out your toolkit. With these essentials organized and accessible, you’ll move through each construction phase faster, cleaner, and with noticeably sharper results.
Cutting, Heating, and Shaping Worbla Without Distorting It
Once your tools are ready, cutting, heating, and shaping Worbla demands careful technique to avoid warping, overstretching, or losing the clean lines your pattern established.
Shaping Worbla well means mastering the details — precise cuts, controlled heat, and deliberate technique protect every clean line.
For cutting techniques, use sharp shears on cold Worbla and score complex curves with an X-Acto blade before separating edges cleanly.
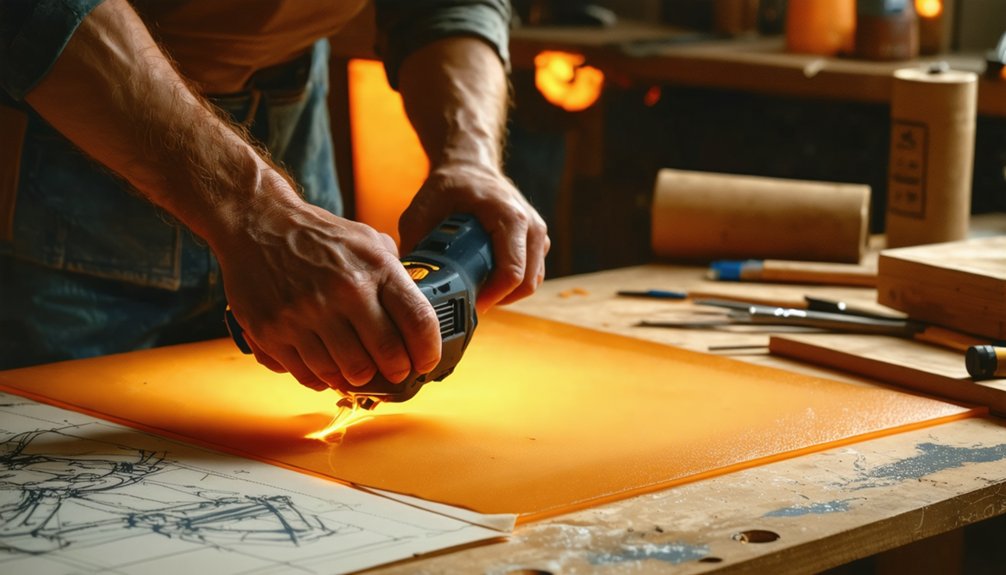
When applying heating methods, keep your heat gun moving constantly, maintaining an even temperature across the sheet rather than concentrating heat in one spot.
Distortion prevention depends on working methodically — heat only the section you’re actively shaping.
For shaping tips, stretch domed forms gradually using your palms, not fingertips, to distribute pressure evenly.
Reheat stiffening areas immediately rather than forcing cold material.
These precise, deliberate movements let you control every curve, edge, and contour without compromising your original design intent.
Build Worbla Armor and Props With the Sandwich Method
With your shaping skills now dialed in, the sandwich method gives your armor and props the structural backbone they need to hold form under stress.
Cut your EVA foam core to match your pattern, then cut two Worbla sheets slightly larger. Heat one sheet until pliable, lay the foam centered on top, then press the second heated sheet over it.
The sandwich technique works because layer bonding activates through direct heat contact, fusing both sheets around the foam edge without adhesive. Press the overlapping borders down firmly, trapping the foam completely inside.
This composite structure resists warping, adds rigidity, and creates a lightweight, durable shell ideal for chest plates, pauldrons, and gauntlets.
Use sculpted Worbla scraps afterward to build raised details directly onto the bonded surface.
Sculpting Details, Hiding Seams, and Finishing Your Build
Sculpted details do more than decorate your build—they solve structural problems by concealing seams, darts, and construction imperfections beneath purposeful design elements.
Gather your Worbla scraps and mash them together while warm, creating a pliable clay-like mass ideal for sculpting techniques that demand precision and texture. You’ve got roughly three to five minutes of workability before the material stiffens, so plan your shapes beforehand.
Mash warm Worbla scraps into a pliable mass—but work fast, because you’ve only got minutes before it stiffens.
Roll seam concealment ridges directly over problem areas, press emblems and skulls onto flat panels, and build raised borders along armor edges. These decorative elements transform structural weaknesses into intentional design decisions.
Once cooled, seal everything with Mod Podge or a flexible primer before painting. Those finishing touches unify your entire build, giving it professional cohesion and visual depth.
Frequently Asked Questions
Can Worbla Be Safely Used by Children or Younger Cosplay Beginners?
You can use Worbla safely with proper adult supervision, but you’ll need strict safety precautions since heat guns reach dangerous temperatures. Young crafters should always have an experienced maker guiding every heated, hands-on step.
How Do You Store Unused Worbla Sheets Between Projects?
Like a sleeping dragon, your Worbla storage thrives in cool, dry conditions. Keep unused sheets flat or loosely rolled, away from heat sources, ensuring your project organization stays seamless and your material’s ready for its next transformation.
Is Worbla Reusable After a Costume Is No Longer Needed?
You can reclaim Worbla’s sustainability by reheating old pieces until pliable, then upcycling techniques let you remold, merge scraps, or reshape entire components into fresh creative builds without wasting material.
How Does Worbla Hold up in Extreme Heat Like Summer Conventions?
Worbla’s heat resistance is moderate, so you’ll want to reinforce your pieces during summer durability tests. It can soften in extreme heat, so plan your builds with internal foam structures to maintain shape outdoors.
Can Worbla Pieces Be Repaired if They Crack or Break?
Yes, you can repair cracked Worbla by reheating the damaged area until pliable, then pressing the pieces together—they’ll self-bond. Master these repair techniques and crack prevention strategies by reinforcing stress points with layered Worbla scraps.
References
- https://www.youtube.com/watch?v=5UH6hXwp3Uc
- https://www.worbla.com/?p=8020
- https://www.tiktok.com/@theinsanityproject/video/7146238223164001578
- https://www.reddit.com/r/CosplayHelp/comments/1j40a0r/first_time_working_with_worbla/
- https://www.instructables.com/Introduction-to-Worbla/
- https://www.instructables.com/Creating-Armor-with-Worbla/
- https://www.worbla.com/?cat=36
- https://www.reddit.com/r/cosplayers/comments/16xyq2u/beginners_guide_to_worbla_a_very_basic_guide_to/
- https://www.youtube.com/watch?v=PGcT6JX31N8
- https://www.youtube.com/watch?v=CNpq1wNWNgs