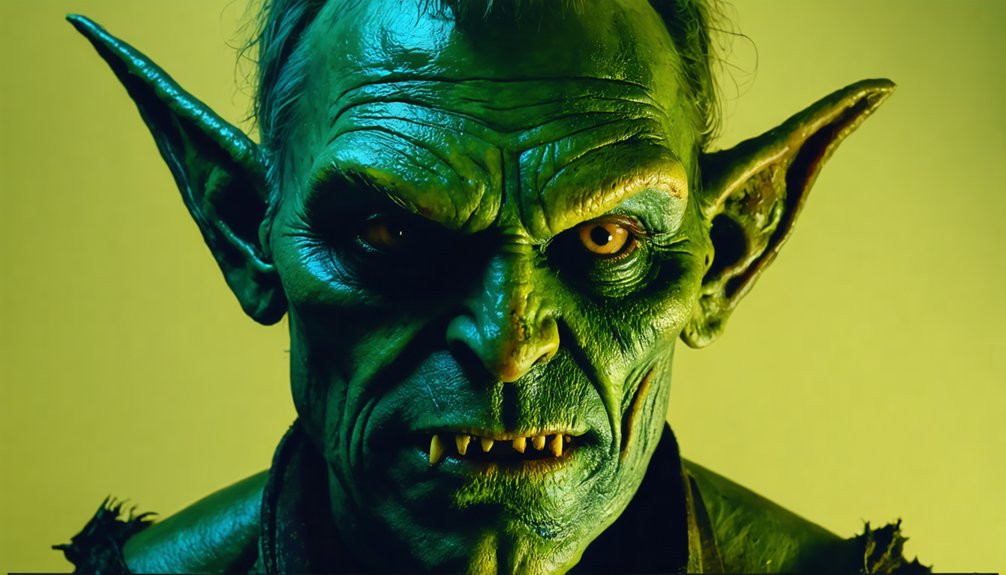
To pull off a convincing goblin transformation, you’ll start with thorough skin prep, then apply cream-based green foundation in thin, controlled layers. Contour hollows with matte black pigment, stipple rough skin texture using a coarse sponge, and deepen your eyes with dark shadow and liner. Attach and blend prosthetics seamlessly using acetone, then lock everything in with translucent powder and setting spray. Master each step, and your goblin look will hold up for hours.
Key Takeaways
- Cleanse, tone, and moisturize skin thoroughly before applying goblin green cream foundation to ensure a smooth, crease-free base.
- Apply foundation using tapping motions with a beauty sponge, feathering edges into the neck and ears for seamless blending.
- Use acetone on a Q-tip to dissolve prosthetic flashing, ensuring edges blend naturally into the skin.
- Stipple dark green and gray pigments with a coarse sponge to create realistic, organic-looking goblin skin texture.
- Lock the finished look with translucent powder and multiple thin layers of setting spray for extended wear durability.
Prep Your Skin for Goblin Makeup
Before applying any goblin makeup, you’ll need to complete 4 essential skin prep steps: cleanse, tone, moisturize, and hydrate. Your skincare routine directly impacts how well the transformation holds throughout the day.
Start by cleansing to remove oils and debris, then apply toner to tighten pores and balance your skin’s pH.
Cleanse away oils and debris first, then tone to tighten pores and restore your skin’s natural pH balance.
Next, incorporate advanced hydration techniques — layer a lightweight moisturizer followed by a hydrating serum to create a plump, even surface.
This prep work isn’t optional. Dry or congested skin causes cream-based green or gray foundation to crack, streak, and lift prematurely.
Once your skin is fully prepped and absorbed, you’re ready to apply foundation seamlessly across your face, neck, and ears for a flawless goblin base.
Apply Goblin Green Foundation Evenly
With your skin fully prepped, you’ll apply green or gray cream-based foundation in 3 targeted zones: the face, neck, and ears. Product consistency is critical here—cream formulas deliver ideal pigmentation and blendability. Use a beauty sponge with tapping motions to achieve a seamless, line-free finish.
- Color blending: Layer the foundation outward from the center, feathering edges into the neck and ears for a natural transition.
- Product consistency: Work with small amounts to maintain control and prevent patchiness across uneven facial terrain.
- Setting the base: Once applied, press translucent powder over the entire surface to eliminate creasing and extend wear time.
This systematic zone-based approach ensures uniform color blending and a professional foundation layer ready for advanced contouring.
Contour the Hollows and Define Goblin Features
Once your foundation is set, contouring sculpts the hollow, sunken features that define a convincing goblin face. Much like the grotesque geometry found in goblin myth, strategic shadow placement transforms ordinary facial structure into something unsettling and otherworldly.
Apply matte black pigment along the nose bridge, inner eye corners, and outer face edges, fading it seamlessly into the green base. Scrunching your face while sketching wrinkles around the nose mimics natural skin texture with precision.
Emphasize cheekbones using high-quality SFX products, then highlight the highest facial points with lighter green to build dimension.
For seamless costume coordination, ensure contour lines align with any prosthetics or accessories you’re incorporating. Blend thoroughly using feathering and buffing techniques, creating depth that reads convincingly under varied lighting conditions.
Stipple and Layer for Rough Goblin Skin Texture
To build a convincing goblin skin texture, you’ll stipple a coarse sponge loaded with dark green or gray pigment across your foundation base, creating an uneven, porous surface.
Layer lighter tones first, then press darker hues over them in short, irregular bursts to simulate the rough, weathered quality of goblin skin.
Feather and buff the edges between color layers so each tone integrates naturally without visible boundaries, producing a seamless yet textured finish.
Stippling Techniques For Texture
Stippling is one of the most effective techniques for building a rough, uneven goblin skin texture that looks convincingly non-human. Using a stipple sponge or stiff brush, you’ll create precise texture contrast by dabbing multiple color layers onto the foundation base.
Follow these core principles:
- Layer strategically: Apply lighter tones first, then stipple darker hues over them for dimensional color blending that mimics organic skin variation.
- Control pressure: Vary your dabbing pressure to produce inconsistent surface patterns, avoiding mechanical uniformity that breaks realism.
- Combine textures: Integrate matte and shimmer finishes through stippling to generate visual complexity across different facial zones.
Work in small sections, building density gradually. Each stippled layer compounds the previous one, creating a surface that reads as authentically textured under various lighting conditions.
Layering Colors For Depth
Layering colors strategically transforms a flat green base into a multidimensional goblin skin that reads as organic and textured. Start with lighter tones as your foundation layer, then progressively build darker hues into recessed areas using deliberate shading techniques. This sequencing creates natural shadow gradients without muddying your palette.
Apply matte tones first to establish depth, then integrate shimmer and glitter textures selectively on raised surfaces. Your color blending approach should move from light to dark systematically, feathering each gradation with a stippling brush to eliminate hard edges.
Target hollow areas—temple edges, under cheekbones, and nasal cavities—with concentrated dark pigment. Reserve lighter greens exclusively for protruding facial points.
This disciplined layering protocol produces convincing dimensional skin that withstands close-range scrutiny under professional lighting conditions.
Make Your Eyes Look Eerily Inhuman
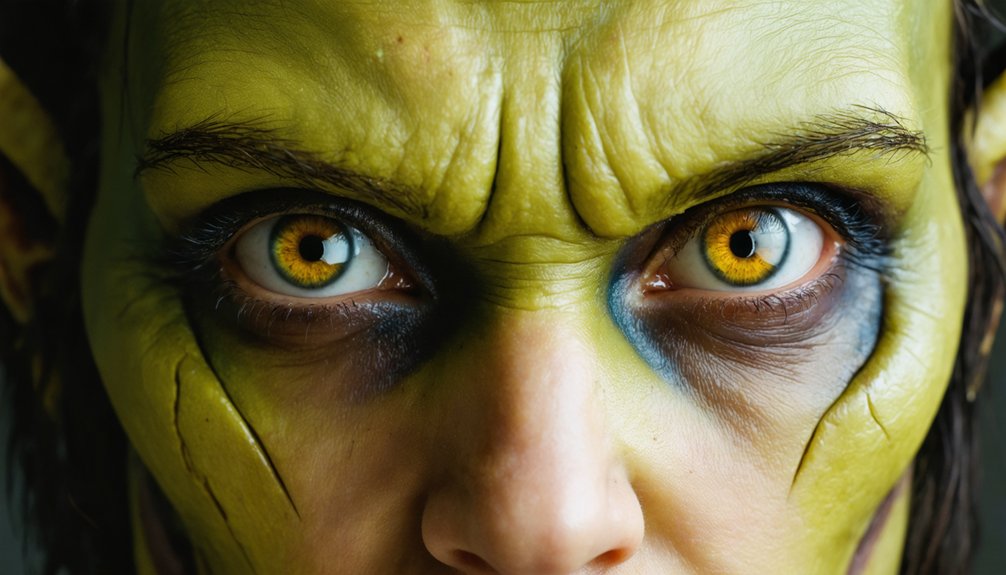
To create an eerily inhuman eye effect, apply dark green eyeshadow in a circular motion around the entire eye socket, extending outward to mimic the illusion of deep-set, hollowed eyes.
Layer black liner from the center of the lid outward to the false socket boundary, reinforcing the sunken depth.
Finish by inserting white contact lenses or applying white cream paint beneath the lower lash line to achieve a blank, unsettling stare that completes the goblin’s inhuman gaze.
Deepening Eye Socket Illusion
When crafting the eye socket illusion, start by packing dark green eyeshadow into the socket area to create the appearance of deep, hollow cavities. This technique is essential for replicating mythical creatures and fantasy characters with unsettling, otherworldly features.
- Blend matte black pigment outward from the inner corners to amplify depth and shadow.
- Apply orange eyeshadow blending into yellow along the orbital bone to simulate aged, textured skin.
- Outline the eye from the center lid to the fabricated socket edge using precise black liner.
Layer darker hues over lighter tones to build realistic dimension.
White cream paint beneath the lower lash line intensifies the blank, eerie stare characteristic of authentic goblin transformations, completing your socket illusion effectively.
Dramatic Liner And Contacts
With your eye sockets hollowed and shadowed, dramatic liner and contact lenses take the illusion further by stripping away any remaining humanity from your gaze. Rooted in goblin history and cultural symbolism, the eyes traditionally signal malice and cunning—your makeup must reflect that.
Apply black liner from the center of your lid outward toward the false socket edge, creating a sharp, elongated line that distorts natural eye shape. Layer dark glitter eyeshadow over the lid to introduce an unsettling shimmer.
White cream-based contact lenses or painted whites beneath the lower lash line produce a blank, predatory stare that unsettles viewers instantly. These techniques aren’t decorative—they’re functional tools that rewire how observers read your face, transforming familiar human features into something distinctly, convincingly inhuman.
Attach Prosthetics and Lock In Final Goblin Details
Prosthetics and distinctive features bring your goblin transformation to a professional level, and applying them correctly makes all the difference. Use prosthetic adhesive like Pros-Aide for brow flattening, pressing eyebrows firmly against the skin before blending with Dermacolor Camouflage Creme to erase them completely.
- Use acetone on a Q-tip to dissolve excess flashing along prosthetic edges for a seamless skin blend.
- Apply tooth enamel or nicotine with a Q-tip to achieve authentically discolored, goblin-like teeth.
- Finish with brow accessories like beads or feathers to reinforce your character’s distinct identity.
Lock everything in with setting spray after dusting Translucent Powder 50g across the entire face. This eliminates shine and guarantees your makeup survives extended wear without cracking or fading.
Set Your Goblin Makeup for Long-Lasting Wear
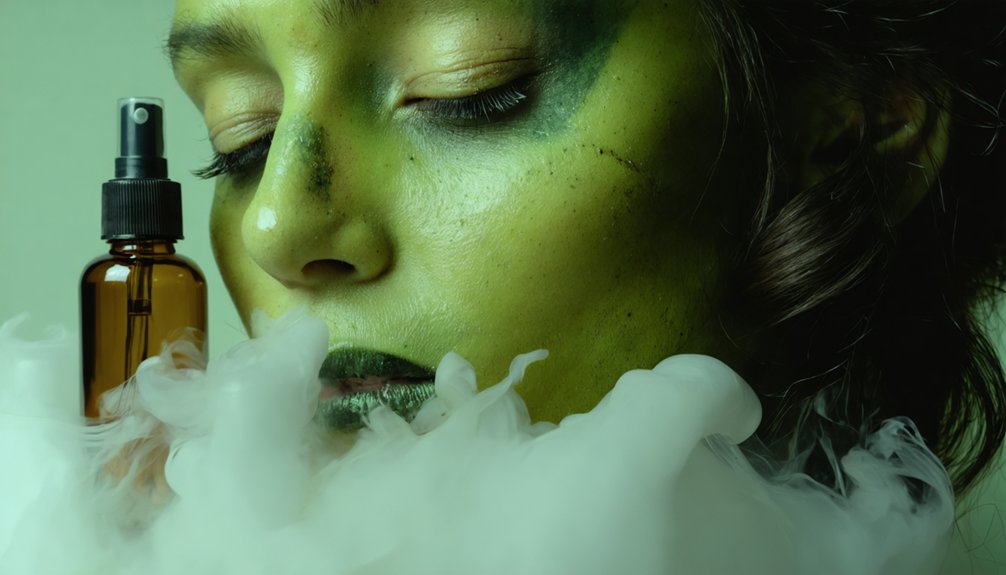
Setting your goblin makeup correctly determines whether your transformation lasts two hours or ten. Start by pressing Translucent Powder 50g across every surface using a damp beauty sponge, eliminating shine and locking in your base. Don’t skip textured areas — powder must penetrate stippled surfaces to prevent cracking.
Next, apply long wear setting sprays in two thin layers, holding the bottle eight inches from your face. Let each layer dry completely before applying the next. If you’ve experimented with alternative color palettes featuring unconventional greens, grays, or iridescent pigments, setting spray chemically bonds these layers together, preventing separation.
Finally, target high-movement zones — around the mouth, eyes, and nose — with an additional powder pass. Your goblin character should withstand sweat, heat, and extended wear without compromise.
Frequently Asked Questions
Can Goblin Makeup Be Achieved Without Using Any Prosthetics at All?
You can achieve goblin makeup without prosthetics using DIY techniques and makeup alternatives. You’ll contour, stipple textures, and layer greens strategically, making eyes eerie with dark shadows and liners to craft a convincingly monstrous transformation.
How Long Does a Full Goblin Makeup Transformation Typically Take to Complete?
Perfectly planned preparation propels your goblin costume completion to two to four hours. Following advanced makeup tutorials, you’ll layer foundations, contour features, stipple textures, and set prosthetics meticulously—each innovative technique demanding dedicated, deliberate time for professional, lasting results.
Is Goblin Makeup Suitable for Sensitive or Acne-Prone Skin Types?
Goblin makeup can irritate sensitive or acne-prone skin. You’ll need to verify product suitability by patch-testing cream foundations, adhesives, and setting sprays beforehand, ensuring formulations are non-comedogenic and hypoallergenic to minimize adverse reactions during your transformation.
Can Goblin Makeup Be Easily Removed Without Damaging the Skin Underneath?
Here’s what’s at stake—your skin’s integrity. You can safely achieve makeup removal without damage by using gentle micellar water or oil-based cleansers, prioritizing skin safety while dissolving even heavy prosthetic adhesives effectively and thoroughly.
What Goblin Makeup Styles Work Best for Different Face Shapes?
For your fantasy character, you’ll want to adapt costume design techniques to your face shape: contour round faces aggressively, soften angular faces with blended textures, and elongate oval faces using deep socket shadowing for ideal goblin transformation.
References
- https://starstruckpanda.com/step-by-step-guide-to-goblin-makeup/
- https://www.youtube.com/watch?v=A0cPMFQnx6c
- https://www.youtube.com/watch?v=ZInH5D14A-0
- https://global.kryolan.com/howto/goblin
- https://www.youtube.com/watch?v=1gbkwc_lGUc
- https://www.youtube.com/watch?v=1yNwQMMQJyk
- https://www.youtube.com/watch?v=SgTWz3x1gss
- https://www.youtube.com/watch?v=tAuaBDqTUME
- https://www.youtube.com/watch?v=GssB4t0LOQo
- https://www.youtube.com/watch?v=LvZl-ekH4K4